Are you tired of your shelves, mirrors, or heavy frames falling off the wall? Installing heavy duty wall anchors the right way can change that for good.
You don’t have to be a professional or spend hours figuring it out. With just a few simple steps, you’ll secure your items firmly and safely. Keep reading, and you’ll discover how easy it is to make your walls stronger and your home safer.
Ready to get started?
Choosing The Right Wall Anchors
Choosing the right wall anchors is key for a strong hold. Heavy duty anchors support large weights and keep items secure. Pick anchors that match your wall type and the item’s weight. This helps prevent damage and ensures safety.
Types Of Heavy Duty Anchors
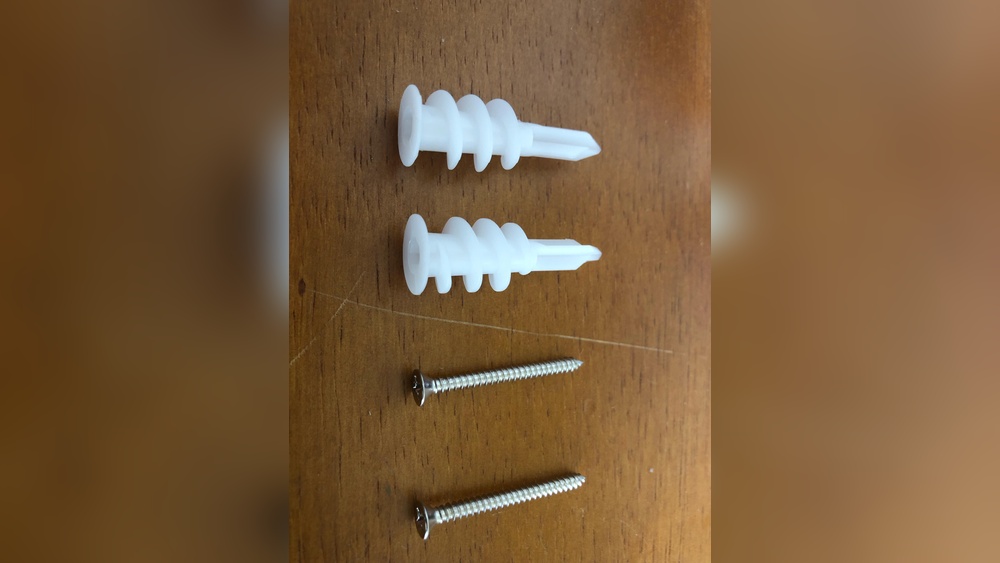
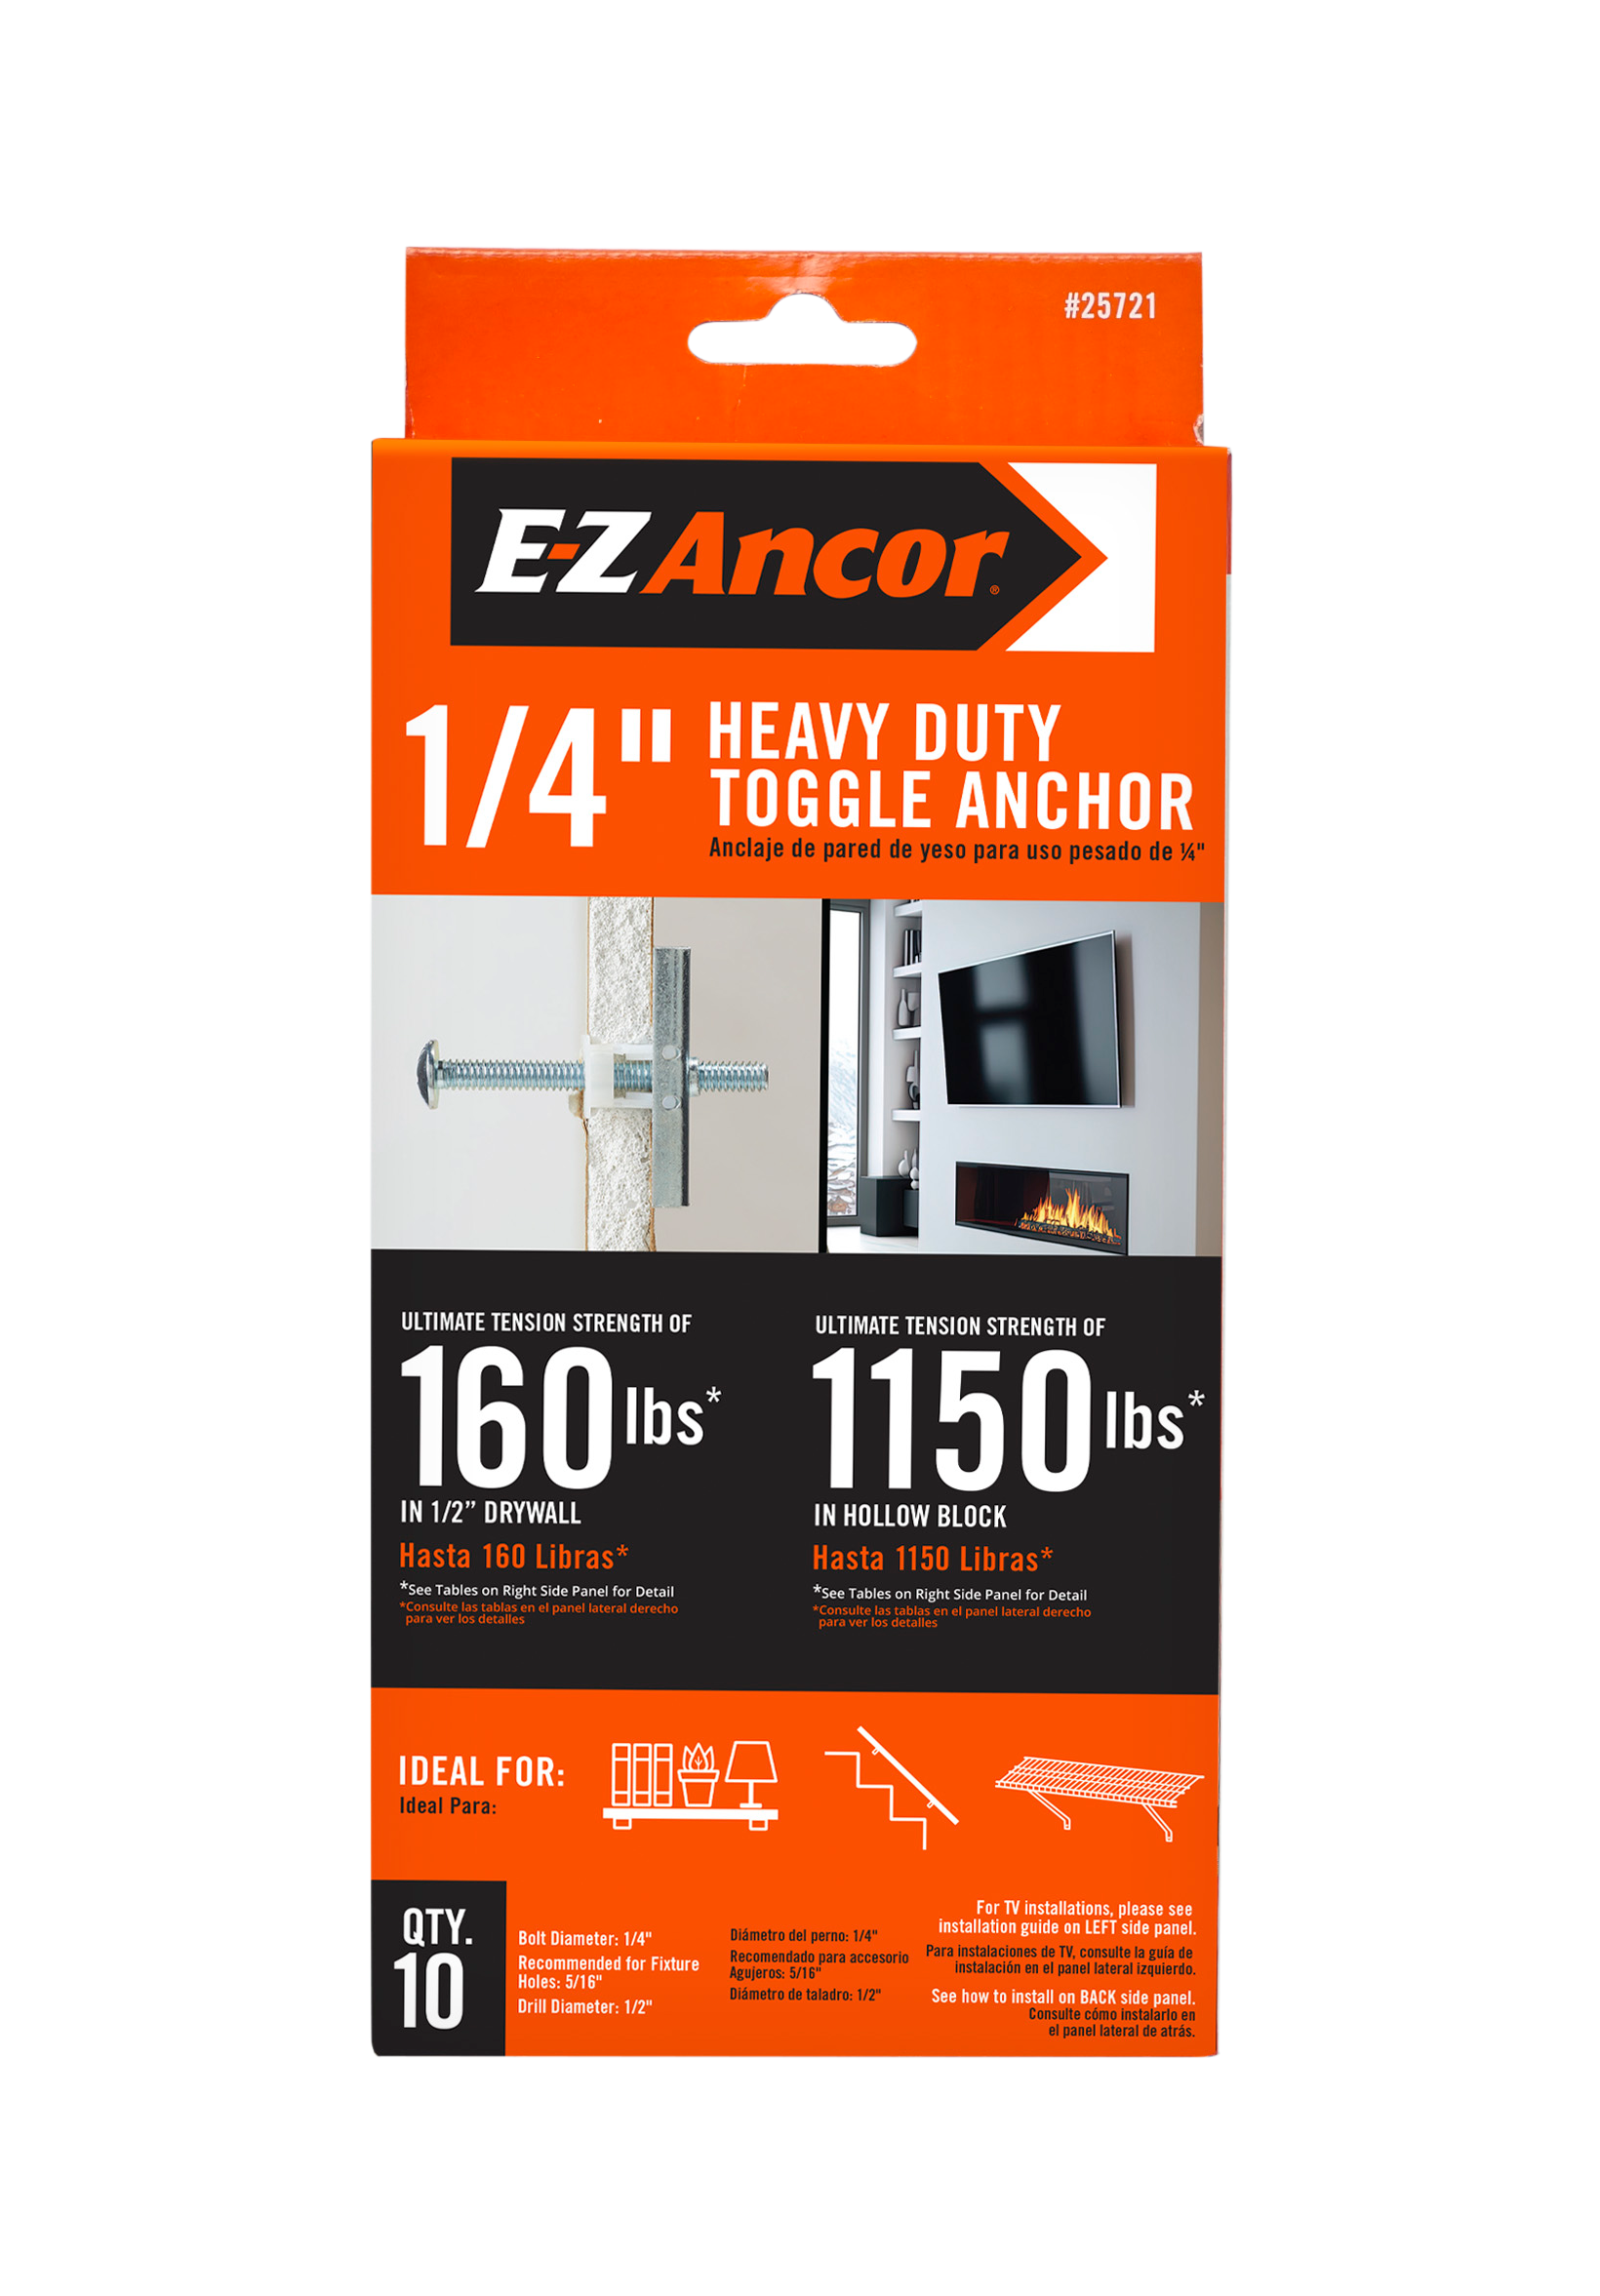
There are several types of heavy duty anchors. Toggle bolts expand behind the wall for strong grip. Molly bolts spread inside drywall to hold heavy objects. Sleeve anchors work well with concrete or brick walls. Choose the type that fits your wall material best.
Materials And Weight Limits
Anchors come in metal or plastic materials. Metal anchors offer more strength and durability. Check the weight limit on the anchor package. Do not exceed the recommended weight to avoid failure. Match the anchor size to the item’s weight for safety.
Tools Needed For Installation
Prepare a drill with the correct bit size. A screwdriver or wrench helps tighten the anchor. A hammer may be needed for some anchors. Measure and mark the spot before drilling. Proper tools make the installation easy and secure.
Preparing The Wall Surface
Preparing the wall surface is a key step before installing heavy duty wall anchors. This ensures the anchors hold firmly and safely. A smooth, clean wall and correct anchor placement improve strength and durability. Follow simple steps to prepare the wall well.
Locating Studs And Marking Spots
Studs provide strong support for heavy anchors. Use a stud finder to locate them behind the wall. Move the finder slowly and mark the edges with a pencil. Mark the center of each stud for accurate anchor placement.
Choose anchor spots near or on the studs for best hold. Mark spots clearly with a pencil. Avoid areas with wiring or pipes to prevent damage.
Cleaning And Inspecting The Wall
Clean the wall surface before drilling. Remove dust, dirt, and grease using a damp cloth. Let the wall dry completely to ensure good anchor grip.
Check the wall for cracks, holes, or weak spots. Repair any damage with spackle or filler. Wait for the repair to dry fully before installing anchors.
Drilling The Anchor Holes
Drilling the anchor holes is a key step in installing heavy duty wall anchors. It ensures the anchors fit well and hold strong. Precise drilling prevents damage to your wall and gives a secure base for the anchors. Follow simple steps to drill the right holes easily and safely.
Selecting The Correct Drill Bit
Choose a drill bit that matches the anchor size exactly. The bit should be the same diameter as the anchor. Using a smaller bit makes the hole too tight. A larger bit results in a loose fit. Use a masonry bit for concrete or brick walls. For drywall, a standard twist bit works fine.
Drilling At The Proper Depth
Mark the drill bit to the anchor’s length. This helps you stop drilling at the right depth. Use tape or a marker on the bit. Drill straight into the wall without tilting. Stop when the mark reaches the wall surface. Drilling too deep or too shallow weakens the anchor hold.

Credit: www.amazon.com
Installing The Anchors
Installing heavy duty wall anchors is a key step to secure heavy items on your walls. This process requires care and the right approach. Proper installation ensures strong support and prevents damage to your walls.
Different anchors suit different wall types and weights. Knowing how to insert them correctly boosts safety and durability. Follow clear steps to place anchors firmly and correctly.
Inserting Different Types Of Anchors
Plastic expansion anchors need a drilled hole matching their size. Tap the anchor gently into the hole until it is flush with the wall. Avoid forcing it to prevent damage.
For metal toggle anchors, fold the wings closed. Push the anchor through the hole. Once inside the wall, the wings open and lock in place. Pull back gently to ensure the anchor is secure.
Concrete anchors require a hammer drill to make a hole. Insert the anchor and tap it in until snug. These anchors expand inside the concrete, creating a strong hold.
Ensuring Secure Fit
After insertion, test the anchor by pulling lightly. A firm anchor does not move or wiggle. Loose anchors need to be removed and reinstalled with a bigger size.
Use a screwdriver to tighten screws slowly. Tighten until the anchor feels solid and the item is held tight. Over-tightening may break the anchor or damage the wall.
Check the anchor’s position often during installation. Proper placement ensures maximum strength and safety for heavy loads.
Mounting Fixtures On Anchors
Mounting fixtures on heavy duty wall anchors provides strong support for shelves, mirrors, and other heavy items. Proper installation ensures safety and stability. This step focuses on how to attach your fixture securely to the anchors already set in the wall.
Aligning Fixtures
Place the fixture carefully over the wall anchors. Check that the holes in the fixture match the anchor positions. Hold the fixture steady to avoid misalignment. Use a level to make sure it is straight. Proper alignment prevents damage and ensures a neat look.
Tightening Screws Safely
Insert screws into the wall anchors through the fixture holes. Turn screws slowly and evenly. Avoid over-tightening to prevent stripping the anchors. Stop tightening when the fixture feels firmly attached. Use a screwdriver with a comfortable grip for better control.

Credit: www.youtube.com
Testing And Safety Checks
Testing and safety checks are crucial after installing heavy duty wall anchors. They ensure the anchors hold firm and support the load safely. This step prevents accidents and damage to your walls. Always take time to verify stability and avoid errors.
Verifying Anchor Stability
Start by gently pulling or pushing the anchor. It should not move or wiggle. Use a level to check if the mounted object is straight. Check for any cracks or damage around the anchor hole. If anything feels loose, remove and reinstall the anchor properly.
Avoiding Common Installation Mistakes
Do not overtighten screws as it can weaken the anchor. Avoid using anchors on damaged or crumbling walls. Choose the right anchor size for your wall and load type. Follow instructions carefully to prevent poor placement. Always double-check your work before adding weight.
Credit: www.lowes.com
Frequently Asked Questions
What Tools Are Needed To Install Heavy Duty Wall Anchors?
You need a drill, screwdriver, hammer, measuring tape, and the anchors. These tools ensure proper installation and secure mounting on walls.
How To Choose The Right Heavy Duty Wall Anchors?
Select anchors based on wall type and weight load. Consider material compatibility and anchor size for strong support.
Can Heavy Duty Anchors Be Used On Drywall?
Yes, heavy duty anchors work on drywall but choose anchors designed for hollow walls. Proper installation prevents damage and ensures stability.
How Deep Should I Drill For Wall Anchors?
Drill a hole slightly deeper than the anchor length. This allows the anchor to fit snugly and hold firmly.
Conclusion
Installing heavy duty wall anchors is easier than it seems. Follow the steps carefully for a strong hold. Choose the right type for your wall and weight needs. Drill the hole with the correct size for the anchor. Insert the anchor firmly and tighten the screw slowly.
This helps keep your items secure and safe on the wall. Take your time and double-check your work. With patience, your installation will last for years. Trust the process and enjoy a sturdy, reliable fix.