Are you struggling to fit new light switch covers perfectly? Cutting them to size might sound tricky, but it’s easier than you think.
Getting this right not only improves the look of your walls but also keeps your switches safe and functional. In this guide, you’ll learn simple, step-by-step methods to cut light switch covers like a pro—no special tools or skills needed.
Keep reading, and you’ll have your switch covers fitting flawlessly in no time.
Tools Needed
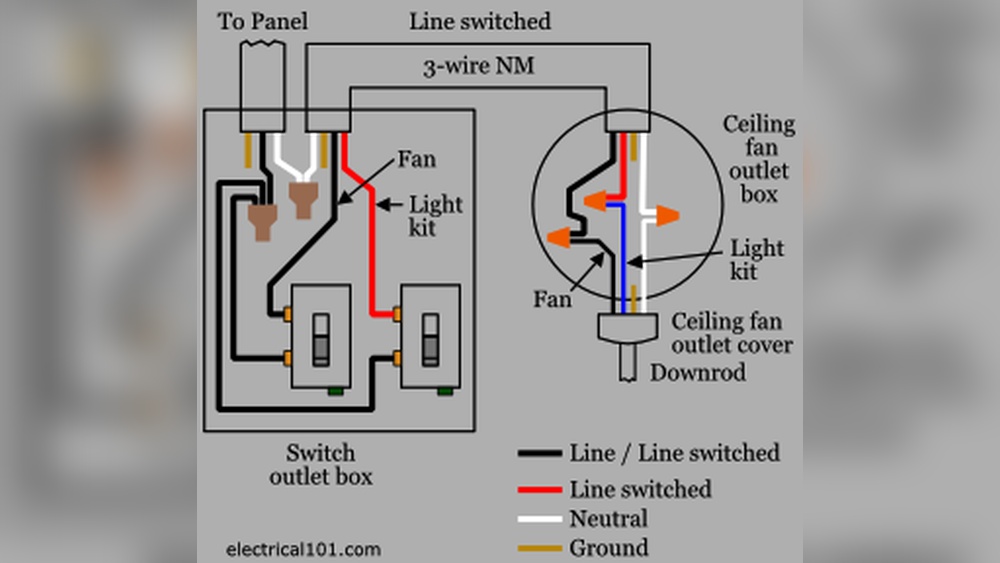
To cut light switch covers, gather the right tools first. Having the correct tools makes the task easier and safer. The right tools help you cut clean lines and fit the cover perfectly. Prepare everything before starting to avoid interruptions.
Essential Cutting Tools
A fine-toothed saw or utility knife works best for cutting plastic covers. A small hacksaw is good for metal covers. Use a ruler or measuring tape to mark the cut line clearly. A pencil or marker helps make visible marks. Sandpaper smooths rough edges after cutting.
Safety Equipment
Wear safety glasses to protect your eyes from dust and small pieces. Use gloves to keep your hands safe from sharp edges. A dust mask helps avoid breathing in plastic or metal dust. Work in a well-lit area to see clearly and avoid mistakes.

Credit: www.youtube.com
Preparing The Cover
Preparing the cover is an important step before cutting light switch covers. It helps ensure a clean and accurate cut. Taking time to prepare prevents mistakes and saves effort later. Follow simple steps to measure and mark the cover properly. This will make your project easier and safer.
Measuring The Switch Area
First, measure the switch area carefully. Use a ruler or measuring tape. Note the height and width of the switch plate. Measure twice to avoid errors. Write down your measurements clearly. Precise measurements help you cut the cover to fit perfectly.
Marking The Cut Lines
Next, mark the cut lines on the cover. Use a pencil or fine-tip marker. Draw straight lines along the measurements you took. Use a ruler for accuracy. Make light marks so you can erase if needed. These lines guide your cutting for a neat finish.
Cutting Techniques
Cutting light switch covers is a simple task with the right techniques. Choose the best method based on your tools and the material of the cover. Each technique offers control and accuracy for a clean cut.
Safety is important. Always wear protective gear like gloves and goggles before starting.
Using A Utility Knife
A utility knife works well for thin plastic covers. Score the cutting line several times for a deep groove. Use a ruler to keep the line straight. Snap the cover along the groove carefully. This method is quiet and requires no power.
Using A Rotary Tool
A rotary tool cuts plastic covers with speed and precision. Attach a cutting wheel or bit designed for plastic. Mark the cutting line clearly. Hold the tool steady and move slowly along the line. The rotary tool creates a smooth edge with little effort.
Using A Saw
A small handsaw or a fine-toothed saw works for thicker covers. Clamp the cover to a stable surface before cutting. Follow the marked line and use slow, steady strokes. This method may create rough edges that need sanding. It is best for wood or metal switch covers.
Credit: www.reddit.com
Smoothing The Edges
Smoothing the edges of your cut light switch covers is essential for a clean look and safe handling. Rough edges can cause scratches or catch on clothing. Taking time to smooth the edges makes the cover fit better and look professional.
Sanding Tips
Use fine-grit sandpaper for best results. Start with a coarser grit if the edges are very rough. Move the sandpaper in small circles along the edge. Check your progress often to avoid over-sanding. Keep the sanding gentle to prevent cracking the plastic.
Removing Burrs
Burrs are small, sharp bits left after cutting. Use a small file or a deburring tool to remove them. Gently scrape along the edge to clean the surface. Run your finger carefully over the edge to feel for any remaining rough spots. Removing burrs helps prevent cuts and improves the look.
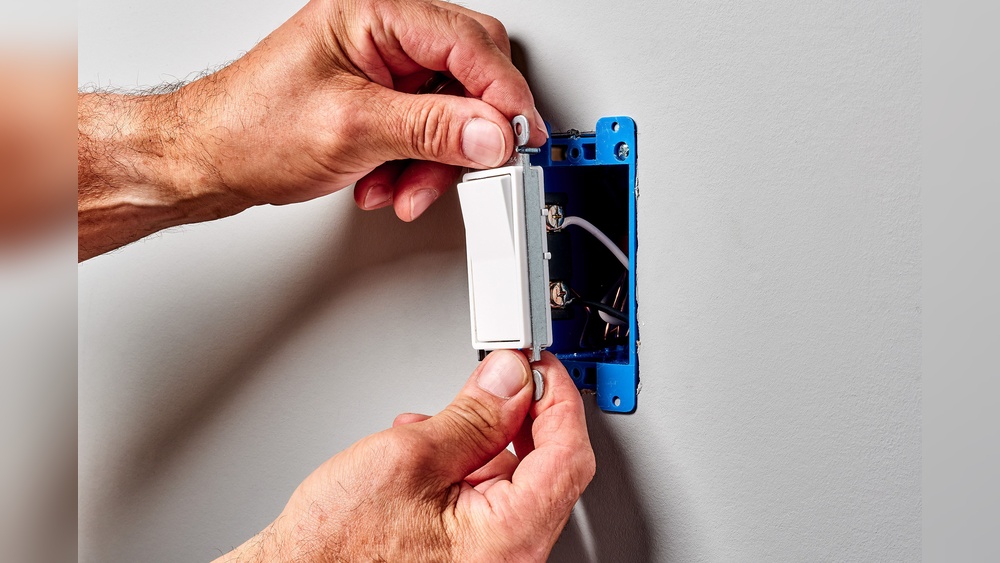
Testing The Fit
Testing the fit of your cut light switch cover is a key step. It ensures the cover fits well and looks neat. This step helps avoid damage to the wall or switch. Take your time to check the fit carefully. A good fit means the cover sits flush and does not wobble.
Placing The Cover On The Switch
Start by gently placing the cover over the switch. Align the screw holes with the switch plate screws. The cover should sit flat against the wall. Check if any edges stick out or catch on the switch. If the cover sits evenly, this is a good sign.
Press the cover lightly to make sure it stays in place. Avoid forcing the cover onto the switch. Forcing may crack the cover or damage the switch. Note where the cover fits well and where it feels tight.
Adjusting The Cut If Needed
Next, remove the cover to inspect the cut edges. Look for rough or uneven areas that block a smooth fit. Use a small file or sandpaper to smooth these edges. Make small adjustments and test again.
Trim any parts that still block the cover from sitting flat. Take off tiny amounts at a time. Keep checking the fit after each adjustment. Repeat until the cover fits perfectly without pressure or gaps.
Painting And Finishing
Painting and finishing light switch covers gives them a fresh, personal look. It also protects the surface from dirt and wear. Proper painting helps the covers last longer and match your room’s style.
Choosing The Right Paint
Use paint made for plastic surfaces. Acrylic or spray paint works well. Pick a paint that dries fast and resists chipping. Choose a color that fits your room’s theme. Light colors hide dust better than dark ones.
Applying Paint Evenly
Clean the cover before painting. Remove dust and oils with soap and water. Let it dry fully. Apply thin, even coats of paint. Let each coat dry before adding the next. Avoid thick layers to stop drips and bubbles. Use smooth, gentle strokes for a neat finish.
Safety Tips
Cutting light switch covers needs care and attention. Safety is important to avoid injuries or damage. Follow these tips to work safely and get the best result.
Handling Tools Carefully
Use the right tools for cutting switch covers. Hold tools firmly and cut slowly. Keep fingers away from blades and sharp edges. Check tools before use to ensure they work well. Wear safety glasses to protect your eyes from dust or chips.
Avoiding Electrical Hazards
Turn off power at the breaker before starting any work. Double-check that the switch is not live. Use a voltage tester for safety. Never cut covers while the electricity is on. Keep your workspace dry to prevent shocks. Stay alert and avoid distractions during the task.

Credit: www.youtube.com
Frequently Asked Questions
How Do You Measure Light Switch Covers For Cutting?
Measure the switch cover’s height and width with a tape measure. Mark the cut line clearly using a pencil. Double-check measurements before cutting to ensure accuracy.
What Tools Are Best For Cutting Light Switch Covers?
Use a fine-toothed hacksaw, utility knife, or rotary tool for precise cuts. Ensure the tool is sharp for clean edges. Always wear safety gloves and goggles.
How To Safely Cut Plastic Light Switch Covers?
Wear protective gear and secure the cover on a stable surface. Cut slowly along marked lines to avoid cracking. Smooth rough edges with sandpaper after cutting.
Can Metal Light Switch Covers Be Cut At Home?
Yes, using a metal snip or rotary tool works well. Mark the cut line clearly and cut slowly to prevent damage. Deburr edges with a metal file for safety.
Conclusion
Cutting light switch covers is simple with the right steps. Measure carefully and mark the area to cut. Use the proper tools to ensure clean edges. Take your time and work safely to avoid mistakes. A well-cut cover fits perfectly and looks neat.
Practice makes the process easier and faster. Keep your workspace clean and organized throughout the task. Enjoy your improved switch cover and the fresh look it brings. Small efforts can make a big difference in your home projects.