Have you ever struggled to get your monkey hook to go into a wall the right way? It can be tricky and frustrating if you don’t know the right steps.
But don’t worry—this guide will show you exactly how to do it quickly and safely. By the time you finish reading, you’ll have the confidence and know-how to get the job done without any hassle. Ready to make your project easier?
Let’s dive in!

Credit: www.amazon.com
Choosing The Right Monkey Hook
Choosing the right monkey hook is key to a secure hold on your wall. The right hook fits your wall type and the weight of your item. A wrong choice can cause damage or make the hook fall out.
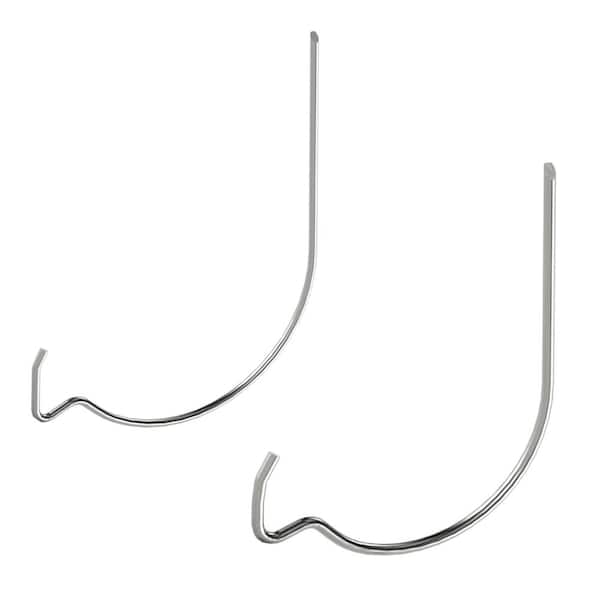
Types Of Monkey Hooks
Monkey hooks come in various shapes and sizes. Some have a sharp point for drywall, while others work better on plaster or wood. Choose a hook designed for your wall type. Some hooks have a curved shape to hold heavier items safely. Pick a style that matches your needs and wall material.
Material And Size Considerations
Monkey hooks are made from metal or plastic. Metal hooks hold more weight and last longer. Plastic hooks suit light items and softer walls. Size matters too. Small hooks work for light frames, large hooks for heavy objects. Match the hook size with the item’s weight for best results.
Preparing The Wall
Preparing the wall is the first step to get a monkey hook to go in smoothly. This step ensures the hook holds firm and stays secure. Taking time to prepare the wall helps avoid damage and makes the process easier.
Checking Wall Material
Identify the type of wall before drilling. Drywall, plaster, brick, or concrete all need different hooks or anchors. Using the wrong hook can cause it to fall or damage the wall. Tap the wall gently to hear the sound. A hollow sound usually means drywall. A solid sound means brick or concrete. Choose the right hook based on this check.
Clearing The Area
Clear the wall surface of dust and dirt. Wipe it down with a dry cloth for a clean spot. Remove any nails, screws, or old hooks nearby. This prevents interference when inserting the monkey hook. Also, move furniture or objects away to give enough space to work safely.
Marking The Spot
Marking the spot is the first key step to get your monkey hook into the wall correctly. It helps you place the hook exactly where you want it. A well-marked spot prevents mistakes and saves time. Take your time with this step. Accurate marking makes the rest of the work easier and safer.
Measuring For Accuracy
Measure the height and width carefully before marking. Use a tape measure to find the exact point on the wall. Check twice to avoid errors. Even small mistakes can cause the hook to go in the wrong place. Keep your measurements steady and clear. Mark the spot where the hook will hold best.
Using A Pencil Or Tape
Use a pencil to make a small, light mark on the wall. The mark should be easy to see but not too dark. This helps you see the spot without damaging the wall. You can also use painter’s tape to mark the area. Tape protects the wall and shows the exact point. Both methods work well for clear and precise marking.
Inserting The Monkey Hook
Inserting the monkey hook into the wall is a simple task that needs care. Doing it right helps the hook hold strong and stay safe. Use the correct steps to place the hook without damaging the wall.
Focus on the angle and pressure. These two things make the difference between success and frustration. Take your time and follow the method below.
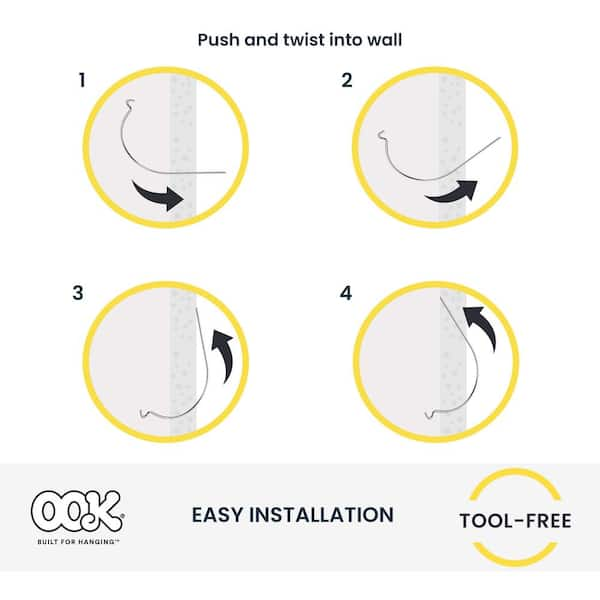
Proper Angle And Technique
Hold the monkey hook at a slight angle. Aim to push it gently into the wall. The hook should enter the wall at about a 45-degree angle. This helps it grip the wall better.
Start by placing the tip of the hook on the wall surface. Then, slowly push forward while keeping the angle steady. Avoid pushing straight in or too flat against the wall. Both can cause slipping or damage.
Applying Steady Pressure
Press the hook into the wall with steady force. Too much force can break the hook or damage the wall. Too little pressure makes the hook slip out.
Keep pushing until the hook is fully in the wall and secure. You will feel a slight resistance as it goes deeper. This shows the hook is gripping the wall material well.
Securing The Hook
Securing the monkey hook properly is essential for safety and durability. A well-fixed hook supports weight without slipping or damage. This step focuses on making sure the hook stays firmly in the wall.
Ensuring Stability
Start by choosing the right spot on the wall. Avoid weak areas like drywall without studs. Use a stud finder for best results. Insert the monkey hook slowly to prevent cracks. Press firmly and twist to lock it tight. Check that the hook does not wobble or move.
Testing Load Capacity
Test the hook by applying light pressure first. Gradually increase weight to the hook’s limit. Watch for any signs of bending or loosening. Stop immediately if the hook shifts or feels unstable. Confirm the hook holds the intended load safely before full use.
Common Mistakes To Avoid
Many people make simple mistakes while trying to get a monkey hook to go into a wall. These errors can damage your wall or make the hook less stable. Avoiding these mistakes helps the hook hold better and keeps your wall safe. Below are common errors to watch out for.
Forcing The Hook
Do not force the monkey hook into the wall. Forcing can crack or break the wall surface. It also bends the hook, reducing its strength. Insert the hook slowly and carefully. Let the hook slide in with gentle pressure. If it does not go in easily, check the wall type or choose a different spot.
Ignoring Wall Type
Each wall type reacts differently to monkey hooks. Drywall is soft and needs gentle handling. Concrete or brick walls are hard and require special tools or anchors. Ignoring the wall type can cause the hook to fail. Always know your wall material before installing. Use the right hook and method for your wall type.
Tools That Can Help
Getting a monkey hook to go into a wall can be tricky without the right tools. Using proper tools helps make the process easier and safer. It also ensures the hook stays firmly in place. Below are some tools that can help you do the job well.
Using A Drill
A drill makes inserting a monkey hook much simpler. First, use a drill with a small drill bit. This creates a pilot hole in the wall. The pilot hole guides the monkey hook into the right spot. It reduces the chance of the wall cracking or breaking. Drilling also saves your hands from strain. Choose a drill with adjustable speed for better control. Slow speed works best for delicate walls. Always wear safety glasses to protect your eyes.
Helpful Accessories
Certain accessories can improve the process of placing a monkey hook. A stud finder helps locate strong spots behind the wall. Hooks hold better when placed in studs. Wall anchors give extra support for heavier items. Use anchors that match your wall type. A level ensures the hook is straight. This makes hanging objects look neat. A pencil helps mark spots clearly before drilling. These simple tools make the task smoother and more accurate.
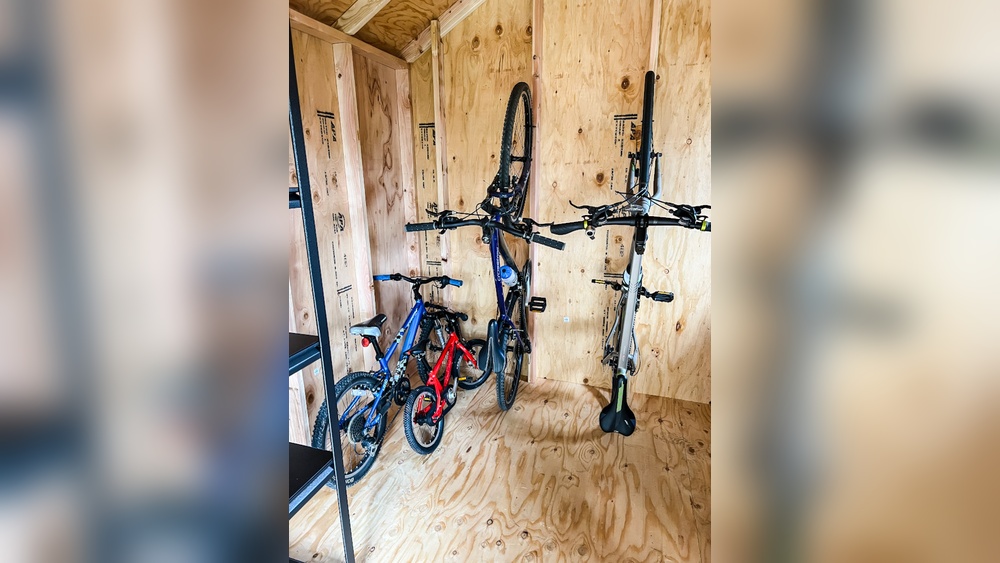
Credit: www.homedepot.com
Safety Tips
Use a drill to make a small hole before pushing the monkey hook into the wall. This helps avoid damage and keeps the hook secure. Wear safety glasses to protect your eyes from dust and debris.
Wearing Protective Gear
Safety starts with the right gear. Use gloves to protect your hands from sharp edges.
Wear safety goggles to shield your eyes from dust and small debris.
A helmet can protect your head if you work near hard surfaces or overhead objects.
Choose sturdy shoes to avoid slipping or dropping tools on your feet.
Working Carefully
Take your time to avoid mistakes. Rushing increases the risk of injury.
Hold the monkey hook firmly and check your grip often.
Make small, steady movements to guide the hook into the wall.
Stop if you feel resistance or the hook is not going in smoothly.
Keep your work area clean to prevent accidents from tripping or falling objects.
Credit: www.homedepot.com
Frequently Asked Questions
How Do I Make Monkey Hook Stick To The Wall?
To make Monkey Hook stick to the wall, clean the surface thoroughly. Ensure it is dry and free of dust. Press the hook firmly against the wall for about 30 seconds to secure it properly.
What Surfaces Work Best For Monkey Hook?
Monkey Hook works best on smooth, non-porous surfaces like painted walls, tiles, or wood. Avoid rough or textured surfaces as they reduce adhesion and may cause the hook to fall.
Can Monkey Hook Support Heavy Items On Walls?
Yes, Monkey Hook can support heavy items up to its weight limit, usually around 5 pounds. Always check the product specifications and avoid exceeding the recommended weight to prevent damage.
How Long Does Monkey Hook Stay On The Wall?
Monkey Hook can stay securely on the wall for several months. Its adhesive is designed for long-term use but may weaken if exposed to moisture or extreme temperatures.
Conclusion
Getting the monkey hook into the wall takes practice and patience. Keep your movements steady and aim carefully. Using the right angle helps the hook stick well. Try different spots on the wall to find the best grip. Don’t rush; focus on control over speed.
With time, your skill will improve naturally. Enjoy the process and have fun learning. This simple guide can help you get started easily. Keep practicing and you will see progress soon.