Have you ever wished you had an extra outlet right where your light switch is? Imagine the convenience of plugging in your devices without searching for a nearby socket.
Converting your light switch to a switch and outlet combo is easier than you think—and it can make a big difference in your daily routine. In this guide, you’ll discover simple steps to add functionality to your space, save time, and avoid the hassle of extension cords.
Ready to upgrade your home with just one smart change? Let’s get started.

Credit: www.youtube.com
Tools And Materials Needed
Changing a light switch to a switch and outlet requires the right tools and materials. Having everything ready makes the job easier and safer. Prepare all items before starting the project. This helps avoid delays and mistakes.
Basic Tools
Start with basic tools that every home should have. A screwdriver set is essential for removing and installing screws. Wire strippers help to remove insulation from wires without damaging them. A voltage tester ensures no electricity flows while working. Needle-nose pliers assist in bending and holding wires securely. A utility knife is useful for cutting electrical tape or wire sheathing.
Electrical Components
Select the right electrical parts for your project. Choose a combination switch and outlet device designed for your voltage and current needs. Use wire connectors or wire nuts to join wires safely. Electrical tape secures wire connections and prevents shorts. Make sure to have new electrical boxes if the old ones cannot support the new setup. Always pick materials that meet local electrical codes for safety.
Safety Precautions
Safety is the top priority when converting a light switch to a switch and outlet. Electrical work can be risky without proper care. Taking the right steps prevents shocks and accidents. Always prepare well before starting any electrical project.
Power Shutoff
Turn off the power at the circuit breaker first. Do not rely on the switch alone. Confirm the breaker controls the switch’s circuit. This stops electricity from flowing while you work.
Testing For Live Wires
Use a voltage tester to check for live wires. Touch the tester to each wire carefully. No light or sound means no power. Double-check to be sure the wires are safe to handle.
Personal Protective Gear
Wear insulated gloves to protect your hands. Use safety glasses to shield your eyes. Avoid loose clothing that can catch on wires. Good gear keeps you safe during the project.
Removing The Existing Light Switch
Removing the existing light switch is the first step in converting it to a switch and outlet. This process requires care and attention to safety. Turn off the power from the circuit breaker before touching anything. Once the power is off, you can start by removing the switch plate. After that, you will disconnect the wires from the switch. These steps prepare the box for installing the new switch and outlet combo.
Unscrewing The Switch Plate
Use a screwdriver to remove the screws holding the switch plate. Keep the screws in a safe place for later use. Gently pull the switch plate away from the wall. Avoid forcing it to prevent damage to the wall or plate. The switch and wiring will now be visible inside the electrical box.
Disconnecting Wires
Check again that the power is off to avoid electric shock. Use a screwdriver to loosen the screws holding the wires on the switch. Carefully remove each wire, noting where each one was connected. You may want to take a photo to help with the new installation. Once all wires are free, the old switch can be removed completely.
Choosing The Right Switch And Outlet Combo
Choosing the right switch and outlet combo is key to a safe and functional setup. This choice affects both usability and safety in your home. Understanding the options helps you pick a device that fits your needs. This section guides you through the types and key compatibility points.
Types Of Combination Devices
Combination devices come in several forms. The most common type pairs a single-pole switch with a duplex outlet. Some models include GFCI outlets for wet areas. Others offer USB charging ports alongside the switch. Choose based on your room’s requirements and convenience.
Compatibility Considerations
Check your wiring before selecting a combo device. Some combos need a neutral wire to work correctly. Match the device voltage rating with your home’s system. Consider the box size; combination devices may need larger electrical boxes. Always follow electrical codes and safety rules during installation.
Wiring The New Combo Device
Wiring the new combo device is a key step in converting a light switch to a switch and outlet. This process requires careful attention to the wires inside your electrical box. Correct wiring ensures both the switch and outlet work safely and efficiently. Take your time to identify each wire and make secure connections. Proper wiring reduces the risk of electrical faults and keeps your home safe.
Identifying Wires
First, turn off the power at the circuit breaker. Use a voltage tester to confirm no power is flowing. Identify the hot wire, usually black or red. The neutral wire is usually white. The ground wire is green or bare copper. Label each wire if needed. Knowing each wire helps connect the combo device correctly.
Connecting Switch And Outlet
Connect the hot wire to the switch terminal marked “line.” Attach the neutral wire to the outlet’s silver screw. Connect the ground wire to the green screw on the device. The switch’s load terminal connects to the wire going to the light fixture. Ensure each wire is firmly attached to the correct terminal.
Securing Connections
Use a screwdriver to tighten all terminal screws. Tug gently on each wire to check security. Wrap exposed wires with electrical tape if needed. Push the wires neatly into the box to avoid pinching. Secure the combo device with mounting screws. Restore power and test the switch and outlet for proper function.
Installing The Combo Device
Installing the combo device is a key step in converting a light switch to a switch and outlet. This device combines both functions into one unit. It fits into the existing electrical box. The process is straightforward with careful handling and basic tools.
Follow safety rules before starting. Turn off power at the breaker. Test the wires to confirm no electricity flows. Wear gloves and use insulated tools. These steps protect you from electric shock.
Mounting The Device
First, connect the wires to the new combo device. Match the wires by color and function. Tighten the screws to secure the wires firmly. Push the device gently into the electrical box. Align it so the screw holes fit the box holes. Use a screwdriver to fasten the device in place. Do not overtighten the screws to avoid damage.
Attaching The Faceplate
Choose a faceplate that fits the combo device. Place the faceplate over the device carefully. Align the screw holes on the faceplate with those on the device. Insert the screws and tighten them by hand. Ensure the faceplate sits flush against the wall. Avoid forcing the screws to prevent cracking the faceplate.
Testing The Installation
Testing the installation is a key step after converting a light switch to a switch and outlet. This step ensures everything works safely and correctly. It helps avoid electrical problems and keeps your home safe. Follow the steps below to check your work.
Restoring Power
Start by turning the power back on at the breaker box. Make sure the circuit is live again. Use a voltage tester to confirm power is restored to the switch box. Do not touch wires without checking for power first.
Verifying Switch Operation
Flip the switch to test the light or device it controls. The light should turn on and off smoothly. If it does not work, turn off the power and check your wiring connections again. Correct any loose or wrong wires.
Checking Outlet Functionality
Plug a small device or lamp into the new outlet. The device should power on without any flicker or interruption. Test both the top and bottom outlets if it is a duplex. Safe and steady power means your installation is successful.

Credit: www.reddit.com
Troubleshooting Common Issues
Troubleshooting is a key step after converting a light switch to a switch and outlet. Small issues can stop your new outlet from working properly. Knowing common problems saves time and keeps you safe.
Check each part carefully. Many problems come from simple mistakes. Fixing these quickly helps your project succeed.
No Power To Outlet
Check the circuit breaker first. It might have tripped during installation. Reset it if needed.
Make sure the wiring to the outlet is correct. Loose or wrong wires cause no power. Use a voltage tester to confirm power presence.
Sometimes, a switch controls the outlet power. Confirm the switch is on. The outlet will have no power if the switch is off.
Switch Not Working
Verify the switch connections. Wires must be tight and correctly placed. A loose wire stops the switch.
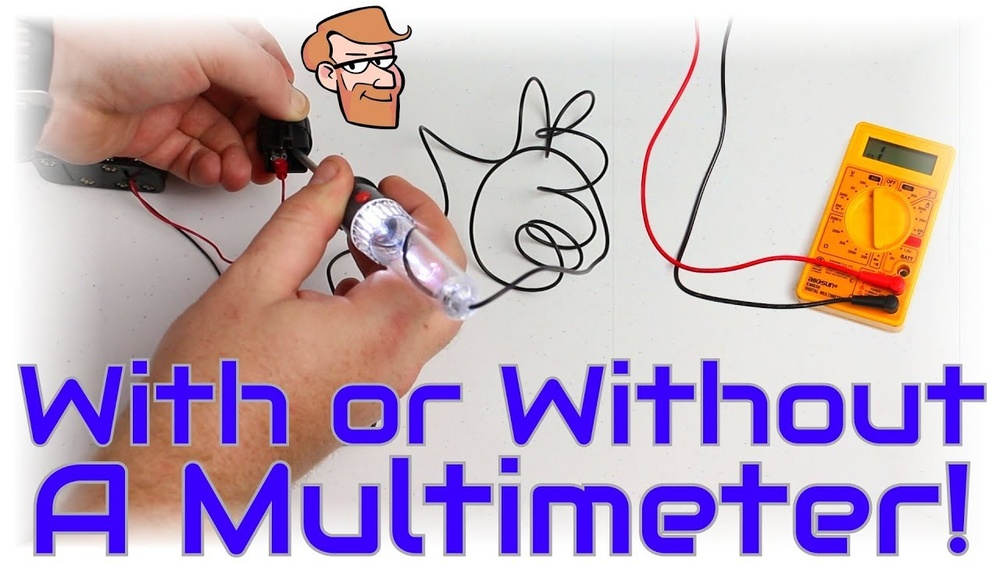
Test the switch with a multimeter. This checks if it works inside. Replace the switch if it is faulty.
Check for power at the switch terminals. No power means a wiring or breaker issue.
Loose Connections
Turn off the power before checking connections. Loose wires cause flickering or no power.
Tighten all screws on the switch and outlet terminals. Make sure wires are wrapped clockwise around screws.
Inspect wire nuts and connectors. Replace damaged or loose ones. Proper connections ensure safety and function.

Credit: www.reddit.com
Frequently Asked Questions
How Do I Convert A Light Switch To A Switch And Outlet?
To convert, turn off power, remove the switch, and install a combination switch-outlet device. Connect wires following the device’s instructions and ensure grounding. Restore power and test both the switch and outlet for proper function.
What Tools Are Needed For This Conversion?
You will need a screwdriver, wire stripper, voltage tester, electrical tape, and a combination switch-outlet device. Having needle-nose pliers helps with wire bending. Safety gloves and goggles are recommended to protect yourself during the process.
Is It Safe To Convert A Light Switch To A Switch And Outlet?
Yes, it is safe if you turn off power before working. Follow wiring instructions carefully and use proper tools. If unsure, consult a licensed electrician to avoid hazards like electric shock or faulty wiring.
Can I Install Any Outlet With A Light Switch?
No, you must use a combination switch and outlet device designed for this purpose. Regular outlets do not have switch controls, so they won’t work properly in this setup.
Conclusion
Converting a light switch to a switch and outlet adds useful function. It saves space and lets you control a light and plug in devices. The process is simple when you follow safety steps carefully. Always turn off power before starting work.
Use the right tools and parts for the job. Taking your time helps avoid mistakes. Now, you can enjoy more convenience in your room. Try this project and see the difference it makes.