
Struggling to keep your cables neat and secure? You’re not alone.
Knowing how to anchor cable to a wall can save you from messy tangles, accidental trips, and frustrating damage. Imagine a clean, organized space where your cables stay exactly where they belong—safe, out of sight, and easy to access. You’ll learn simple, step-by-step methods to anchor your cables firmly and professionally, no matter your skill level.
Ready to transform your space and protect your gear? Let’s get started.
Credit: www.cablebullet.com
Choosing The Right Anchors
Choosing the right anchors is key for securely fastening cables to walls. The right anchor holds weight well and prevents damage. Different walls need different anchors. The correct choice makes installation easier and safer.
Types Of Wall Anchors
Plastic anchors are common and easy to use. They work well with light loads on drywall or plaster. Metal anchors provide stronger support. They are good for heavier cables and tougher walls. Toggle bolts spread the load behind the wall. They hold heavy items on hollow walls. Expansion anchors expand inside the wall for a tight fit. They are great for brick or concrete walls.
Matching Anchors To Wall Material
Drywall needs anchors that spread the load, like plastic or toggle anchors. For brick or concrete, use expansion anchors or sleeve anchors. Wood walls can take screws directly, but anchors help with stability. Plaster walls require anchors that do not crack the surface. Always check the wall type before picking anchors. This step ensures strong, lasting cable support.
Gathering Necessary Tools
Gathering the right tools is the first step in anchoring cable to a wall. Having all necessary items ready makes the task easier and faster. It also helps to avoid mistakes and accidents. Take time to prepare your workspace with the correct tools and safety gear. This ensures a smooth and secure installation.
Essential Tools For Cable Anchoring
Start with a drill suitable for your wall type. A drill bit matching your anchor size is key. Use anchors or wall plugs designed for cable support. A screwdriver helps tighten screws safely. A tape measure ensures accurate spacing and placement. Cable clips or ties keep cables neat and secure. A pencil marks the drill points for precision. A level checks that cables run straight along the wall.
Safety Equipment To Use
Wear safety goggles to protect your eyes from dust and debris. Gloves shield your hands from sharp edges. Ear protection reduces noise from drilling. A dust mask prevents inhaling particles. Ensure your work area is well-lit and ventilated. Keep a first aid kit nearby in case of minor injuries. Safety is crucial for a successful cable anchoring job.
Preparing The Wall Surface
Preparing the wall surface is the first step in anchoring cable securely. This process ensures the cable stays fixed and looks neat. It also helps avoid damage to the wall or cable. Proper preparation saves time and effort during installation.
Cleaning And Marking Anchor Points
Start by cleaning the wall area where you will attach the cable. Remove dust, dirt, and grease with a damp cloth. A clean surface helps the anchors hold better. After cleaning, use a pencil to mark exact points for the anchors. Accurate marking keeps the cable straight and tidy. Measure twice to avoid mistakes.
Checking For Obstacles Behind The Wall
Check behind the wall for pipes, wires, or studs before drilling. Use a stud finder or metal detector to locate hidden objects. Avoid drilling into electrical wires or plumbing. This step prevents accidents and costly repairs. Knowing the wall’s structure helps choose the right anchors and tools.
Drilling Holes Correctly
Drilling holes correctly is a key step in anchoring cable to a wall. Proper drilling ensures the anchors hold tight and the cables stay secure. Mistakes in drilling can cause loose anchors or damage to the wall. Take time to drill carefully and precisely.
Choosing The Right Drill Bit
Select a drill bit that matches the anchor size exactly. The bit should fit the anchor snugly, not too big or too small. Using the wrong bit can make the hole too loose or too tight. For concrete or brick walls, use a masonry bit. For drywall, a standard twist bit works well.
Drilling At Proper Depth And Angle
Mark the drilling depth on the bit with tape. This helps avoid drilling too deep or shallow. Hold the drill steady and straight. Angle the drill perpendicular to the wall surface. Drilling at an angle weakens the anchor hold. Slow and steady drilling reduces wall damage and dust.
Installing Anchors Securely
Installing anchors securely is key to holding cables safely on walls. Proper installation prevents damage and ensures long-lasting support. Each step must be done carefully for the best results.
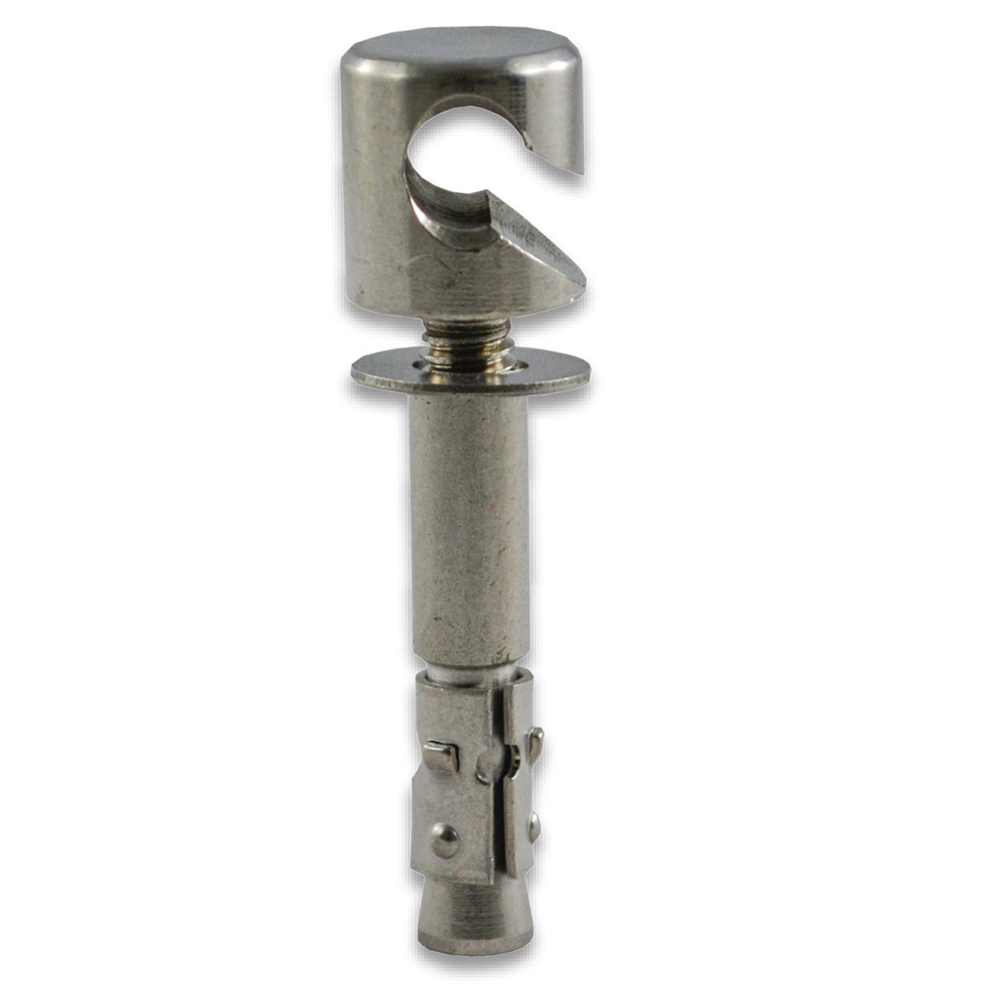
Inserting Anchors Into The Wall
Start by drilling a hole slightly smaller than the anchor’s size. This helps the anchor fit tightly in the wall. Push the anchor gently into the hole until it is flush with the surface. Use a hammer lightly if needed, but avoid forcing it hard.
Ensuring Firm Anchor Placement
Check that the anchor does not move or wiggle. A loose anchor will not hold the cable well. Tighten screws slowly into the anchor to expand it inside the wall. Stop when you feel resistance, ensuring a firm grip.

Credit: www.cablebullet.com
Attaching Cable Clips Or Fasteners
Attaching cable clips or fasteners to the wall is a simple way to keep cables neat and safe. It prevents cables from tangling or getting damaged. Using the right clips ensures cables stay fixed and look tidy.
Selecting Suitable Cable Clips
Choose clips that match the cable size. Clips that are too tight can damage cables. Clips that are too loose will not hold cables well. Plastic or metal clips work well for most cables. Use clips with smooth edges to protect the cable coating.
Fixing Clips Without Damaging Cable
Place the cable gently inside the clip. Avoid squeezing the cable too hard. Leave a little space so the cable can move slightly. Use screws or nails to fix clips to the wall. Do not push fasteners directly onto the cable. This prevents cable damage and ensures long life.
Testing Cable Stability
Testing cable stability is an important step after anchoring cables to the wall. This step ensures the cable stays secure and prevents accidents or damage. It helps you find out if the anchors hold the cable tightly. A stable cable means safety and a clean look for your space.
Applying Gentle Pressure
Start by gently pressing on the cable near the anchor points. Use your hand to push the cable slightly up and down or side to side. This small test shows if the cable moves or feels loose. If the cable stays firm, the anchor is working well. If it shifts or wiggles, the hold might be weak.
Adjusting Anchors If Necessary
If the cable feels loose, adjust the anchors right away. Tighten screws or reposition the anchor for a better grip. Sometimes, you may need to remove the anchor and use a stronger one. Repeat the gentle pressure test after each adjustment. Keep adjusting until the cable feels steady and secure.
Tips For Neat Cable Management
Neat cable management makes any space look tidy and safe. It stops cables from tangling and makes cleaning easier. Simple steps can keep cables organized and out of sight.
Organizing Multiple Cables
Group cables by type or purpose. Use cable ties or Velcro straps to hold bundles together. Label each bundle with tags or stickers. This helps find cables quickly and prevents mix-ups. Avoid tight bends to protect cable wires. Keep power and data cables separate to reduce interference.
Using Cable Covers And Trays
Cable covers hide cables along walls or floors. They come in different colors and sizes to match decor. Use adhesive covers for easy installation. Cable trays hold cables under desks or tables. They keep cables off the floor and reduce tripping hazards. Both solutions improve safety and appearance.
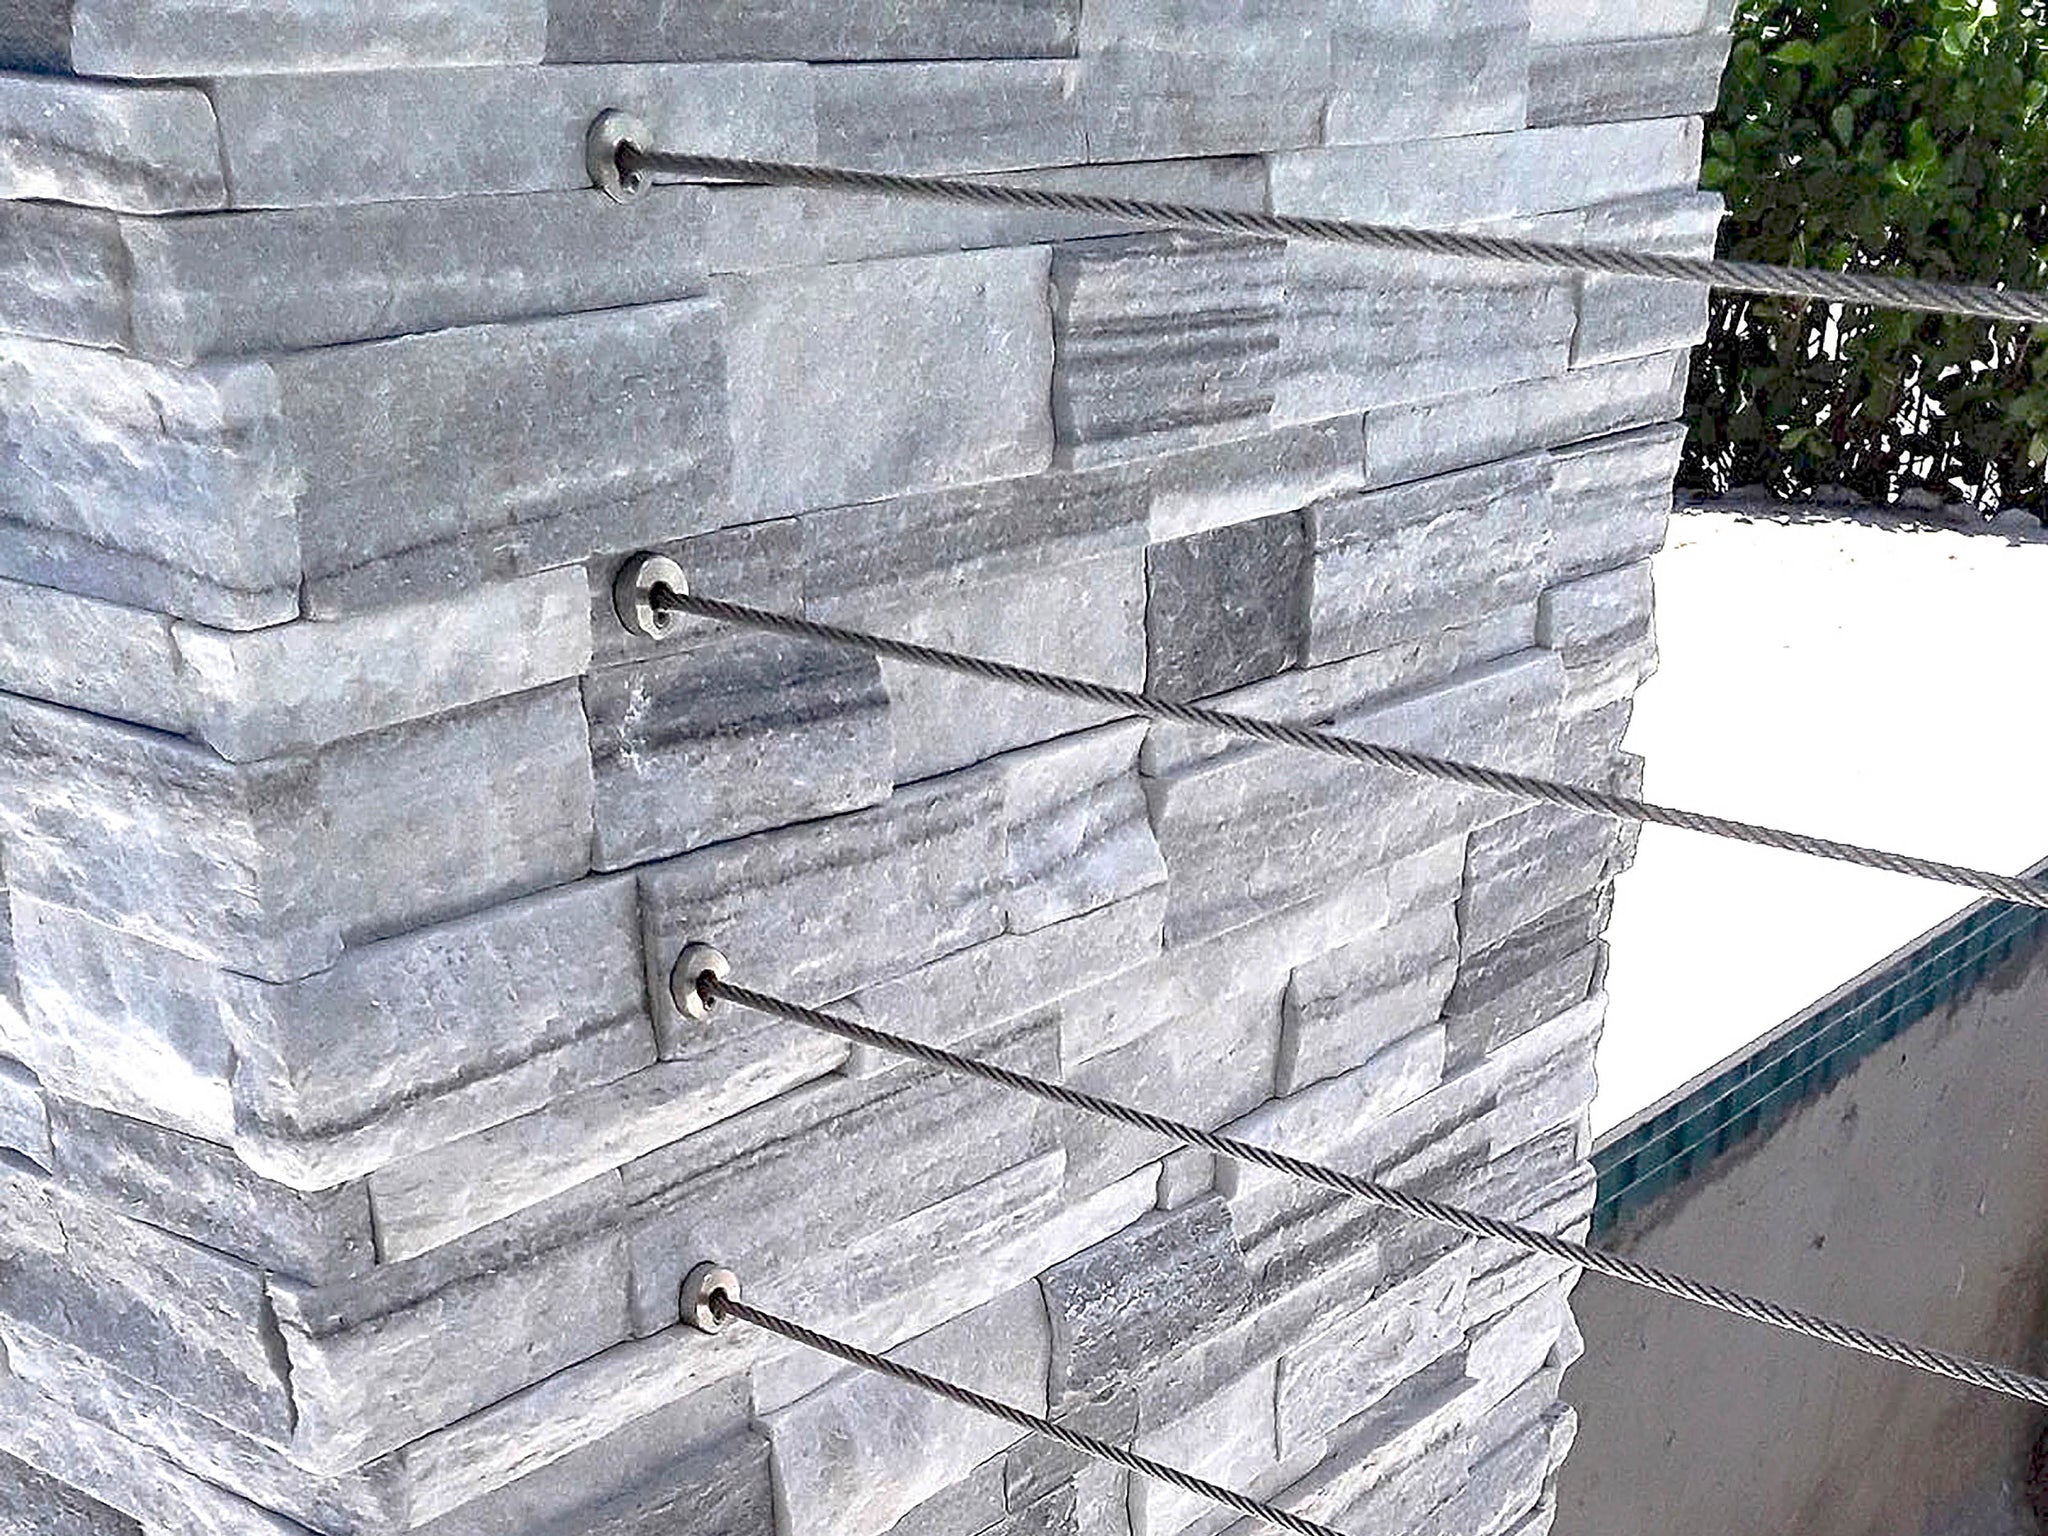
Credit: www.swimthings.com
Frequently Asked Questions
How Do I Securely Anchor Cable To A Wall?
Use wall anchors or cable clips for a secure hold. Choose anchors based on wall material. Drill pilot holes first, then insert anchors and attach cable clips to hold the cable firmly in place. This prevents sagging and damage.
What Tools Are Needed To Anchor Cable On Walls?
You will need a drill, screwdriver, wall anchors, cable clips, and a measuring tape. These tools help you measure, drill holes, and fasten the cable securely to the wall without damaging it.
Can I Anchor Cable To Drywall Without Studs?
Yes, use drywall anchors designed for cable support. Avoid screwing directly into drywall without anchors, as it may not hold cable weight and cause damage or cable slippage.
How Far Apart Should Cable Anchors Be Spaced?
Space cable anchors every 12 to 18 inches for proper support. This spacing prevents sagging and keeps cables neatly organized along the wall.
Conclusion
Anchoring cable to a wall is simple with the right steps. Choose strong anchors and secure the cable tightly. Check the wall type before drilling to avoid damage. Keep cables neat and safe from hazards. This method keeps your space organized and cables protected.
Practice these tips to build confidence and get good results. Small efforts make big differences in your cable setup. Try it yourself and see how easy it can be.

