Are you ready to take control of your ceiling fan or light with ease? Hooking up your Hampton Bay Wall Control might seem tricky at first, but it doesn’t have to be.
With the right steps, you can have your wall control working smoothly in no time. In this guide, you’ll discover simple instructions that anyone can follow, no matter your experience level. Keep reading, and you’ll gain the confidence to set up your Hampton Bay Wall Control quickly and safely—making your home more comfortable and convenient right away.
Credit: www.homedepot.com
Tools And Materials Needed
Before hooking up your Hampton Bay Wall Control, gather all needed tools and materials. This step helps the work go smooth and fast. Having everything ready prevents stops and mistakes during installation.
Each tool has a clear role. Each material supports the setup. This guide shows what to have on hand for the job.
Basic Hand Tools
Start with simple hand tools. A screwdriver set with flathead and Phillips heads works best. A drill with drill bits makes holes for screws. Needle-nose pliers help with small wires and tight spaces. A wire stripper cuts and removes insulation from wires.
Electrical Supplies
Use electrical tape to cover exposed wires safely. Wire nuts connect wires securely. Electrical boxes hold the wall control unit. Make sure to pick the right size box for your device.
Safety Gear
Wear safety glasses to protect your eyes from dust and debris. Use gloves to avoid cuts and electric shocks. Keep a fire extinguisher nearby for emergencies. Safety is a top priority during electrical work.
Wall Control Unit And Accessories
Have your Hampton Bay Wall Control ready. Check for included screws and mounting brackets. Keep the user manual close for quick reference. Double-check all parts before starting installation.
Preparing The Wall Control
Preparing the wall control is the first step in setting up your Hampton Bay fan. Proper preparation makes the installation smooth and safe. Follow these simple steps to get ready before hooking up the wall control.
Turn Off Power
Switch off the power at the circuit breaker. This stops any electricity flow to the fan. Safety is very important. Never work on electrical parts with power on.
Remove Existing Wall Switch
Take off the wall plate cover with a screwdriver. Unscrew the old switch carefully. Keep the wires visible for connection. Check the wires for damage or wear.
Identify Wires
Look for black, white, and green or copper wires. Black is usually the live wire. White is the neutral wire. Green or copper is the ground wire. Knowing these helps connect the new control correctly.
Gather Tools And Materials
Have a screwdriver, wire stripper, and electrical tape ready. Also, keep the Hampton Bay wall control and its instructions nearby. Being organized saves time and avoids mistakes.
Turning Off Power Safely
Turning off power safely is the first and most important step before hooking up your Hampton Bay Wall Control. It keeps you safe from electric shocks and prevents damage to the device. Never skip this step to avoid accidents and ensure smooth installation.
Always take your time and follow safety rules. This small effort protects you and your home from electrical hazards.
Locate The Correct Circuit Breaker
Find the main electrical panel in your home. Look for the breaker that controls the area where you will install the wall control. It should be labeled. If not, turn off the main power switch to be sure.
Switch Off The Power
Flip the breaker to the off position. This stops electricity flow to the wall control’s wiring. Double-check by trying to turn on the light or device connected to that circuit.
Use A Voltage Tester
Before touching wires, test the power with a voltage tester. This tool confirms no electricity flows. It adds an extra layer of safety. Always trust the tester results before proceeding.

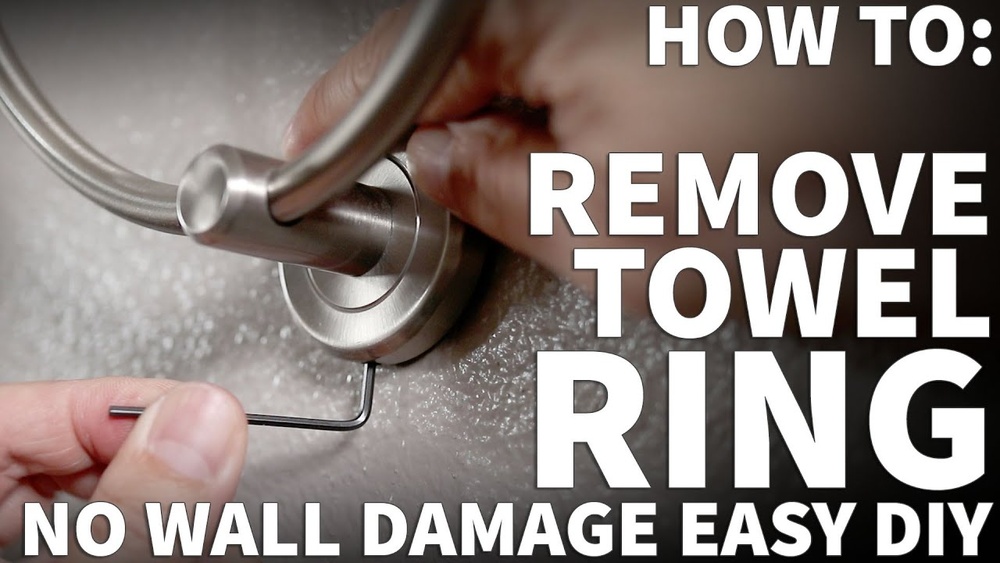
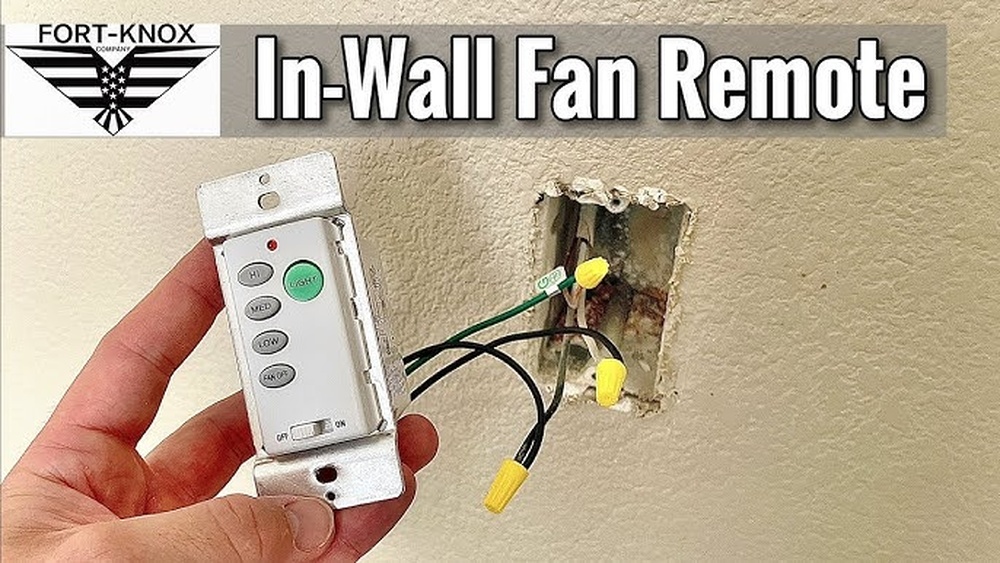
Credit: www.youtube.com
Removing The Old Wall Control
Removing the old wall control is the first step to install your new Hampton Bay Wall Control. This process requires care to avoid damage and ensure safety. Follow these easy steps to take out the old control properly.
Turn Off The Power
Start by switching off the power at the circuit breaker. This prevents electric shock during removal. Double-check by pressing the wall control buttons. No lights or sounds should respond.
Remove The Wall Plate
Use a screwdriver to take off the screws holding the wall plate. Keep the screws safe for later use. Gently pull the plate away from the wall. You will see the wiring behind it.
Take Out The Old Wall Control
Unscrew the mounting screws of the old control. Carefully pull the control out from the wall box. Note how the wires connect to the control. Avoid pulling on the wires too hard.
Disconnect The Wires
Use a screwdriver to loosen the wire connectors. Detach each wire from the old control. Keep the wires straight and separate. This step prepares you for the new control installation.
Wiring The Hampton Bay Wall Control
Wiring the Hampton Bay Wall Control is a key step in setting up your fan or light system. Correct wiring ensures safe operation and full control. Pay close attention to wire colors and connections. Mistakes can cause problems or damage.
Identifying Wires
Start by turning off the power at the breaker. Look at the wires coming from the wall box. Usually, you will see a black wire, a white wire, and a green or bare copper wire. The black wire is for power. The white wire is neutral. The green or bare wire is ground. Some setups might have extra wires for different functions. Check your fan or light manual for details.
Connecting Wires Correctly
Use wire nuts to connect the wall control wires to the house wires. Match black to black, white to white, and green or bare to ground. Make sure all connections are tight and secure. Loose wires can cause flickering or the control to fail. After connecting, gently push the wires into the wall box. Attach the control to the wall plate and restore power. Test the control to confirm it works properly.
Mounting The Wall Control
Start by turning off power to avoid shocks. Attach the wall control to the mounting bracket using screws. Connect the wires carefully, matching colors for proper setup.
Choose The Best Location
Pick a spot near the fan or light switch for easy reach. The wall control should sit at a comfortable height. Avoid placing it where it might get wet or hit by furniture. Clear wall space is best to make installation smooth.
Prepare The Wall Surface
Clean the wall area with a dry cloth to remove dust. A smooth surface helps the control stick better. Check for any bumps or uneven spots. Sand lightly if needed to create a flat surface.
Attach The Mounting Plate
Use the screws included in the package. Hold the mounting plate against the wall. Mark holes with a pencil. Drill small pilot holes if the wall is hard. Screw the plate firmly but do not overtighten.
Connect The Wall Control
Slide the wall control onto the mounting plate. Make sure it snaps into place securely. Test the control buttons to confirm a solid connection. If loose, remove and reattach with care.
Restoring Power And Testing
Restoring power and testing your Hampton Bay Wall Control is a key step after installation. It ensures the device works safely and properly. This process confirms that all connections are secure and the controls respond as expected.
Always follow safety rules before restoring power. Double-check wiring to avoid shorts or damage. Testing helps catch any issues early, saving time and effort.
Turn On The Circuit Breaker
Locate the circuit breaker for your wall control. Switch it back to the ON position carefully. This restores electricity to the device and the connected fan or light.
Check The Wall Control Functions
Press each button on the wall control. Confirm the fan speeds change correctly. Make sure the light turns on and off without delay or flicker.
Look For Warning Signs
Listen for unusual sounds from the fan motor. Watch for sparks or burning smells near the wall control. If any appear, switch off the power immediately.
Test Multiple Times
Operate the controls several times in a row. This ensures consistent performance. Repeat tests confirm the installation is stable and reliable.
Troubleshooting Common Issues
Troubleshooting common issues with your Hampton Bay Wall Control helps keep it working smoothly. Small problems can stop your control from working right. Fixing these issues quickly saves time and frustration.
Below are solutions for frequent problems users face. Follow the tips to get your wall control back to normal fast.
Control Not Responding
Check if the power supply is connected properly. Loose wires cause the control to stop working. Reset the circuit breaker to ensure power flows. Press the reset button on the wall control if it has one. Replace the batteries if your model uses them. Test the control again after these steps.
Flickering Lights
Flickering lights often point to loose wiring. Turn off power before checking wire connections. Tighten any loose wires in the wall control box. Faulty bulbs can also cause flickering. Swap bulbs with new ones to see if it stops. Dimmer switches sometimes cause flicker; try adjusting the dimmer setting.
Unusual Noises
Buzzing or humming noises can come from loose parts. Tighten screws and mounting hardware on the wall control. Check the transformer or dimmer for damage. Old or worn-out dimmers may need replacement. Strange sounds can also mean electrical issues; consult a professional if unsure.
Safety Tips And Best Practices
Working with Hampton Bay Wall Control requires care and attention. Safety is the top priority during installation. Following best practices protects you and your home from damage or injury.
Simple steps keep the process smooth and safe. Use the right tools and handle parts carefully. Avoid rushing to prevent mistakes and accidents.
Use Proper Tools And Equipment
Select tools that fit the job perfectly. A screwdriver, level, and drill are often needed. Do not force parts with wrong tools. This can cause damage or injury.
Turn Off Power Before Installation
Always switch off the power at the breaker box. This avoids electric shocks during the hookup. Double-check that no power runs through the wires before you start.
Follow Manufacturer Instructions Closely
Read the Hampton Bay Wall Control manual carefully. Each step matters for safety and function. Skip no instructions or warnings. This helps avoid common errors.
Secure All Connections Firmly
Tighten screws and plugs to ensure stability. Loose connections cause problems and hazards. Test each part after installation to confirm it stays fixed.
Keep The Workspace Clean And Organized
Clear the area of clutter and debris. A tidy space reduces trips and falls. Place tools in one spot to avoid losing them.

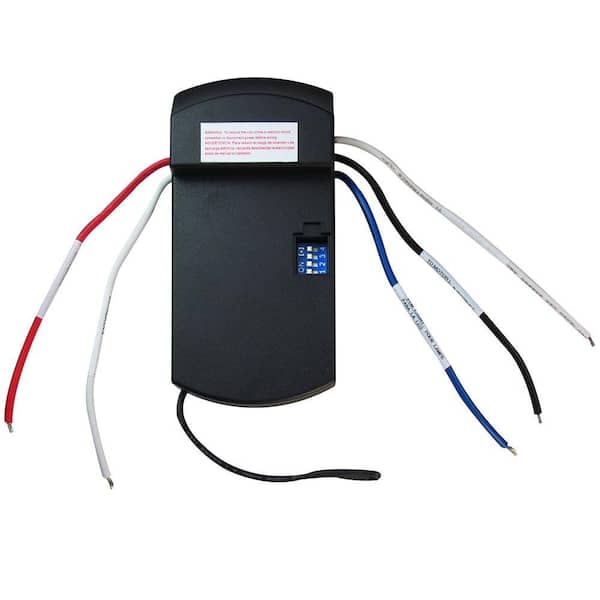
Credit: www.amazon.com
Frequently Asked Questions
How Do I Connect Hampton Bay Wall Control?
To connect Hampton Bay Wall Control, first turn off power at the breaker. Then, attach the control wires to the corresponding terminals on the switch. Secure the switch in the wall box and restore power to test functionality.
What Tools Are Needed To Hook Up Hampton Bay Wall Control?
You need a screwdriver, wire stripper, voltage tester, and electrical tape. These tools help safely connect and secure the wiring of the wall control switch. Always ensure power is off before starting.
Can Hampton Bay Wall Control Replace A Standard Switch?
Yes, Hampton Bay Wall Control can replace most standard switches. Ensure the wiring matches and the switch fits the wall box. Follow the installation instructions carefully for proper operation.
Is Professional Installation Required For Hampton Bay Wall Control?
Professional installation is recommended if you lack electrical experience. Incorrect wiring can cause damage or injury. If confident, follow instructions carefully and use safety precautions.
Conclusion
Hooking up your Hampton Bay Wall Control is easier than it seems. Follow each step carefully for the best results. Double-check connections to avoid any issues. Test the control to make sure it works right. Taking your time helps prevent mistakes and saves effort later.
Now, you can enjoy smooth control of your fan or light. Simple setup leads to great comfort in your home. Keep this guide handy for future reference.