Are you tired of fumbling with your lever deadbolt when you just want quick, reliable security? Switching from a lever to a key deadbolt can give you peace of mind and make locking up faster and safer.
But you might wonder—how exactly do you make this change without calling a locksmith? This guide will walk you through simple steps that anyone can follow. By the end, you’ll feel confident handling your own deadbolt upgrade and boosting your home’s safety.
Keep reading to find out how easy it really is to change your deadbolt from a lever to a key!

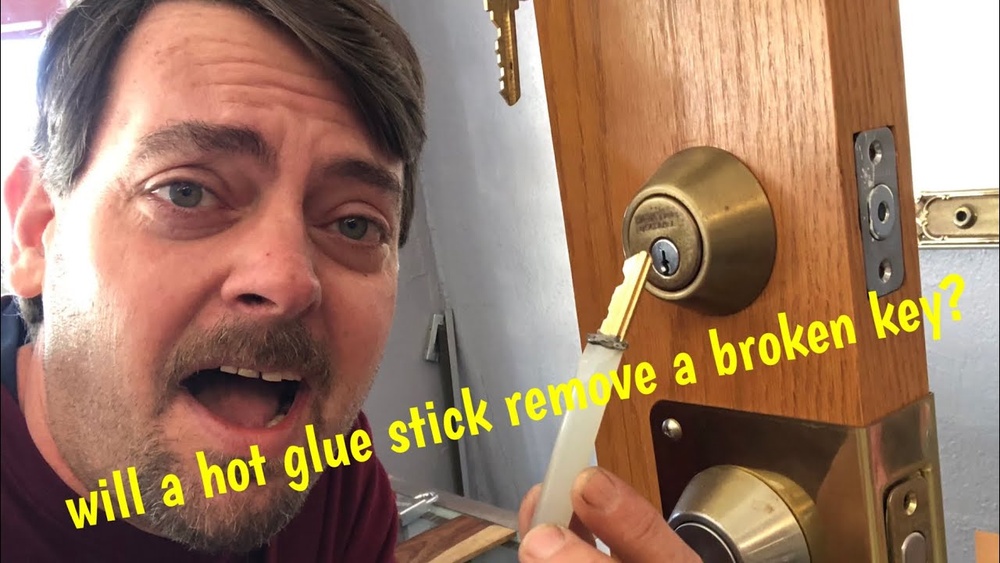
Credit: borglocks.co.uk
Tools Needed
Changing a deadbolt from a lever to a key lock needs the right tools. Having these tools ready makes the job easier and faster. You will avoid delays or damage to the lock or door.
Each tool has a specific role. Using the right tool helps you work safely and cleanly. Below is a list of essential tools for this task.
Phillips Screwdriver
A Phillips screwdriver removes screws holding the deadbolt. Most deadbolts use Phillips head screws. This tool helps you take off the lever and old lock parts smoothly.
Flathead Screwdriver
A flathead screwdriver helps pry off covers or plates gently. It can also assist in aligning parts during reassembly. Keep it handy for small adjustments.
Measuring Tape
Measuring tape checks the size of the new key lock. It ensures the new deadbolt fits the door’s thickness and hole size. Accurate measurement prevents fitting problems.
New Keyed Deadbolt Lock
The new deadbolt must match your door’s specifications. It should come with all parts and installation instructions. Choose a lock with good security features.
Drill And Drill Bits
A drill makes new holes if needed for the keyed deadbolt. Use drill bits that match the screw and lock sizes. Drilling helps fit the new lock properly.
Utility Knife
A utility knife trims any paint or debris around the lock area. It cleans the edges for a neat installation. Use it carefully to avoid door damage.
Remove Existing Lever Deadbolt
Removing the existing lever deadbolt is the first step to change it to a key deadbolt. This process needs care and the right tools. Follow these steps to take out the old parts safely and prepare for the new lock.
Unscrew Interior Plate
Start by locating the screws on the inside plate of the door. Use a screwdriver to remove all screws. Keep the screws safe for later use. The plate will come loose once all screws are out. This exposes the inner parts of the deadbolt.
Detach Lever Handle
After removing the plate, gently pull the lever handle. Some levers have a small clip or pin to release. Press or slide the clip and pull the handle off. Avoid forcing the lever to prevent damage to the door.
Extract Deadbolt Mechanism
Now, slide out the deadbolt mechanism from the door edge. It may need a slight push or wiggle. Make sure the bolt moves freely before pulling it out. Set the old mechanism aside for replacement.
Prepare Door For Keyed Deadbolt
Preparing the door for a keyed deadbolt is an important step. It ensures the new lock fits well and works smoothly. Proper preparation keeps your door secure and easy to lock.
Follow these steps carefully to get the door ready for the keyed deadbolt installation.
Check Door Alignment
Make sure the door fits properly in the frame. Check if it closes evenly without gaps. Misalignment can cause the deadbolt to stick or not lock fully. Adjust the hinges or frame if needed.
Enlarge Or Adjust Borehole
The hole for the lever might be too small for the keyed deadbolt. Measure the new lock’s size before drilling. Use a hole saw or chisel to enlarge the borehole. Smooth the edges to avoid damage to the lock.
Install New Strike Plate
Remove the old strike plate from the door frame. Replace it with the new plate that fits the deadbolt. Align it carefully with the bolt’s path. Secure it with screws to strengthen the lock’s hold.

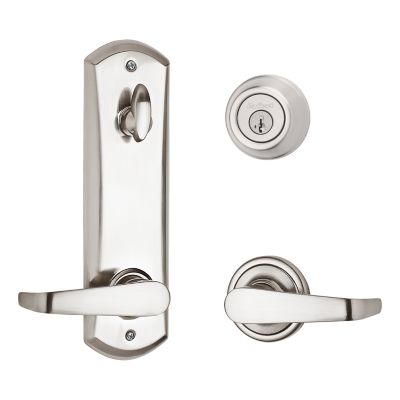
Credit: borglocks.us
Install Keyed Deadbolt
Installing a keyed deadbolt improves your door’s security. This step-by-step guide helps you change your lever lock to a keyed deadbolt. Follow these instructions carefully to complete the installation smoothly.
Insert Deadbolt Latch
Start by sliding the deadbolt latch into the door’s edge. Make sure the latch’s slanted side faces the door frame. Align the latch so it fits flush with the door edge. Secure it with screws provided in the deadbolt kit. Tighten screws firmly but avoid stripping them.
Attach Exterior Key Cylinder
Place the exterior key cylinder through the hole on the door’s outside. The keyhole should be facing down or as shown in instructions. Guide the tailpiece through the latch mechanism inside the door. Hold the cylinder steady while preparing the next step.
Secure Interior Thumb Turn
Attach the interior thumb turn on the inside of the door. Align it with the tailpiece from the exterior cylinder. Secure the thumb turn with screws, ensuring it turns smoothly. Test the deadbolt by turning the thumb turn and key. Adjust if necessary for proper locking action.
Test Lock Functionality
Testing the lock functionality after changing deadbolts from lever to key is essential. It ensures the lock works properly and keeps your home secure. Check every part carefully. Small issues can cause big problems later.
Check Key Operation
Insert the key into the lock. Turn it slowly to test smooth movement. The key should not stick or feel hard to turn. Try locking and unlocking several times. This confirms the key works correctly with the new deadbolt.
Verify Thumb Turn Movement
Use the thumb turn inside the door. It should move easily without resistance. The thumb turn must lock and unlock the deadbolt fully. If it feels tight or loose, adjust the mechanism for better fit.
Ensure Smooth Deadbolt Action
Slide the deadbolt in and out by hand. The motion should be smooth and quiet. No grinding or catching should occur. Test with the door open and closed to confirm proper alignment and function.
Credit: www.kwikset.com
Troubleshooting Common Issues
Troubleshooting common issues helps you fix problems fast. Changing deadbolts from lever to key can bring small challenges. Knowing how to solve these problems saves time and effort. Here are simple tips to handle the usual troubles you may face.
Handle Sticking Or Jamming
A sticking handle often means dirt or rust inside the lock. Clean the lock with a soft cloth and some lubricant. Spray a little graphite powder or silicone spray to ease movement. Avoid oil-based lubricants as they attract dust and dirt. Test the handle after applying lubricant. Repeat if needed until it moves smoothly.
Misaligned Deadbolt
A misaligned deadbolt won’t slide properly into the strike plate. Check if the deadbolt lines up with the hole on the door frame. Adjust the strike plate by loosening screws and moving it slightly. Tighten screws once alignment is correct. Use a pencil to mark the new position before drilling new holes if needed. This ensures the deadbolt locks and unlocks easily.
Key Difficult To Turn
A key that is hard to turn often means the lock is dirty or needs lubrication. Insert the key and spray a little graphite powder into the keyhole. Avoid using oil as it can gum up the lock. Move the key gently back and forth to spread the lubricant inside. If the key still sticks, check for bent keys or damage. Replace the key if it is worn out or bent.
Frequently Asked Questions
How Do I Change A Lever Deadbolt To A Keyed Deadbolt?
To change from a lever to a keyed deadbolt, remove the lever handle first. Then, install the keyed deadbolt set using screws and follow the manufacturer’s instructions. Ensure the latch aligns with the strike plate for smooth locking.
What Tools Are Needed To Replace Deadbolts?
Common tools include a screwdriver, drill, tape measure, and possibly a chisel. These tools help remove the old lock and fit the new keyed deadbolt securely.
Can I Install A Keyed Deadbolt Myself?
Yes, most homeowners can install a keyed deadbolt with basic tools. Follow the instructions carefully and ensure the lock aligns properly for security and smooth operation.
How Long Does It Take To Change A Deadbolt Lock?
Changing a deadbolt typically takes 15 to 30 minutes. Time may vary based on experience and lock type, but it’s usually a quick DIY project.
Conclusion
Changing deadbolts from lever to key can improve your home’s security. The process is simple with the right tools and steps. Take your time and follow the instructions carefully. Double-check the fit and operation before finishing. This small change makes your door safer and gives peace of mind.
Keep your home protected with a strong, reliable lock. It’s a smart update anyone can do.