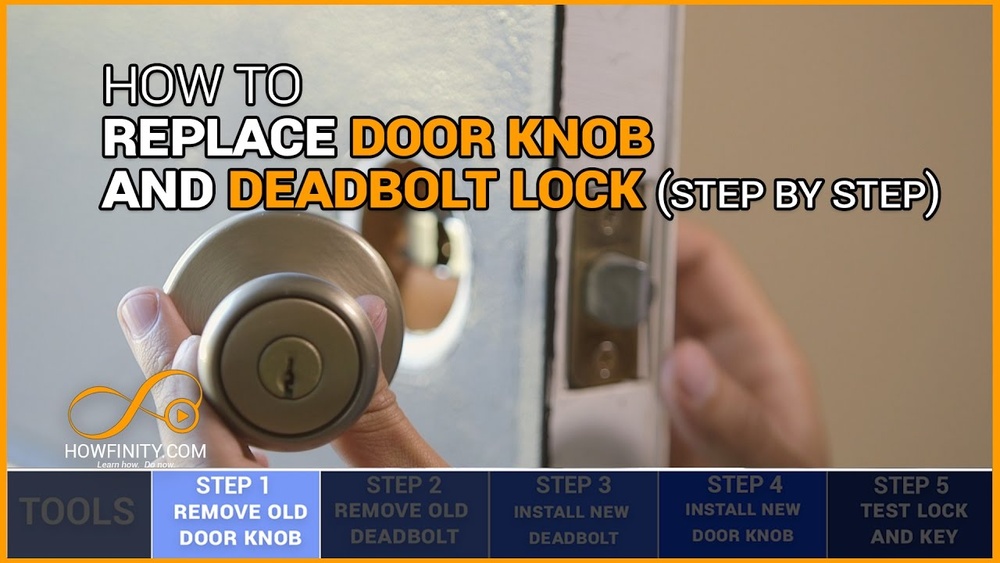
Have you ever struggled with a stubborn doorknob or worried that your deadbolt isn’t keeping your home safe enough? Replacing them might sound tricky, but it’s easier than you think—and it’s something you can do yourself.
Imagine saving money on a locksmith and gaining the confidence that your door is secure. In this guide, you’ll discover simple steps to replace your doorknob and deadbolt quickly and correctly. Keep reading, and you’ll have your door looking and working like new in no time.
Tools And Materials Needed
Replacing a doorknob and deadbolt requires a few simple tools and materials. Having everything ready before starting makes the job easier and faster. This section lists all the essentials needed for the task.
Basic Tools
You will need a screwdriver set with flathead and Phillips heads. A drill helps remove old screws quickly. A tape measure checks the door’s thickness and hole sizes. A hammer may be useful for small adjustments or removing old parts.
Replacement Hardware
Buy a new doorknob and deadbolt that fit your door. Make sure the lock type matches your needs for security. The package should include screws and installation instructions. Choosing hardware with clear instructions helps avoid confusion.
Additional Materials
Keep a pencil handy for marking screw holes. Use wood filler if old holes need patching. Sandpaper smooths any rough spots after filling. A level can ensure the lock is aligned properly.
Removing The Old Doorknob
Removing the old doorknob is the first step in replacing both the doorknob and deadbolt. It prepares the door for a new, secure lock. You need a screwdriver and a little patience. Follow these simple steps to take off the old hardware safely.
Unscrewing The Door Handles
Locate the screws on the inside knob or handle. Use a screwdriver to turn them counterclockwise. Keep the screws in a safe place for reuse or disposal. Once the screws are out, pull both sides of the doorknob apart. Sometimes the knobs may stick, so gently wiggle them free. Set the knobs aside to avoid losing any parts.
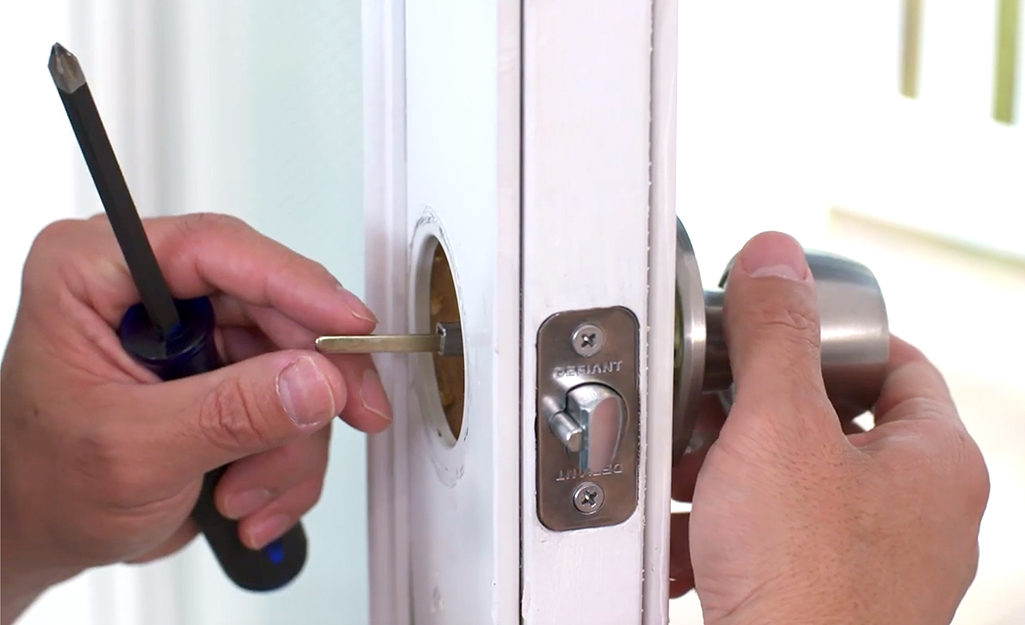
Taking Out The Latch Mechanism
After removing the knobs, find the latch plate on the door edge. Unscrew the latch plate with the screwdriver. Pull the latch mechanism straight out from the door. Check the door edge for any remaining screws or parts. Removing the latch clears the door for the new lock installation. This step is important for a smooth replacement process.
Removing The Old Deadbolt
Removing the old deadbolt is the first step in installing a new lock. This process is simple and requires only basic tools. Careful removal protects the door and makes the new lock fit perfectly.
Start by focusing on the parts you can see on the door’s surface. These parts hold the deadbolt in place and must be unscrewed carefully. Once these are off, the deadbolt itself can be pulled out smoothly.
Unscrewing The Deadbolt Plates
Locate the screws on the faceplates of the deadbolt. Use a screwdriver that fits well to avoid stripping the screws. Turn the screws counterclockwise until they come out completely. Keep the screws safe for later use or disposal. Both the interior and exterior faceplates must be removed.
Removing The Deadbolt From The Door
After the plates are off, grasp the deadbolt firmly. Pull the deadbolt straight out from the door edge. If it resists, check for any hidden screws still attached. Clear any debris or old grease for a smooth removal. The hole inside the door should now be empty and ready for the new deadbolt.

Credit: www.youtube.com
Preparing The Door For New Hardware
Preparing the door for new hardware is a key step. It ensures the new doorknob and deadbolt fit well and work smoothly. Taking time now avoids problems later. The door surface must be clean. The holes and alignment should be checked carefully. This makes installation easier and improves the look and function of your door.
Cleaning The Door Surface
Start by wiping the door surface with a damp cloth. Remove dust, dirt, and old grease. Use mild soap if needed. Dry the surface completely before moving on. A clean door helps the new hardware stick better. It also prevents damage during installation. Avoid harsh chemicals that can damage paint or wood.
Checking The Alignment And Holes
Check the holes where the old hardware was. Measure their size and position. Make sure they match the new doorknob and deadbolt. Look for cracks or damage around the holes. Fix any issues with wood filler or sandpaper. Check the door’s alignment with the frame. The door should close smoothly without gaps. Adjust hinges if needed. Proper alignment ensures the lock works well and the door seals properly.
Installing The New Deadbolt
Installing the new deadbolt is an important step in securing your door. This process involves placing the deadbolt latch into the door and securing the metal plates. Taking time to do it right ensures your lock works smoothly and lasts longer.
Follow clear steps to insert the latch and fix the plates firmly. This part is simple but requires attention to detail. Proper installation improves your door’s security and appearance.
Inserting The Deadbolt Latch
Start by sliding the deadbolt latch into the hole on the edge of the door. Make sure the slanted side faces the door frame. Push it in until it fits snugly. Use screws from the kit to fix the latch in place. Tight screws keep the latch steady and secure.
Securing The Deadbolt Plates
Next, align the metal faceplate over the latch on the door edge. Hold it flush against the surface. Use a screwdriver to fasten the screws tightly. On the door frame, place the strike plate where the bolt will enter. Attach it firmly with screws. A well-secured plate helps the deadbolt lock properly and prevents damage.
Credit: www.homedepot.com
Installing The New Doorknob
Installing the new doorknob is a key step in securing your door. It ensures smooth locking and unlocking. This process involves fitting the latch mechanism and attaching the door handles properly. Follow these steps carefully for a perfect fit.
Fitting The Latch Mechanism
Start by sliding the latch into the door’s edge hole. Make sure the curved side of the latch faces the door frame. Press it in until it fits flush with the door edge. Use screws to secure the latch plate tightly. Check that the latch moves freely by pressing the knob or lever.
Attaching The Door Handles
Align the exterior and interior handles with the latch mechanism. Insert the connecting spindle through the latch hole. Hold both handles firmly against the door surface. Screw the handles together using the provided screws. Tighten screws evenly for a secure fit. Test the handles to ensure they turn smoothly and operate the latch correctly.
Testing The New Hardware
Testing the new hardware is a crucial step after replacing your doorknob and deadbolt. It ensures everything works well and keeps your home safe. Take your time to check each part carefully. This helps avoid problems later on.
Checking The Lock Function
Start by turning the doorknob. It should move smoothly without sticking. Next, test the deadbolt. Use the key and the thumb turn inside. The bolt should slide in and out easily. Make sure the lock clicks firmly in place. This confirms the lock secures the door properly.
Adjusting For Smooth Operation
If the lock or knob feels tight, don’t force it. Slight adjustments to the strike plate may help. Loosen screws and move the plate a little. Test the lock again each time you adjust. Repeat until the door opens and closes without effort. Proper alignment makes your hardware last longer.
Tips For Maintaining Door Locks
Keeping door locks in good shape saves time and money. Proper care helps locks work smoothly and last longer. Simple steps can prevent jams and rust. Here are some tips to maintain door locks.
Lubrication Advice
Use a graphite or silicone-based lubricant. Avoid oil sprays that attract dirt. Apply a small amount inside the keyhole. Turn the key several times to spread lubricant. Do this twice a year to keep locks smooth.
Regular Inspection
Check locks every few months for signs of wear. Look for rust, loose screws, or difficulty turning the key. Tighten screws if needed. Replace parts that look damaged. Early fixes stop bigger problems later.
:strip_icc()/How-to-change-a-doorknob_color-83f71b42765e4dc59a423f9472a9920b.jpg)
Credit: www.bhg.com
Frequently Asked Questions
How Do I Remove An Old Doorknob Safely?
To remove an old doorknob, first unscrew the faceplate screws. Then, gently pull both knob halves apart. Remove the latch mechanism by unscrewing its faceplate. Always keep screws safe for reuse or replacement.
What Tools Are Needed To Replace A Deadbolt?
You need a screwdriver, measuring tape, and possibly a drill. A new deadbolt kit usually includes all necessary screws. Having a pencil and level helps with precise alignment during installation.
How Long Does It Take To Replace A Doorknob And Deadbolt?
Replacing both typically takes 30 to 60 minutes for a beginner. Experienced DIYers may finish faster. Proper alignment and careful screw tightening ensure smooth operation and security.
Can I Upgrade My Lock Without Changing The Door?
Yes, most doorknobs and deadbolts fit standard door preparations. Measure existing holes before purchase. Upgrading improves security without door replacement, saving time and money.
Conclusion
Replacing a doorknob and deadbolt can be simple and quick. Follow each step with care and patience. Use the right tools to avoid damage. Check that everything fits and works properly. Secure locks help keep your home safe. Practice this skill to save time and money.
Try replacing locks on different doors next. Stay safe and confident with your new locks.