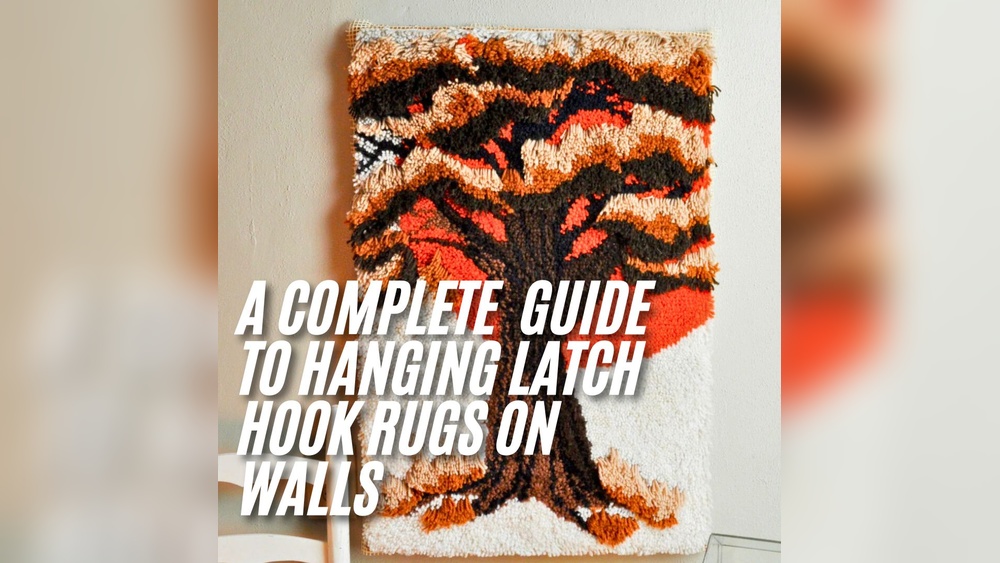
Are you proud of your latch hook creation but unsure how to display it beautifully? Framing your latch hook wall hanging is the perfect way to protect your work and make it stand out.
Imagine turning your cozy craft into a stunning piece of art that catches every eye in the room. In this guide, you’ll discover simple, step-by-step tips to frame your latch hook project like a pro. Whether you want to keep it safe or gift it with style, this article will help you showcase your handiwork with confidence.
Ready to transform your latch hook into a showstopper? Let’s get started!

Credit: memoirsgalore.wordpress.com
Choosing The Right Frame
Choosing the right frame is important for your latch hook wall hanging. The frame protects your artwork and adds to its beauty. A good frame can make your piece stand out and look complete. It also helps keep your latch hook clean and safe from damage. Think about style, size, and depth before picking a frame.
Frame Materials And Styles
Frames come in many materials. Wood frames offer a classic look and feel warm. Metal frames give a modern and sleek appearance. Plastic frames are light and affordable. Choose a style that matches your room and your latch hook design. Simple frames work well with busy patterns. Ornate frames suit plain or simple latch hook pieces.
Selecting The Perfect Size
The frame size must fit your latch hook exactly. A frame too small will damage the edges. A frame too large will leave gaps. Measure your latch hook carefully. Add a small margin for the fabric border if you want it visible. Always check frame dimensions before buying to avoid mistakes.
Considering Depth For Texture
Latch hook projects have thick yarn textures. Choose a frame with enough depth to hold the yarn. Shallow frames can squash the yarn and ruin the texture. Deep frames protect the yarn and keep it fluffy. Look for shadow box or box frames to show the yarn’s 3D effect. Depth makes your wall hanging look lively and full.
Credit: craftoutlet.com.au
Preparing The Latch Hook Piece
Preparing the latch hook piece is an important step before framing. This process helps make your wall hanging look neat and last longer. Taking time to prepare the piece ensures a clean and professional finish. Follow these steps to get your latch hook ready for framing.
Trimming Excess Canvas
Start by cutting the extra canvas around your latch hook design. Leave about one inch of canvas beyond the hooked area. Use sharp scissors to get a clean edge. Trimming excess canvas prevents bulky edges inside the frame. It also helps the piece fit better in the frame.
Flattening And Cleaning
Next, flatten your latch hook piece to remove wrinkles. Lay it face down on a flat surface. Place a clean cloth over the back and gently press with a warm iron. Avoid direct heat on the hooked yarn. Clean any dust or dirt using a soft brush. A clean and flat piece looks better in the frame.
Reinforcing Edges
Strengthen the edges to stop fraying. Use fabric glue or clear tape on the canvas border. Apply glue carefully along all edges. Let it dry completely before framing. Reinforced edges keep your latch hook secure and neat. This step increases the durability of your wall hanging.
Mounting Techniques
Mounting a latch hook wall hanging gives it shape and strength. The right technique keeps the artwork flat and stable. It also makes your piece ready for display. Several methods suit different styles and skills. Explore these easy ways to mount your latch hook canvas.
Using Foam Board Or Cardboard
Foam board or thick cardboard offers solid support. Cut it to match your canvas size. Place the latch hook work on top. Use spray adhesive or double-sided tape to stick it down. The board keeps the canvas firm and wrinkle-free. It also adds a clean, professional look to your hanging.
Stretching And Securing The Canvas
Stretching the canvas makes it tight and smooth. Lay the latch hook piece face down on a flat surface. Pull the edges over a wooden frame or stretcher bars. Use staples or small tacks to fasten the canvas at the back. Make sure to stretch evenly to avoid wrinkles. This method creates a neat, gallery-style finish.
Alternatives To Traditional Mounting
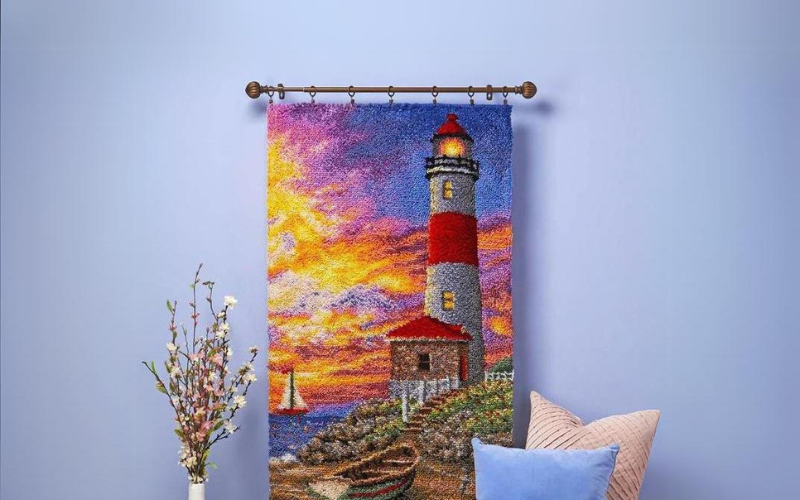
Try simple ways for a different look. Clip the canvas to a wooden hanger or use binder clips. Attach the hanging with Velcro strips for easy removal. You can also sew loops on top and hang with a rod. These methods work well for flexible display options. They keep your latch hook art casual and easy to change.
Credit: abeautifulmess.com
Assembling The Frame
Assembling the frame is a key step in finishing your latch hook wall hanging. This process protects your artwork and makes it ready to display. A well-assembled frame keeps the piece flat and safe from dust and damage.
Follow the steps carefully to ensure your latch hook art looks its best. Each part of the frame has a specific role. Let’s explore the main steps to complete your frame assembly.
Inserting The Mounted Piece
Place the latch hook piece carefully into the frame. Ensure the artwork sits flat and even. Align the edges to avoid wrinkles or folds. Use gentle pressure to fit the piece securely. This keeps the latch hook stable inside the frame.
Adding Protective Glass Or Acrylic
Use glass or acrylic to protect the latch hook surface. This layer stops dust and dirt from settling on the yarn. Acrylic is lighter and less likely to break than glass. Cut the protective sheet to fit the frame size. Place it carefully over the mounted piece.
Sealing The Frame Back
Secure the back of the frame with clips or fasteners. This holds the mounted piece and protective sheet in place. Add backing paper or board for extra support. It keeps dust out and adds a clean finish. Check that the frame feels sturdy and tight.
Displaying Your Wall Hanging
Displaying your latch hook wall hanging properly brings out its full beauty. The right spot and tools make it stand out. Lighting and placement help show texture and colors clearly. Follow these tips to give your art the attention it deserves.
Choosing The Ideal Location
Pick a wall that gets good light but no direct sun. Too much sun can fade colors quickly. Find a space where people can see your work up close. Avoid crowded walls with many other decorations nearby. A plain background helps the design pop. Make sure the area fits the size of your hanging well.
Hanging Hardware Options
Use sturdy hooks or nails that hold the frame’s weight safely. Picture hanging strips work well for light to medium frames. For heavier pieces, wall anchors provide extra support. Choose hardware that suits your wall type, like drywall or brick. Attach hooks securely to avoid accidents. Double-check the frame is level after hanging.
Lighting To Enhance Texture
Soft, angled light highlights the fibers and knots of the latch hook. Use spotlights or adjustable lamps to create shadows and depth. Avoid harsh overhead lights that flatten the texture. Natural daylight from a nearby window also works well. Experiment with different light angles to find the best effect. Good lighting makes your wall hanging look lively and detailed.
Maintaining Your Display
Keeping your latch hook wall hanging looking fresh is important. Proper care helps your artwork stay beautiful for years. Small daily habits can protect your piece from damage.
Maintaining your display is simple with a few easy steps. These steps keep dust, sunlight, and wear from harming your latch hook project.
Cleaning And Dusting Tips
Dust your wall hanging gently every week. Use a soft brush or a clean cloth. Avoid using water or harsh cleaners. Light vacuuming with a brush attachment also works well. This removes dirt without pulling on the yarn.
Protecting From Sunlight
Direct sunlight can fade colors quickly. Hang your piece away from bright windows or use curtains. UV-protective glass in your frame helps too. Keeping it out of strong sunlight preserves the vibrant look.
Handling Repairs
Check your wall hanging for loose or missing yarn pieces. Use a latch hook tool to fix small areas. For big repairs, match yarn color carefully. Fix problems early to avoid bigger damage later.
Frequently Asked Questions
How Do You Prepare A Latch Hook Wall Hanging For Framing?
Start by trimming any excess canvas around the edges. Flatten the piece and secure loose yarn ends. This ensures a neat fit within the frame and prevents unraveling over time.
What Type Of Frame Works Best For Latch Hook Art?
Use a shadow box or deep frame to accommodate the thickness. Ensure the frame size matches the hanging’s dimensions. This protects the yarn and highlights the texture beautifully.
How Can You Mount Latch Hook Art Inside The Frame?
Attach the artwork to a sturdy backing board using pins or adhesive. Avoid stretching to preserve the yarn’s shape. This keeps the art secure and well-displayed.
Should You Use Glass When Framing A Latch Hook Wall Hanging?
Glass can protect from dust but may flatten the yarn texture. Consider using acrylic or no glass for better depth and visual appeal. Choose based on your display environment.
Conclusion
Framing a latch hook wall hanging adds a neat, finished look. It protects your art from dust and damage. Choose a frame that fits your style and size. Take time to stretch and secure the piece evenly. Simple steps make your craft look more polished and ready to display.
Enjoy showing off your handmade creation with pride. Keep practicing to improve your framing skills. Your wall hanging can brighten any room beautifully.