Looking to hang a hook on your wall but not sure where to start? You’re in the right place.
Whether you want to hang a picture, a coat, or some keys, knowing how to screw a hook into the wall properly makes all the difference. Get it wrong, and your hook might fall, damaging your wall or your things.
But get it right, and you’ll have a sturdy hook that holds firm and looks great. You’ll discover simple, step-by-step tips that anyone can follow—no special tools or skills needed. Ready to learn how to do it the easy and reliable way? Keep reading, and you’ll have your hook up in no time.
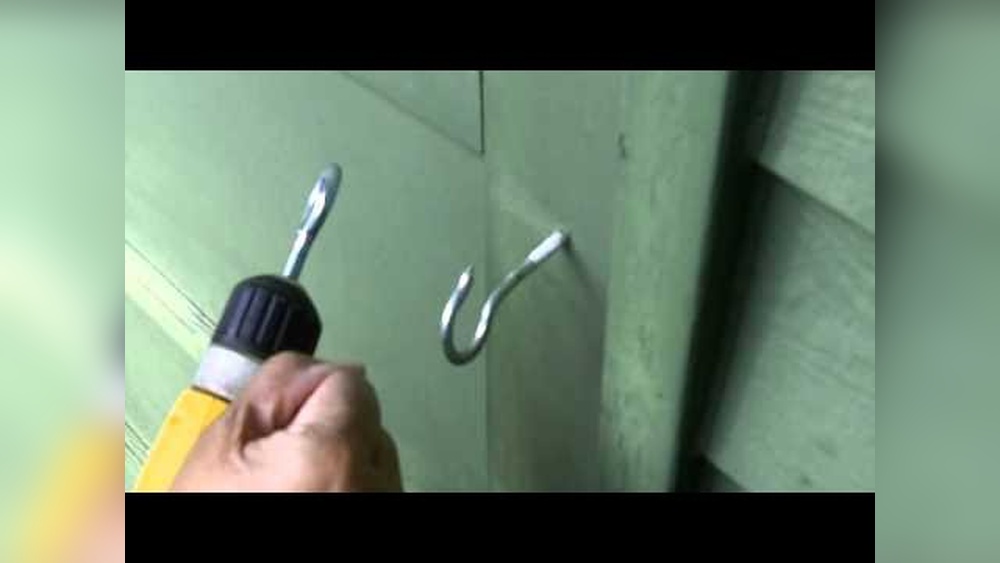
Credit: www.manmadediy.com
Choosing The Right Hook
Choosing the right hook is important for a safe and strong hold. Different hooks work better for different tasks. Picking a hook that fits your needs helps avoid damage to the wall or the item you hang.
Think about what you want to hang and where. The hook must support the weight and fit the space. Consider the material of the hook and how it looks on your wall.
Types Of Hooks
There are many types of hooks for walls. Screw-in hooks are common and easy to use. Cup hooks are good for hanging mugs or light items. Picture hooks work well for frames. Heavy-duty hooks hold heavier objects like plants or tools. Choose a type that fits your item’s shape and size.
Weight Capacity Considerations
Check the weight the hook can hold. Each hook has a weight limit. Use a hook that can carry more than your item’s weight. Too light hooks can bend or fall. Use heavy-duty hooks for heavy items. This keeps your wall and item safe.
Material And Finish Options
Hooks come in different materials like metal, plastic, or wood. Metal hooks are strong and last longer. Plastic hooks are light but not very strong. Wood hooks look natural but hold less weight. Choose a finish that matches your room style. Chrome, brass, or painted finishes add a nice touch.
Gathering Necessary Tools
Before you start screwing a hook into the wall, gather all the tools you need. Having the right tools makes the job easier and faster. It also helps you avoid damage to the wall or the hook. This section lists the basic and optional tools needed.
Basic Tools Needed
First, you need a hook suitable for your wall type. A screwdriver or a drill is essential for screwing the hook in place. A pencil helps mark the spot where you want to install the hook. A tape measure or ruler measures the height and position. A level ensures your hook is straight. These basic tools cover most wall types and simple installations.
Optional Tools For Tough Surfaces
Some walls are harder, like brick or concrete. A power drill with a masonry bit helps make holes in these tough surfaces. Wall anchors or plugs provide extra support for heavy hooks or items. A hammer may help insert anchors firmly. Safety goggles protect your eyes from dust or debris. These optional tools make the job smoother on difficult walls.
Preparing The Wall
Preparing the wall is the first step before screwing a hook. It helps to make sure the hook stays strong and safe. Taking time to prepare prevents damage to the wall and keeps your hook secure.
Proper preparation saves time and effort in the long run. Follow simple steps to get ready for the job.
Locating Studs
Studs are wooden beams behind the wall. They hold the most weight. Use a stud finder to find them. Move it slowly across the wall. Mark the edges of the stud with a pencil. Screwing into a stud gives the hook strong support.
Marking The Spot
Choose the exact place for the hook. Measure the height and distance from corners. Use a pencil to mark the spot clearly. Check the mark twice. A good mark helps you drill in the right place.
Checking For Obstacles
Walls hide wires and pipes. These can be dangerous to drill into. Use a wire detector or ask a professional. Look for switches and outlets nearby. Avoid these areas to keep safe and avoid damage.
Drilling The Pilot Hole
Drilling a pilot hole is an important step before screwing a hook into the wall. It helps guide the screw and prevents the wall from cracking. A good pilot hole makes the hook strong and secure. This section explains how to drill the hole correctly.
Choosing The Right Drill Bit
Select a drill bit that matches the screw size. The bit should be slightly smaller than the screw’s shaft. This allows the screw to grip the wall tightly. Use a sharp bit for clean holes. Dull bits can damage the wall or drill uneven holes.
Drilling Technique
Hold the drill steady and straight to avoid angled holes. Start drilling slowly to make a small guide mark. Increase speed as the bit enters the wall. Drill to the depth of the screw length. Remove the bit carefully to keep the hole clean.
Dealing With Different Wall Types
Drywall requires a smaller pilot hole to avoid breaking. For plaster walls, drill slowly to prevent cracking. Masonry walls need a masonry bit and more pressure. Use wall anchors for hollow or weak walls. These steps ensure a secure hook no matter the wall type.
Installing The Hook
Installing a hook into the wall is simple and quick. It requires only a few tools and some basic steps. A properly installed hook holds items securely and lasts a long time. Let’s explore how to screw a hook into the wall safely and firmly.
Screwing In By Hand
Start by holding the hook in place against the wall. Turn the hook slowly in a clockwise direction. Use your fingers to twist it into the wall surface. This method works well for soft walls like drywall or plaster. Stop if you feel strong resistance to avoid damage.
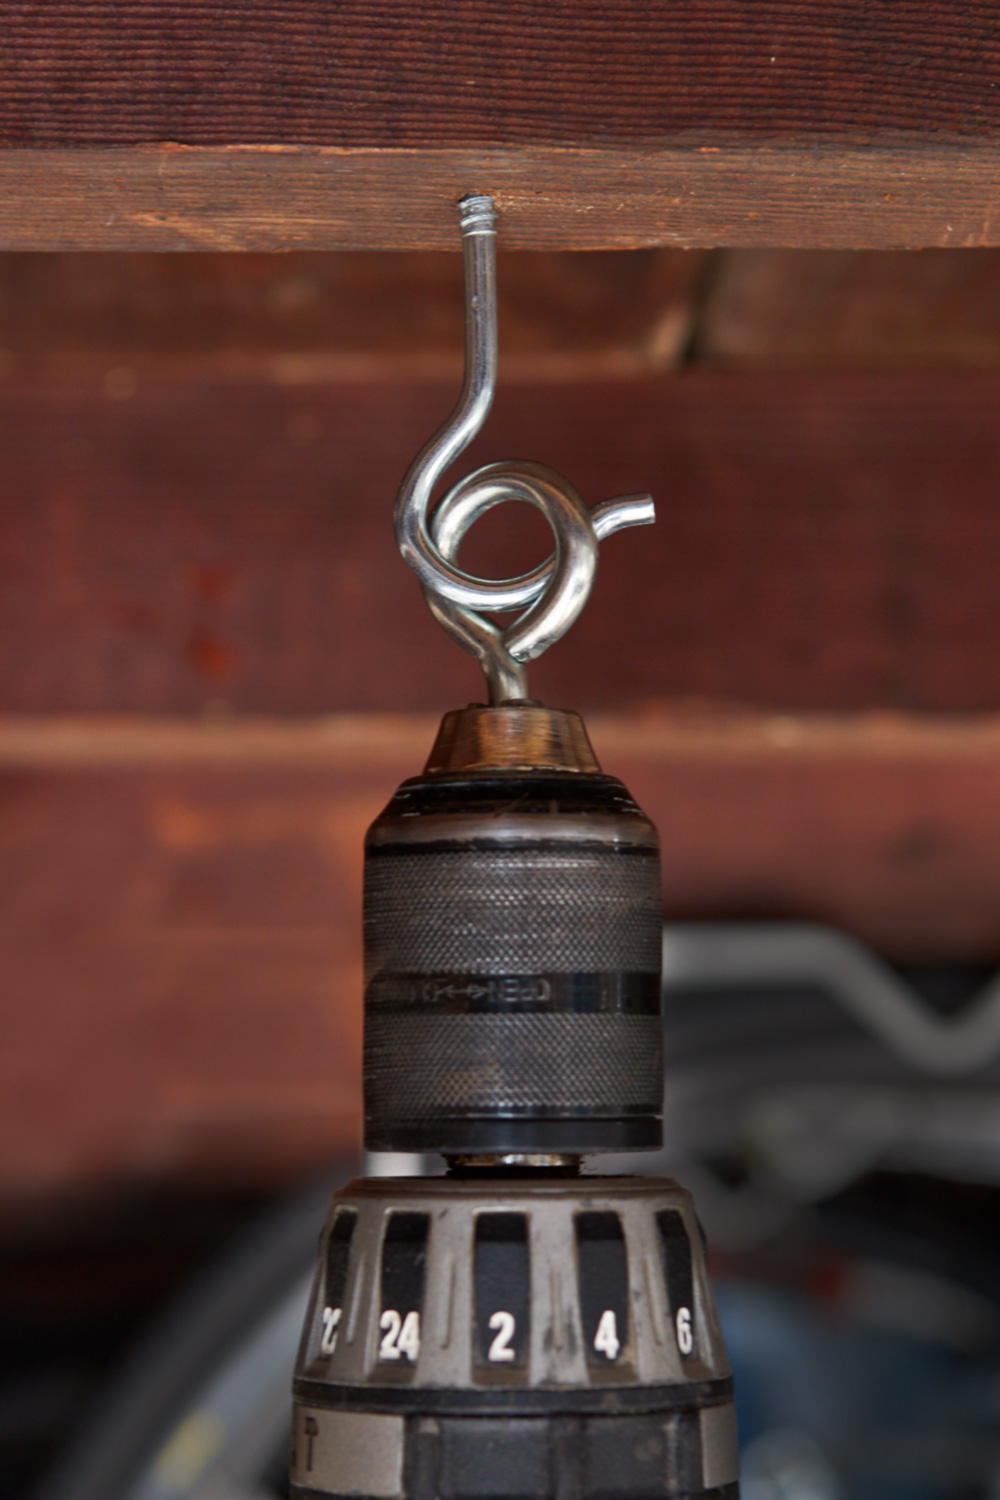
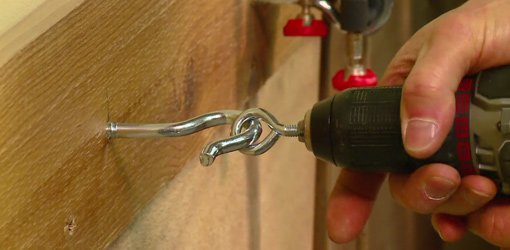
Using A Screwdriver Or Drill
For harder walls, use a screwdriver or a drill with a screwdriver bit. Align the hook and insert the screw into the wall. Hold the handle firmly. Turn the screwdriver or start the drill at low speed. Apply steady pressure until the hook is flush with the wall. Avoid overtightening to prevent stripping the wall.
Ensuring Secure Attachment
Check the hook by gently pulling on it. It should feel tight and stable without moving. Use wall anchors for extra support on drywall or hollow walls. Anchors spread the load and prevent the hook from loosening. Secure hooks hold your items safely and keep your walls intact.

Credit: www.wikihow.com
Testing The Hook
Testing the hook after screwing it into the wall is important. It ensures the hook holds well and is safe to use. A proper test prevents damage to your wall and keeps your items secure. Follow these steps to check your hook’s strength and make any needed changes.
Weight Test
Start by gently hanging a light object on the hook. Use something close to the weight you plan to hang. Watch for any movement or slipping. If the hook stays steady, add a bit more weight carefully. Keep increasing the weight slowly to test the hook’s limit. Stop if the hook feels loose or starts to pull away from the wall. This test shows if the hook can handle your items safely.
Adjustments If Needed
If the hook feels loose, remove the item carefully. Check if the hook is screwed in tightly. Tighten it more using a screwdriver or drill. Make sure it sits flush against the wall. For drywall, use a wall anchor to improve hold. If the hook still moves, try a different location. Test again after making adjustments. This ensures your hook stays strong and secure.
Tips For Specific Walls
Different wall types need different tools and methods to screw a hook securely. Knowing the wall material helps prevent damage and keeps the hook strong. These tips help you choose the right approach for your wall.
Drywall
Drywall is soft and easy to damage. Use a wall anchor to support the hook. Drill a small pilot hole first. Push the anchor into the hole gently. Screw the hook into the anchor slowly. This keeps the hook tight and the wall safe.
Plaster
Plaster walls can crack if you apply too much force. Drill a small hole with a masonry bit. Use a plastic anchor to hold the hook. Screw the hook in carefully to avoid breaking the plaster. Support heavy items with wall studs if possible.
Concrete And Brick
Concrete and brick are hard and require special tools. Use a hammer drill to make a hole. Insert a heavy-duty anchor made for masonry. Screw the hook into the anchor firmly. This method ensures the hook stays secure for heavy loads.
Credit: todayshomeowner.com
Frequently Asked Questions
How Do I Choose The Right Hook For My Wall?
Select a hook based on the wall type and weight it must hold. For drywall, use anchors. For wood, standard hooks work well. Always check the hook’s weight limit to ensure safety and durability.
What Tools Do I Need To Screw A Hook Into The Wall?
You need a drill or screwdriver, a pencil for marking, a level for alignment, and wall anchors if necessary. These tools ensure the hook is securely and accurately installed.
How Do I Prevent The Wall From Cracking When Screwing A Hook?
Use a drill bit to create a pilot hole before screwing in the hook. This reduces wall stress and prevents cracks. For drywall, use anchors to distribute weight evenly.
Can I Screw A Hook Directly Into Drywall Without Anchors?
Screwing directly into drywall is not recommended for heavy items. Use wall anchors to provide extra support and prevent the hook from pulling out or damaging the wall.
Conclusion
Screwing a hook into the wall is simple with the right steps. Choose the right spot and tools first. Drill a small hole to guide the screw easily. Turn the hook carefully until it feels tight. Avoid forcing it to prevent wall damage.
A well-installed hook holds items safely and looks neat. Practice helps you get better each time. Now, you can hang pictures, keys, or decorations without stress. Try it yourself and see how quick and easy it can be!