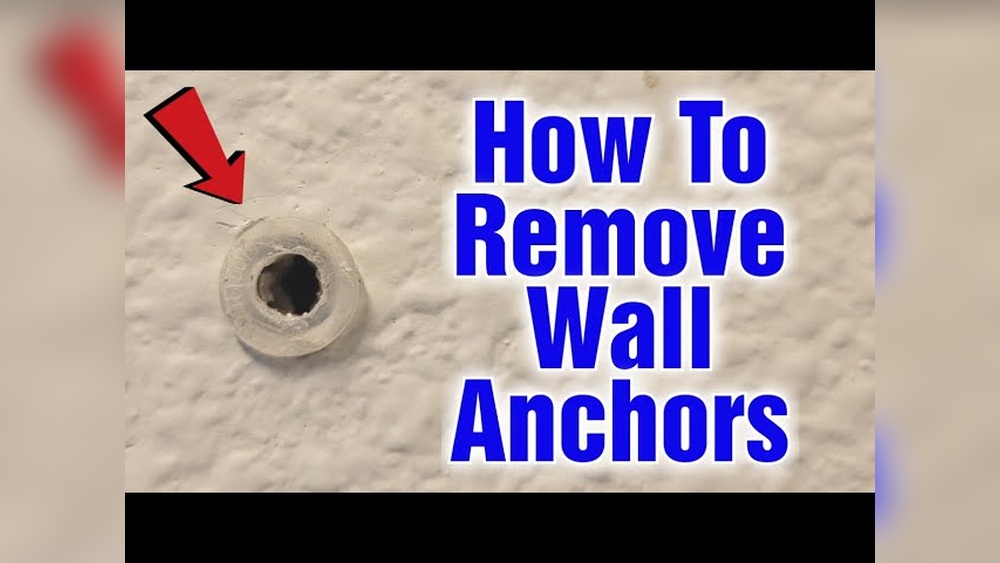
Removing plastic anchors from your wall can feel tricky, especially if you want to avoid damage. You might be staring at that stubborn anchor, wondering how to get it out cleanly and easily.
What if there was a simple way to do it without leaving ugly holes or cracks behind? You’ll discover clear, step-by-step methods to take plastic anchors out of your wall quickly and safely. By the end, you’ll have the confidence to tackle this task like a pro.
Keep reading—you’re closer than you think to a smooth, flawless wall!
Tools Needed
Removing plastic anchors from a wall needs the right tools. The correct tools make the job easier and prevent wall damage. Having these tools ready saves time and effort.
Flathead Screwdriver
A flathead screwdriver helps pry the plastic anchor from the wall. It fits under the anchor’s lip to lift it gently. This tool gives control without breaking the wall surface.
Needle-nose Pliers
Needle-nose pliers grip small anchors tightly. They pull the anchor straight out without twisting. This tool works well for anchors that stick out slightly.
Utility Knife
A utility knife cuts around the anchor’s edge if needed. This tool helps loosen stuck anchors. It also trims any rough wall edges after removal.
Drill With Screwdriver Bit
A drill with a screwdriver bit can spin out anchors fast. It works best for anchors with a screw inside. Use it carefully to avoid making holes larger.
Identify Anchor Type
Identifying the type of plastic anchor is the first step to remove it properly. Different anchors have different shapes and uses. Knowing the type helps you choose the right removal method. This saves time and prevents wall damage.
Common Types Of Plastic Anchors
Plastic anchors come in several common types. Expansion anchors are wide and split at the end. They expand inside the wall for a firm hold. Toggle anchors have a spring mechanism that opens inside the wall. Sleeve anchors are smooth and cylindrical, fitting tightly in drilled holes.
Visual Inspection Of The Anchor
Look closely at the anchor head and body. Check if it has slots, wings, or a smooth surface. Slots indicate expansion anchors. Wings or flaps point to toggle anchors. A smooth body usually means a sleeve anchor. Use a flashlight if needed for a clear view.
Check The Anchor Size And Placement
Measure the anchor diameter and length. Larger anchors hold more weight. Smaller ones are for light objects. Notice where the anchor is placed on the wall. Anchors in drywall differ from those in concrete or brick. This detail helps in identifying the correct type.
Prepare The Wall
Preparing the wall is the first step to remove plastic anchors safely. It helps protect your wall from damage and makes the process easier.
Take your time to clear the area around the anchor. This will give you enough space to work and see clearly.
Clear The Area Around The Anchor
Remove any pictures, shelves, or objects near the anchor. This prevents accidental damage to other items.
Clean the wall surface gently with a dry cloth. Dust and dirt can hide the anchor edges and make removal hard.
Gather The Right Tools
Get a screwdriver, pliers, and a utility knife ready. These tools help to loosen and pull out the plastic anchor.
Having a small hammer can also be helpful. It helps tap the anchor gently if it is stuck inside the wall.
Protect The Wall Surface
Place painter’s tape around the anchor area. It reduces the chance of scratches or paint peeling.
Work slowly and carefully. Quick moves can cause holes or cracks in the wall.

Credit: www.youtube.com
Remove Anchors With Pliers
Removing plastic anchors from a wall can be tricky. Pliers offer a simple way to pull them out. This method works best for anchors that stick out slightly. It avoids damage to the wall and needs no special tools.
Choose The Right Pliers
Use needle-nose or slip-joint pliers. These give a good grip on the anchor. Check the size fits the anchor well. Proper grip helps avoid breaking the anchor inside the wall.
Grip The Anchor Firmly
Hold the anchor gently but firmly with the pliers. Avoid squeezing too hard at first. A steady grip prevents the anchor from slipping or snapping. Pull straight out to keep the wall safe.
Pull The Anchor Out Slowly
Pull the anchor out with slow, steady force. Quick or jerky pulls can break the anchor. If it resists, wiggle it slightly while pulling. This loosens the anchor without harming the wall.
Handle Stubborn Anchors Carefully
For anchors stuck deep, try to twist them gently. Twisting helps break the anchor’s hold inside the wall. Keep pulling and twisting until it comes out. Use care to avoid wall damage.
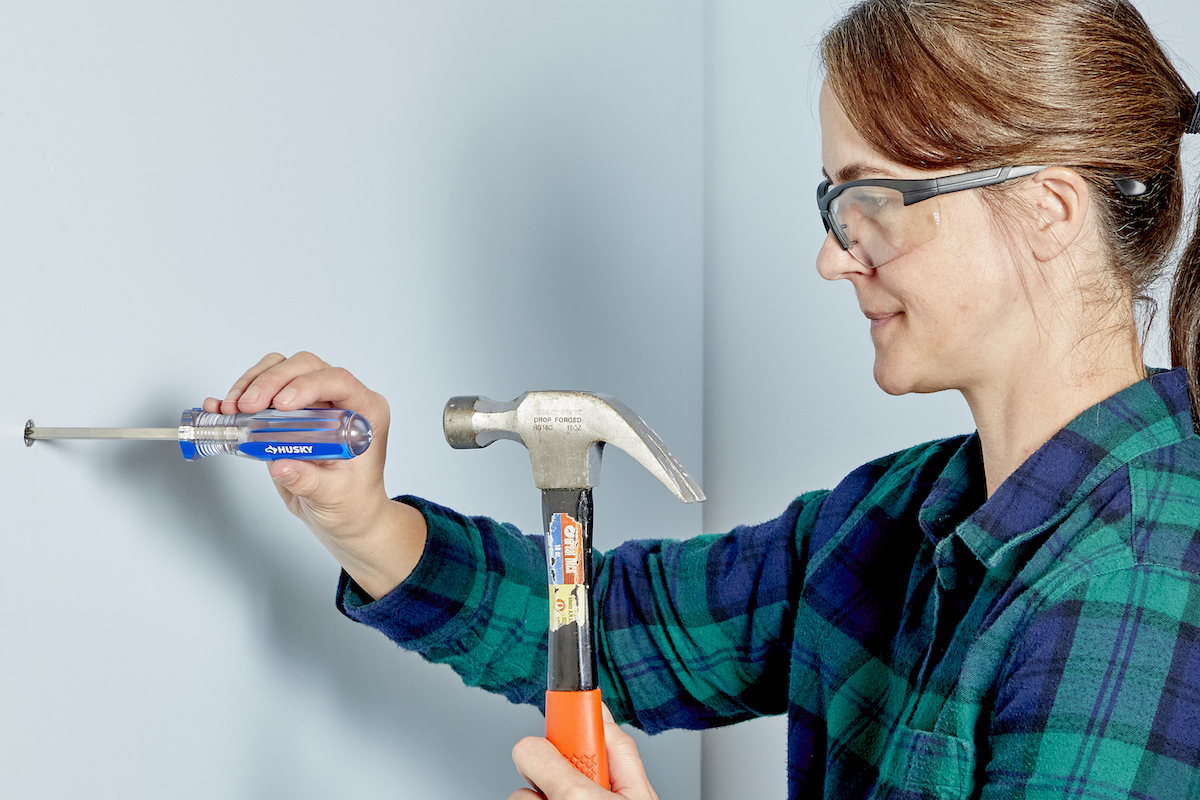
Use A Screwdriver Method
The screwdriver method is a simple way to remove plastic anchors from walls. It uses basic tools and a little effort. This method works well for anchors that stick out or are loose inside the wall. Follow clear steps to avoid damage to your wall surface.
Gather Necessary Tools
Start by getting a flathead or Phillips screwdriver. Choose the one that fits your anchor type. You may also need pliers for extra grip. Keep a putty knife nearby to help if needed.
Insert The Screwdriver Carefully
Place the screwdriver tip under the edge of the anchor. Push gently to lift the anchor away from the wall. Work slowly to avoid breaking the anchor inside.
Pull Out The Anchor
Use the screwdriver as a lever to pull the anchor out. If it does not move, try twisting it slightly. Grab the anchor with pliers and pull it out if possible.
Fill The Hole
After removing the anchor, fill the hole with wall putty. Smooth the surface with a putty knife. Let it dry before sanding and painting.

Credit: www.wikihow.com
Try The Drill Technique
The drill technique is a quick way to remove plastic anchors from walls. It works well for anchors that are stuck or hard to pull out by hand. Using a drill makes the process cleaner and less damaging to the wall surface.
With the right drill bit and a steady hand, you can easily get rid of the anchor. This method breaks the anchor into small pieces or loosens it for easy removal. It is safe for most wall types if done carefully.
Choose The Right Drill Bit
Pick a drill bit slightly smaller than the anchor’s diameter. A smaller bit prevents wall damage. Use a standard twist bit for plastic anchors. Avoid using large bits that can enlarge the hole.
Set The Drill To Low Speed
Use low speed to control the drill better. High speed can damage the wall or the drill bit. Slow drilling allows you to stop quickly if needed. It also helps reduce noise and dust.
Drill Into The Center Of The Anchor
Place the drill bit at the anchor’s center. Start drilling gently and apply light pressure. The drill will break the anchor into pieces. Keep the drill steady to avoid wall damage.
Remove Loose Pieces And Clean The Hole
After drilling, pull out loose anchor fragments. Use needle-nose pliers or your fingers carefully. Clean the hole with a brush or vacuum. The wall is now ready for repair or new anchors.
Patch And Repair Wall
After removing plastic anchors from the wall, the surface needs some care. Patching and repairing the wall makes it look smooth and clean. This step is important for a neat finish. It also prepares the wall for painting. Follow these simple steps to fix the holes and restore the wall’s appearance.
Fill Holes
Start by filling the holes left by the anchors. Use a spackling compound or wall filler. Apply it with a putty knife and press firmly. Make sure the hole is completely filled. Let the filler dry fully before moving to the next step. This can take a few hours depending on the product.
Sand Smooth
Once the filler is dry, sand the area gently. Use fine-grit sandpaper for best results. Sand until the patch is flush with the wall surface. This creates a smooth finish that blends well. Wipe away any dust with a dry cloth. A smooth wall is easier to paint over later.
Paint Touch-up
Finish by touching up the paint. Match the wall color as closely as possible. Use a small brush for better control. Apply thin coats and let each dry before adding more. This step hides the repair and restores the wall’s look. Your wall will look fresh and like new again.
Safety Tips
Removing plastic anchors from walls needs care. Safety is key to avoid damage and injury. Follow simple safety tips for smooth work and good results.
Wear Protective Eyewear
Plastic anchors can snap or fly out. Protect your eyes with safety glasses. This prevents small pieces from causing harm.
Use The Right Tools
Choose tools made for anchor removal. Using wrong tools may damage the wall or hurt your hands. Tools like pliers or screwdrivers work best.
Work In A Well-lit Area
Good light helps you see clearly. It reduces mistakes and accidents. Always remove anchors where you have enough light.
Handle Walls Gently
Be careful not to break the wall surface. Pull anchors slowly and evenly. Harsh force can cause holes or cracks.
Keep Children And Pets Away
Work areas can be dangerous. Small anchor pieces can cause choking. Keep kids and pets out of the room during work.
Credit: www.bobvila.com
Frequently Asked Questions
How Do You Safely Remove Plastic Anchors From Walls?
To remove plastic anchors safely, first unscrew any attached screws. Then, gently pull the anchor out with pliers. If it’s stuck, push it deeper into the wall to avoid damage. Use a putty knife to smooth the surface afterward.
What Tools Are Needed To Take Plastic Anchors Out?
You need a screwdriver, needle-nose pliers, and a putty knife. A drill may help if anchors are tough to remove. These tools ensure you can extract anchors without damaging your wall.
Can I Reuse Plastic Anchors After Removal?
Generally, plastic anchors cannot be reused after removal. Removing them often damages their structure. It’s best to replace with new anchors to ensure a secure hold when rehanging items.
Will Removing Plastic Anchors Damage My Wall?
Proper removal minimizes wall damage. Pull anchors out gently and avoid forcing them. Small holes may remain, which you can fill with spackle or wall filler to restore the surface.
Conclusion
Removing plastic anchors from walls is simple with the right steps. Use gentle tools to avoid wall damage. Take your time and work carefully. Small holes can be fixed easily afterward. Clean walls look better and are ready for new items.
Practice makes the process quicker and neater. Keep these tips in mind for smooth anchor removal. You can handle this task yourself without hassle.