Your floor jack is one of the most important tools in your garage, and keeping it in top shape matters. If you’ve noticed a damaged or missing rubber plug, it might seem like a small problem, but ignoring it can lead to bigger issues.
Replacing the rubber plug is easier than you think, and doing it yourself can save you time and money. In this guide, you’ll learn simple, step-by-step instructions to get your floor jack back to perfect working order quickly. Keep reading to make sure your jack stays safe and reliable every time you use it.
Tools And Materials Needed
Replacing the rubber plug on a floor jack requires some basic tools and materials. Having the right items ready makes the job easier and faster. This section covers what you need to get started.
Essential Tools
You will need a few simple tools to replace the rubber plug. A flathead screwdriver helps to pry out the old plug carefully. Needle-nose pliers assist in gripping and removing stubborn plugs. Clean rags or paper towels are useful to wipe away dirt and oil. A small container can hold the old plug so you don’t lose it. Finally, wearing gloves protects your hands during the process.
Choosing The Right Replacement Plug
Pick a replacement plug that fits your floor jack model perfectly. Check the size and shape of the old plug before buying. Using the wrong plug can cause leaks or poor performance. Look for plugs made from durable rubber for long-lasting use. Some plugs come with a seal to prevent oil spills. Match the plug material to the jack’s requirements for best results.

Credit: www.youtube.com
Preparing The Floor Jack
Preparing the floor jack is an important first step before replacing the rubber plug. Proper preparation helps avoid accidents and makes the task easier. Take your time to set up the jack safely and correctly.
This section covers key steps to get your floor jack ready. Follow these instructions to work smoothly and safely.
Safety Precautions
Always wear gloves and safety glasses before starting. Check the floor jack for any damage or leaks. Do not use the jack if it looks worn out or broken. Keep the work area clean and free of tools or debris. Make sure the jack is on a flat, hard surface to prevent slipping.
Positioning The Jack
Place the floor jack under the vehicle at the right lifting point. Check the vehicle’s manual for the exact spot. Make sure the jack’s saddle is centered under the lifting point. Pump the handle slowly to raise the jack. Stop lifting once the vehicle is stable and secure. Use jack stands for extra safety if needed.
Removing The Old Rubber Plug
Removing the old rubber plug from a floor jack is the first step in replacing it. This task needs care to avoid damage to the jack. The plug often seals the fluid reservoir or keeps dirt out. Removing it properly helps keep your floor jack working well.
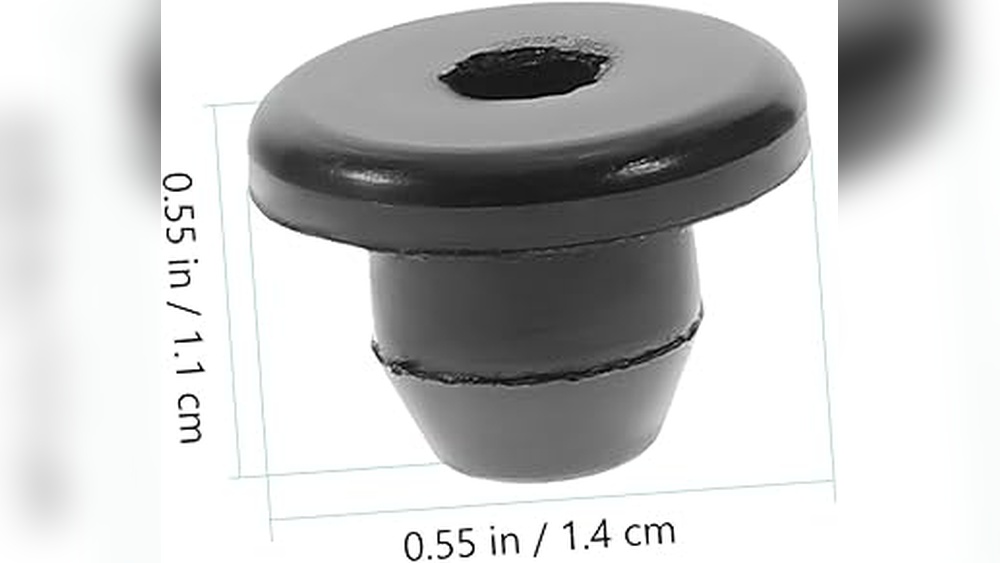
Locating The Plug
The rubber plug is usually on the side or top of the floor jack. It covers the fluid fill hole or vent. Look for a round, black rubber piece. It may be dusty or covered with grease. Clean the area around the plug before removal.
Removing Stubborn Plugs
Some plugs stick tightly due to age or dirt buildup. Use a flathead screwdriver to gently pry it out. Work slowly to avoid tearing the plug or scratching the jack. If the plug is very hard to remove, apply a little lubricant around the edge. Wait a few minutes, then try again. Avoid using sharp tools that may damage the jack body.

Credit: butetrays.com.au
Installing The New Rubber Plug
Installing the new rubber plug is an important step in maintaining your floor jack. A proper installation ensures no dirt or oil leaks out. It also keeps the jack working smoothly for a long time. Follow simple steps carefully to fit the new plug perfectly.
Cleaning The Area
Start by cleaning the plug hole. Remove any dirt, grease, or old rubber bits. Use a clean cloth or a small brush. Make sure the area is dry before placing the new plug. A clean surface helps the plug fit tightly and last longer.
Fitting The New Plug Securely
Take the new rubber plug and align it with the hole. Press it gently but firmly into place. Use your fingers to push the plug evenly all around. Check that it sits flush with the jack surface. A secure fit stops leaks and protects the jack’s inside parts.
Testing The Floor Jack
Testing the floor jack after replacing the rubber plug is important. It ensures the jack works properly and stays safe to use. Check the seal and operation carefully before lifting any heavy objects. Small tests help find problems early.
Checking For Proper Seal
Start by inspecting the area around the new rubber plug. Look for any signs of oil leaks or air escaping. Press the jack handle slowly and see if it holds pressure. A good seal means the jack keeps its lift without losing height. No leaks show the plug fits well and the jack is ready.
Ensuring Safe Operation
Test the jack by lifting a small load first. Watch how it lifts and lowers. The jack should move smoothly and hold steady. If the jack drops suddenly or feels weak, stop using it. Make sure the release valve works correctly. Safe operation means no sudden failures or unusual noises.
Maintenance Tips
Proper maintenance keeps your floor jack working well and safe. Small care steps stop big problems. Focus on the rubber plug. It seals and protects important parts. Learn simple ways to check and care for it.
Regular Inspection
Look at the rubber plug often. Check for cracks, tears, or wear. A damaged plug lets dirt and moisture in. This can harm the jack’s inside parts. Clean the area around the plug before use. Replace the plug if it looks weak or broken. Regular checks avoid costly repairs later.
Extending Plug Lifespan
Keep the plug clean and dry. Wipe it with a soft cloth after each use. Avoid using harsh chemicals on the rubber. Store the jack in a dry place to stop the plug from drying out. Use a rubber protectant spray to keep it soft. These steps help the plug last longer and keep your jack safe.

Credit: maiamidwifery.com
Frequently Asked Questions
How Do I Remove A Rubber Plug From A Floor Jack?
To remove a rubber plug, use a flathead screwdriver or pliers. Gently pry around the edges to avoid damage. Clean the area before installing a new plug for a secure fit.
What Tools Are Needed To Replace A Floor Jack Rubber Plug?
You need a flathead screwdriver or pliers to remove the old plug. A clean cloth helps wipe the area before replacement. No special tools are required, making the process simple and quick.
How Often Should I Replace The Rubber Plug On A Floor Jack?
Replace the rubber plug when it shows signs of wear or damage. Regular checks during maintenance help keep the jack in good condition. A damaged plug can cause dirt entry and affect performance.
Can I Use Any Rubber Plug For My Floor Jack?
Use a plug designed specifically for your floor jack model. Generic plugs may not fit properly, causing leaks or damage. Always check manufacturer recommendations for the best match.
Conclusion
Replacing the rubber plug on your floor jack keeps it working well. A small fix can stop leaks and protect the jack. Use the right tools and follow the steps carefully. Take your time and check the plug fits tight.
This simple job saves money and avoids bigger repairs. Keep your floor jack ready for safe and easy use. Regular care makes your tools last longer and work better. You can do this repair with a little patience and care.