Are you looking to boost the security of your home quickly and easily? Installing a single sided deadbolt might be the perfect solution for you.
It’s a simple upgrade that can make a big difference in keeping your loved ones and belongings safe. In this guide, you’ll discover clear, step-by-step instructions that anyone can follow—even if you’re not a DIY expert. By the end, you’ll feel confident locking your door with a stronger, more reliable deadbolt.
Ready to take control of your home’s security? Let’s get started.

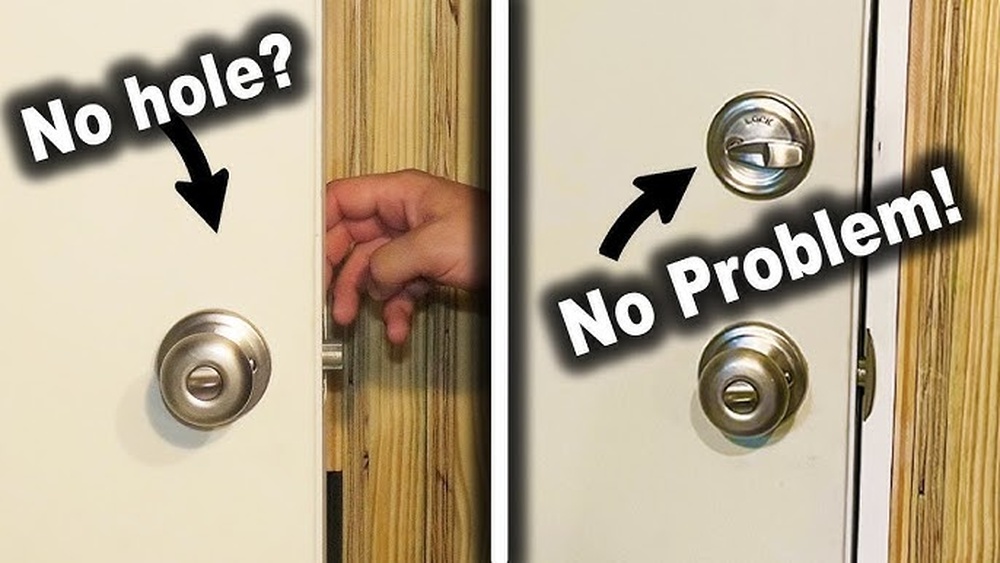
Credit: www.youtube.com
Tools And Materials Needed
Installing a single sided deadbolt requires some basic tools and materials. Having everything ready makes the process faster and easier.
This section lists all the items needed. Each tool and material plays an important role in the installation.
Tools Required
Start with a power drill. It helps to make holes quickly and cleanly.
Use a screwdriver to tighten screws securely.
A tape measure ensures accurate placement of the deadbolt.
A pencil helps mark where to drill holes.
Chisel and hammer are useful for adjusting the door or frame if needed.
Materials Needed
The main item is the single sided deadbolt lock kit. It includes the lock, keys, and screws.
Wood filler may be needed to fix any small holes or gaps.
Sandpaper smooths out rough edges after chiseling.
Masking tape protects the door surface during installation.
Safety glasses and gloves protect your eyes and hands.
Choosing The Right Deadbolt
Choosing the right deadbolt is important for home security and ease of use. Not all deadbolts work the same way. Some offer better protection while others are easier to install. Picking the correct deadbolt makes a big difference.
Consider your door type and security needs first. Single sided deadbolts fit certain doors better. They have a key on one side and a thumb turn on the inside. This design is simple but strong.
Types Of Single Sided Deadbolts
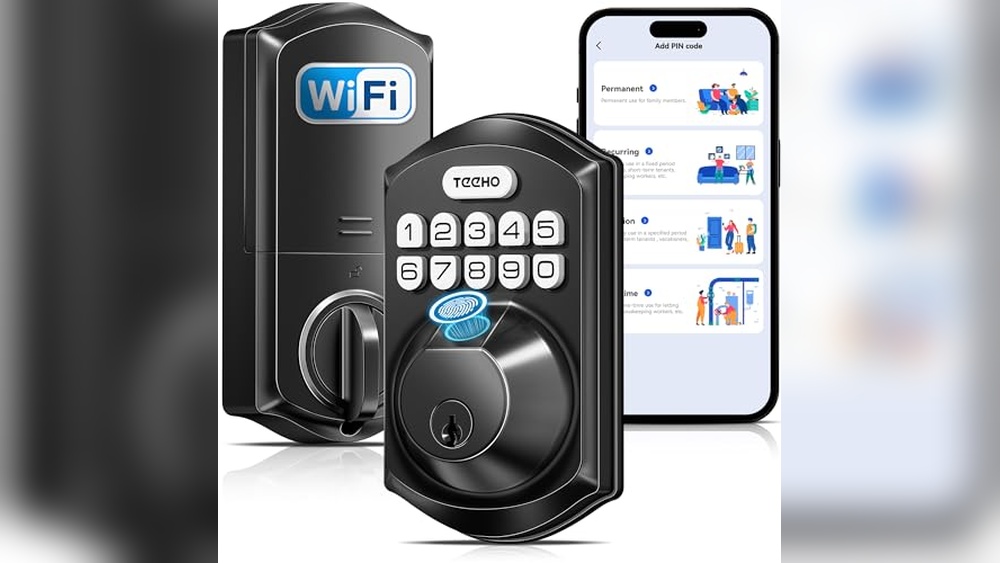
There are a few types of single sided deadbolts. Some have a standard key cylinder. Others come with a keypad or smart lock option. Choose based on your security preferences and budget.
Material And Build Quality
Look for deadbolts made of solid metal like brass or steel. These materials resist force and wear. A strong deadbolt lasts longer and protects better. Check the finish for rust resistance too.
Size And Fit For Your Door
Measure your door thickness before buying. Most deadbolts fit doors between 1 3/8 and 1 3/4 inches thick. Make sure the deadbolt will fit your door’s hole size. Proper fit ensures smooth operation.
Security Features To Consider
Choose deadbolts with anti-pick and anti-drill features. These improve resistance to break-ins. Some deadbolts have reinforced strike plates for extra strength. Small details improve overall security.
Preparing The Door
Preparing the door is the first step in installing a single-sided deadbolt. This stage sets the foundation for a secure and smooth installation. Careful preparation helps avoid mistakes and ensures the lock fits perfectly.
Marking The Door
Start by measuring the height where the deadbolt will go. Usually, this is about 6 to 12 inches above the door handle. Use a pencil to mark the spot clearly. Next, hold the deadbolt template against the door. Align it with the mark and trace the outline of the holes. Check the marks twice before drilling. Precise marks make drilling easier and more accurate.
Drilling The Holes
Select a drill bit size that matches the deadbolt kit instructions. Drill the hole for the lock cylinder carefully. Drill straight through the door to avoid angled holes. Then, drill the hole for the latch on the door edge. Use a chisel to create a recess for the latch plate. This helps the latch sit flush with the door surface. Clean any wood dust from the holes before fitting the lock.
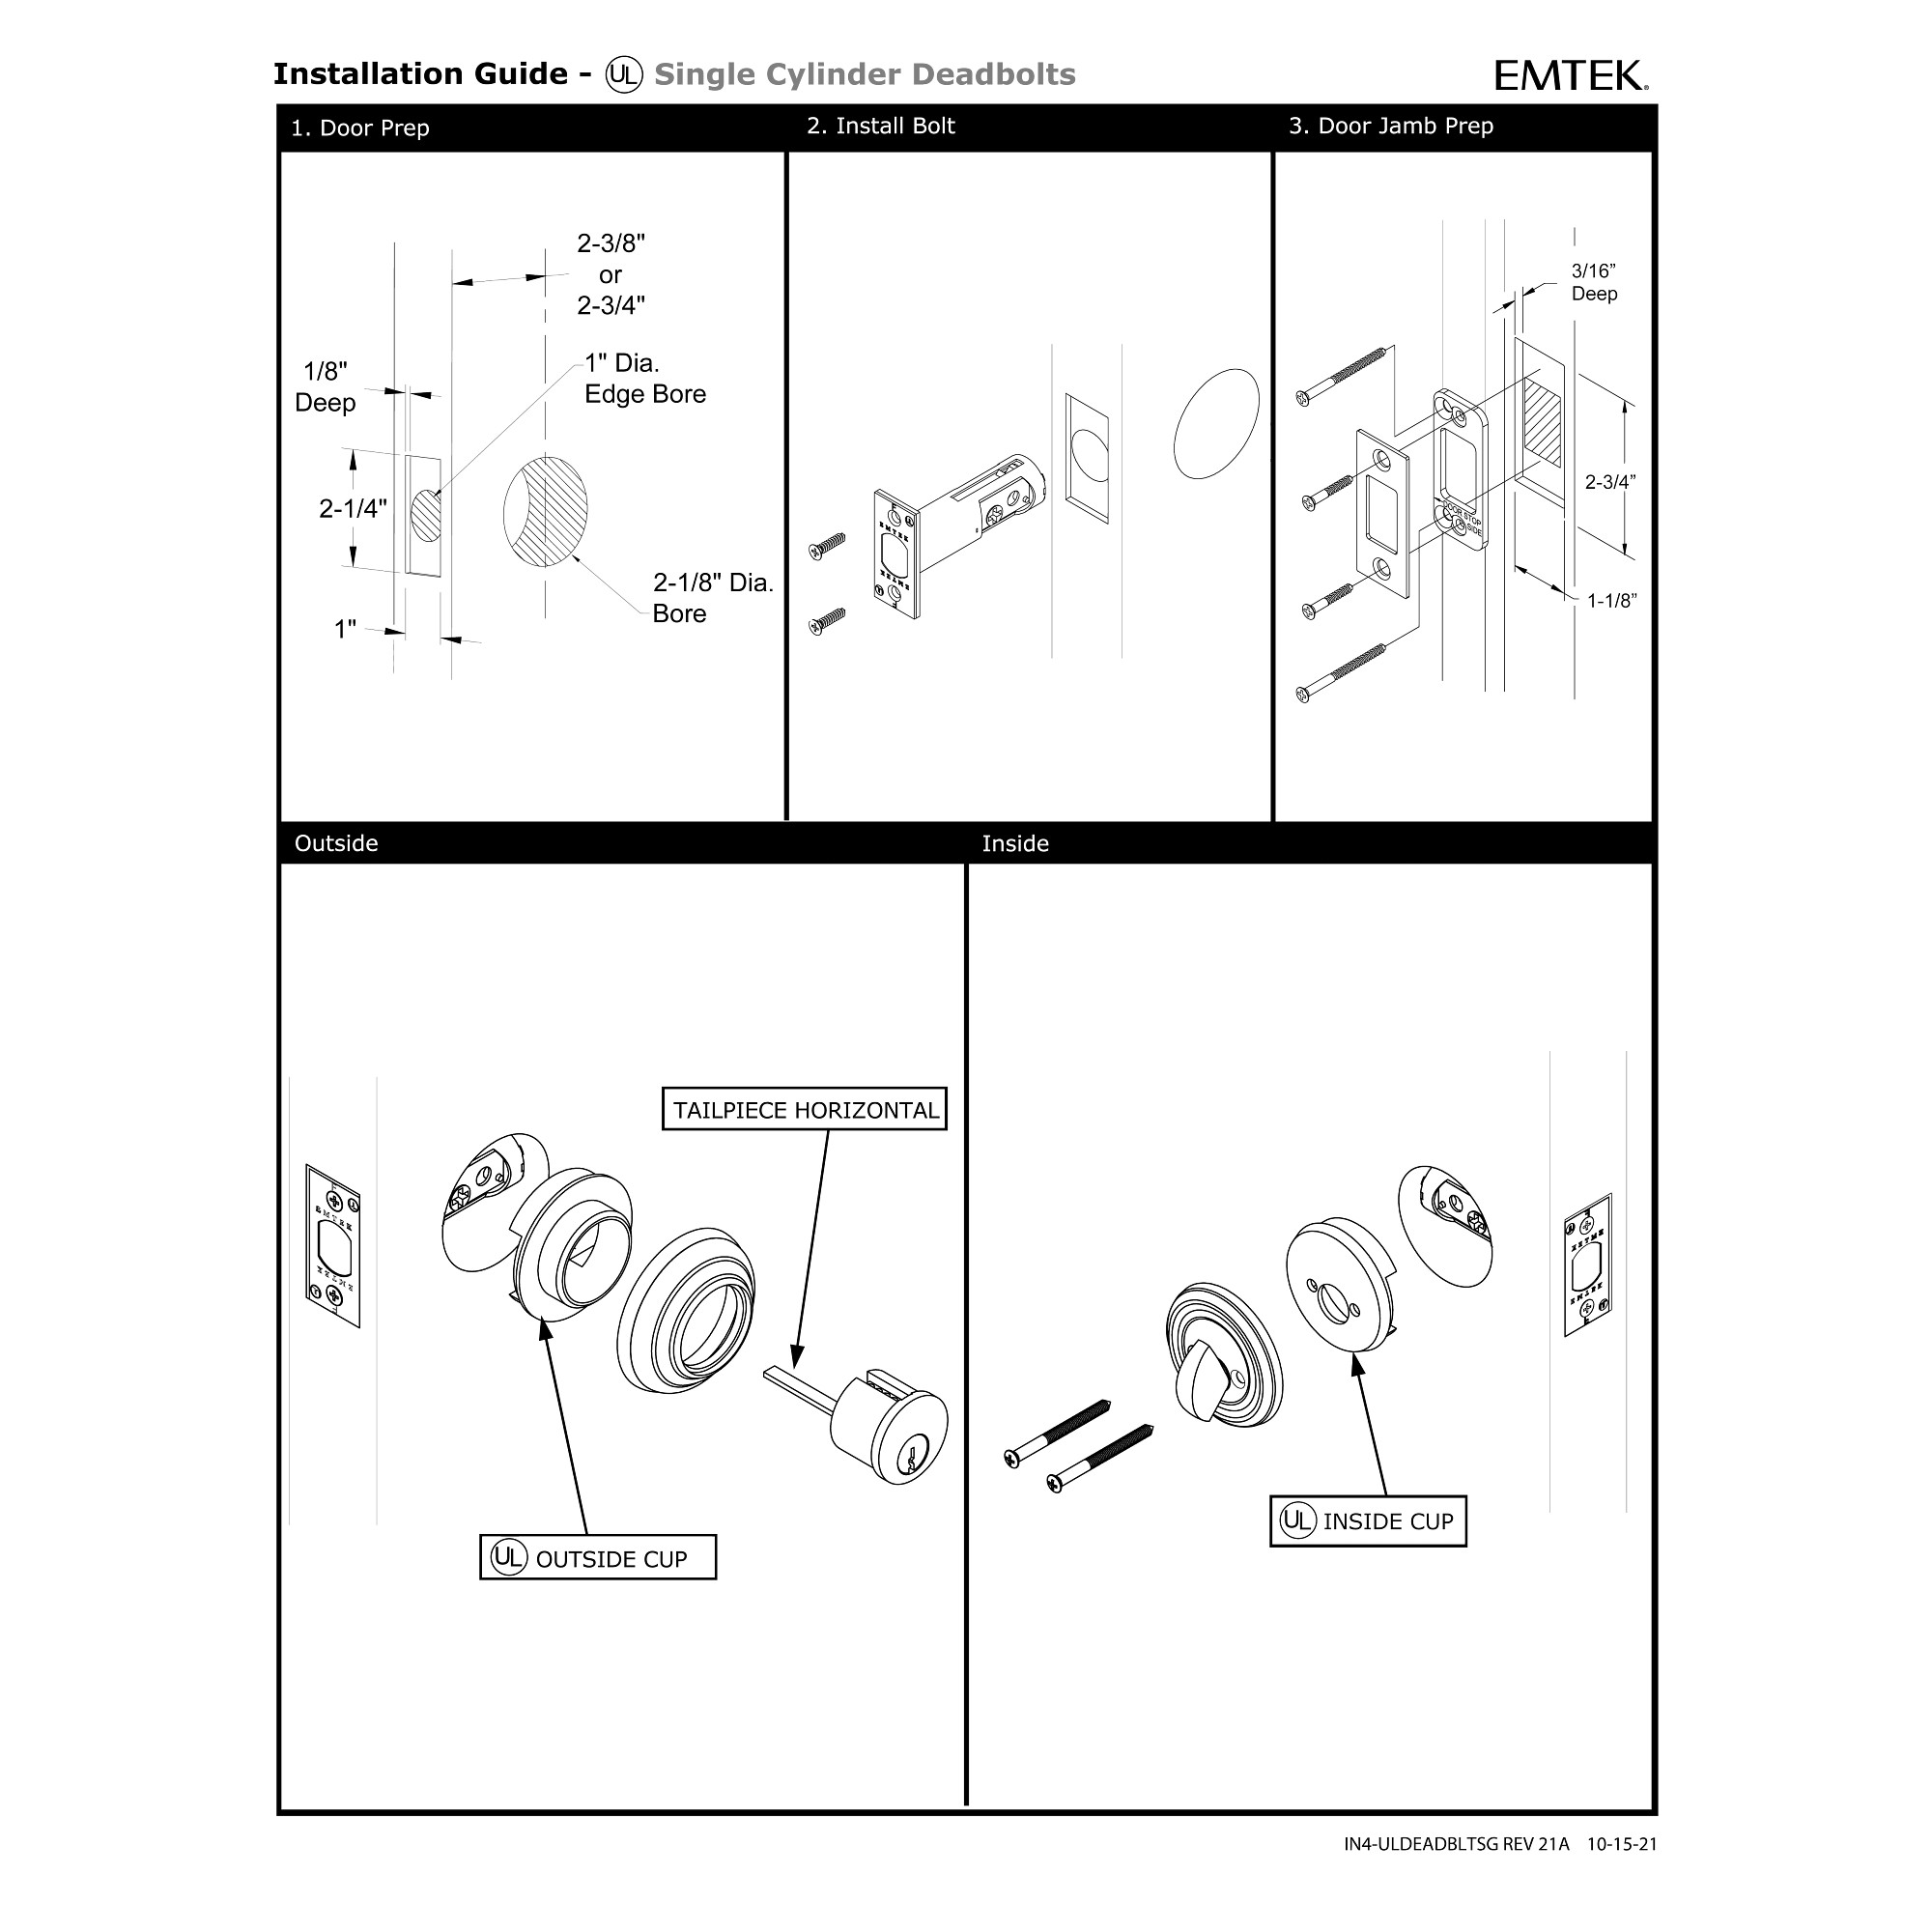
Credit: www.emtek.com
Installing The Deadbolt Mechanism
Installing the deadbolt mechanism is a key step in securing your door. This process involves placing the main locking part inside the door and making sure it fits well. Proper installation ensures the lock works smoothly and keeps your home safe.
Follow the steps carefully to insert and secure the deadbolt. Take your time and check each part as you go. A well-installed deadbolt will last longer and provide better protection.
Inserting The Deadbolt
Start by sliding the deadbolt into the hole on the edge of the door. The bolt should fit snugly without forcing. Align the deadbolt so the flat side faces the door frame.
Push the deadbolt fully inside the hole. Make sure the bolt moves freely back and forth. This movement is important for locking and unlocking the door smoothly.
Securing The Deadbolt
Use screws to fix the deadbolt plate to the edge of the door. Tighten the screws evenly to hold the deadbolt firmly in place. Avoid over-tightening to prevent damage.
Check the deadbolt again by moving it with the thumb turn or key. It should slide out and retract without sticking. If it feels tight, adjust the screws or reposition the bolt slightly.
Attaching The Interior Plate
Attaching the interior plate is a key step in installing a single sided deadbolt. This plate holds the lock’s inner parts firmly on the door. Proper attachment ensures the deadbolt works smoothly and stays secure.
Take your time with this step. A loose plate can cause the lock to jam or fail. Follow each instruction carefully for the best results.
Prepare The Door Surface
Clean the door area where the plate will sit. Remove dust and debris. A smooth surface helps the plate fit tightly. Check that the holes in the door match the plate’s holes.
Align The Interior Plate
Place the interior plate on the door’s inside. Match the screw holes with those on the door. Make sure the spindle fits through the plate’s center hole. Check that the plate is flat against the door.
Secure The Plate With Screws
Use the screws provided with your deadbolt kit. Insert each screw into the holes. Tighten the screws evenly. Avoid over-tightening to prevent damage to the door or plate. The plate should feel firm and stable.
Test The Lock Operation
Turn the thumb turn on the inside plate. The deadbolt should move smoothly in and out. If it sticks, loosen the screws slightly and adjust the plate. Tighten again once the lock works properly.

Credit: support.shopyalehome.com
Fitting The Strike Plate
Fitting the strike plate is a key step in installing a single sided deadbolt. This small metal piece helps secure the lock by holding the bolt in place. Proper fitting ensures your door locks tightly and works smoothly.
Focus on aligning the strike plate with the bolt hole. A well-fitted strike plate strengthens your door’s security. Take care with measurements and placement for the best results.
Positioning The Strike Plate
Start by closing the door gently. Mark the exact spot where the bolt touches the door frame. Align the strike plate so its hole matches this mark. The plate should sit flush against the frame. Use a pencil to outline the plate’s shape. This guide helps when chiseling the wood later. Check that the plate covers the bolt hole fully.
Screwing The Strike Plate
Drill pilot holes for the screws to prevent wood splitting. Insert screws into the strike plate holes. Tighten screws firmly but avoid over-tightening. The plate must stay secure without bending. Test the deadbolt by locking and unlocking. Adjust screws if the bolt doesn’t slide smoothly. Proper screw placement keeps the strike plate steady for lasting security.
Testing The Deadbolt
Testing the deadbolt is an important step after installation. It ensures the lock works smoothly and keeps your door secure. Check every function carefully to avoid future problems.
Checking The Bolt Movement
Turn the thumb turn to extend and retract the bolt. Make sure it moves easily without sticking. The bolt should slide fully into the strike plate.
Verifying The Strike Plate Alignment
Close the door slowly and see if the bolt fits into the strike plate hole. The bolt must enter cleanly. Adjust the strike plate if the bolt hits or catches.
Testing Lock Security
Try pushing or pulling the door with the deadbolt locked. The door should not move. A strong lock keeps your home safe from forced entry.
Ensuring Smooth Operation
Turn the thumb turn several times to check smoothness. The lock should not feel stiff or loose. Lubricate the mechanism if needed for easier use.
Troubleshooting Common Issues
Troubleshooting common issues can save time and reduce frustration when installing a single sided deadbolt. Many problems arise from simple mistakes or misunderstandings. Knowing these issues helps fix them quickly and get the lock working properly.
Most problems happen during installation or testing. Some issues relate to alignment, tightness, or parts fitting. Others involve the lock mechanism or key operation. Understanding these common problems makes installation smoother and easier.
Incorrect Door Or Frame Alignment
One common issue is the door or frame not lining up well. The deadbolt must fit into the strike plate cleanly. Misalignment causes the bolt to stick or not enter fully. Check the strike plate position and adjust it if needed. Use a pencil to mark where the bolt hits. Then move the strike plate slightly to match.
Deadbolt Sticks Or Does Not Turn Smoothly
A deadbolt that sticks may have loose or tight screws. Tighten screws on the lock and strike plate evenly. Too much force can cause binding inside the lock. Lubricate the bolt with graphite powder or silicone spray. Avoid oil-based lubricants, as they attract dust and dirt.
Key Does Not Turn Or Insert Easily
Keys may not work well if the lock cylinder is not installed correctly. Ensure the cylinder is fully seated and aligned. Check for debris inside the keyhole and clean it gently. Sometimes, the wrong key is used, so verify the key matches the lock. If the key is bent or worn, replace it.
Deadbolt Does Not Lock Or Unlock Properly
The deadbolt may fail to lock if internal parts are misaligned. Remove the lock and check for loose or misplaced components. Confirm the bolt moves freely without obstruction. Reassemble carefully, following the instructions step-by-step. Test the deadbolt several times before final installation.
Frequently Asked Questions
What Tools Are Needed To Install A Single Sided Deadbolt?
You need a drill, screwdriver, measuring tape, pencil, chisel, and the deadbolt kit. These tools ensure a smooth installation process.
How Do I Measure For A Single Sided Deadbolt?
Measure the door thickness and backset distance from the edge to the center of the hole. Accurate measurements ensure proper fit and function.
Can I Install A Deadbolt Without Professional Help?
Yes, with basic DIY skills and the right tools, you can install a single sided deadbolt yourself safely and effectively.
How Long Does It Take To Install A Single Sided Deadbolt?
Installation usually takes 30 to 60 minutes depending on your experience and door type. Preparation speeds up the process.
Conclusion
Installing a single sided deadbolt adds extra security to your door. The process is simple and takes only a short time. Follow each step carefully to avoid mistakes. Use the right tools and measure twice before drilling. A properly installed deadbolt keeps your home safer.
Practice patience, and don’t rush the job. Now, your door has better protection against unwanted entry. Enjoy peace of mind with your new lock.