If you want to change who can access your home without replacing the entire lock, learning how to rekey your Schlage keypad deadbolt is the smart way to go. Imagine regaining control over your security quickly and easily, saving money and avoiding the hassle of calling a locksmith.
This guide will walk you through simple steps that anyone can follow, even if you’re not a DIY expert. Ready to take charge of your home’s safety? Keep reading, and you’ll have your keypad deadbolt rekeyed in no time.
Tools Needed
Preparing to rekey a Schlage keypad deadbolt requires specific tools. Having the right tools makes the process smooth and safe. Each tool plays a key role in handling small parts and ensuring accuracy.
Gathering tools before starting saves time and avoids frustration. The tools listed below are common and easy to find. Most come in basic household toolkits or can be bought online.
Phillips Head Screwdriver
This screwdriver helps remove screws on the lock’s faceplate. Use a medium-sized Phillips head for best control. It fits most screws on the deadbolt assembly.
Flathead Screwdriver
A flathead screwdriver assists in prying off the lock cover gently. It also helps in lifting small parts inside the lock. Choose one with a thin, sturdy tip.
Pinning Kit
A pinning kit contains new pins and springs needed for rekeying. It matches the Schlage deadbolt’s specifications. This kit ensures the lock works with new keys.
Tension Wrench
The tension wrench holds the lock cylinder steady during pin removal. It applies slight pressure to keep pins in place. A simple L-shaped wrench works well.
Key Decoder Or Key Gauge
This tool reads the cuts on your existing key. It helps select the right pins for rekeying. Using a key decoder ensures accuracy and smooth lock operation.
Small Tweezers
Tweezers help handle tiny pins and springs inside the lock. They provide better grip and control than fingers. Choose fine, pointed tweezers for precision work.
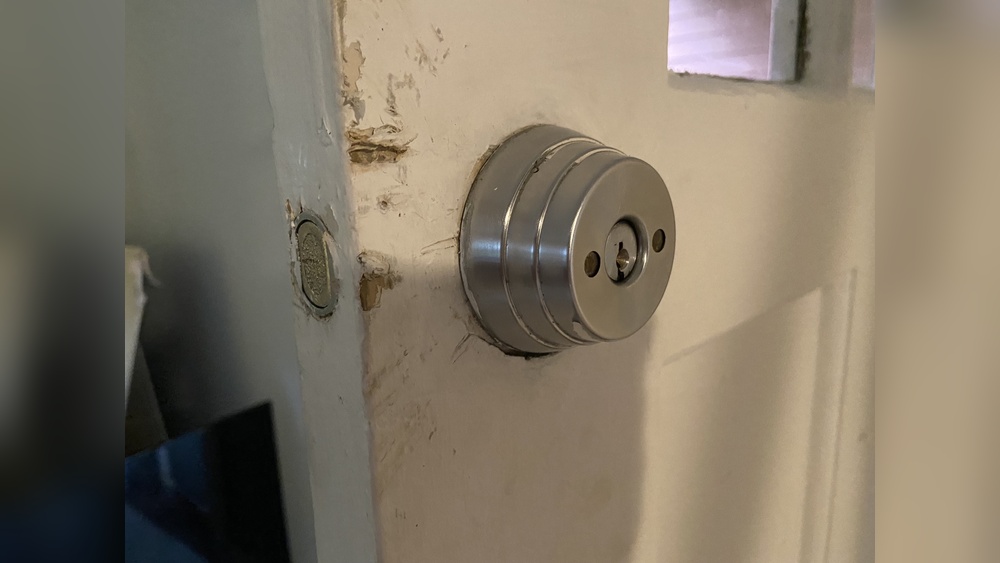
Remove The Deadbolt
Removing the deadbolt is the first step in rekeying your Schlage keypad deadbolt. This step lets you access the internal parts. Handle each piece carefully to avoid damage. Follow these simple steps to remove the deadbolt safely.
Unscrew The Interior Plate
Start by opening the door. Find the screws on the interior side of the deadbolt. Use a screwdriver to remove these screws. Keep the screws in a safe place. Gently pull off the interior plate from the door. This part holds the lock mechanism inside. Set the plate aside carefully.
Take Off The Exterior Keypad
Next, move to the outside of the door. The keypad is attached with a long screw through the side. Remove this screw using your screwdriver. Hold the keypad firmly as you pull it away from the door. Lift it off gently to avoid breaking wires. Place the keypad on a soft surface.
Extract The Cylinder
Extracting the cylinder is a key step in rekeying your Schlage keypad deadbolt. This part holds the key pins and tumbler. Removing it carefully lets you change the pins to match a new key.
Handle the cylinder gently to avoid damage. Keep track of small parts for easy reassembly later.
Locate The Cylinder Retaining Screw
Find the retaining screw on the edge of the lock faceplate. This screw holds the cylinder in place. Use a screwdriver to remove it. Keep the screw safe for reinstallation.
Remove The Cylinder From The Lock
After removing the screw, pull the cylinder straight out from the lock body. Wiggle it slightly if it feels stuck. Do not force it hard to avoid damage. Place the cylinder on a clean surface for the next steps.
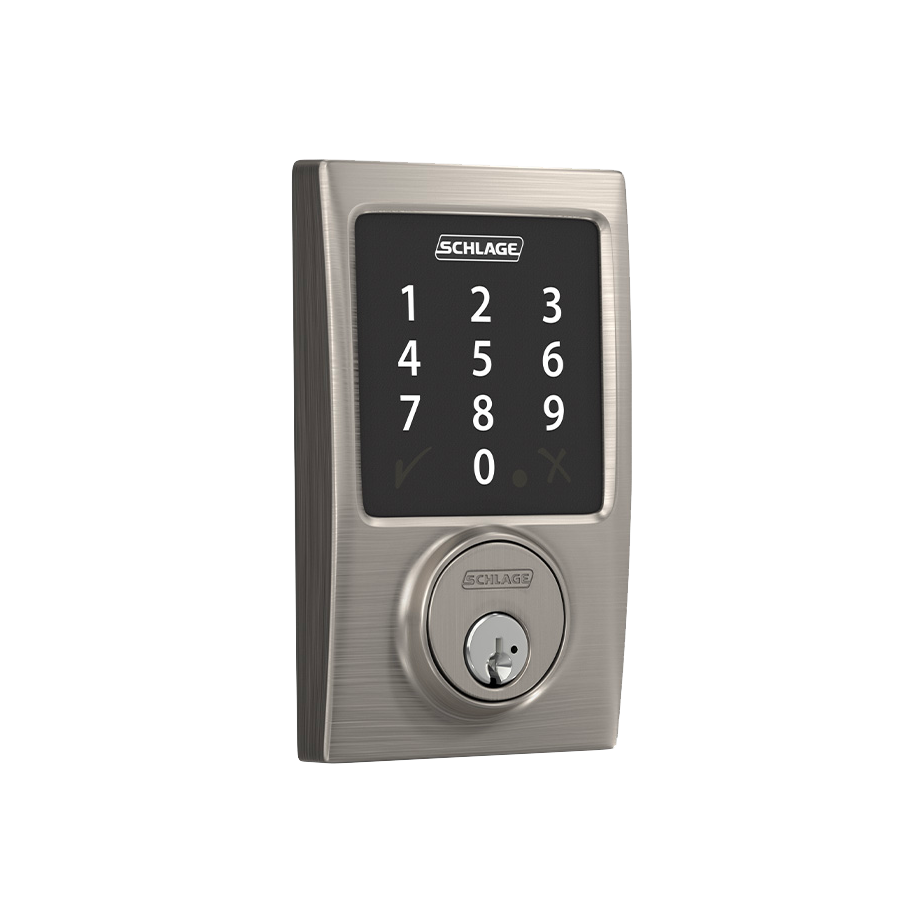
Credit: www.schlage.com
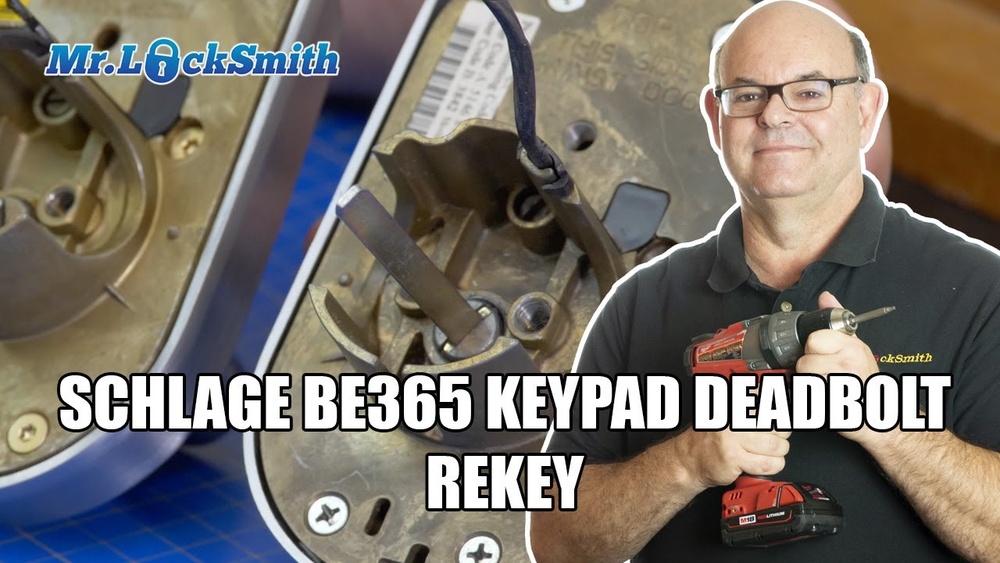
Disassemble The Cylinder
Disassembling the cylinder is the next step in rekeying your Schlage keypad deadbolt. This process lets you access the internal pins that control the lock’s key pattern. Careful handling is important to avoid damage. Take your time and follow each step closely.
Remove The Plug
First, locate the plug inside the cylinder. Insert the current key fully into the lock. Use a plug follower tool to push out the plug carefully. Keep the plug follower tight to avoid dropping pins inside. Remove the plug slowly to prevent parts from falling out.
Take Out Old Pins
With the plug removed, the pins will be visible. Use tweezers or a small tool to pull out each old pin. Note their sizes or keep them separate for reference. Removing all old pins prepares the cylinder for new ones. Clean the plug to remove any dirt or debris before reassembly.
Select New Pins
Selecting new pins is a key step in rekeying your Schlage keypad deadbolt. This step ensures your new key fits perfectly and the lock works smoothly. You will replace old pins with new ones that match your new key’s cuts. Careful selection and organization help avoid mistakes and make reassembly easier.
Match Pins To New Key
Look at the new key’s cuts carefully. Each cut has a depth. This depth tells you which pin size to use. Find pins that match these depths exactly. Use the pin chart that comes with your kit. Match each pin to the correct cut on the key. This step ensures the lock opens with your new key only.
Organize Pins For Reassembly
After matching, place the pins in order. Keep them in the same sequence as the key cuts. Use a small tray or container with sections. This prevents mixing pins up later. Organized pins save time and prevent errors. It makes putting the lock back together smooth and fast.
Reassemble The Cylinder
Reassembling the cylinder is a key step in rekeying your Schlage keypad deadbolt. This process restores the lock to work with your new key. It needs care and attention to ensure smooth operation.
Start by carefully inserting the new pins. These pins match your new key cuts. Each pin fits into a specific slot inside the cylinder. Placing them correctly is vital for the lock to turn properly.
Insert New Pins
Use the new key as a guide. Place the correct pin sizes into each chamber of the cylinder. The pins should sit flush and align with the key’s cuts. This alignment allows the plug to rotate freely when the key is inserted.
Take your time. Double-check each pin to avoid mistakes. Wrong pins can cause the lock to jam or not turn at all.
Replace The Plug
After setting the pins, slide the plug back into the cylinder housing. Insert it slowly to avoid moving the pins out of place. The plug must fit snugly but turn easily with the new key.
Test the key in the plug before fully assembling the lock. It should turn smoothly without sticking. If it binds, remove the plug and adjust the pins again.
Once the plug fits well, secure it with the retaining clip or screw. This step locks the plug in place and completes the cylinder reassembly.
Reinstall The Cylinder
Reinstalling the cylinder is a key step in rekeying your Schlage keypad deadbolt. This process ensures your lock works smoothly with the new key. Proper reinstallation keeps your home secure and your lock functioning correctly.
Take your time during this step. Small mistakes can cause the lock to jam or not turn properly. Follow each part carefully for the best results.
Align The Cylinder With The Housing
Start by placing the cylinder back into the deadbolt housing. Make sure the keyway lines up with the outside of the lock. The cylinder must sit flush and straight.
Secure The Cylinder With Screws
Use the screws removed earlier to fix the cylinder in place. Tighten them enough to hold the cylinder firmly. Avoid overtightening, which could damage the lock.
Test The Key Operation
Insert the new key and turn it gently. The cylinder should rotate smoothly without sticking. Check the deadbolt moves in and out easily.
Reattach The Deadbolt Assembly
Put the rest of the lock components back on the door. Ensure all parts fit properly and the keypad functions as before. Test the lock several times to confirm everything works.
Credit: www.schlage.com
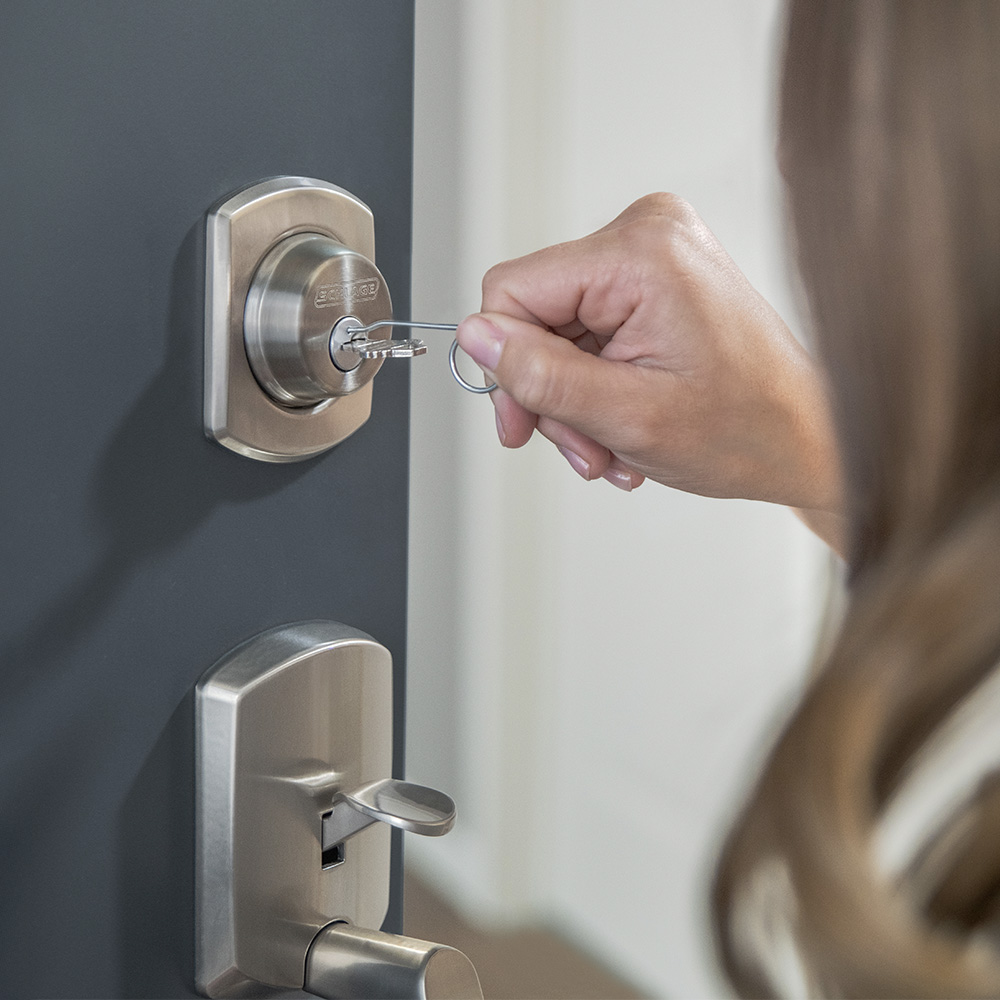
Test The New Key
After rekeying your Schlage keypad deadbolt, try the new key to ensure it works smoothly. Test each lock position carefully to confirm proper function. This step helps avoid any future lock issues.
Why Testing The New Key Matters
Testing the new key ensures your Schlage keypad deadbolt works correctly. It confirms the rekeying process was successful. Without testing, you might face lockouts or security risks. A smooth turn and proper locking mean peace of mind.
How To Test The New Key
Insert the new key into the deadbolt. Turn it slowly to unlock the door. Then, lock it back using the same key. Repeat this several times. Check for any stiffness or resistance in the lock.
What To Do If The Key Doesn’t Work
If the key feels stuck or won’t turn, do not force it. Remove the key and try again carefully. If problems persist, the pins might not be aligned right. Consider redoing the rekeying steps or seek professional help.
Troubleshooting Tips
Troubleshooting common issues during the rekeying process can save time and reduce frustration. Understanding basic problems helps you fix the lock quickly. Here are some tips to solve frequent troubles with your Schlage keypad deadbolt.
Key Won’t Turn
Check if the key is fully inserted. Sometimes dirt or debris blocks the keyway. Clean the key and lock with a soft brush. Lubricate the lock with graphite powder, not oil. Oil can attract dust and cause jams. Make sure you use the correct key for your lock model. If the key still won’t turn, the lock may be damaged or misaligned.
Deadbolt Sticks
Sticking deadbolts often result from dirt buildup or poor alignment. Clean the deadbolt and strike plate gently. Apply a small amount of graphite lubricant to the bolt. Check if the door frame is warped or swollen. Adjust the strike plate to ensure smooth movement. Tighten all screws on the lock and door frame. A sticking bolt can cause wear and make rekeying harder.
Credit: www.youtube.com
Frequently Asked Questions
How Do I Rekey A Schlage Keypad Deadbolt?
To rekey a Schlage keypad deadbolt, remove the lock from the door, disassemble the cylinder, replace the pins with a new key set, and reassemble. Follow the manufacturer’s instructions carefully for precise pin placement.
Can I Rekey A Schlage Keypad Without Special Tools?
No, rekeying a Schlage keypad deadbolt requires a pinning kit and a follower tool. These tools help remove and replace the cylinder pins accurately and prevent damage.
How Long Does It Take To Rekey A Schlage Deadbolt?
Rekeying a Schlage deadbolt typically takes 15 to 30 minutes. The time depends on your experience and having the right tools and instructions handy.
Is Rekeying A Schlage Keypad Deadbolt Cost-effective?
Yes, rekeying saves money compared to replacing the entire lock. It allows you to use new keys while keeping your existing hardware intact.
Conclusion
Rekeying your Schlage keypad deadbolt keeps your home safe. You can save money by doing it yourself. Follow each step with care and patience. Take your time to avoid mistakes. This skill helps you change keys anytime you want. Feel confident knowing you control your lock’s security.
Keep your tools ready for future use. Small efforts make a big difference in safety. Try it once, and you will find it easy. Stay secure and protect your home today.