If you’ve ever struggled with adding fasteners in SolidWorks, you’re not alone. Fasteners like bolts, nuts, and screws are essential for making your assemblies realistic and functional, but placing them manually can be time-consuming and tricky.
What if you could add them quickly, accurately, and with just a few clicks? In this guide, you’ll learn exactly how to add fasteners in SolidWorks using built-in tools like the Toolbox and Smart Fasteners. By the end, you’ll save time, reduce errors, and make your designs look professional.
Ready to master fasteners and speed up your workflow? Let’s dive in!
Credit: hawkridgesys.com
Solidworks Fasteners Basics
Understanding the basics of SolidWorks fasteners is important for any user. Fasteners connect parts together in an assembly. They help keep your design accurate and functional. SolidWorks offers several ways to add these components quickly.
Fasteners come in many shapes and sizes. Choosing the right type affects your assembly’s strength and appearance. SolidWorks makes it easy to select and place fasteners in your projects.
Types Of Fasteners Available
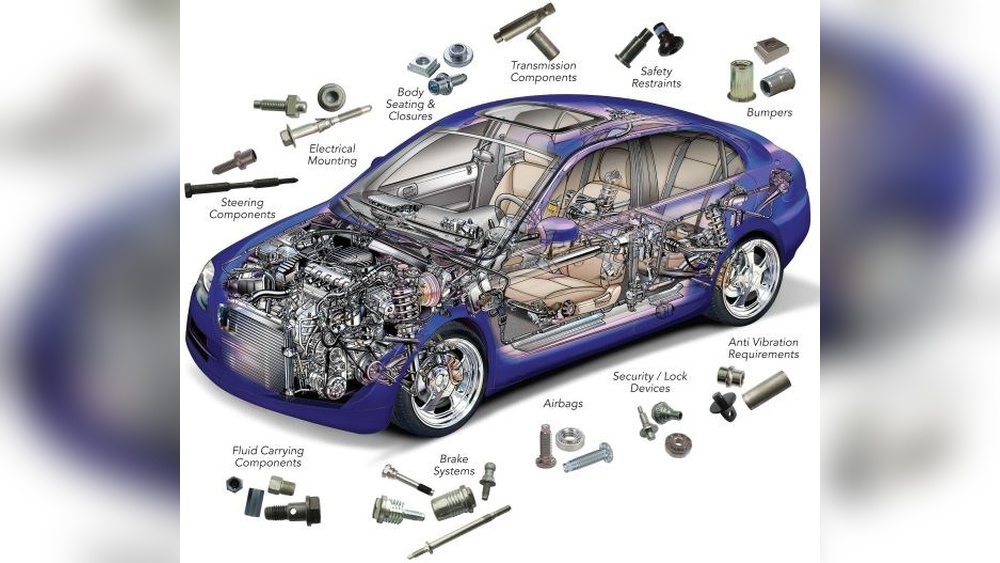
SolidWorks includes common fasteners like bolts, screws, nuts, and washers. Each type serves a specific purpose in joining parts. Bolts hold parts tightly, while nuts secure bolts in place. Washers distribute pressure evenly to avoid damage. The software also supports specialized fasteners for unique needs.
You can find metric and imperial fasteners in SolidWorks. This variety fits different standards and industries. The sizes and thread types match real-world components. This ensures your designs are ready for manufacturing.
Toolbox Vs Custom Fasteners
SolidWorks Toolbox is a built-in library with ready-to-use fasteners. It saves time by providing standard parts. Toolbox fasteners automatically adjust to hole sizes and fit your assembly. You can configure them to meet specific project needs.
Custom fasteners are created when standard parts do not fit your design. You can model these from scratch or modify existing parts. Custom fasteners offer flexibility for unique requirements. Keep them organized for easy reuse in other projects.

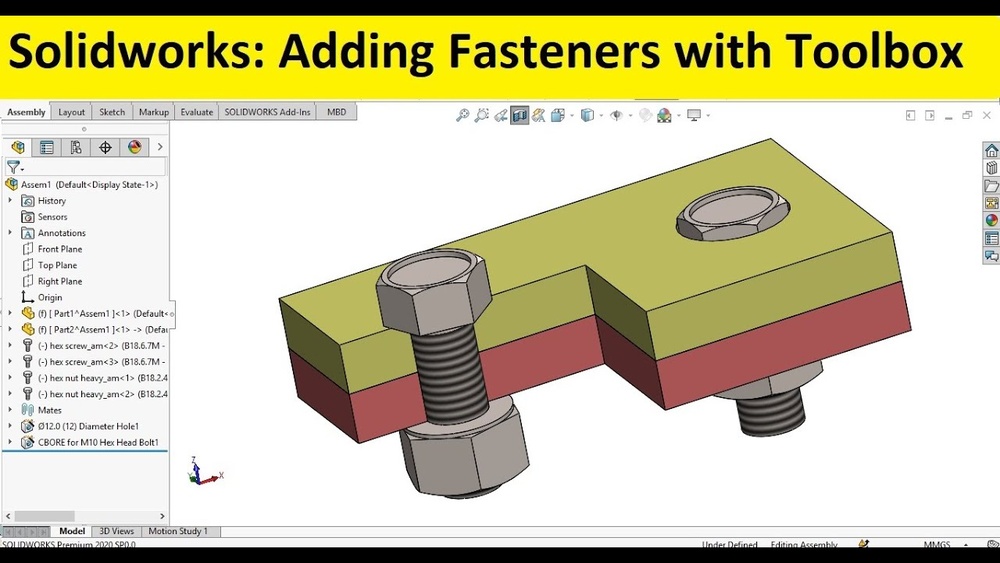
Credit: www.youtube.com
Preparing Assembly For Fasteners
Preparing your assembly for fasteners is a key step in SolidWorks design. It ensures parts fit together correctly. Good preparation saves time during the assembly process. It also prevents errors that can cause delays.
Start by creating accurate holes for screws or bolts. These holes guide where fasteners will be placed. Then, organize your fastener components for easy access. This organization helps you add fasteners quickly and accurately.
Using Hole Wizard For Holes
Hole Wizard is a powerful tool in SolidWorks. It creates precise holes matching fastener sizes. Choose the hole type, size, and position. SolidWorks then adds the correct hole to your part. This method avoids guessing hole dimensions. It ensures fasteners fit perfectly during assembly.
Use the Hole Wizard to define thread types and depths. This detail helps in selecting the right screws later. Position holes carefully to align parts correctly. Proper hole placement reduces assembly problems and rework.
Setting Up Design Library
The Design Library stores fastener models for easy use. Set it up with common nuts, bolts, and screws. This setup allows quick insertion of fasteners into your assembly. You can drag and drop parts from the library directly.
Organize your library by fastener types and sizes. This order helps find parts fast. Customize the library with any special fasteners you need. A well-prepared library speeds up the entire design process.
Adding Fasteners With Toolbox
Adding fasteners in SolidWorks becomes simpler with the Toolbox feature. Toolbox offers a ready library of nuts, bolts, screws, and washers. It saves time by automating the insertion process. You can customize fasteners to match your design requirements. The Toolbox integrates smoothly with assemblies, ensuring accurate placement.
Enabling Toolbox Settings
Start by opening SolidWorks and accessing the Toolbox options. Go to Tools > Options > System Options. Select the Hole Wizard/Toolbox tab to enable the Toolbox features. Choose the folder location where Toolbox parts are stored. Set preferences for default fastener sizes and styles. Confirm settings to activate Toolbox for your projects.
Inserting Nuts And Bolts
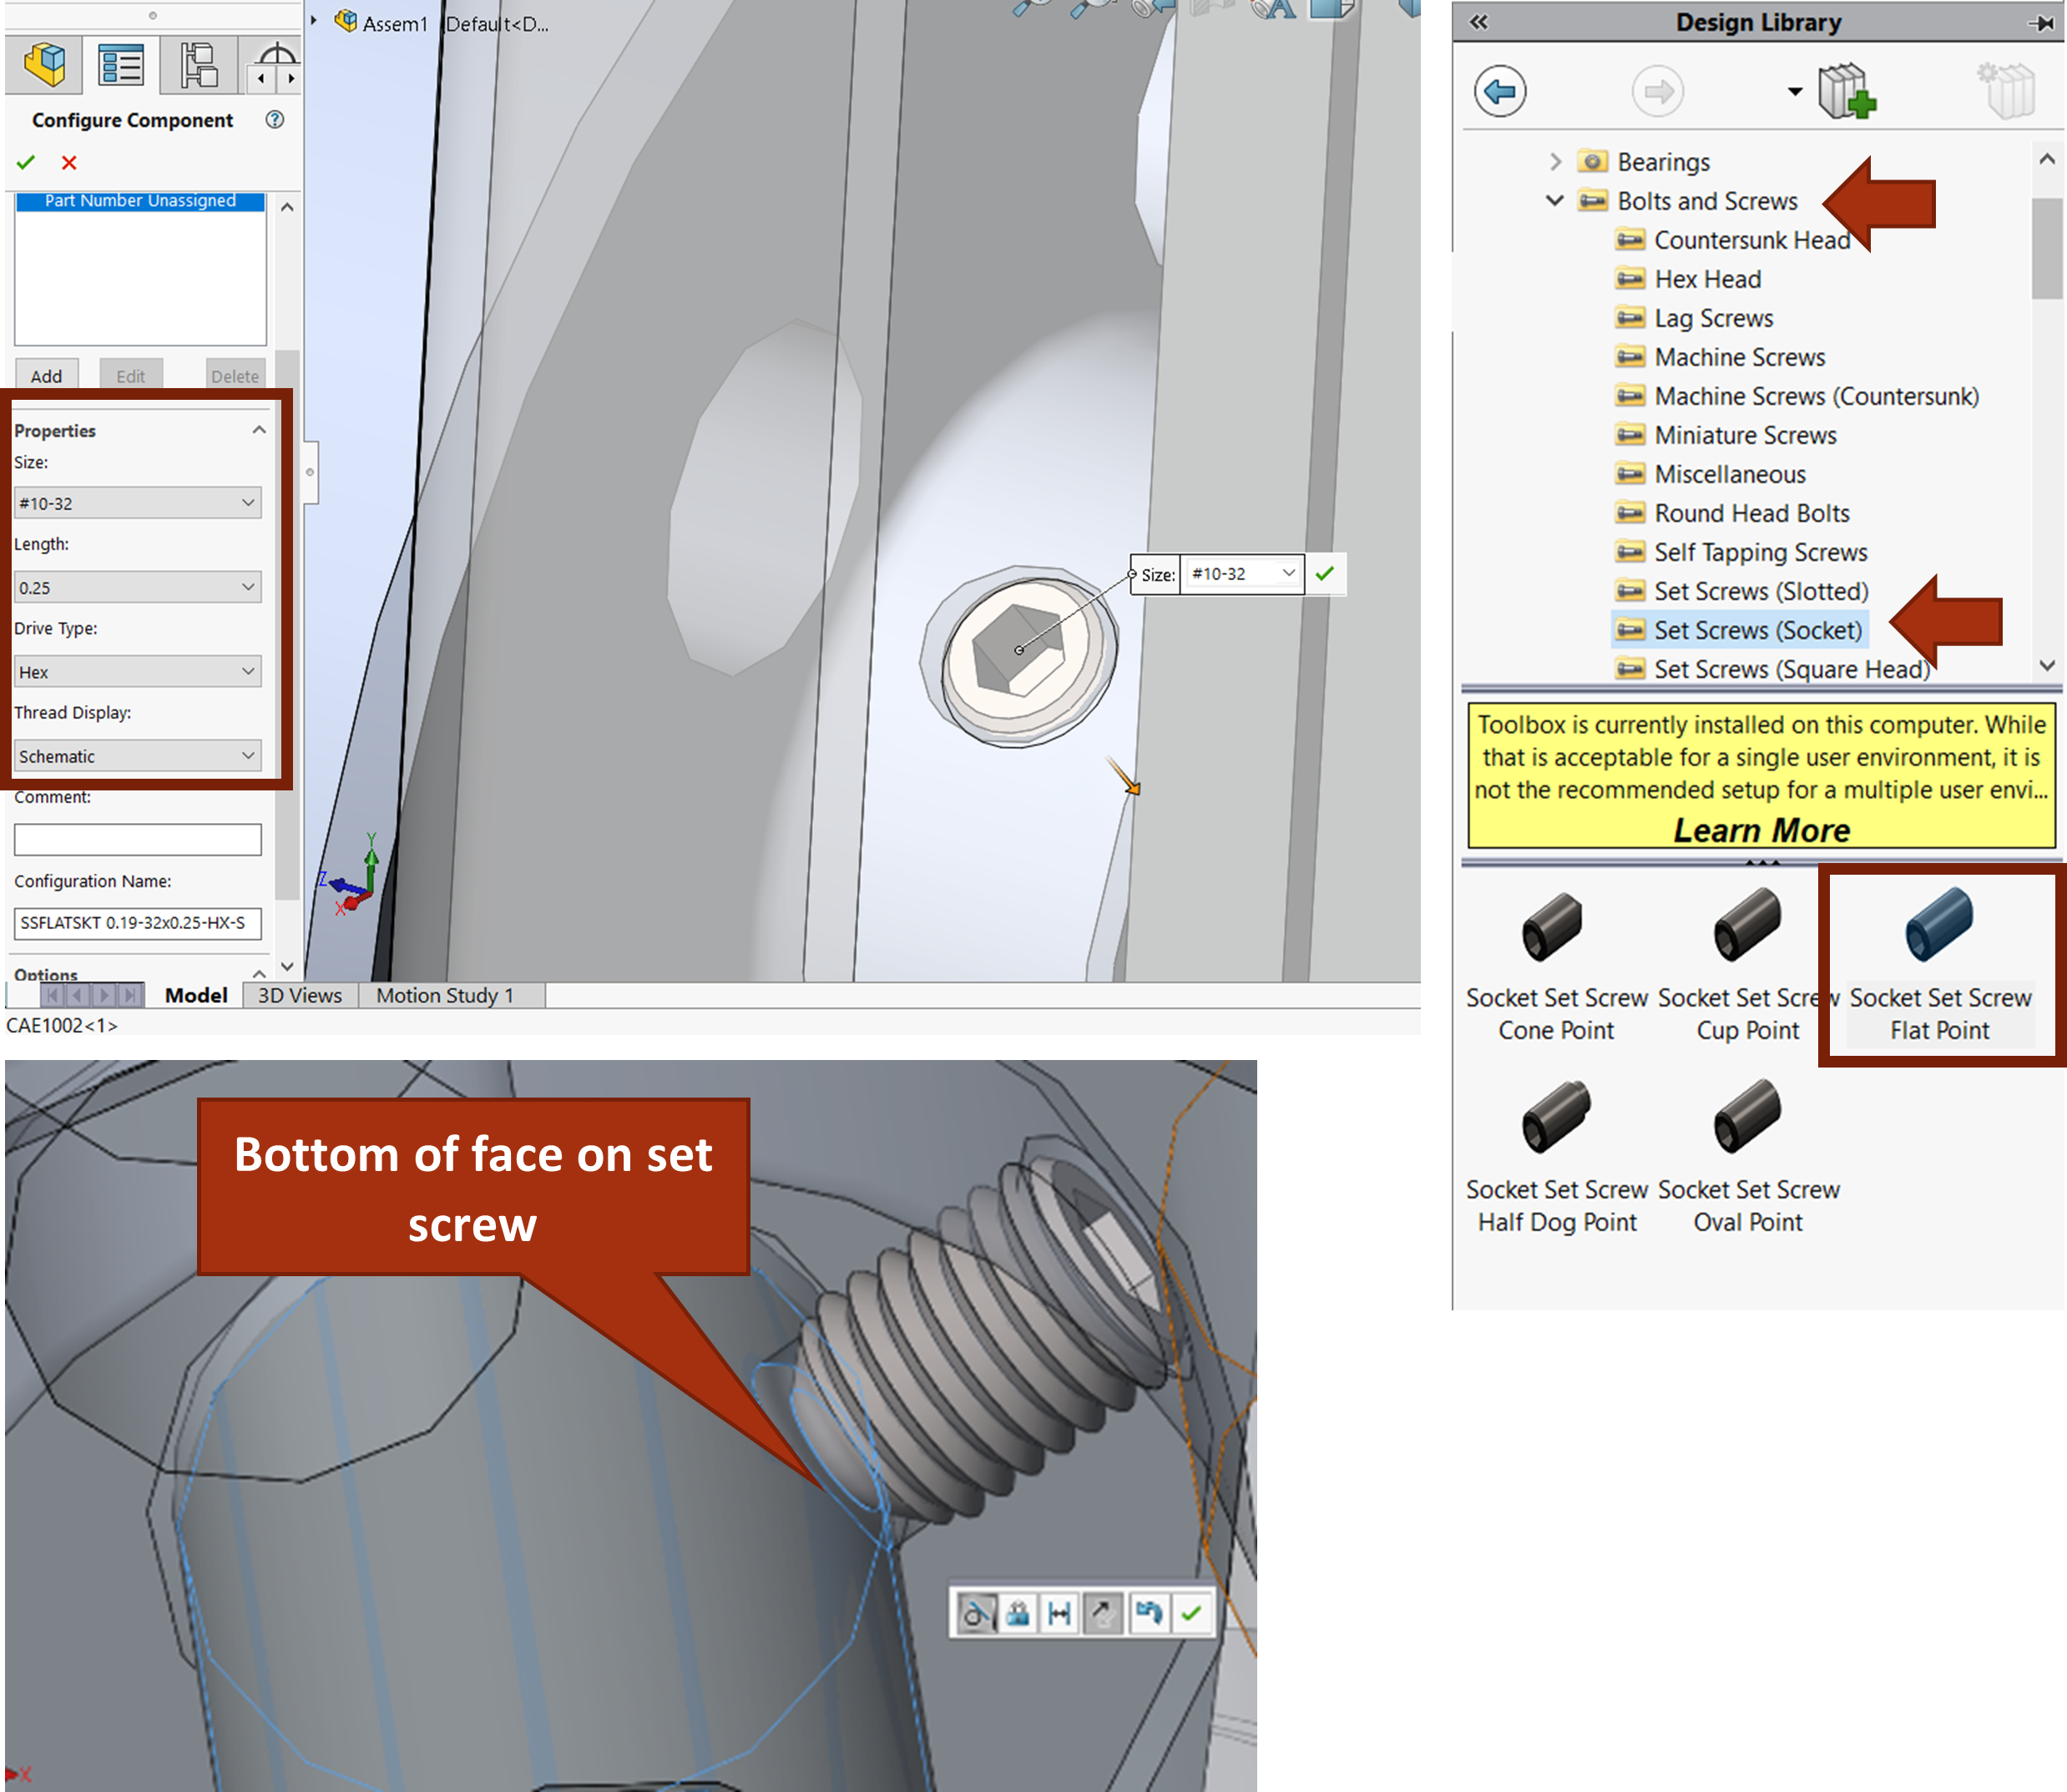
Open your assembly file where fasteners are needed. Click on the Toolbox icon in the Design Library pane. Browse through categories like bolts, nuts, and washers. Drag the desired fastener into your assembly workspace. SolidWorks automatically aligns the fastener with the selected hole. Adjust size or length using the property manager before placing.
Using Smart Fasteners Tool
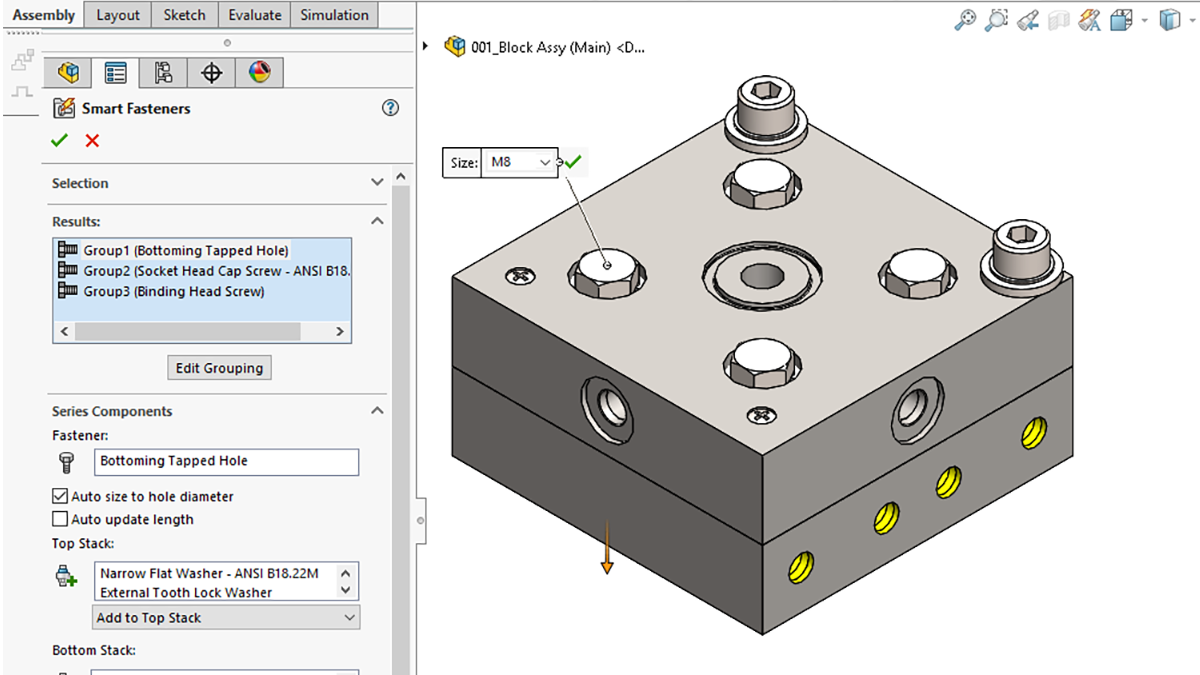
The Smart Fasteners tool speeds up fastener placement in assemblies. Select the holes or components requiring fasteners. Click on the Smart Fasteners button in the Assembly toolbar. SolidWorks inserts matching fasteners based on hole types and sizes. The tool also adds washers or nuts as needed. This method ensures consistent and accurate fastener use.
Mating Fasteners In Assemblies
Mating fasteners in assemblies ensures parts fit and function correctly. Proper mates control how fasteners move and connect components. This step is crucial for realistic assembly behavior. SolidWorks offers simple tools to set these mates. Understanding these options helps create precise models without errors.
Applying Standard Mates
Start by selecting the fastener and the part to mate. Use the Mate feature from the Assembly toolbar. Choose standard mates like Concentric to align holes and shafts. Apply Coincident mates to fix surfaces together.
These mates keep fasteners in the right position. They prevent unwanted movement during assembly checks. Use Distance mates to set gaps or spacing if needed. Standard mates create a solid base for more complex motions.
Using Screw Mates For Rotation
Screw mates allow rotation and translation simultaneously. This mimics how screws turn and move into a hole. Select the Screw Mate option under the Mechanical tab in Mate settings.
Pick the rotation axes of the fastener and the part. Set the pitch value matching the thread pitch of the fastener. This controls how far the fastener moves per rotation. Screw mates add realism to assemblies that include bolts or screws.
Creating Custom Fasteners
Creating custom fasteners in SolidWorks lets you tailor designs precisely to your needs. Standard fasteners may not always fit unique projects. Custom fasteners provide flexibility and accuracy in assemblies. This section guides you through modeling a bolt and saving it as a reusable part.
Modeling A Bolt From Scratch
Start by opening a new part file in SolidWorks. Use simple shapes like cylinders and cones to form the bolt shaft and head. Apply the thread feature by selecting the bolt’s cylindrical section. Adjust thread pitch and length to match your specifications. Add chamfers or fillets to smooth edges. Keep dimensions clear and consistent for easy adjustments later.
Saving Custom Fasteners
Once the bolt model is complete, save it in a dedicated folder for custom fasteners. Use clear, descriptive file names for quick identification. Create configurations if you want multiple sizes in one file. Integrate the custom fastener into your Toolbox by adding its location under Toolbox settings. This step helps access the fastener easily in future assemblies.
Patterning Multiple Fasteners
Patterning multiple fasteners in SolidWorks speeds up assembly creation. Instead of placing each fastener one by one, you can duplicate them across your model. This method ensures fasteners align correctly and maintain consistent spacing. It saves time and reduces errors in your design.
Using Pattern Driven Component Pattern
The Pattern Driven Component Pattern tool copies fasteners along a path or curve. Select the original fastener as the component to pattern. Then choose a sketch or edge as the pattern path. SolidWorks places copies evenly along that path.
This method is ideal for fasteners along edges or complex shapes. You can set the number of instances or spacing between fasteners. The pattern updates automatically if you change the path.
Tips For Efficient Fastener Placement
Start by placing one fastener correctly with all mates. Use the Toolbox for standard fastener sizes and types. Check the alignment and position before patterning.
Use appropriate mates to keep fasteners fixed during patterning. Avoid overlapping parts by adjusting spacing carefully. Preview the pattern before finalizing to catch any issues early.
Group fasteners logically based on assembly needs. This approach helps manage large assemblies easily and keeps designs organized.
Troubleshooting Common Issues
Troubleshooting common issues with fasteners in SolidWorks helps keep your assembly smooth. Problems like mate conflicts or misalignment can disrupt your design process. Fixing these errors quickly saves time and avoids frustration. This section guides you through easy solutions for common fastener problems.
Fixing Mate Conflicts
Mate conflicts happen when SolidWorks cannot solve the relationship between parts. This causes errors and warnings in the assembly. Check all mates connected to the fastener. Remove any redundant or conflicting mates. Use the “Suppress” option to test mates one by one. Ensure mates do not force parts into impossible positions. Clear conflicts by simplifying mate conditions. This improves assembly performance and stability.
Ensuring Proper Fastener Alignment
Fasteners must align correctly with holes or faces. Misalignment causes assembly errors and weak connections. Use the “Concentric” mate to align the fastener axis with the hole axis. Check the direction of the fastener to match the assembly design. Adjust the position using the “Distance” mate if needed. Verify no interference exists between parts. Proper alignment ensures a precise and functional assembly.
Credit: openwa.pressbooks.pub
Frequently Asked Questions
Does Solidworks Have Fasteners?
SOLIDWORKS includes fasteners through its Toolbox feature. Users add nuts, bolts, and screws as configurable parts or copies in assemblies. Smart Fasteners automate placement based on hole selections, speeding up assembly design and ensuring accurate component mating.
How To Get Smart Fasteners In Solidworks?
Open the Assembly tab in SOLIDWORKS and click the Smart Fasteners tool. Select holes to auto-add fasteners from Toolbox.
How To Mate Fasteners In Solidworks?
Click Mate or Insert > Mate in SOLIDWORKS. Select Screw under Mechanical tab. Choose rotation axes on components. Set revolutions per unit length. This mates fasteners quickly and accurately.
How To Create A Bolt In Solidworks?
Open SOLIDWORKS Toolbox, select the bolt type, size, and drag it into the assembly. Add mates to fix the bolt position.
Conclusion
Adding fasteners in SolidWorks simplifies your assembly process. It saves time and reduces errors in your design. Using the Toolbox and smart fasteners makes the task easier. Remember to select proper mates for accurate placement. Practice these steps to improve your skills gradually.
SolidWorks offers tools that support efficient and precise modeling. Keep exploring features to build better assemblies faster. Your projects will look more professional with correct fastener use. SolidWorks fasteners help you create strong and realistic designs.