Struggling with a headless fastener that just won’t come off? You’re not alone.
These tricky fasteners can cause frustration and slow down your project. But don’t worry—removing them is easier than you might think. You’ll discover simple, step-by-step methods to get that stubborn fastener out quickly and safely. Keep reading, and you’ll have the confidence to tackle this common problem without stress or extra costs.

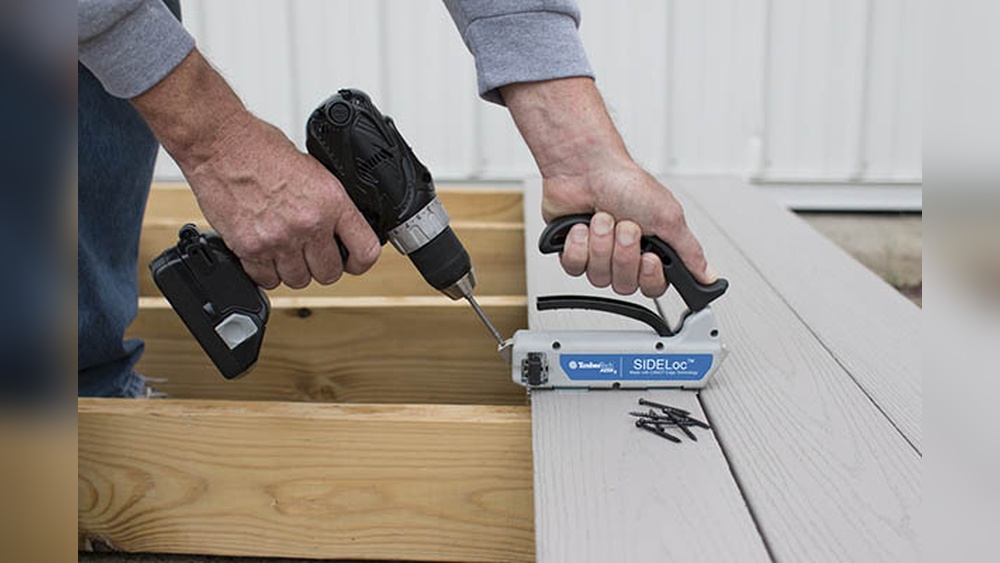
Credit: smart.dhgate.com
Types Of Headless Fasteners
Headless fasteners hold parts tightly without a visible head. They fit flush or below the surface. These fasteners are common in machinery and furniture. Knowing their types helps in removing them correctly.
Set Screws
Set screws are short and fully threaded. They press parts together without a nut. Usually, they have a hex or slot drive. They hold pulleys or gears on shafts. Removing them needs the right tool for the drive type.
Grub Screws
Grub screws are another name for set screws. They are small and headless. They sit entirely inside a threaded hole. They provide a tight grip with no part sticking out. Use an Allen key or screwdriver to remove them.
Hidden Fasteners
Hidden fasteners stay out of sight for a clean look. They secure panels or trim without visible screws. Some use clips or special screws under surfaces. Removing these needs finding their exact location first. Then use proper tools carefully.

Credit: www.reddit.com
Common Challenges In Removal
Removing headless fasteners can be tricky. Many people face problems that slow down their work. These challenges can make a simple task hard and frustrating. Understanding common issues helps to prepare better tools and methods.
Some fasteners are stuck tight or damaged. Others are hard to grip or break easily. Knowing these problems ahead saves time and effort. It also prevents damage to the parts around the fastener.
Stripped Threads
Stripped threads happen when the fastener’s grooves wear out. This makes it tough to turn or unscrew the fastener. Using wrong tools or too much force causes stripping.
Stripped threads mean the fastener slips inside the hole. It becomes almost impossible to remove by hand. Special tools like extractors or pliers are needed. Careful work is important to avoid more damage.
Corrosion And Rust
Corrosion and rust make fasteners stick to the surface. Moisture and air cause metal to corrode over time. Rust can fuse the fastener and the base together.
Removing rusty fasteners takes extra effort. Lubricants and rust removers help loosen the bond. Sometimes heating the area can expand metal and break rust.
Tight Fits
Tight fits occur when fasteners are pressed or hammered into place. They stay firmly in the hole with little movement. These fasteners resist turning or pulling out.
Removing tight fits often requires more force. Tools like wrenches, pliers, or hammers help loosen them. Gentle tapping or twisting can gradually free the fastener.
Tools Needed For Removal
Removing a headless fastener requires the right tools. Using proper tools saves time and effort. It also prevents damage to the surrounding material. Below are essential tools to have on hand for this task.
Hex Keys And Allen Wrenches
Hex keys and Allen wrenches fit inside hexagonal sockets. They provide good grip on fasteners with internal hex shapes. They work best if the fastener’s socket is still visible. Sizes vary, so keep a set for different fasteners. These tools allow controlled turning to loosen the fastener.
Screw Extractors
Screw extractors help remove stubborn or broken fasteners. They grip tightly onto damaged heads. Using a drill, they turn the fastener counterclockwise. This method pulls the fastener out of its hole. Extractors come in various sizes for different fasteners.
Pliers And Grips
Pliers and grips offer strong hold on fastener edges. Locking pliers clamp firmly and stay in place. They are ideal for fasteners without sockets or heads. Use them carefully to avoid slipping or damaging the material. These tools give extra leverage for tough removals.
Step-by-step Removal Techniques
Removing a headless fastener can be tricky. These fasteners lack a head, making them hard to grip. Using the right techniques can make the job easier. Follow these step-by-step methods to remove them safely and effectively.
Using Penetrating Oil
Start by applying penetrating oil on the fastener. Let it sit for 10 to 15 minutes. The oil seeps into rust and loosens the bond. Use a cloth to wipe away excess oil. This makes turning or pulling the fastener easier.
Applying Heat
Heat expands metal and breaks rust bonds. Use a heat gun or small torch carefully. Warm the fastener for about 30 seconds. Avoid overheating to protect nearby materials. After heating, try to loosen the fastener with pliers or a wrench.
Tapping And Vibrating Methods
Tap the fastener lightly with a hammer. This vibration helps break rust and debris. Use a punch or small nail for precise taps. Repeat tapping and try turning the fastener. Combine this method with oil or heat for best results.
Preventing Damage During Removal
Removing headless fasteners can be tricky. These fasteners sit flush with the surface, making damage easy during removal. Preventing damage is key to keeping your project clean and intact. Take small steps to protect the surrounding area and use the right tools carefully.
Protecting Surrounding Materials
Cover nearby surfaces with tape or cloth before starting. This prevents scratches or dents from tools slipping. Work slowly near delicate materials. Avoid direct contact between metal tools and painted or soft surfaces. A small shield can save big repairs later.
Avoiding Over-tightening
Do not force the fastener too hard. Over-tightening can strip the threads or break the fastener. Apply steady, gentle pressure instead. If the fastener does not move, pause and adjust your method. This reduces the risk of damage to both the fastener and the material.
Using Proper Tools
Select tools designed for headless fasteners. Specialty extractors or small screwdrivers often work best. Avoid makeshift tools that can slip or cause damage. Use a steady hand and keep tools aligned with the fastener. The right tools make removal safer and easier.

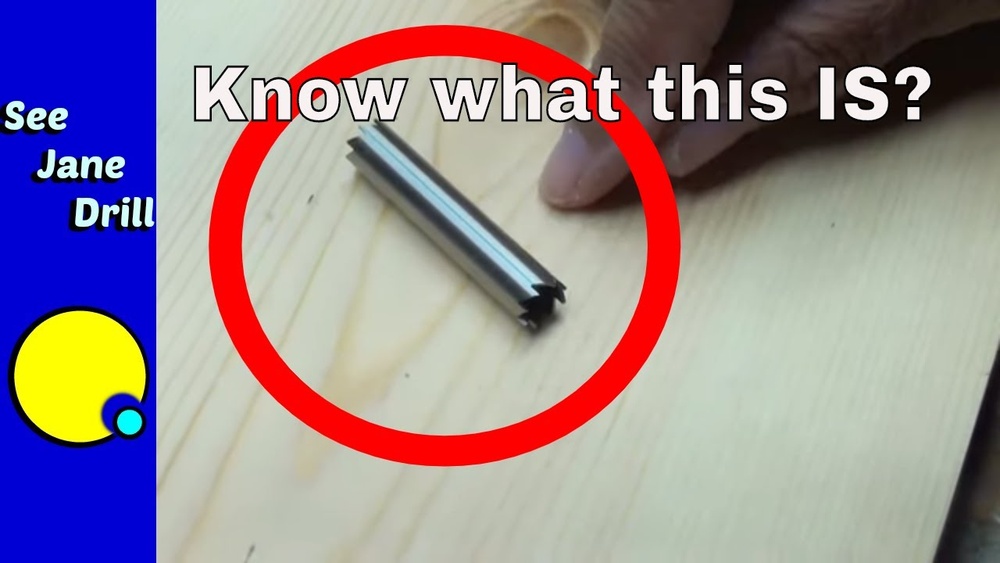
Credit: www.youtube.com
When To Seek Professional Help
Removing a headless fastener can be tricky. Some situations need more than basic tools and skills. Knowing when to seek professional help saves time and avoids damage. Professionals have the right tools and experience to handle tough cases safely.
Severe Damage Cases
Severe damage makes removal very hard. Fasteners that are rusted, broken, or deeply stuck need expert attention. Trying to remove them without skill can cause more harm. Professionals know how to deal with damaged fasteners without harming the surrounding material.
Specialized Equipment Needs
Some fasteners require special tools for removal. Tools like extractors, drills, or cutting machines may be needed. Professionals have access to these tools and know how to use them properly. Using the wrong tool can worsen the problem or cause injury.
Frequently Asked Questions
What Is A Headless Fastener?
A headless fastener is a type of bolt without a head. It is threaded on both ends for secure fastening. These fasteners are used in tight spaces where a traditional head would not fit.
How Do You Remove A Headless Fastener?
To remove a headless fastener, use a specialized extractor tool. First, drill a small hole in the fastener’s center. Then, insert the extractor and turn counterclockwise to unscrew it carefully.
Can I Remove A Headless Fastener Without Special Tools?
Removing a headless fastener without special tools is difficult. Alternatives include using pliers if enough of the fastener is exposed. However, this can damage the surrounding material or the fastener itself.
What Causes A Headless Fastener To Get Stuck?
Headless fasteners get stuck due to rust, corrosion, or over-tightening. Dirt and debris in the threads can also cause resistance during removal. Proper lubrication helps prevent these issues.
Conclusion
Removing a headless fastener can seem tough at first. Use the right tools and stay patient. Small steps make the job easier and safer. Always work carefully to avoid damage. Practice will help you get better each time. Now, you can handle headless fasteners with more confidence.
Keep these tips in mind for future projects. Simple methods lead to good results every time.