If you’ve ever struggled to keep papers or materials neatly together, learning how to make a brad fastener can change the way you organize forever. Imagine having a simple, sturdy tool that holds your documents firmly without damaging them.
You’ll discover easy steps to create your own brad fastener quickly and effectively. By the end, you’ll have a practical skill that saves you time and frustration. Ready to make your work neater and more professional? Let’s dive in.
Materials Needed
Gathering the right materials makes crafting a brad fastener easier and safer. This section lists what you need to prepare before starting. Proper materials help you create a strong and neat fastener.
Types Of Wire
Choose thin, flexible wire to form the brad fastener. Common options include brass wire, copper wire, or steel wire. Brass wire resists rust and bends easily. Copper wire is soft and easy to shape. Steel wire is strong but may need more effort to bend. Pick wire that is about 20 to 24 gauge for best results.
Tools Required
Prepare tools to cut and shape the wire. Wire cutters help you trim the wire cleanly. Needle-nose pliers allow precise bending and twisting. A small hammer can flatten parts of the wire if needed. A ruler or measuring tape ensures accuracy. These tools make the process smoother and faster.
Safety Gear
Protect your hands and eyes during the work. Wear safety glasses to guard against wire ends that might snap. Gloves protect your fingers from cuts and pinches. Use comfortable, close-fitting gloves so you can still feel the wire. Safety gear reduces the risk of injury while crafting.

Credit: www.amazon.com
Preparing The Wire
Preparing the wire is the first step in making a brad fastener. This step ensures the wire fits perfectly and works well. The wire must be strong and cut to the right size. Careful preparation saves time and effort later.
Choose wire that matches the thickness and strength needed. The wire should bend easily but stay firm. Too thick wire can be hard to shape. Too thin wire may break or bend too much.
Choosing The Right Length
Cutting the wire to the correct length is important. Too short wire will not fasten papers properly. Too long wire can be hard to handle and look messy.
Measure the length based on the number of pages to bind. Add a little extra length for bending the wire ends. This extra length helps secure the fastener tightly.
Cutting Techniques
Use sharp wire cutters for a clean cut. Dull cutters can crush or bend the wire. Hold the wire steady while cutting to avoid uneven ends.
Cut the wire at a right angle to keep ends straight. Smooth any sharp edges with a file or sandpaper. This step prevents paper damage and finger injury.
Shaping The Fastener
Shaping the fastener is a key step in making a brad fastener. This process gives the fastener its strength and ability to hold papers together securely. Each part must be formed carefully to ensure the fastener works well.
Forming The Prongs
Start by shaping the prongs from thin metal strips. These prongs should be narrow and long enough to pierce through papers. Use pliers or a small metal press to bend the ends slightly outward. This helps the prongs grip the papers without slipping.
Make sure the prongs are even in size and shape. Uneven prongs can cause the fastener to fail. Smooth the edges to avoid any sharp points that might tear the paper.
Creating The Head
The head holds the prongs together and prevents them from pulling through the paper. Use a small piece of metal or a washer to form the head. Press it firmly onto the prongs’ base.
Shape the head into a flat or slightly rounded form. This makes it easier to press down and secure the papers. Check that the head is tightly attached and will not come loose.

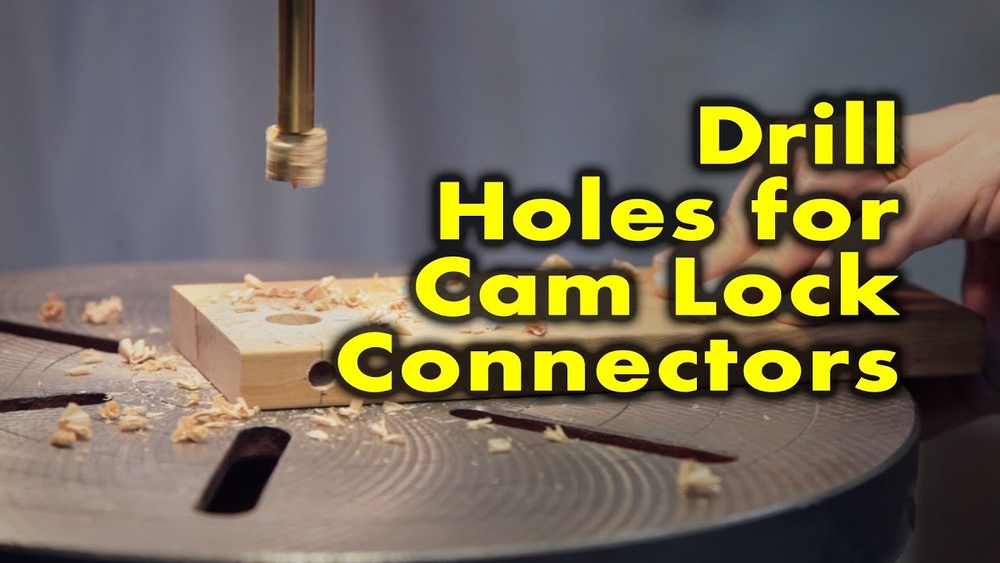
Credit: www.youtube.com
Using The Brad Fastener
Using the brad fastener is simple and effective for holding papers or light materials together. It works well for documents, crafts, and small projects. The process involves inserting the fastener and then securing it to keep items firmly in place.
Inserting Into Paper Or Materials
First, align the papers or materials you want to fasten. Take the brad fastener and push its prongs through the stack. Make sure the prongs go through all layers evenly. If needed, use a hole punch to create a clean hole. This helps the fastener slide in easily without tearing the paper.
Securing The Fastener
After inserting, open the prongs wide on the back side. Spread them flat against the paper to hold everything tight. Press firmly to prevent movement. The flat prongs keep the papers from slipping out. This step is important for a secure hold that lasts.
Tips For Quick Repairs
Quick repairs save time and keep projects moving smoothly. Knowing how to fix brad fasteners fast helps avoid delays. Using the right tools and techniques makes the job easier. Small tips can make a big difference in repair speed and quality.
Common Mistakes To Avoid
Do not force the fastener if it feels stuck. Forcing can break the tool or damage the material. Avoid using rusty or dull brads; they do not hold well. Skipping alignment checks leads to uneven fastening and weak joints. Never reuse bent or damaged fasteners. This causes poor grip and may ruin the project.
Maintenance Of Fasteners
Keep brad fasteners dry and clean to prevent rust. Store them in a sealed container to avoid dust and moisture. Check fasteners before use for any bends or defects. Replace old fasteners regularly to ensure strong holds. Proper storage and care extend the life of your fasteners.

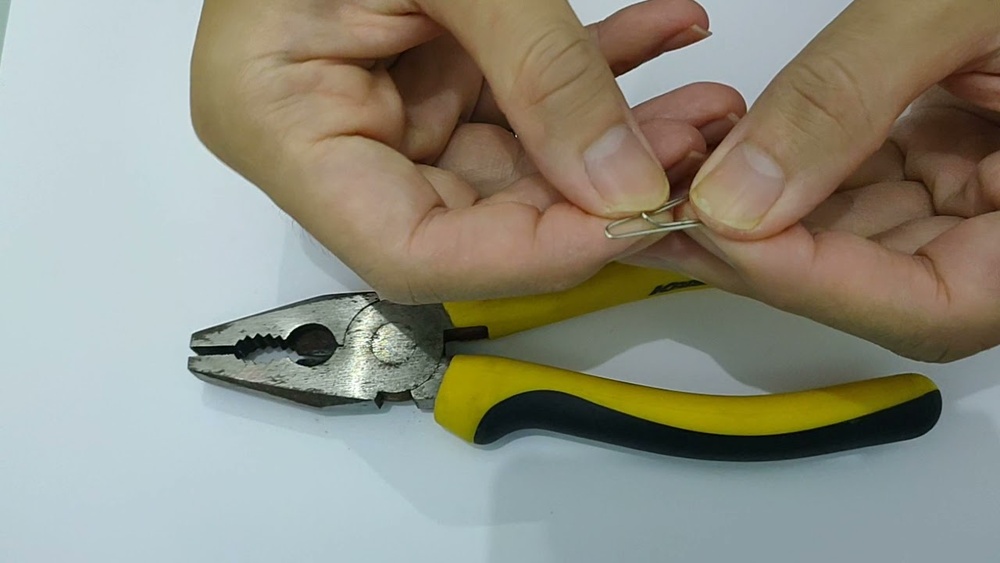
Credit: www.walmart.com
Frequently Asked Questions
What Materials Are Needed To Make A Brad Fastener?
To make a Brad Fastener, you need metal brads, a paper punch, and a split pin. These materials are easily available and affordable for DIY projects.
How Do I Assemble A Brad Fastener Step-by-step?
First, punch holes in the papers. Then, insert the brad through the holes. Finally, spread the brad’s prongs to secure the papers.
Can I Customize A Brad Fastener’s Size And Color?
Yes, you can choose brads of different sizes and colors. This customization helps match your project’s style and requirements effectively.
What Are Common Uses For Brad Fasteners?
Brad Fasteners are ideal for binding papers, scrapbooking, and crafts. They provide a simple, reusable way to hold documents or decorations together.
Conclusion
Making a brad fastener can be simple and useful. You only need a few tools and steps. This skill helps in organizing papers or crafts neatly. Practice a couple of times to get better results. Keep your workspace clean and safe while working.
Soon, you will create fasteners that hold items firmly. Try this method and see how handy it can be. Small projects like this make everyday tasks easier. Give it a go and enjoy your new skill!