Are your kitchen cabinet handles looking dull or sticky? Cleaning hardware on kitchen cabinets might seem like a small task, but it can make a big difference in how your entire kitchen feels.
You don’t need fancy tools or harsh chemicals to bring back that shine. You’ll discover simple, effective ways to clean your cabinet hardware quickly and safely. By the end, your kitchen will look fresher, and you’ll feel proud every time you open a door.
Ready to make your cabinets sparkle? Let’s dive in.
Credit: hapnyhome.com
Choosing The Right Cleaner
Choosing the right cleaner for your kitchen cabinet hardware is important. The right product keeps the hardware shiny and working well. It also protects the finish and avoids damage. Understanding different cleaner types helps you pick what suits your needs best.
Types Of Cleaners For Cabinet Hardware
Cleaners come in many forms. There are sprays, wipes, liquids, and pastes. Some are made for metal, others for wood or plastic. Mild soaps and dish detergents can work well on most surfaces. For tougher grime, stronger products may be needed. Always choose a cleaner that matches your hardware material.
Natural Vs Chemical Options
Natural cleaners use ingredients like vinegar, baking soda, and lemon. They are gentle and safe for most finishes. Chemical cleaners contain stronger ingredients to remove tough stains. They work faster but may harm delicate surfaces. Natural options are good for regular cleaning. Chemicals are better for deep cleaning, but use with care.
Safety Considerations
Always read the label before using any cleaner. Some chemicals can irritate skin or eyes. Use gloves to protect your hands. Work in a well-ventilated area to avoid breathing fumes. Test a small hidden spot first to check for damage. Keep cleaners away from children and pets.

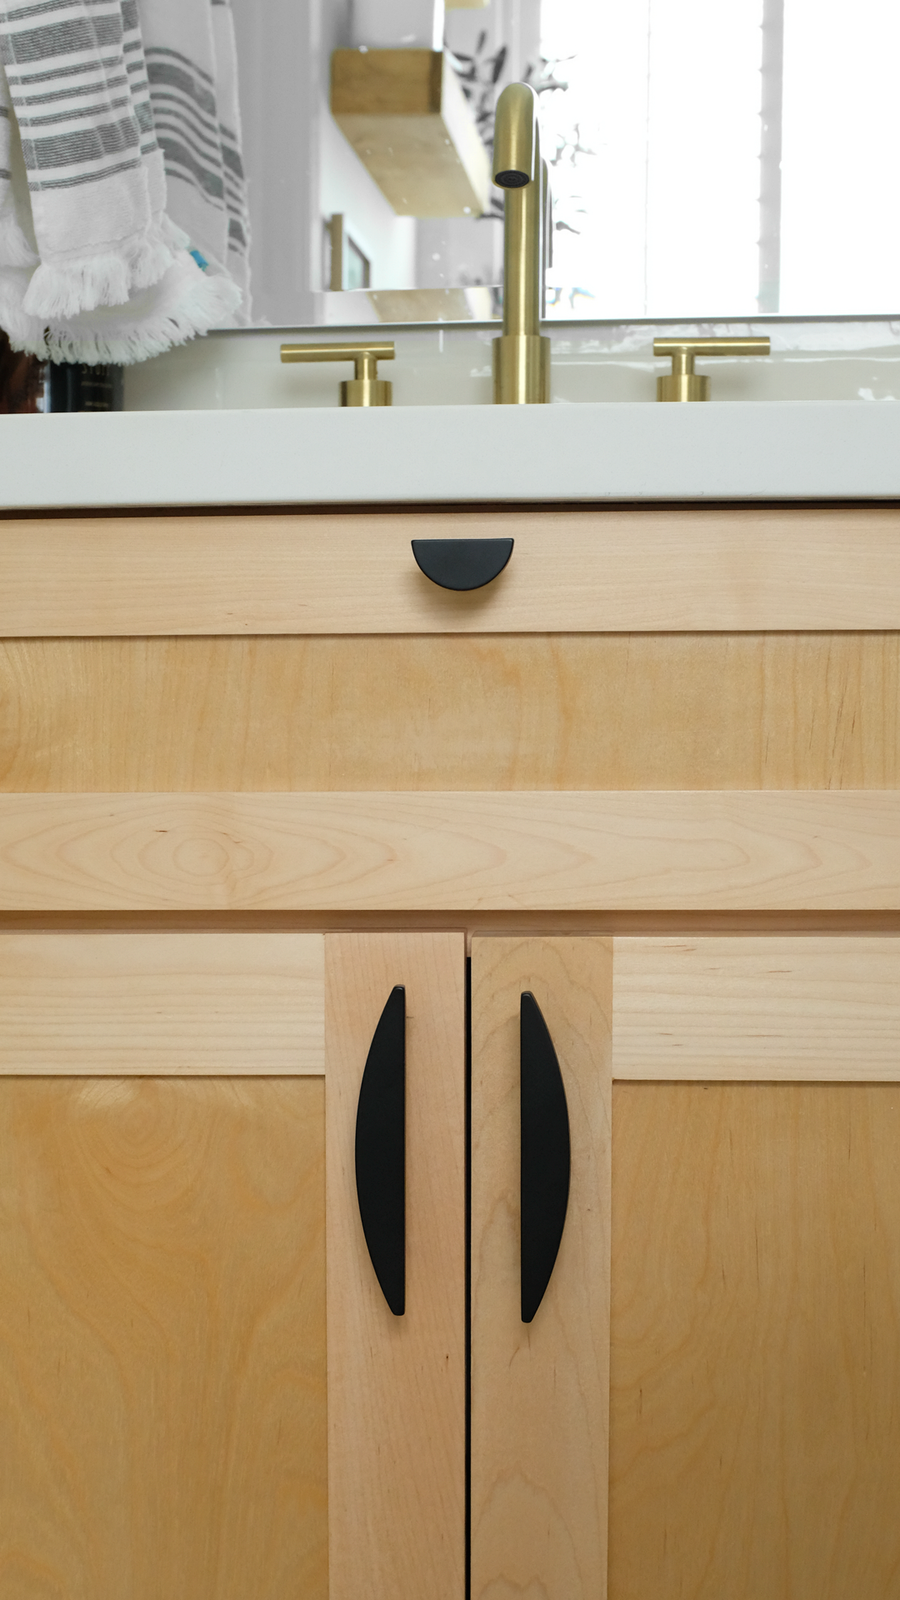
Credit: www.reddit.com
Preparing The Hardware For Cleaning
Cleaning kitchen cabinet hardware starts with careful preparation. This step makes the process easier and protects your cabinets. Proper preparation helps avoid damage and keeps everything neat.
Focus on removing the hardware safely and protecting the surrounding surfaces. These tasks help you clean thoroughly and prevent accidents.
Removing Hardware Safely
Use the right tools like a screwdriver to remove handles and knobs. Turn screws slowly to avoid stripping them. Keep screws and hardware pieces in a small container. This prevents losing any parts during cleaning.
Work gently to avoid scratching the cabinet doors. If hardware feels stuck, apply a little oil or lubricant. Wait a few minutes before trying again. This softens any grime or paint holding the hardware in place.
Protecting Surrounding Surfaces
Cover cabinet surfaces near the hardware with painter’s tape. This shields paint and wood from scratches. Use soft cloths or paper towels to protect areas during cleaning.
Place a towel or old cloth under the hardware pieces. This prevents them from rolling or falling during cleaning. Clean surfaces carefully without using harsh chemicals. Protecting your cabinets keeps them looking new.
Cleaning Techniques For Different Materials
Cleaning hardware on kitchen cabinets varies by material type. Each material needs a special approach to keep it shiny and lasting longer. Using the right technique avoids damage and maintains the hardware’s look. Below are easy ways to clean common materials found on cabinet hardware.
Brass And Bronze Hardware
Brass and bronze often develop a patina or tarnish. Use a soft cloth with mild soap and warm water. Rub gently to remove dirt. For tough spots, mix lemon juice with baking soda into a paste. Apply carefully, then rinse and dry well. Avoid harsh cleaners that can scratch or dull the finish.
Stainless Steel Handles
Stainless steel handles resist rust but can show fingerprints. Clean with a soft cloth and warm, soapy water. Wipe in the direction of the grain. For extra shine, use a small amount of olive oil or a stainless steel cleaner. Dry completely to prevent water spots and streaks.
Chrome And Nickel Finishes
Chrome and nickel finishes look bright but scratch easily. Use a gentle cleaner like dish soap with water. Avoid abrasive pads or brushes. Dry with a microfiber cloth for a sparkling finish. For extra care, polish with a small amount of baby oil or a chrome-specific product.
Wooden Knobs And Accents
Wood knobs need careful cleaning to avoid water damage. Dust with a dry cloth first. Lightly wipe with a damp cloth and mild soap if needed. Do not soak the wood. Dry immediately with a soft towel. Apply wood polish or wax to keep the wood nourished and shiny.
Removing Stubborn Stains And Build-up
Removing stubborn stains and build-up from kitchen cabinet hardware keeps your kitchen looking fresh. Dirt, grease, and rust can make handles and knobs look old and dirty. Cleaning these tough spots takes the right tools and methods. This section explains easy ways to clean and restore your hardware.
Dealing With Grease And Grime
Grease and grime build up fast on cabinet handles. Use warm water with mild dish soap. Soak a soft cloth in the solution and wipe the hardware gently. For thick grime, use a soft toothbrush to scrub the tight areas.
Rinse with clean water and dry with a soft towel. Avoid harsh chemicals that can damage the finish. Repeat if needed for stubborn spots.
Handling Tarnish And Rust
Tarnish dulls metal hardware, while rust eats away the surface. Use a paste of baking soda and water to remove tarnish. Apply the paste with a soft cloth, rub gently, then rinse and dry.
For rust, soak a cloth in white vinegar and wrap it around the hardware. Let it sit for 30 minutes. Scrub lightly with a soft brush. Rinse well and dry completely to stop rust from returning.
Drying And Polishing Hardware
Drying and polishing hardware on kitchen cabinets is a key step. Proper care keeps handles and knobs bright and lasting longer. It removes water spots and prevents rust or tarnish. Taking time to dry and polish also improves the overall look of your kitchen.
Best Practices For Drying
Use a soft, clean cloth to dry hardware thoroughly. Avoid air drying to stop water marks from forming. Pat the hardware gently instead of rubbing hard. Make sure to dry around edges and inside crevices. A microfiber cloth works best for soaking up moisture. Check each piece carefully before moving to polishing.
Polishing Tips For Shine And Protection
Choose a polish suitable for your hardware’s material. Apply a small amount on a soft cloth, not directly on hardware. Use gentle, circular motions to spread the polish evenly. Allow the polish to sit for a few minutes to protect the surface. Buff the hardware with a clean cloth until it shines. Regular polishing keeps hardware looking new and guards against damage.
Reinstalling Cabinet Hardware
Reinstalling cabinet hardware is a key step after cleaning. Proper reinstallation helps keep cabinets functional and looking neat. It prevents loose handles and ensures smooth use.
Take time to check each piece before putting it back. Follow a careful process to avoid damage or mistakes.
Checking For Damage
Inspect each handle and knob for cracks or bends. Look at screws for rust or stripping. Damaged parts can cause problems later. Replace any broken hardware before reinstalling. This keeps cabinets safe and secure.
Proper Tightening Techniques
Use the right screwdriver size to avoid stripping screws. Tighten screws firmly but not too tight. Over-tightening can crack wood or strip threads. Check that hardware sits flush against the cabinet surface. Test each handle to ensure it feels secure and does not wiggle.
Regular Maintenance Tips
Regular maintenance keeps your kitchen cabinet hardware clean and shiny. Small efforts every week stop dirt and grime from building up. This saves time and effort later. Follow easy tips to keep your hardware looking new.
Cleaning Schedule Suggestions
Clean your cabinet hardware at least once a week. Use a soft cloth and mild soap. Avoid harsh cleaners that can damage the finish. Wipe dry with a clean towel after cleaning. For heavy use areas, clean twice a week. Regular wiping prevents sticky residue and fingerprints.
Preventing Future Build-up
Keep your kitchen dry to avoid grime buildup. Wipe spills immediately. Avoid using oily or greasy hands on hardware. Use a soft brush to clean hard-to-reach areas. Consider applying a light coat of wax for metal hardware. This helps protect and makes future cleaning easier.
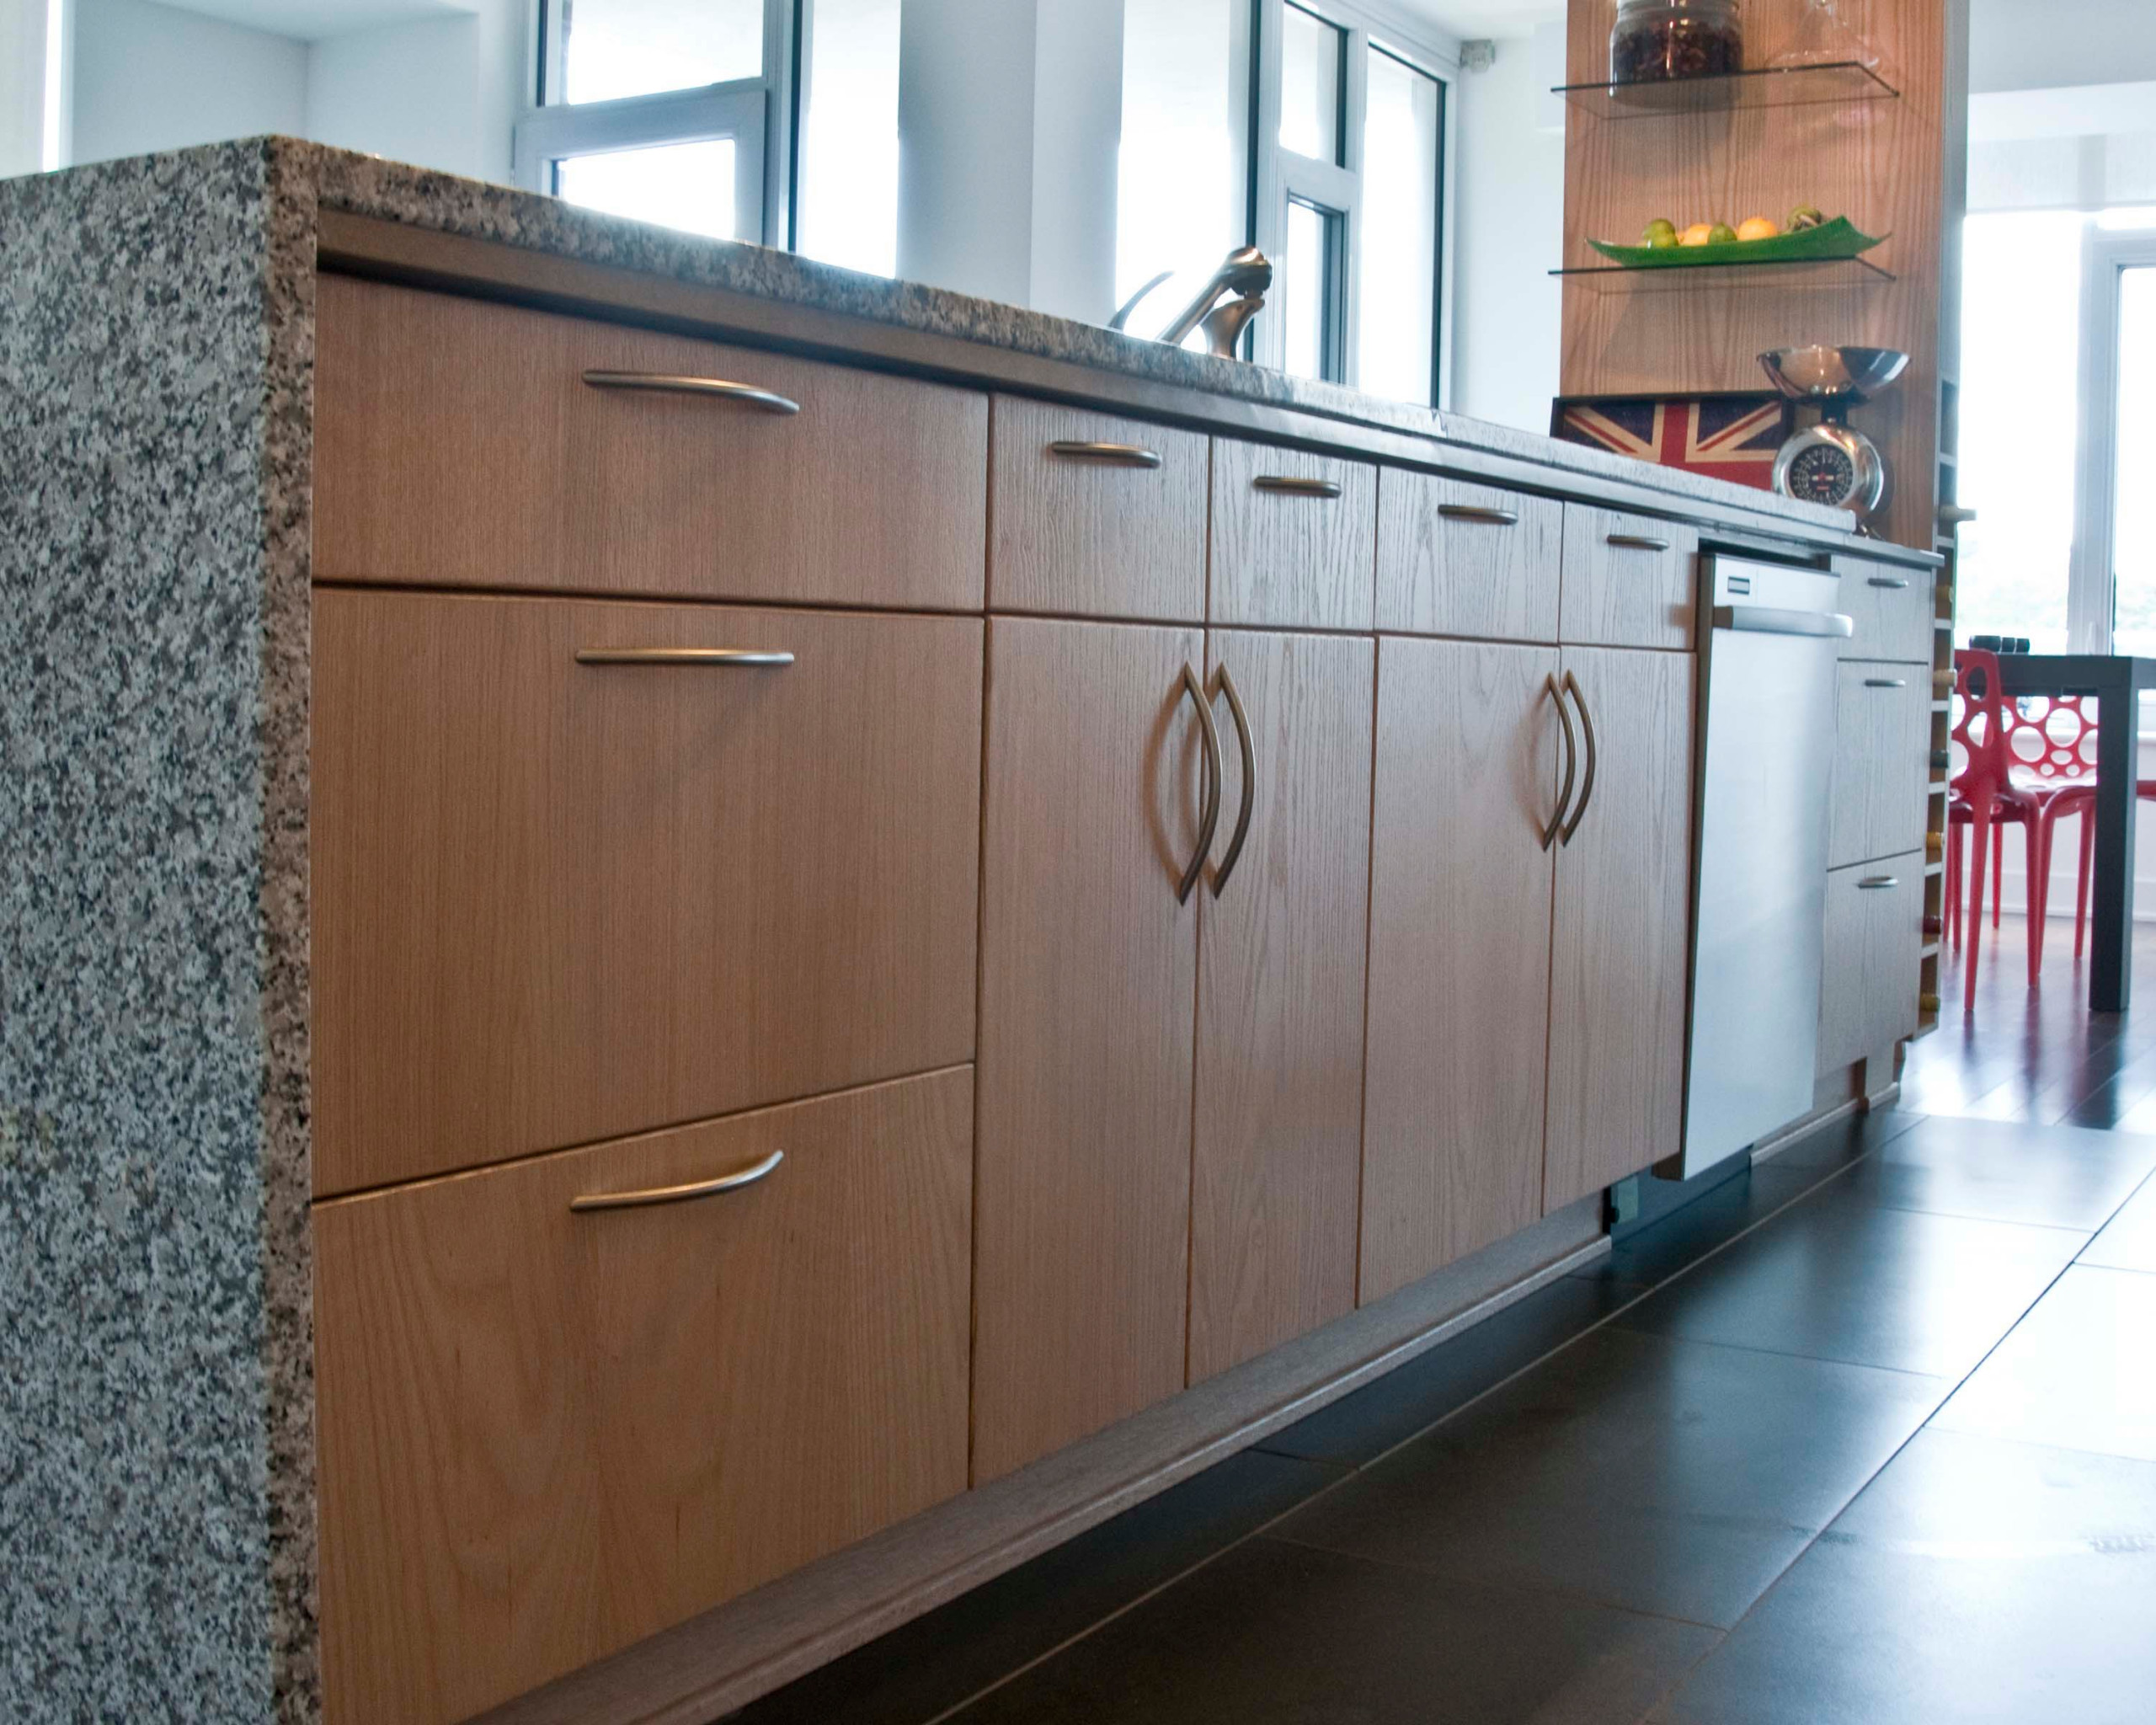
Credit: www.deslaurier.com
Frequently Asked Questions
How Do I Clean Kitchen Cabinet Hardware Safely?
Use a mild soap and warm water solution. Avoid harsh chemicals that damage finishes. Gently scrub with a soft cloth or toothbrush. Dry hardware completely to prevent rust or tarnish.
What Is The Best Cleaner For Metal Cabinet Handles?
A mixture of dish soap and warm water works well. For tougher grime, use a baking soda paste. Avoid abrasive cleaners that scratch or dull metal surfaces.
How Often Should I Clean Kitchen Cabinet Hardware?
Clean hardware every few weeks to prevent buildup. Regular wiping keeps handles shiny and hygienic. Deep clean monthly to remove grease and dirt effectively.
Can I Clean Wooden Cabinet Hardware Without Damage?
Yes, use a damp cloth and mild soap. Avoid soaking or harsh chemicals that harm wood. Dry immediately to prevent moisture damage or warping.
Conclusion
Cleaning hardware on kitchen cabinets keeps your space fresh and neat. Regular care stops dirt and grime from building up. Use gentle cleaners and soft cloths to avoid damage. Small steps make a big difference over time. A clean kitchen looks inviting and feels better to use.
Try these easy tips to keep your cabinet hardware shining bright. Simple habits help your kitchen stay in top shape. Clean hardware brings a nice touch to your home every day.