Are you worried that your brake lights might not be working properly? Your brake light switch plays a key role in keeping you and others safe on the road.
If it’s faulty, your brake lights won’t signal when you press the pedal, increasing the risk of accidents. But don’t worry—you don’t need to be a mechanic to check it yourself. In this guide, you’ll learn simple steps to test your brake light switch quickly and easily.
Keep reading to make sure your brake lights are working perfectly every time you hit the brakes.
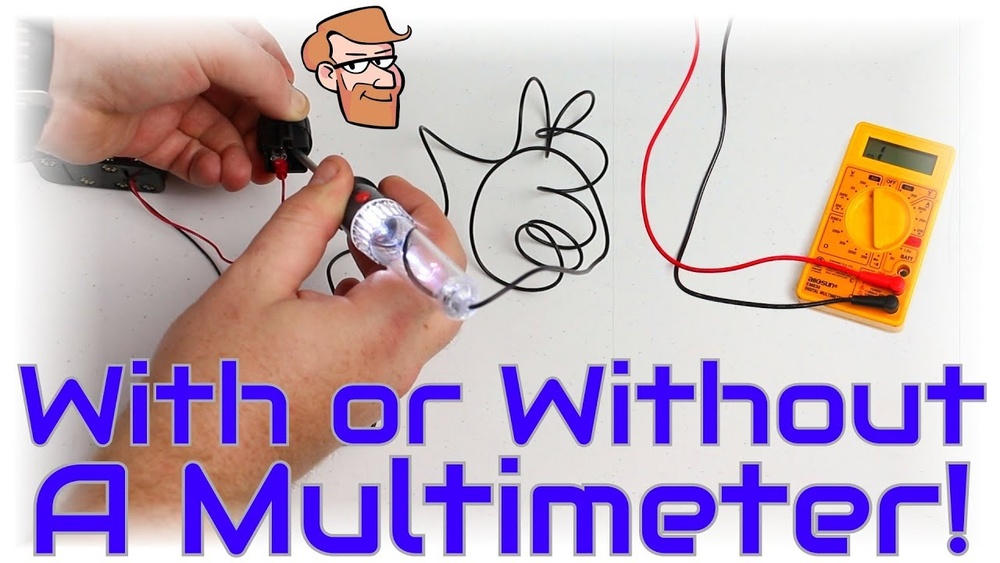
Credit: www.howacarworks.com
Signs Of A Faulty Brake Light Switch
The brake light switch plays a vital role in vehicle safety. It signals drivers behind you when you press the brake pedal. A faulty switch can cause brake lights to fail or stay on. This can confuse other drivers and increase accident risk. Recognizing signs of a bad brake light switch helps you fix problems early. Keep your vehicle safe by knowing what to watch for.
Common Symptoms
Brake lights that do not turn on are a clear sign. Sometimes, lights stay on even when you release the pedal. This drains the car battery quickly. You might notice the cruise control stops working. The gear shift may not move out of park. These issues often point to a bad brake light switch.
Safety Risks
Broken brake lights increase the chance of rear-end collisions. Drivers behind cannot see when you slow down. This causes dangerous situations on busy roads. Faulty switches may also affect other safety features. Anti-lock brakes and stability control may fail to work right. Fixing the brake light switch keeps you and others safe.

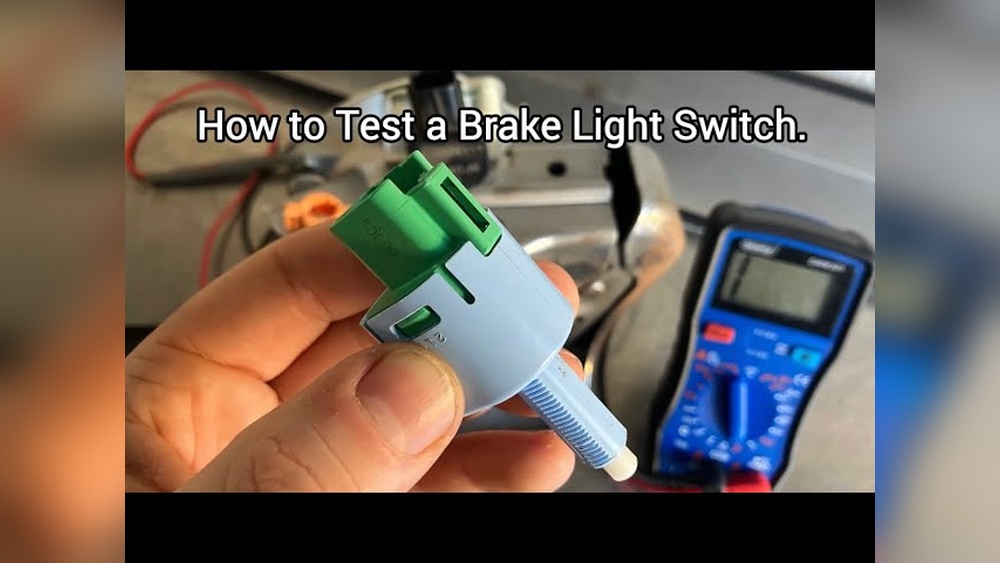
Credit: www.youtube.com
Tools Needed For The Check
Checking the brake light switch requires some basic tools. These tools help you test and inspect the switch easily. Having the right tools saves time and effort. It also makes the process safer and more accurate.
Some tools are essential for any brake light switch check. Others are optional but can make diagnosis faster and simpler. Knowing which tools to use helps you prepare well before starting the work.
Basic Tools List
- Screwdrivers – To remove panels and access the switch
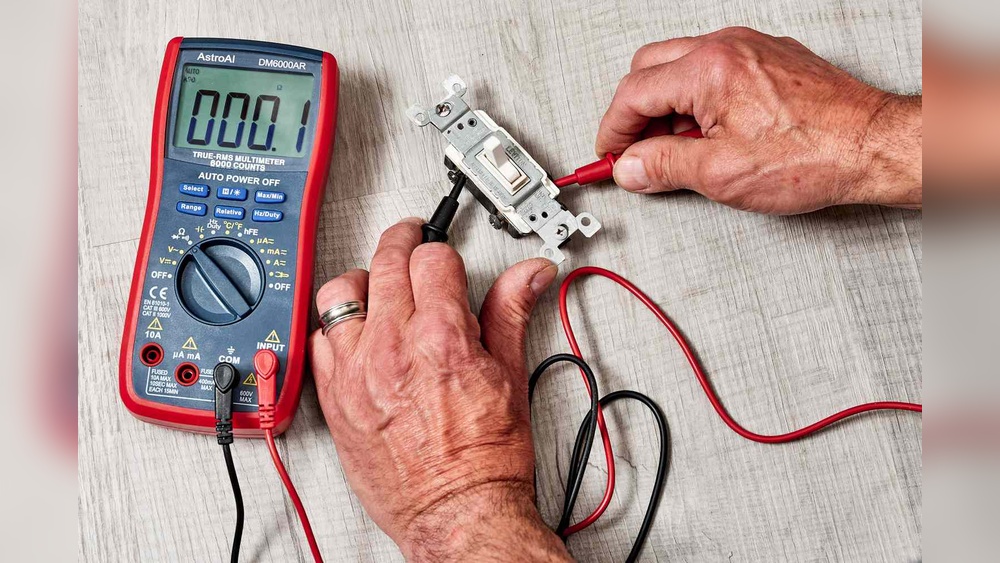
- Multimeter – To test electrical continuity and voltage
- Pliers – To hold or adjust small parts
- Socket set – To remove bolts if needed
- Flashlight – To see clearly in tight spaces
Optional Diagnostic Equipment
- OBD-II Scanner – To read brake system error codes
- Test Light – To check power at the switch quickly
- Brake Pedal Depressor – To hold the pedal down during tests
- Wiring Diagram – To understand the electrical layout
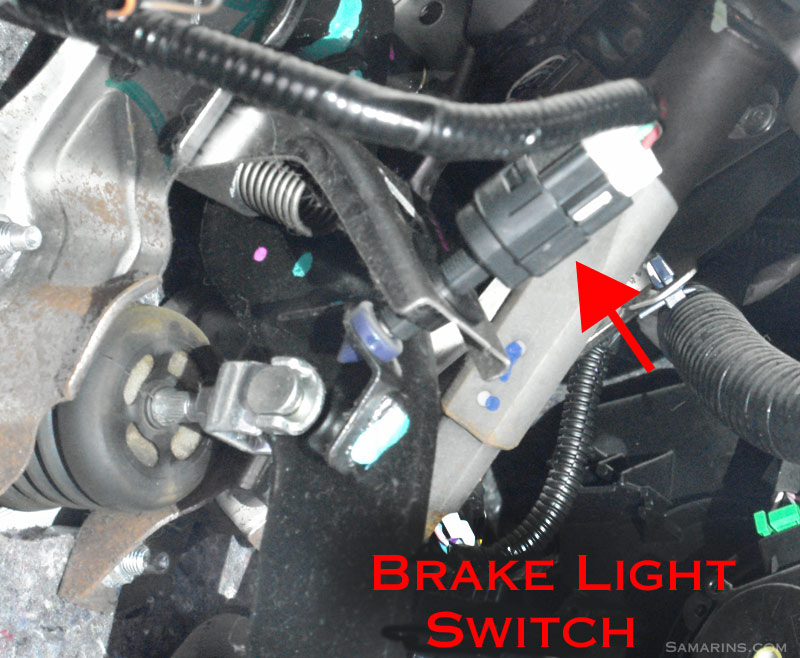
Locating The Brake Light Switch
Finding the brake light switch is the first step to checking it. This small part controls the brake lights. It tells the lights to turn on when you press the brake pedal.
The switch is usually near the brake pedal inside the car. Knowing its usual spots helps you find it fast. This saves time and effort during inspection or replacement.
Typical Switch Positions
The brake light switch is mostly located above the brake pedal. It attaches to the pedal arm or the pedal bracket. Some cars have it near the brake booster under the hood. It looks like a small button or a sensor with wires.
In many cars, the switch pushes against the pedal arm. When you press the pedal, the switch activates the brake lights. The switch usually has two or three wires connected to it.
Access Tips
Accessing the brake light switch can be tight and tricky. Kneel on the driver side floor to reach under the dash. Use a flashlight to see clearly in dark spaces.
Sometimes, removing a panel or cover below the dashboard helps. Check your car’s manual for exact locations and instructions. Avoid forcing the switch or wires to prevent damage.
Step-by-step Inspection Process
Checking the brake light switch is simple. Follow these steps to inspect it carefully. This process helps find problems early. It keeps driving safe and avoids costly repairs.
Visual Examination
Start with a close look at the brake light switch. Check for loose wires or broken parts. Look for dirt or rust on the switch body. Clean the switch gently if dirty. Make sure the switch is firmly attached. Any damage means the switch might need replacement.
Manual Operation Test
Press the brake pedal slowly and watch the switch. The switch should move smoothly with the pedal. Listen for a small click sound from the switch. This sound shows the switch is working. Use a multimeter to test electrical flow. No click or flow means the switch is faulty. Replace the switch if it fails the test.
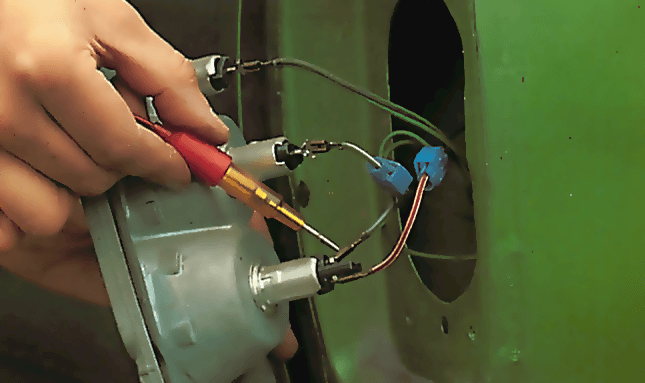
Testing The Switch With A Multimeter
Testing the brake light switch with a multimeter helps find electrical problems. This tool checks if the switch works by measuring its electrical signals. It is a quick way to see if the switch sends power when pressed. Follow simple steps to test it safely and accurately.
Setting Up The Multimeter
Turn on the multimeter and set it to measure continuity or resistance. Continuity mode beeps when the circuit is complete. Resistance mode shows a low number if the switch works. Connect the multimeter probes to the switch terminals. Use the user manual to locate the right terminals on your switch.
Reading The Results
Press the brake pedal or push the switch button. In continuity mode, listen for a beep. A beep means the switch closes the circuit correctly. In resistance mode, check for a near-zero reading. High or infinite resistance means the switch is faulty. Test several times to be sure of the results.
Credit: www.samarins.com
Fixing Or Replacing The Brake Light Switch
Fixing or replacing the brake light switch is key for safe driving. This small part tells your car to light the brake lamps. If it breaks, the lights may not work. This can cause accidents or fines.
Some problems can be fixed without full replacement. Temporary fixes might help until you get a new switch. Sometimes, replacing the switch is the best choice. It ensures the brake lights work well again.
Temporary Fixes
Check the switch’s connection first. Loose wires can stop the lights from working. Tighten or clean the contacts carefully. Use electrical spray if needed.
Try pressing the brake pedal several times. Sometimes, the switch gets stuck. Moving it can reset the position. This may restore light function for a short time.
Use tape to hold the switch in place if loose. This is only a quick solution. Drive carefully and replace the switch soon.
Replacement Steps
Start by locating the brake light switch. It is near the brake pedal arm. Look for a small device attached to the pedal bracket.
Disconnect the battery to avoid any electrical shocks. Unplug the wiring harness from the switch gently. Remove any clips or screws holding the switch.
Take out the old switch carefully. Install the new switch in the same spot. Secure it with screws or clips. Plug the wiring back in.
Reconnect the battery. Test the brake lights by pressing the pedal. Ensure the lights turn on immediately. Adjust the switch if needed for correct activation.
Final Checks And Safety Tips
Final checks and safety tips are important after testing the brake light switch. These steps help confirm the switch works well. They also keep you and others safe on the road. Taking time for these checks prevents future problems.
Confirming Proper Function
Check the brake lights by pressing the brake pedal. Ask someone to watch the back lights. See if all brake lights turn on. Test the lights several times to be sure. If lights do not work, inspect the switch again. Make sure wires are connected tightly. Replace the switch if needed to avoid risk.
Preventive Maintenance
Keep the brake light switch clean and dry. Dirt and moisture can cause it to fail. Check the switch regularly, at least twice a year. Replace worn or damaged parts quickly. Regular checks help avoid sudden brake light failures. Safe driving depends on working brake lights always.
Frequently Asked Questions
How Do I Test A Brake Light Switch?
To test a brake light switch, locate it near the brake pedal. Use a multimeter to check for continuity when the pedal is pressed. If there’s no continuity, the switch may be faulty and needs replacement.
What Causes Brake Light Switch Failure?
Brake light switches can fail due to wear, dirt, or electrical issues. Frequent use causes mechanical wear, while moisture or dirt may cause electrical faults. Regular inspection helps prevent unexpected failures.
Can A Faulty Brake Light Switch Affect Car Safety?
Yes, a faulty brake light switch can make brake lights fail. This reduces visibility to other drivers, increasing accident risk. Fixing the switch promptly ensures your brake lights work correctly and keeps you safe.
How Often Should I Check My Brake Light Switch?
Check your brake light switch during regular vehicle maintenance or if brake lights don’t work. Inspecting every 12,000 miles or once a year is a good practice to ensure reliability.
Conclusion
Checking your brake light switch keeps you safe on the road. It helps avoid accidents and traffic fines. Test the switch regularly to catch problems early. Simple steps can save you time and money. Stay alert to any brake light issues.
Regular checks ensure your vehicle works properly. Drive with confidence knowing your brakes signal well. Safety starts with small actions like this one. Keep your car in good shape and protect yourself.