Have you ever tried to remove an anchor from your wall and found yourself stuck, unsure of what to do next? Taking an anchor out might seem tricky, but with the right steps, you can do it quickly and without damaging your wall.
You’ll learn simple, effective methods to get that anchor out smoothly. Keep reading, and you’ll gain the confidence to handle this common household task like a pro.
Types Of Wall Anchors
Wall anchors help hold screws firmly in walls. They come in different types for various wall materials and weights. Knowing the type of anchor you have is key to removing it safely. Each type works differently and needs a different removal method.
Plastic Expansion Anchors
Plastic expansion anchors are common in drywall and plaster walls. They expand as the screw goes in, holding tight. To remove, unscrew completely, then pull the anchor out gently. If stuck, use pliers to grip and pull it out slowly.
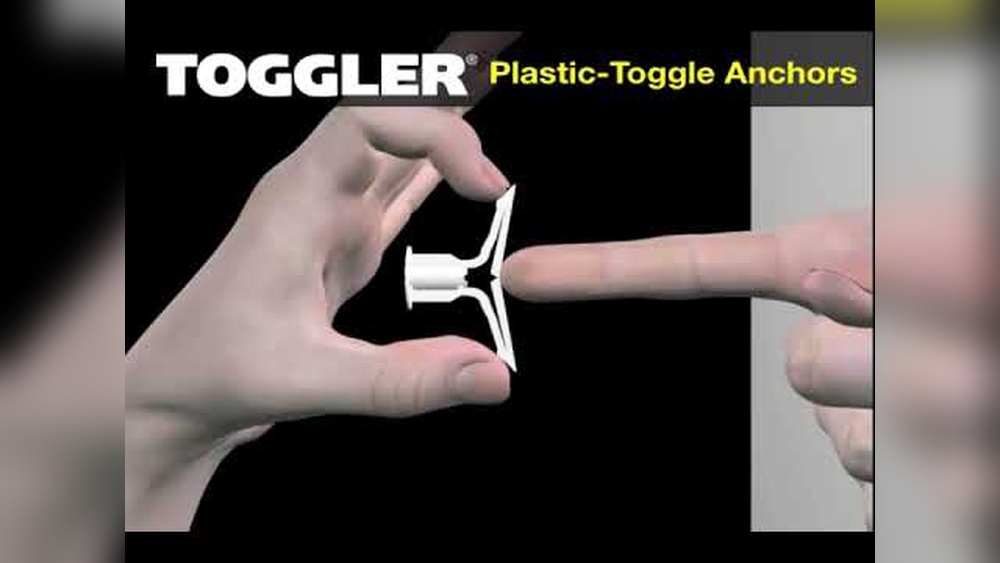
Toggle Bolts
Toggle bolts have spring-loaded wings that open behind the wall. They hold heavy objects well. To remove, unscrew the bolt until the wings drop inside the wall. The wings stay behind and usually cannot be removed.
Molly Bolts
Molly bolts open up inside the wall for a strong hold. To remove, unscrew the bolt fully. Then push or pull the metal sleeve out carefully. Sometimes, pushing the sleeve into the wall cavity is easier.
Threaded Drywall Anchors
Threaded drywall anchors screw into the wall without a drill. Unscrew the screw, then turn the anchor counterclockwise to remove. These anchors can often be pulled out by hand once loose.

Credit: www.youtube.com
Tools You’ll Need
Removing an anchor from the wall needs the right tools. Having these tools ready makes the job easier and safer. Each tool plays a special role in the process.
Screwdrivers
Screwdrivers help to turn screws holding the anchor. Use a flat-head or Phillips screwdriver, depending on the screw type. A good grip on the screw is important to avoid damage.
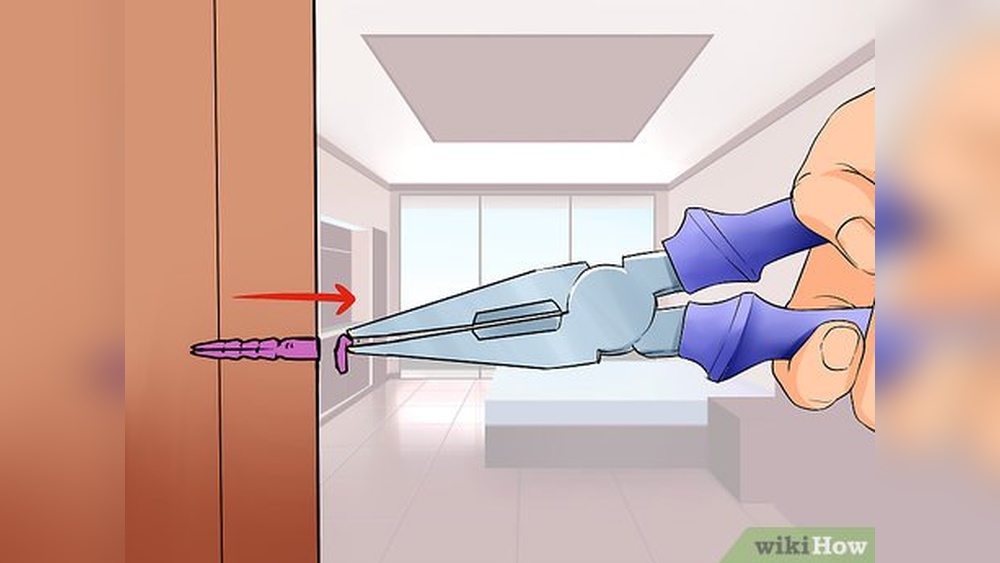
Pliers
Pliers grab and pull out the anchor after loosening it. Needle-nose pliers work well for small anchors. They give better control and reduce wall damage.
Drill And Bits
A drill with the right bit can make anchor removal easier. Use a drill bit slightly smaller than the anchor. Drill carefully to avoid making big holes.
Utility Knife
Use a utility knife to cut around the anchor if needed. It helps to loosen paint or drywall stuck to the anchor. Work slowly to keep the wall smooth.
Safety Precautions
Removing an anchor from a wall needs care and attention. Safety precautions protect you and the wall. Taking steps before and during the process helps avoid injury and damage. Follow safety rules for a smooth task.
Protective Gear
Wear safety glasses to shield your eyes from dust and debris. Gloves protect your hands from sharp edges. Use a dust mask to avoid inhaling particles. Dress in long sleeves and pants to prevent scratches.
Wall Inspection
Check the wall for pipes and wires before starting. Use a stud finder or a wire detector tool. Mark safe spots to avoid electric shock or water leaks. Inspect the wall surface for cracks or weak spots.
Power Tool Safety
Read the instructions for each power tool carefully. Use the right tool for the anchor type and wall material. Keep cords away from the work area to prevent trips. Switch off tools when not in use or adjusting them.

Credit: www.wikihow.com
Removing Plastic Expansion Anchors
Plastic expansion anchors are common for hanging items on walls. They provide good support in drywall or plaster. Removing them needs care to avoid wall damage. The process is simple with the right tools and steps.
Loosening The Anchor
Start by loosening the anchor inside the wall. Use a screwdriver to turn the anchor gently. Turn it counterclockwise to break the grip. This step makes the anchor easier to pull out. Be patient and avoid forcing it.
Pulling Out With Pliers
Once loose, grip the anchor with pliers. Use needle-nose pliers for better control. Pull the anchor straight out slowly. Avoid twisting or bending to stop damage. If it resists, loosen it more with the screwdriver.
Filling The Hole
After removing the anchor, fill the hole to restore the wall. Use wall filler or spackle for small holes. Apply with a putty knife and smooth the surface. Let it dry fully before sanding. Paint over the patch for a clean finish.
Taking Out Toggle Bolts
Taking out toggle bolts from a wall can seem tricky. These anchors hold strongly behind the wall. They spread out to support heavy items. Removing them needs care to avoid wall damage. Follow clear steps to take them out safely and cleanly.
Unscrewing The Bolt
Start by turning the bolt counterclockwise. Use a screwdriver that fits well. Keep turning until the bolt comes loose. The toggle part stays inside the wall at this point.
Removing The Toggle
The toggle hangs inside the wall cavity. Pulling it out can be hard. Push the bolt gently from the inside, if possible. Or push the toggle through the hole carefully. If stuck, try using needle-nose pliers to grab it.
Repairing The Wall
After removing the toggle, the hole remains. Fill the hole with spackling paste or wall filler. Smooth the surface with a putty knife. Let it dry completely. Sand the area lightly for a smooth finish. Paint over to match the wall color.
Extracting Molly Bolts
Extracting molly bolts from a wall requires a few simple steps. These anchors hold tight by expanding inside the wall. Removing them needs care to avoid damage. Follow these clear methods to take them out safely.
Unscrewing The Bolt
Start by turning the bolt counterclockwise. Use a screwdriver or drill for better grip. Unscrew until the bolt is loose but still inside the anchor. This step frees the bolt from the sleeve.
Collapsing The Sleeve
Next, push the sleeve back into the wall cavity. Use pliers to squeeze or tap it gently with a hammer. The sleeve folds inward as it loses tension. This collapsing action lets you remove the anchor easily.
Prying Out The Anchor
Finally, use a flat tool like a putty knife or screwdriver. Slide it between the wall and the sleeve edge. Carefully pry the sleeve out by lifting it away from the wall. Work slowly to avoid damaging the surface.
Handling Threaded Drywall Anchors
Threaded drywall anchors provide strong support for hanging items. Removing them needs care to avoid wall damage. Understanding how to handle these anchors makes the process easier and cleaner.
Unscrewing Anchor
Start by turning the anchor counterclockwise. Use a screwdriver that fits the anchor head well. Turn slowly to avoid stripping the anchor. If the anchor moves out smoothly, pull it gently by hand. Stop if it resists to avoid wall damage.
Using A Drill For Stubborn Anchors
Some anchors get stuck and won’t unscrew easily. Use a drill with a small bit to remove these anchors. Set the drill to low speed and reverse mode. Insert the bit into the anchor head and drill slowly. This loosens the anchor without damaging the wall.
Wall Patch Tips
After anchor removal, holes remain in the drywall. Fill holes with lightweight spackle or wall filler. Apply with a putty knife and smooth the surface. Let it dry completely before sanding it flat. Paint over the patch to match the wall color.
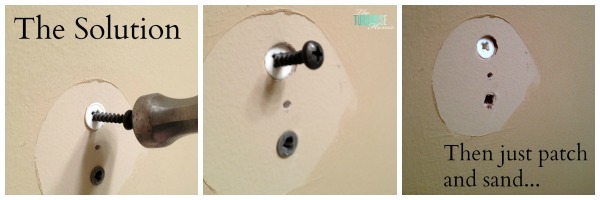
Credit: theturquoisehome.com
Fixing Wall Damage
Removing an anchor from the wall can leave holes and damage. Fixing these spots makes your wall look clean and smooth again. This process is simple with the right tools and steps. Small repairs help keep your walls strong and fresh.
Choosing The Right Filler
Select a filler that suits your wall type. For drywall, use spackling paste or joint compound. For plaster walls, choose a plaster filler. Pick a product that dries fast and is easy to sand. This choice helps the repair blend well with your wall.
Applying And Sanding
Use a putty knife to apply the filler. Press it firmly into the hole and smooth the surface. Let the filler dry fully before sanding. Sand with fine-grit paper to make the patch level. Clean dust off the wall after sanding for best results.
Painting For A Smooth Finish
Choose paint that matches your wall color. Use a small brush or roller for even coverage. Apply thin coats and let each dry before the next. This method hides the repair and restores your wall’s look. A smooth paint finish makes the fix invisible.
Tips For Avoiding Anchor Removal Issues
Removing anchors from walls can be tricky and may cause damage. Taking simple steps helps avoid problems. These tips make anchor removal easier and protect your wall.
Follow these guidelines to reduce trouble and save time during the process.
Selecting Proper Anchors
Choose anchors that fit the wall type and weight load. Use plastic anchors for light items and metal ones for heavy objects. Proper anchors stay firmly in place and come out cleanly.
Pre-drilling Holes
Drill a hole slightly smaller than the anchor size. This helps the anchor grip tightly without cracking the wall. Pre-drilling keeps the wall strong and prevents anchor breakage.
Using Correct Tools
Use tools designed for anchor removal, like pliers or a screwdriver. Avoid forcing the anchor out. Gentle twisting or pulling prevents wall damage and broken anchors.
Frequently Asked Questions
How Do You Safely Remove A Wall Anchor?
To safely remove a wall anchor, first, identify its type. Use pliers to pull out plastic anchors gently. For metal anchors, unscrew them carefully. Avoid damaging the wall by applying steady, controlled force.
What Tools Do I Need To Remove A Wall Anchor?
You will need pliers, a screwdriver, and possibly a drill. Pliers help grip anchors, screwdrivers remove screws, and drills clear stubborn anchors. Having these tools ensures a smooth and damage-free removal process.
Can I Reuse A Wall Anchor After Removal?
Generally, reusing wall anchors is not recommended. They may lose grip or become damaged during removal. It’s better to use new anchors for a secure and reliable hold when rehanging items.
How Do I Fix Holes After Removing Wall Anchors?
Fill holes with spackle or wall filler using a putty knife. Let it dry, then sand smooth for a clean finish. Finally, repaint the area to match the wall color for seamless repair.
Conclusion
Removing an anchor from the wall is simple with the right steps. Use tools like pliers or a screwdriver to pull it out carefully. Avoid damaging the wall by working slowly and gently. After removal, fill the hole with putty or spackling to make the surface smooth.
Let it dry, then sand it lightly for a clean finish. This process keeps your walls neat and ready for new decorations or repairs. Easy, quick, and effective.