Are you tired of your old, flickering dimmer switch that just doesn’t work right? Changing a light dimmer switch might seem tricky, but it’s easier than you think—and you don’t need to be an expert electrician to do it.
Imagine having full control over your room’s lighting, setting the perfect mood anytime you want. In this guide, you’ll learn simple, step-by-step instructions to replace your dimmer switch safely and quickly. Keep reading, and by the end, you’ll have the confidence to upgrade your lighting and transform your space effortlessly.
Tools And Materials Needed
Changing a light dimmer switch needs some basic tools and materials. Having everything ready makes the task easier and safer. Gather these items before starting the work.
Safety Gear
Wear safety gloves to protect your hands from sharp edges. Use safety glasses to shield your eyes from dust and debris.
Tools Needed
A screwdriver set with flathead and Phillips tips is essential. A voltage tester helps ensure the power is off. Wire strippers remove insulation from wires cleanly. Needle-nose pliers assist in bending and holding wires.
Materials Required
A compatible dimmer switch is the main item needed. Use wire nuts to secure wire connections. Electrical tape adds extra safety by covering exposed wires.
Safety Precautions
Changing a light dimmer switch is a simple task but requires careful attention to safety. Electricity can be dangerous. Taking the right precautions protects you from shocks and accidents. Follow these safety steps before starting the work.
Turn Off The Power
Switch off the circuit breaker that controls the light. Do not rely on the wall switch alone. Use a voltage tester to confirm no current is flowing. Always double-check to avoid electric shock.
Use Proper Tools
Choose insulated tools designed for electrical work. Avoid metal tools that can conduct electricity. Using the right tools keeps you safe and makes the job easier.
Wear Safety Gear
Wear rubber-soled shoes to reduce electric shock risk. Safety goggles protect your eyes from dust or sparks. Gloves protect your hands from sharp edges and wires.
Work In A Dry Area
Never work on electrical switches in wet or damp places. Water increases the risk of electric shock. Ensure your hands are dry before handling wires.
Follow Wiring Instructions
Read the dimmer switch manual carefully. Connect wires exactly as shown. Incorrect wiring can cause short circuits or fire hazards.
Turning Off Power
Turning off power is the most important step before changing a light dimmer switch. It keeps you safe from electric shock. Always treat electricity with respect and care.
Power must be completely off to avoid any accidents. This step helps protect both you and your tools. Take your time to do it right.
Locate The Circuit Breaker
Find the main electrical panel in your home. It is usually in the basement, garage, or utility room. Open the panel door carefully.
Look for the breaker labeled for the room with the dimmer switch. The label might say “Living Room” or “Kitchen.” If labels are missing, you may need to switch off the main breaker.
Switch Off The Correct Breaker
Flip the breaker switch to the “off” position. It should click or move easily. This stops electricity from flowing to the dimmer switch.
Double-check by toggling the light switch on and off. The light should not respond if power is off. If the light still works, try another breaker.
Use A Voltage Tester
A voltage tester confirms if the power is off. Touch the tester probes to the wires in the switch box. The tester will light up or beep if electricity is present.
No light or sound means the power is off. Never skip this step. It is the safest way to be sure before starting work.
Credit: www.homedepot.com
Removing The Old Dimmer
Removing the old dimmer switch is the first step in changing it. This step requires care and attention to safety. You will need a few tools and a little patience. Follow the steps carefully to avoid any issues.
Turn off the power to the switch from the main breaker. This prevents electric shock while working. Use a voltage tester to check the wires. Make sure the power is completely off before touching anything.
Gather Your Tools
Before starting, collect all needed tools. You will need a screwdriver, voltage tester, and possibly pliers. Having everything ready makes the process smoother and faster.
Remove The Switch Cover Plate
Use a screwdriver to take off the switch cover plate. This exposes the dimmer switch and wiring behind it. Keep the screws safe for later use.
Unscrew The Old Dimmer Switch
Loosen the screws holding the dimmer switch to the wall box. Pull the switch gently out from the wall. Do not pull too hard to avoid damaging wires.
Disconnect The Wires
Note the wire connections before detaching them. Use a screwdriver to loosen the terminal screws. Carefully disconnect each wire from the old switch.
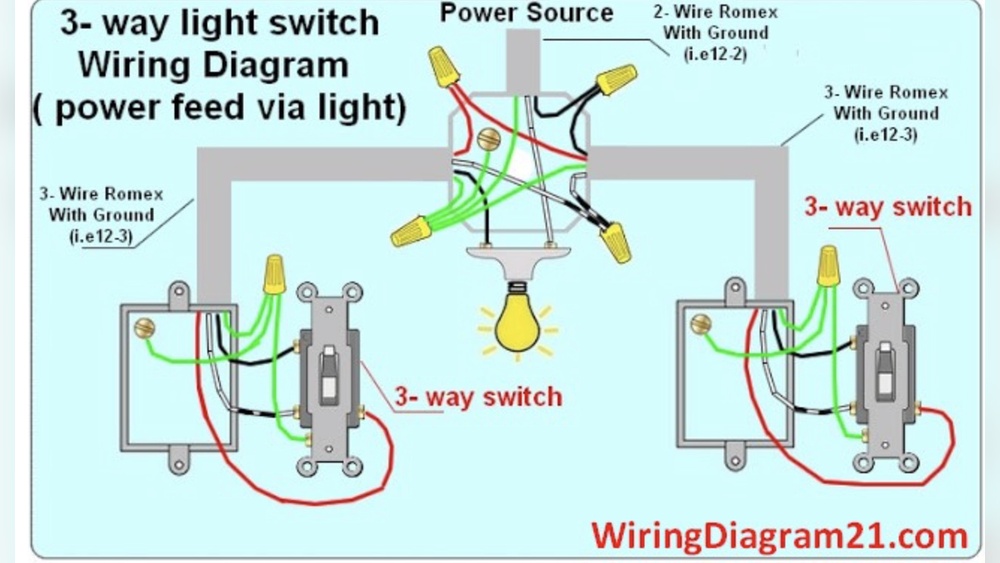
Identifying Wires
Identifying wires is the first step in changing a light dimmer switch. It helps to know which wire does what. This makes the installation safer and easier.
Wires usually come in different colors. Each color shows the wire’s role in the circuit. Knowing these colors helps avoid mistakes.
Understanding Wire Colors
Most dimmer switches have three main wires. Black wires carry the power to the switch. White wires usually return the power to the light.
Green or bare copper wires connect to the ground. The ground wire protects you from electric shock.
Using A Voltage Tester
A voltage tester tells if a wire has power. Turn off the main power before touching wires. Then, turn it on to test each wire carefully.
Touch the tester to the wire. If it lights up, the wire has power. This helps confirm which wire is hot.
Labeling Wires For Safety
Label wires with tape and a marker. Write down their roles: “hot,” “neutral,” or “ground.” This keeps track during the switch change.
Proper labels prevent confusion and reduce errors. It also makes future repairs easier and safer.
Wiring The New Dimmer
Wiring the new dimmer switch is a key step in this project. It controls the brightness of your lights. Careful wiring ensures the switch works safely and correctly. Follow each step closely for the best results.
Turn Off Power At The Breaker
Before touching any wires, turn off the power. Find the right breaker in your electrical panel. Switch it off to stop electricity flow. Use a tester to check wires are not live.
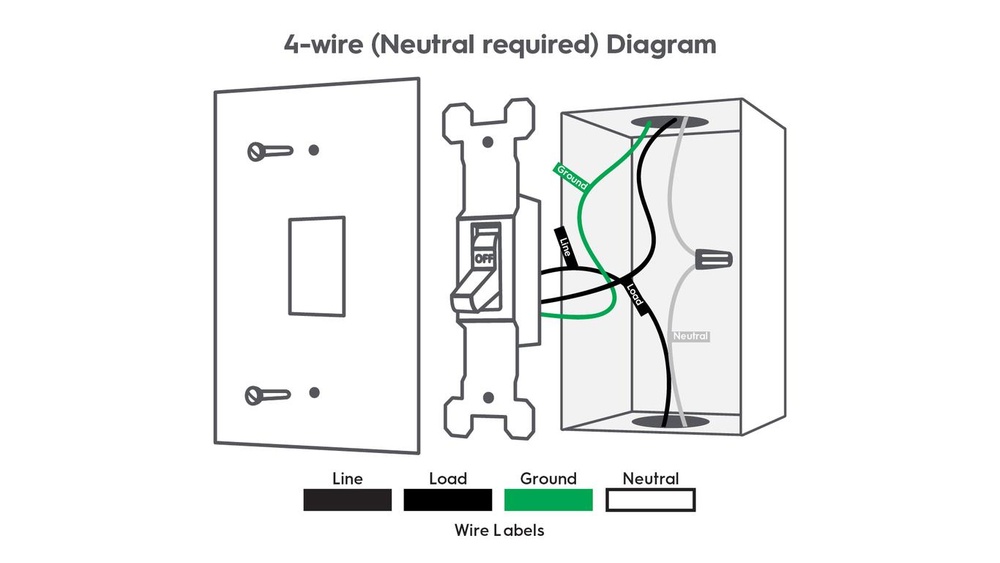
Identify And Prepare The Wires
Look inside the switch box. You will see several wires. Usually, there are black (hot), white (neutral), and green or bare copper (ground) wires. Strip about half an inch of insulation from each wire end if needed.
Connect The Dimmer Wires
Match the dimmer wires to your house wires. Connect black to black (hot). Connect green or bare copper to the ground wire. Some dimmers have a red wire; connect it to the second hot wire if present. Use wire nuts to twist wires together tightly.
Secure And Test The Connections
Push the wires carefully back into the box. Screw the dimmer switch to the wall box. Turn the power back on at the breaker. Test the dimmer switch by adjusting the light brightness. Check for any flickering or issues.
Securing The Dimmer Switch
Securing the dimmer switch is a key step in the installation process. It keeps the switch in place and ensures safe operation. A loose dimmer switch can cause flickering lights or even electrical hazards. Proper securing also gives a neat, finished look to your wall.
Preparing The Switch Box
Start by checking the switch box for any debris or loose wires. Clean the box carefully. Make sure the wires are straight and ready to connect. A tidy box helps the dimmer fit well.
Aligning The Dimmer Switch
Hold the dimmer switch against the switch box. Align the screw holes on the dimmer with those on the box. The switch should sit flush with the wall. Proper alignment prevents gaps and damage.
Tightening The Screws
Use a screwdriver to tighten the mounting screws. Turn them evenly and gently. Do not overtighten to avoid cracking the switch plate. The switch must be secure but not forced.
Testing The Stability
Once tightened, gently wiggle the dimmer switch. It should feel firm and not move. If loose, tighten the screws a little more. A stable switch ensures safe and smooth use.
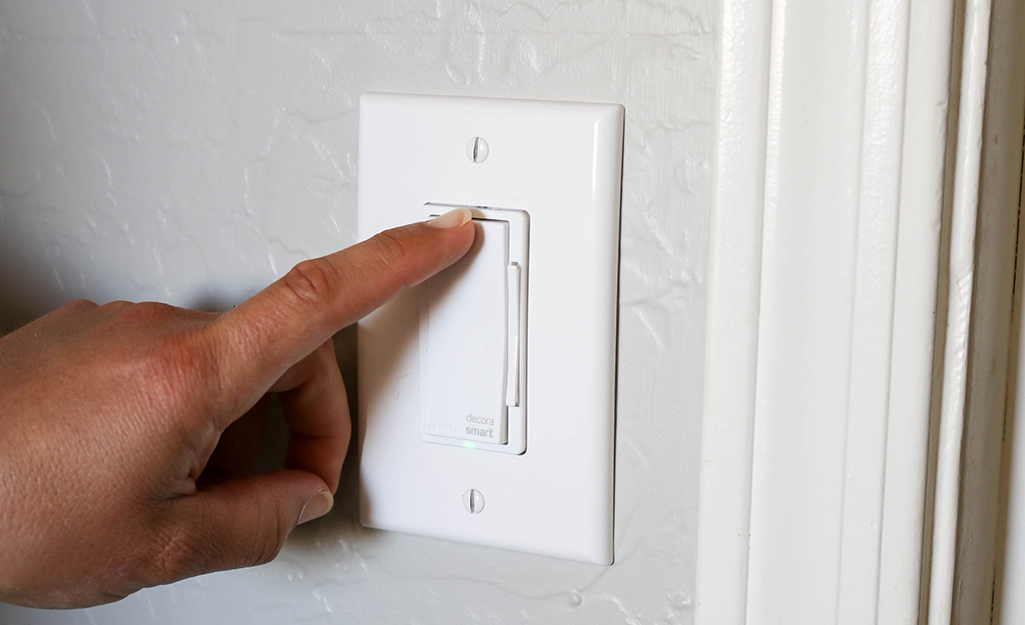
Testing The New Dimmer
Testing the new dimmer switch is an important step after installation. It ensures the switch works correctly and safely. This step helps avoid any issues with flickering lights or electrical problems.
Make sure the power is restored before testing. Observe how the lights respond as you adjust the dimmer. Watch for smooth changes in brightness and listen for any odd sounds.
Turn The Power On Safely
First, turn the power back on at the circuit breaker. Confirm the switch has power by flipping it on. Use a flashlight if the room is dark. Never touch wires or the switch before power is on.
Adjust The Dimmer Slowly
Move the dimmer knob or slider slowly. Check if the light dims and brightens smoothly. Sudden jumps or flickering may indicate a problem. Test the full range from lowest to highest brightness.
Check For Unusual Noises Or Heat
Listen for buzzing or humming sounds from the dimmer. Some noise is normal but loud sounds are not. Feel the switch to see if it gets hot. Excess heat can mean a faulty installation or a bad dimmer.
Test All Connected Lights
Make sure all lights on the dimmer circuit respond. Some dimmers work only with certain bulbs. Check each bulb to avoid surprises later. Replace bulbs if they flicker or fail to dim properly.
Troubleshooting Common Issues
Changing a light dimmer switch can sometimes bring a few issues. Troubleshooting helps fix these problems fast. Knowing what to check saves time and effort.
Common issues include flickering lights, the dimmer not working, or buzzing sounds. Each problem has simple solutions. This guide covers easy ways to solve these issues.
Flickering Lights
Flickering often means a loose wire or a bad connection. Turn off power and check all wire connections. Tighten any loose wires carefully. Sometimes, the bulb is the cause. Replace the bulb with a dimmer-compatible type to stop flickering.
Dimmer Switch Not Working
If the dimmer does not respond, check the power supply first. Use a tester to see if electricity reaches the switch. No power means a circuit problem or a tripped breaker. Also, ensure the dimmer fits your light type. Some dimmers only work with LED or incandescent bulbs.
Buzzing Or Humming Noise
A buzzing sound can happen if the dimmer and bulb do not match. Use bulbs recommended for dimmer use. Overloading the dimmer with too many bulbs causes noise too. Reduce the total wattage or use a stronger dimmer switch.

Credit: www.youtube.com

Credit: www.gelighting.com
Frequently Asked Questions
How Do I Safely Turn Off Power Before Changing A Dimmer?
Always switch off the circuit breaker controlling the dimmer. Use a voltage tester to confirm no electricity flows. This ensures your safety during installation or replacement of the dimmer switch.
Can I Replace A Dimmer Switch Myself Easily?
Yes, replacing a dimmer switch is a simple DIY task. With basic tools and safety precautions, most homeowners can do it. Follow step-by-step instructions carefully for best results.
What Tools Do I Need To Change A Dimmer Switch?
You typically need a screwdriver, wire stripper, voltage tester, and electrical tape. These tools help you safely remove the old switch and install the new one correctly.
Will A Dimmer Switch Work With Led Bulbs?
Most modern dimmer switches are compatible with LED bulbs. Check the dimmer’s specifications to confirm LED compatibility. Using the right dimmer avoids flickering or damage.
Conclusion
Changing a light dimmer switch is simple and safe. Turn off the power first to avoid shocks. Follow the steps carefully, and take your time. Double-check all connections before turning the power back on. Enjoy the new lighting control in your room.
This small task can improve your home’s comfort easily. You can do it yourself with basic tools and clear instructions. No need to wait for a professional. Feel confident and proud of your work. Brighten your space just the way you like.