Have you ever noticed your hazard lights suddenly stop working? It can be frustrating and even unsafe, especially when you need to warn other drivers quickly.
Changing your hazard light switch might seem tricky, but with the right steps, you can fix it yourself and save time and money. In this guide, you’ll learn exactly how to replace your hazard light switch easily and safely. Keep reading—you’re just a few simple steps away from getting your hazard lights back in perfect working order.

Credit: www.youtube.com
Tools Needed
Changing the hazard light switch needs a few tools. Having the right tools makes the work easier and safer. Most tools are common and easy to find. Prepare all tools before starting to save time.
Flathead Screwdriver
A flathead screwdriver helps remove panels and covers. It fits into small gaps to pry parts gently. Use it carefully to avoid damage.
Phillips Screwdriver
This screwdriver is for screws with a cross shape. It helps remove and install screws on the switch. Choose the right size for a secure grip.
Socket Wrench Set
A socket wrench set loosens nuts and bolts. Many cars use bolts to hold the switch in place. Different sizes allow working with various bolts.
Trim Removal Tool
This tool removes plastic trim without scratches. It protects your car’s interior parts. Using this tool keeps panels safe during removal.
Multimeter
A multimeter checks electrical connections and switch function. It helps find problems before installation. Testing ensures the new switch works correctly.
Credit: recyclebmws.com
Locate The Hazard Light Switch
Disconnecting the battery is the first step before changing the hazard light switch. It stops electricity from flowing. This prevents short circuits and electric shocks. It also protects the car’s electronic parts.
Always disconnect the battery to work safely on your car’s electrical system. This step keeps you and your vehicle safe.
Locate The Battery
Open the car’s hood to find the battery. It is usually near the front of the engine bay. Look for a rectangular box with two cables attached.
Turn Off The Car
Make sure the car is off before disconnecting the battery. Remove the keys from the ignition. This stops any power flow and prevents sparks.
Disconnect The Negative Terminal
Use a wrench to loosen the nut on the negative terminal. The negative terminal usually has a black cable or a minus sign (-). Remove the cable and keep it away from the battery.
Disconnect The Positive Terminal
Next, loosen the nut on the positive terminal. This cable often has a red cover or a plus sign (+). Remove it carefully and avoid touching metal parts.
Disconnect The Battery
Removing the old hazard light switch is the first step to replace it. This process needs care to avoid damage. Start by reaching the switch hidden behind the dashboard. Then, disconnect the wires safely.
Follow these steps to remove the old switch smoothly. Keep the workspace clean and organized for easy reassembly.
Accessing The Dashboard Panel
Locate the panel around the hazard light switch. Use a flat tool to gently pry it open. Be careful not to scratch or break the panel. Some panels may have screws; remove them first. Pull the panel towards you slowly. This exposes the hazard light switch and wiring behind it.
Detaching Wiring Connectors
Identify the wiring connectors attached to the switch. Press the release tabs on the connectors. Pull the connectors out without pulling the wires. If connectors are tight, wiggle them gently. Keep track of connector positions for the new switch. Once disconnected, the switch can be taken out easily.
Remove The Old Switch
Installing the new hazard light switch requires careful steps to ensure proper function. This part controls your vehicle’s warning lights. A secure installation helps keep you safe on the road.
Start by connecting the wiring harness to the switch. Then, secure the switch firmly in place. These steps guarantee the switch works without issues.
Connecting Wiring Harness
Locate the wiring harness that fits the new switch. Align the harness connector with the switch terminals. Press firmly until you hear a click. This sound means the connection is secure.
Check that no wires are loose or damaged. Loose wires can cause the switch to fail. A tight connection ensures the hazard lights will activate properly.
Securing The Switch In Place
Slide the switch into the dash panel opening. Push it gently but firmly until it fits snugly. Use screws or clips to hold the switch securely.
Do not overtighten screws to avoid damage. Test the switch by turning on the hazard lights. The switch should not move or rattle once secured.
Install The New Switch
After installing the new hazard light switch, testing it is important. This step ensures the switch works correctly and keeps you safe on the road. Proper testing helps avoid any electrical issues or malfunctions.
Reconnecting The Battery
Start by reconnecting the car battery. Secure the battery terminals tightly to avoid loose connections. This restores power to the vehicle’s electrical system. Be careful not to touch metal parts together. It can cause sparks or damage.
Checking Hazard Light Functionality
Turn on the hazard light switch. Look at all four indicators on the car’s front and back. They should blink at a steady pace. If any light does not flash, check the switch connections again. Listen for the clicking sound from the switch. This sound means the switch is working. Testing the lights ensures your new switch works well and keeps you visible in emergencies.

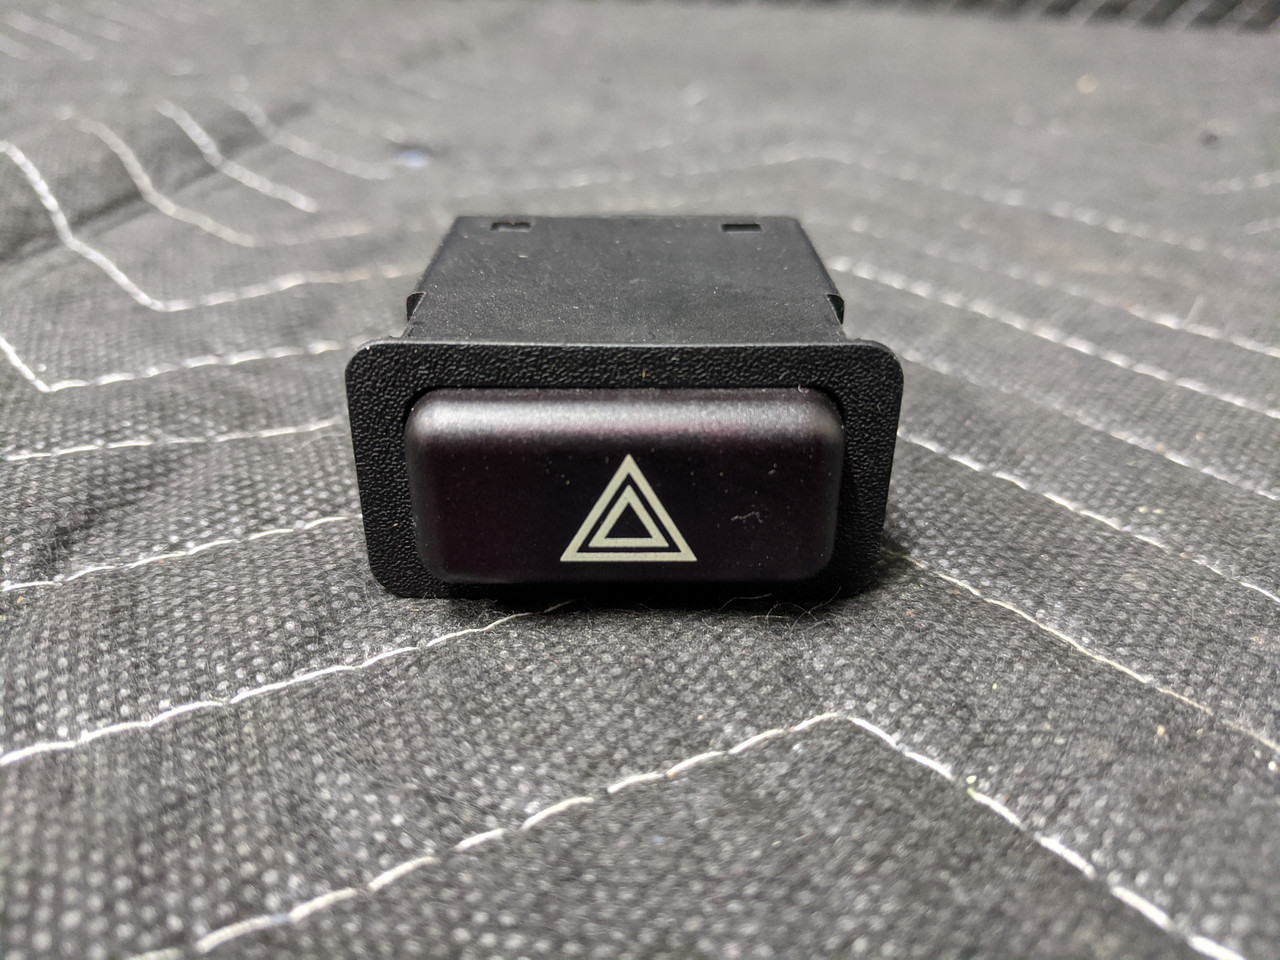
Credit: www.ebay.com
Test The New Switch
Troubleshooting your hazard light switch can save time and money. Understanding common problems helps fix issues quickly. This section covers simple tips to identify and solve switch problems.
Switch Not Working
Check the fuse linked to the hazard lights first. A blown fuse stops the switch from working. Replace the fuse with one that matches the rating. Test the switch again after the fuse change.
Inspect the wiring behind the switch for loose or damaged connections. Tighten any loose wires and replace damaged ones. Dirt or corrosion on switch contacts can block signals. Clean the contacts gently with electrical cleaner.
If the switch still fails, the internal mechanism may be faulty. Consider swapping the switch for a new one to restore function.
Lights Flickering
Flickering hazard lights often point to poor electrical connections. Look for loose wires at the switch and bulb sockets. Secure any loose wires firmly.
Check the bulbs for damage or wear. Replace burnt-out or broken bulbs promptly. A weak battery or alternator can cause flickering lights. Test the battery voltage and charging system for proper function.
Corroded connectors can also cause flickering. Clean connectors with a wire brush or contact cleaner. Ensure all parts dry before reconnecting to avoid shorts.
Frequently Asked Questions
How Do I Identify A Faulty Hazard Light Switch?
A faulty hazard light switch often causes the lights to flicker or not work. Check for physical damage or unresponsiveness when pressed. Testing with a multimeter can confirm electrical issues. Replace the switch if it fails these tests to ensure safety.
Can I Change The Hazard Light Switch Myself?
Yes, you can change the hazard light switch yourself with basic tools. Ensure your vehicle is off and the battery is disconnected before starting. Follow your vehicle’s manual for specific instructions to avoid damaging wiring or components.
What Tools Are Needed To Replace A Hazard Light Switch?
You typically need a screwdriver, pliers, and possibly a trim removal tool. A multimeter helps test the switch before replacement. Always have safety gloves and eye protection when working on vehicle electrical parts.
How Long Does It Take To Replace The Hazard Light Switch?
Replacing the hazard light switch usually takes 15 to 30 minutes. Time varies depending on your vehicle model and your experience. Following a step-by-step guide can speed up the process and reduce errors.
Conclusion
Changing your hazard light switch is easier than it seems. Follow the steps carefully and take your time. Always disconnect the battery before starting to stay safe. Use the right tools to avoid damage. Test the new switch before finishing to ensure it works well.
Regular checks keep your car safe on the road. Now, you can fix this small but important part yourself. Simple repairs like this save money and build confidence. Keep your vehicle in good shape with easy maintenance.