Are you struggling to get your plastic light switch cover to fit just right? Cutting a plastic light switch cover might seem tricky, but with the right steps, you can do it quickly and safely.
Imagine saving money and time by customizing your own cover instead of buying a new one. In this guide, you’ll discover simple techniques that anyone can follow, even if you’ve never done it before. Keep reading, and you’ll gain the confidence to handle this small project like a pro.

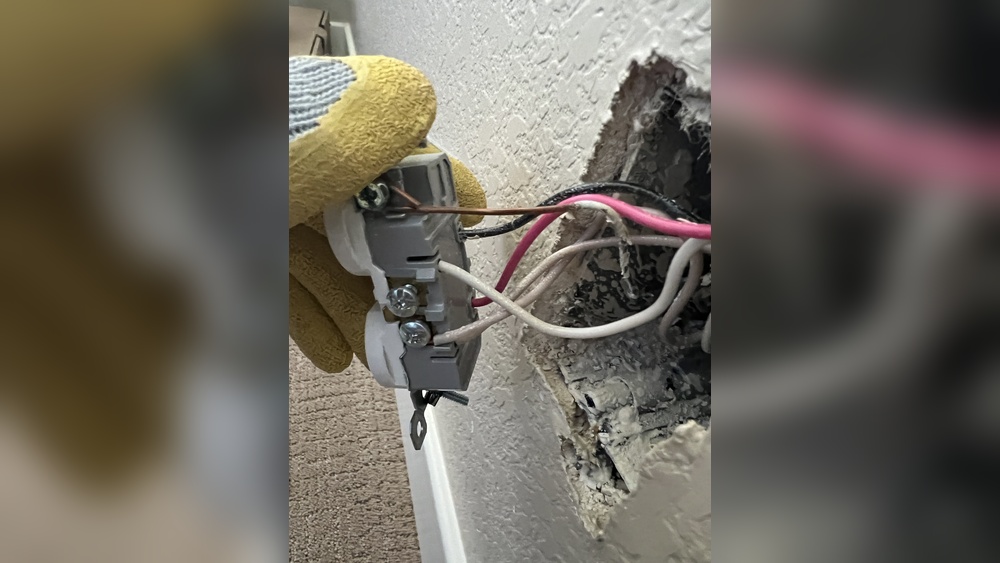
Credit: www.g-locbrakes.com
Tools Needed
Measuring and marking are the first steps to cut a plastic light switch cover correctly. Getting these steps right helps avoid mistakes. It ensures the cover fits perfectly. Careful measurement and clear marks guide your cutting tool accurately. This section explains how to measure and mark with ease and precision.
Taking Accurate Measurements
Use a ruler or tape measure for exact numbers. Measure the switch size and the cover’s edges. Double-check each measurement before marking. Record numbers to avoid forgetting. Measure twice to cut once. Keep the measuring tool steady to prevent errors.
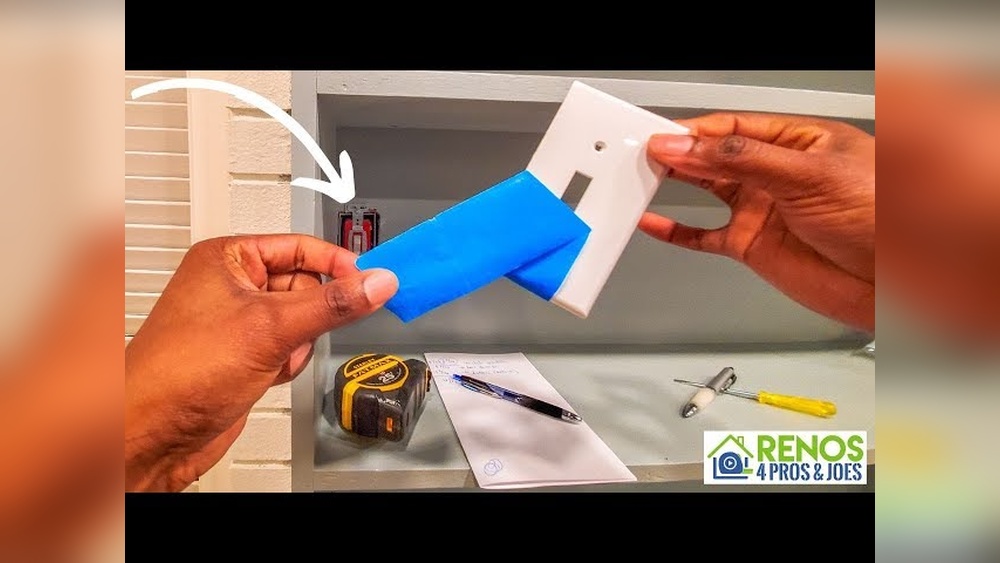
Using Templates For Precision
Templates make marking faster and more precise. Use a paper or cardboard template matching the switch size. Place the template on the cover and trace around it with a pencil. Templates reduce guesswork and uneven cuts. Keep the template flat to ensure straight lines. This method helps maintain consistency for multiple covers.
Credit: www.etsy.com
Preparing The Workspace
Cutting a plastic light switch cover requires care and the right technique. Using the proper tool makes the job easier and neater. Choose a method based on your comfort and the tools you have.
Using A Utility Knife
A utility knife works well for thin plastic covers. Score the plastic along your marked line. Do this several times to create a deep groove. Then, gently snap the plastic along the groove. Use light, steady pressure to avoid cracks. This method is simple and requires no power tools.
Using A Rotary Tool
A rotary tool cuts plastic smoothly and quickly. Attach a cutting wheel designed for plastic. Hold the cover firmly and guide the tool along the line. Move slowly to keep control. Wear safety glasses to protect your eyes from plastic dust. This tool is perfect for curves and detailed cuts.
Using A Saw
A small handsaw or a fine-toothed saw blade works well for thick plastic covers. Secure the cover to prevent slipping. Saw gently along the marked line using steady strokes. Avoid forcing the saw to keep the cut clean. This method needs more effort but gives a straight, precise cut.
Measuring And Marking
Fitting the cover is a key step after cutting your plastic light switch cover. This step ensures the cover sits well and looks neat. A proper fit protects the switch and keeps wires safe. Take your time and check everything carefully. This makes sure the cover does not block the switch or screw holes.
Test Placement
Place the cut cover over the light switch. See if it sits flat against the wall. Check if the switch moves freely without touching the cover. Look at the edges to see if they line up with the wall plate. Make sure the screw holes match the switch’s screws. If the cover fits well, you can move to the next step.
Adjusting The Fit
If the cover does not fit perfectly, make small adjustments. Use a file or sandpaper to smooth rough edges. Trim any parts that block the switch or screw holes. Work slowly and test the cover often. Avoid cutting too much at once. Keep checking the fit until it sits flush and the switch moves easily.

Credit: www.youtube.com
Frequently Asked Questions
How Do I Safely Cut A Plastic Light Switch Cover?
Use a fine-toothed saw or utility knife for precise cuts. Wear safety gloves and goggles to protect yourself. Measure and mark the cut area clearly before starting.
What Tools Are Best For Cutting Plastic Switch Covers?
A fine-toothed saw, utility knife, or rotary tool works best. These tools provide clean, controlled cuts without cracking the plastic.
Can I Resize A Plastic Switch Cover Without Damage?
Yes, by scoring gently with a utility knife and snapping carefully. Use proper tools and take your time to avoid cracks.
How To Measure Before Cutting A Light Switch Cover?
Measure the switch opening and mark the plastic cover precisely with a pencil. Double-check dimensions to ensure a perfect fit after cutting.
Conclusion
Cutting a plastic light switch cover is simple with the right tools. Measure carefully before you cut to avoid mistakes. Take your time and follow safety steps to protect yourself. Smooth the edges for a clean finish and better fit.
Practice on scrap plastic if you feel unsure. This small skill can save you money and effort. Try it yourself and see how easy it can be.