Looking to hang hooks on your wall but not sure where to start? You’re in the right place.
Whether you want to organize your space, display decorations, or create more storage, knowing how to hang hooks properly makes all the difference. Imagine easily adding hooks that hold your items securely without damaging your walls. In this guide, you’ll discover simple steps and expert tips that anyone can follow.
Keep reading to learn how to get it done quickly and confidently—your walls will thank you!

Credit: www.youtube.com
Choose The Right Hooks
Choosing the right hooks is key to a successful wall hanging project. The perfect hook supports your items safely. It also matches the style of your room. Picking the right one saves time and effort. You avoid damage to your walls and belongings.
Types Of Hooks
Hooks come in many shapes and sizes. Some hooks have adhesive backs for light items. Others need nails or screws for heavy objects. There are picture hooks, cup hooks, and utility hooks. Each type suits different purposes. Knowing the types helps you pick what fits best.
Weight Capacity
Check how much weight a hook can hold. Light hooks hold small items like keys or hats. Heavy-duty hooks carry coats, bags, or tools. Overloading a hook can cause it to fall. Always match the hook’s capacity to your item’s weight.
Material Considerations
Hooks come in metal, plastic, wood, and more. Metal hooks are strong and last long. Plastic hooks are light but less durable. Wooden hooks add a natural look. Choose a material that fits your wall and item style. Consider moisture and wear resistance too.

Credit: www.wikihow.com
Gather Necessary Tools
Choosing the right spot on the wall is key to hanging hooks securely. The spot affects how strong the hook holds and how good it looks. Picking a good place means checking the wall’s structure, avoiding any problems, and thinking about height and space. Follow these steps to find the best wall spot for your hooks.
Finding Studs
Studs are vertical wooden beams behind the wall. They give strong support for hooks. Use a stud finder to locate them. Move the finder slowly along the wall. Mark the spots where it shows a stud. Hooks placed on studs hold more weight and last longer.
Avoiding Obstacles
Check the wall for wires, pipes, or nails before drilling. These can cause damage or danger. Use a wire detector to find live wires. Avoid spots near light switches or outlets. Stay clear of plumbing areas in kitchens and bathrooms. Picking a safe spot prevents accidents and repairs.
Height And Spacing Tips
Set hooks at a comfortable height for easy reach. For coat hooks, about 5 to 6 feet high works well. For kitchen or bathroom hooks, place them lower, around 4 to 5 feet. Space hooks evenly to keep things neat. Leave at least 6 inches between hooks to avoid crowding.
Select The Best Wall Spot
Preparing the wall surface is the first step to hang hooks securely. A clean and marked wall helps the hook stay in place. This step saves time and prevents damage to your wall. Follow these simple actions for a strong hold.
Cleaning The Area
Start by removing dust and dirt from the wall. Use a damp cloth or sponge to wipe the spot. Let the wall dry completely before moving on. Clean walls help the hook stick better and avoid slipping.
Marking Drill Points
Use a pencil to mark where the hook will go. Measure carefully to keep the hook straight. Mark the exact spots for drilling holes if needed. Clear marks guide your drill and prevent mistakes.
Credit: www.thehairpinlegcompany.co.uk
Prepare The Wall Surface
Installing hooks securely on your wall ensures they hold weight without falling. Proper installation keeps your items safe and your wall undamaged. Follow simple steps for a strong hold that lasts.
Drilling Pilot Holes
Start by marking the spot for your hook. Use a drill bit smaller than the screw. Drill a pilot hole at the mark. This makes it easier to screw in the hook. It also prevents the wall from cracking.
Using Anchors
Anchors give extra support, especially in drywall or plaster. Choose anchors that fit the size of your screw. Insert the anchor into the pilot hole. Tap it gently with a hammer until flush with the wall. Anchors stop hooks from pulling out under weight.
Screwing In Hooks
Place the hook’s screw into the anchor or pilot hole. Turn the hook clockwise by hand or with a screwdriver. Tighten it until it feels secure. Avoid over-tightening to prevent damage. Check the hook’s stability before hanging items.
Install Hooks Securely
Testing the stability of your wall hook is crucial for safety and durability. A hook that is not secure can fall and cause damage or injury. After installation, always check how well the hook holds weight. This step ensures your hook works as intended and lasts a long time.
Weight Test
Start by hanging a light item on the hook. Watch for any movement or slipping. Increase the weight gradually to the hook’s limit. Use items that match the hook’s purpose. If the hook holds firm, it is stable. This simple test prevents future accidents.
Adjustments If Needed
If the hook feels loose, remove it carefully. Check if the wall anchor or screw is properly placed. Tighten screws or replace anchors for better grip. Sometimes, a different type of hook or anchor is necessary. Retest the hook after any change. Adjust until the hook stays steady under weight.
Test Hook Stability
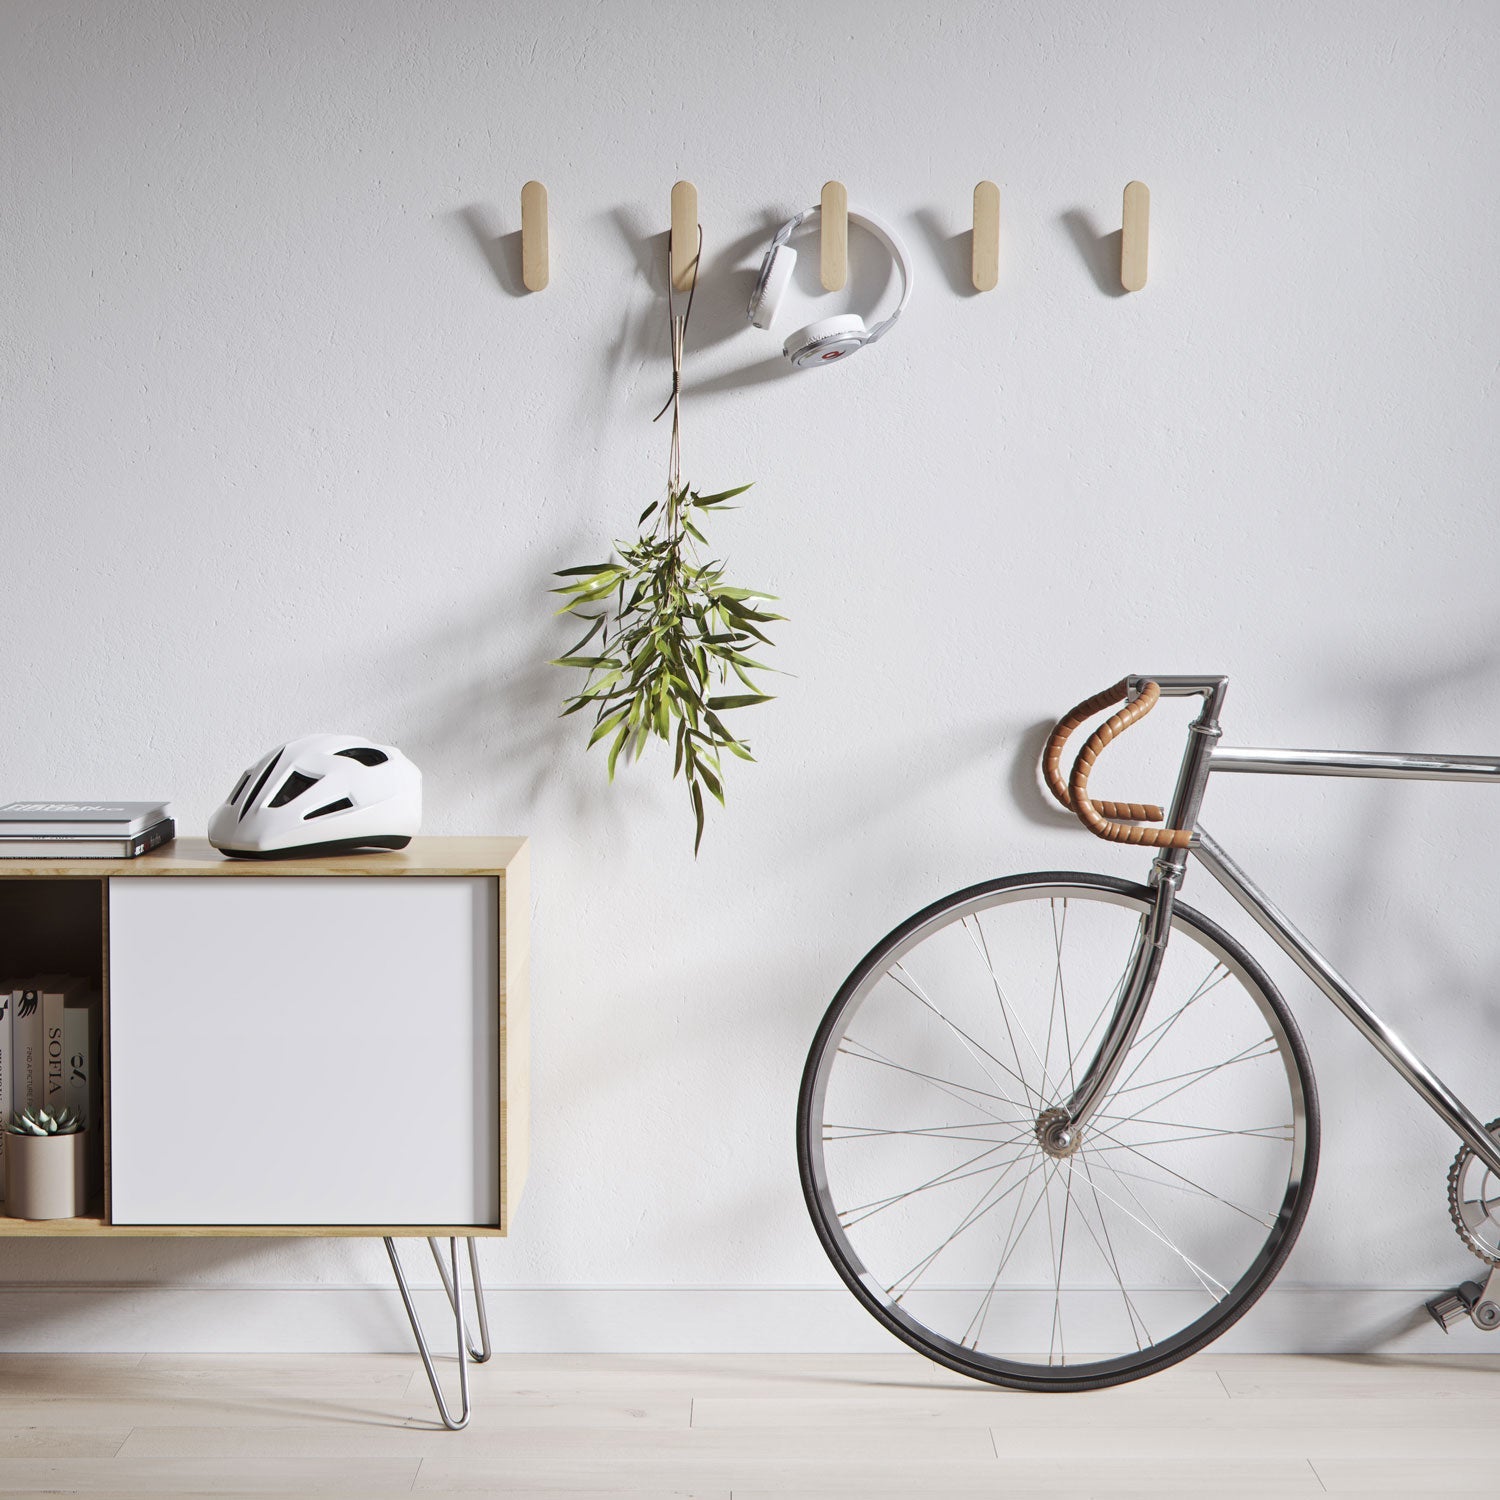
Creative hook arrangements turn simple hooks into wall art. They make your space neat and stylish. Playing with layout and placement adds charm and order to any room. Try different ideas to find what suits your space best.
Patterns And Designs
Arrange hooks in shapes like circles, lines, or grids. Symmetry creates balance and looks clean. Asymmetrical patterns add a playful, modern touch. Use colors or different hook styles to enhance designs. Patterns bring personality and make hooks stand out.
Functional Grouping
Group hooks by purpose to stay organized. Place keys on one side, bags on another. Group coats and hats near the door for easy access. Sorting items by use saves time and keeps your wall tidy. Functional groups help your hooks work smarter, not harder.
Frequently Asked Questions
How Do I Choose The Right Hooks For Walls?
Select hooks based on wall type and item weight. Use adhesive hooks for light items, and screw-in hooks for heavier loads. Consider material and finish to match your decor.
What Tools Are Needed To Hang Hooks On Walls?
You need a drill, screwdriver, level, pencil, and wall anchors. A stud finder helps locate studs for secure mounting. Tape measure ensures accurate hook placement.
Can I Hang Hooks On Drywall Without Studs?
Yes, use wall anchors or toggle bolts for drywall. These provide extra support and prevent hooks from pulling out. Avoid heavy items without proper anchors.
How High Should I Hang Hooks On The Wall?
Hang hooks at eye level or based on item length. Common height is 5 to 6 feet for easy access. Adjust height for children or specific needs.
Conclusion
Hanging hooks on your wall is simple and useful. Choose the right hook for your wall type. Use proper tools for a strong hold. Take your time to measure and mark spots. This helps keep hooks straight and even. Avoid heavy items on small hooks to prevent damage.
With these easy steps, your space stays neat and organized. Try it yourself and enjoy the new look. Small changes make a big difference in your home.