Are you tired of the same old cabinet handles that everyone else has? Imagine giving your kitchen or bathroom a fresh, unique look without spending a fortune.
Making your own cabinet hardware is easier than you think, and it lets you add a personal touch that truly stands out. You’ll discover simple steps to create beautiful, custom hardware that fits your style perfectly. Ready to transform your cabinets and impress everyone who sees them?
Keep reading, because your DIY project starts here.

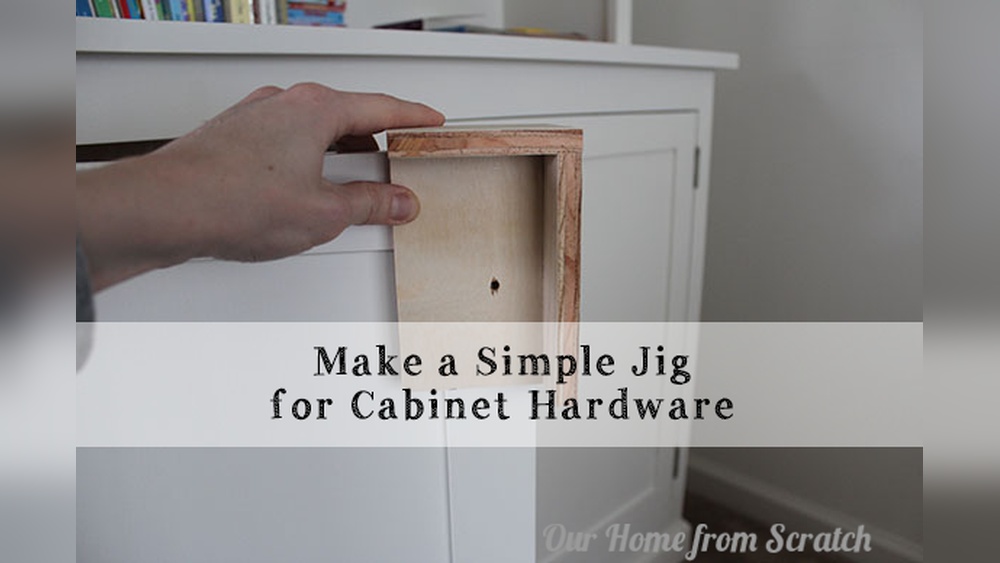
Credit: www.ksrenovationgroup.com
Choosing The Right Materials
Choosing the right materials for cabinet hardware is important. It affects how the hardware looks and lasts over time. Good materials provide strength and style. They also resist wear and tear. This section explains which materials suit your needs best. It covers types of materials, durable finishes, and essential tools.
Types Of Hardware Materials
Cabinet hardware comes in many materials. Metal is the most common choice. It includes brass, stainless steel, and aluminum. Brass offers a classic, warm look. Stainless steel is strong and resists rust. Aluminum is light and budget-friendly. Plastic hardware is cheaper but less durable. Wood hardware gives a natural feel but can wear out fast. Choose materials based on style and use.
Selecting Durable Finishes
Finishes protect hardware from damage. Popular finishes include chrome, nickel, and oil-rubbed bronze. Chrome is shiny and easy to clean. Nickel offers a softer, matte look. Oil-rubbed bronze adds a dark, rustic touch. Powder coating adds color and durability. Choose finishes that match your cabinet style. Durable finishes keep hardware looking good longer.
Tools You’ll Need
Making cabinet hardware requires simple tools. A drill helps make holes for screws. Screwdrivers fit different screw types. A file smooths rough edges. Sandpaper prepares surfaces for finishing. Pliers help bend or hold small parts. A measuring tape ensures accurate size. These tools make the process easier and more precise.

Credit: decorcabinets.com
Design Ideas For Cabinet Hardware
Choosing the right cabinet hardware can change the whole look of your kitchen or bathroom. The design of handles and knobs sets the tone for your space. It can be bold, simple, classic, or unique. Here are some ideas to inspire your cabinet hardware design.
Modern Minimalist Styles
Modern minimalist hardware features clean lines and simple shapes. Think sleek bars or small round knobs in black, white, or metal finishes. These designs suit modern kitchens and bathrooms well. They keep the space neat and uncluttered. Minimalist hardware also blends with many color schemes.
Rustic And Vintage Looks
Rustic hardware uses natural materials like wood or aged metal. Vintage styles include ornate knobs and handles with detailed patterns. These designs add warmth and charm to any room. They work great in farmhouse kitchens or traditional bathrooms. Rustic hardware can make old cabinets feel cozy and inviting.
Customizing With Paint And Texture
Painting hardware is an easy way to customize your cabinets. You can use bold colors to make knobs stand out. Or choose soft shades for a subtle look. Adding texture with sanding or layering paint gives a unique feel. This DIY approach lets you create one-of-a-kind hardware that fits your style perfectly.
Step-by-step Diy Process
Making your own cabinet hardware can save money and add a unique touch. The process is simple and fun. Follow these steps carefully for the best results. Take your time and enjoy each part of the project.
Measuring And Planning
Start by measuring your cabinet doors or drawers. Note the size and shape you want for the hardware. Sketch a design that fits your cabinet style. Use a ruler and pencil for accuracy. Planning well saves mistakes later.
Cutting And Shaping Components
Choose the material for your hardware, like wood or metal. Cut the pieces according to your measurements. Use a saw or metal cutter safely. Shape the edges with a file or sanding tool. Make sure all parts fit together nicely.
Assembling The Hardware
Put the cut pieces together as planned. Use glue, screws, or nails to hold parts firmly. Check that everything is strong and aligned. Let glue dry fully before moving on. Assembly must be sturdy for daily use.
Sanding And Finishing Touches
Sand the hardware smoothly to remove rough spots. Use fine-grit sandpaper for a clean finish. Paint or stain the hardware to match your cabinet. Add a clear coat for protection and shine. Let it dry completely before installation.
Installing Your New Hardware
Installing new cabinet hardware is a key step in updating your kitchen or bathroom. It can change the entire look of your space with little effort. This process is simple if you follow clear steps carefully. Proper installation ensures the hardware fits well and lasts long.
Marking Drill Points
Start by measuring the exact spots for screws. Use a pencil to mark these points clearly. Measure twice to avoid mistakes. Use a ruler or template for accuracy. Marking the drill points correctly saves time and prevents damage.
Drilling And Securing Hardware
Choose a drill bit that matches the screw size. Drill slowly to avoid splitting the wood. Keep the drill straight for clean holes. After drilling, place the hardware and insert screws. Tighten screws firmly but do not over-tighten to avoid stripping.
Adjusting For Perfect Fit
Check if the hardware sits flush against the cabinet. Slightly loosen screws to adjust alignment if needed. Tighten screws again once the position looks right. Test the hardware by opening and closing the cabinet. Adjust until it feels secure and works smoothly.
Maintenance Tips For Longevity
Proper care helps cabinet hardware last longer and look better. Simple maintenance keeps handles and knobs strong and shiny. Small efforts save money and avoid repairs later. Follow these easy tips to protect your hardware.
Cleaning And Polishing
Wipe hardware regularly with a soft cloth to remove dust. Use mild soap mixed with water for cleaning tough dirt. Avoid harsh chemicals that can damage the finish. Dry thoroughly to stop water spots. Polish metal parts with a gentle polish to keep shine.
Fixing Loose Hardware
Check screws and bolts often to find loose parts early. Tighten screws with the right screwdriver to prevent damage. Replace worn screws with new ones of the same size. Use thread locker for screws that loosen quickly. Tight hardware improves function and safety.
Touching Up Finishes
Small scratches and chips can be fixed easily. Use matching paint or finish markers for touch-ups. Clean the area well before applying paint. Apply thin layers and let dry fully between coats. Well-maintained finishes protect metal from rust and wear.
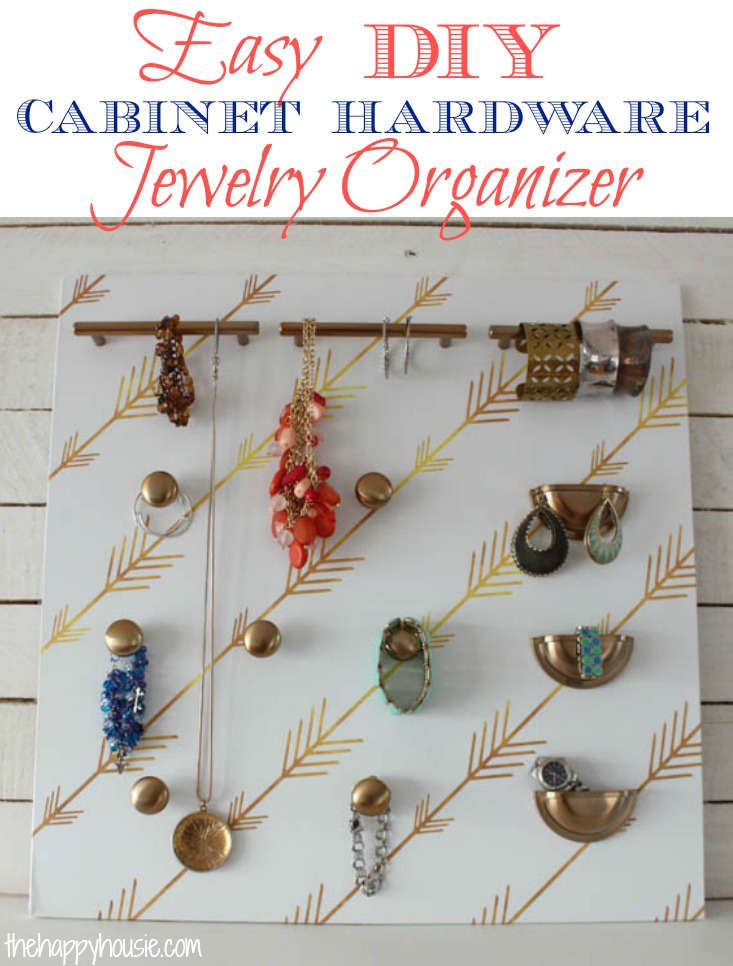
Credit: www.thehappyhousie.com
Budget-friendly Hardware Alternatives
Finding stylish cabinet hardware does not need to break the bank. Budget-friendly hardware alternatives let you upgrade your cabinets without spending too much. Simple ideas and creativity can give your cabinets a fresh, unique look.
Repurposing Old Materials
Old items can become new cabinet hardware. Broken jewelry, drawer pulls, and buttons work well. Sand and paint metal pieces for a polished look. Wood scraps can be shaped and stained for handles. This saves money and adds character to your cabinets.
Using Everyday Items Creatively
Common household items can serve as cabinet handles. Keys, coins, or even small toys make great pulls. Attach them securely with screws or strong glue. These items add a fun, personal touch to your furniture. Creativity turns simple objects into unique hardware.
Where To Find Affordable Supplies
Thrift stores and flea markets offer cheap hardware pieces. Garage sales often have unused knobs and handles. Online marketplaces can provide low-cost options as well. Discount home improvement stores carry budget-friendly supplies. These places help you find great materials without overspending.
Frequently Asked Questions
What Materials Are Best For Making Cabinet Hardware?
Metal, wood, and acrylic are popular materials for cabinet hardware. Metal offers durability, wood provides a classic look, and acrylic adds a modern touch. Choose based on your cabinet style and desired durability. Each material can be customized with different finishes or paint.
How Do I Measure Cabinet Hardware Correctly?
Measure the distance between the screw holes, called the “center-to-center” measurement. Use a ruler or tape for accuracy. This ensures your new hardware fits existing holes or guides new drilling. Accurate measurements prevent damage and ensure a perfect fit.
Can I Make Custom Cabinet Hardware At Home?
Yes, you can make custom hardware using basic tools and materials. Simple designs can be created with wood or metal sheets. Painting or finishing adds a professional look. DIY hardware allows personalization and can save money compared to store-bought options.
What Tools Are Needed For Making Cabinet Hardware?
Basic tools include a drill, screwdriver, measuring tape, and saw. Sandpaper and paintbrushes help with finishing touches. For metal hardware, a metal cutter and file might be necessary. Proper tools ensure precise and safe hardware creation.
Conclusion
Making your own cabinet hardware can be a fun and rewarding task. It lets you add a personal touch to your furniture. You only need a few simple tools and some creativity. This project saves money and gives your cabinets a unique look.
Try different designs and materials to find what suits you best. Enjoy the process and the final result. Your cabinets will stand out and reflect your style. Start small, and you will build confidence with each piece. Crafting hardware yourself brings satisfaction and charm to your home.

