Are you struggling to attach prong fasteners the right way? You’re not alone.
These small but mighty tools can make a big difference in organizing your documents or craft projects—if you know how to use them properly. In this guide, you’ll discover simple, step-by-step instructions that anyone can follow. By the end, you’ll feel confident and ready to tackle your next project with ease.
Keep reading, and you’ll learn the secrets to attaching prong fasteners quickly and securely.
Choosing The Right Prong Fastener
Choosing the right prong fastener is key to a secure and neat attachment. The perfect fastener fits your project’s needs. It holds materials firmly without damage. Consider the type, material, size, and strength of the fastener.
Types Of Prong Fasteners
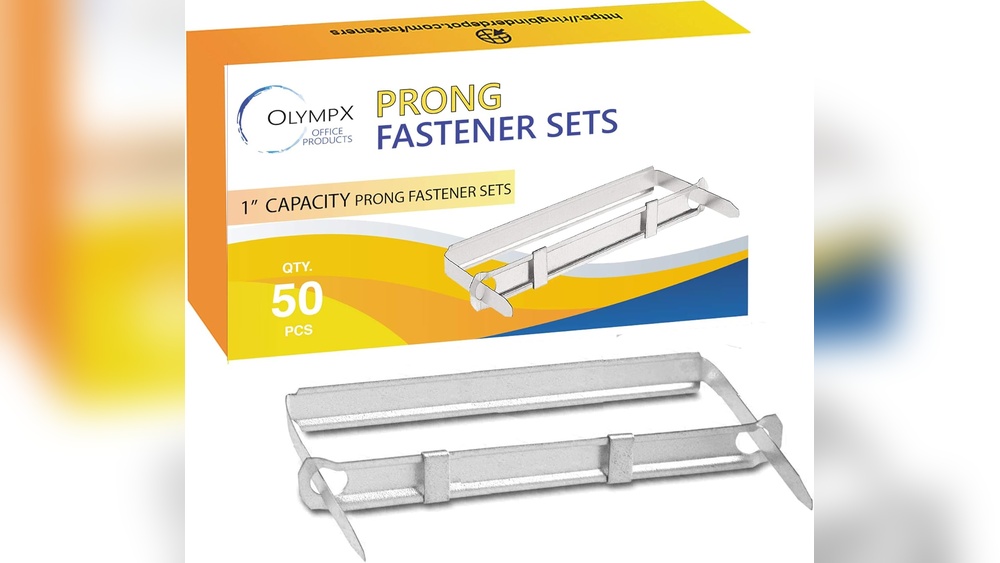
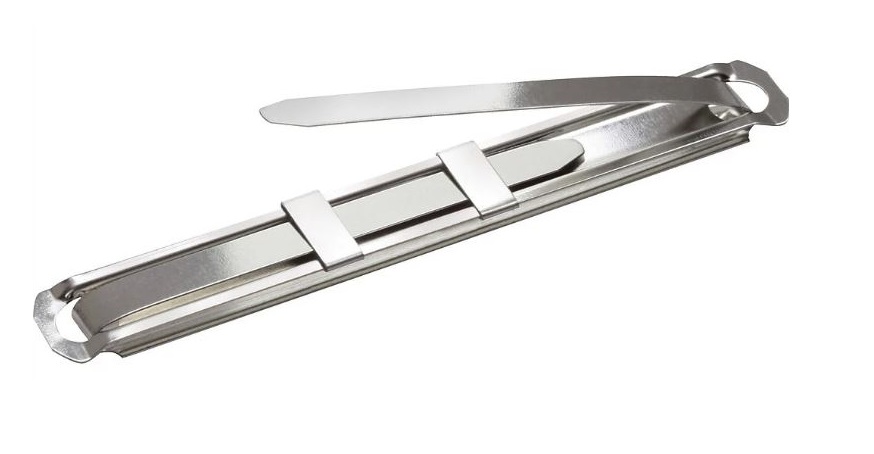
Prong fasteners come in various styles. Two-prong and four-prong are common types. Two-prong fasteners work well for light papers. Four-prong fasteners offer more hold and strength. Some fasteners have longer prongs for thicker stacks. Choose a type that matches your project size and thickness.
Material Considerations
Fasteners are made from different metals like steel, brass, and aluminum. Steel prongs are strong and durable. Brass fasteners resist rust and look nice. Aluminum fasteners are lightweight but less strong. Pick a material that suits the environment and use. For moist places, rust-resistant materials work best.
Size And Strength Factors
Size affects how much material a fastener can hold. Longer prongs fit thicker stacks of paper or fabric. Short prongs work for thin materials. Strength matters for long-term use or heavy loads. Use strong fasteners for important documents or heavy fabrics. Match the prong length and strength to your project needs.
Credit: www.youtube.com
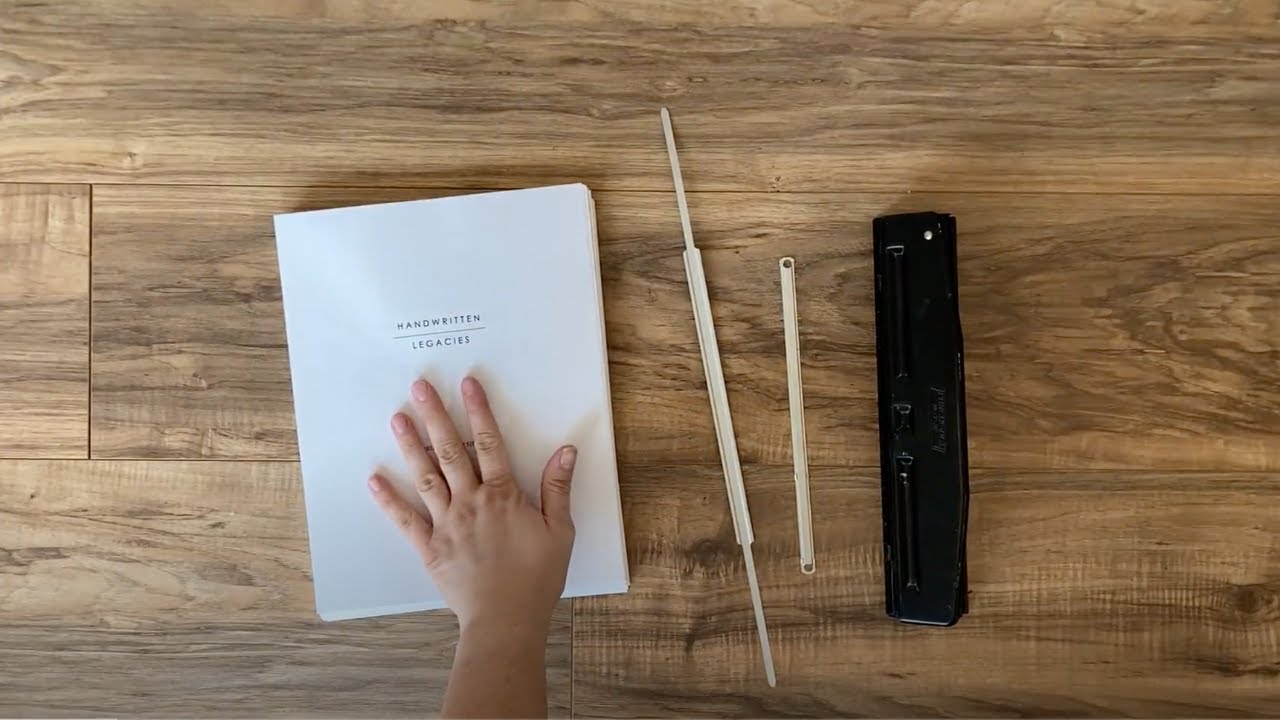
Tools Needed For Attachment
Attaching prong fasteners requires some basic tools to make the job smooth and effective. Using the right tools helps you secure fasteners properly and avoid damage. This section covers the tools needed for attachment and how each one helps in the process.
Basic Tools Checklist
- Prong fasteners – the main hardware for attachment
- Pliers – to bend and secure the prongs tightly
- Awl or hole punch – to create holes for the prongs
- Hammer – for flattening prongs if needed
- Ruler or measuring tape – to measure placement accurately
- Marker or pencil – to mark where to place the fastener
Optional Tools For Precision
- Cutting mat – protects your work surface
- Needle-nose pliers – for better control on small prongs
- Clamp – to hold materials steady during attachment
- Small screwdriver – to adjust or tighten fastener parts
- Magnifying glass – helps with detailed or small fastener work
Preparing Your Materials
Preparing your materials is a key step before attaching prong fasteners. Proper preparation helps the fasteners hold firmly and last longer. It also makes the process smoother and prevents damage to your project.
Gather all tools and materials first. Check that your fasteners fit the paper or folder thickness. Make sure the surface is clean and dry. Once ready, move to marking and drilling pilot holes.
Marking Attachment Points
Mark the exact spots where you will place the prong fasteners. Use a pencil or a light marker. Measure carefully to keep the marks even and straight. This ensures a neat and balanced look. Consistent spacing helps the fastener work well and hold the papers securely.
Creating Pilot Holes
Make small pilot holes at the marks. Use a thin drill bit or an awl for this. Pilot holes guide the fasteners and prevent the paper from tearing. Drill straight and do not make the holes too big. This step makes it easier to insert the prongs without damage.
Step-by-step Attachment Process
Attaching prong fasteners is simple with the right steps. Follow this clear process to secure them properly. Each step matters for a strong hold. Take your time to ensure accuracy.
Aligning The Fastener
Place the fastener on the material where you want it. Make sure it sits flat and straight. Check both sides to confirm proper placement. Proper alignment prevents damage and ensures neatness.
Inserting The Prongs
Push the prongs through the material carefully. Use gentle pressure to avoid bending them. The prongs should go all the way through. This step holds the fastener firmly in place.
Securing The Fastener Firmly
Bend the prongs outward to lock the fastener. Use pliers or your fingers for this task. Press the prongs down close to the material. This keeps the fastener tight and secure.
Common Mistakes To Avoid
Attaching prong fasteners seems simple but many make avoidable errors. These mistakes cause weak holds or damage to materials. Paying attention to common pitfalls improves your results and saves time.
Misalignment Issues
Placing prongs incorrectly leads to misalignment. The fastener won’t close properly or hold tight. Check the prongs line up with the holes before pressing. Misalignment also bends prongs, making removal hard. Use a flat surface to keep parts steady during attachment.
Over-tightening Problems
Pressing prongs too hard can cause damage. Over-tightening bends or breaks the fastener. It also weakens the fabric or paper around the fastener. Apply firm but gentle pressure. Stop once the prongs secure the material firmly without extra force.

Credit: business.walmart.com
Tips For Durable And Neat Results
Achieving durable and neat results with prong fasteners requires careful steps. Small details make a big difference. Proper techniques protect your materials and extend the fastener’s life. Follow these simple tips for a clean and strong attachment.
Using Reinforcement Materials
Reinforcement materials add strength to the fabric or paper. Use small pieces of cardboard or thick fabric behind the fastener. This prevents tearing and keeps the fastener in place. Cut the reinforcement slightly larger than the fastener base. Attach it firmly before pushing the prongs through. This step improves durability and keeps things tidy.
Finishing Touches
Bend the prongs carefully to secure the fastener. Press them flat against the material for a smooth finish. Avoid sharp bends that can damage your project or cause injury. Trim any excess prong length if needed. Check the attachment for any loose spots. A neat finish makes your work look professional and lasts longer.
Credit: theblogstar-94.webself.net
Frequently Asked Questions
What Tools Do I Need To Attach Prong Fasteners?
You need prong fasteners, a hole punch or awl, and a flat surface. Optionally, use a hammer or pliers for better fastening. These tools make the attachment process easy and secure.
How Do I Prepare Materials Before Attaching Prong Fasteners?
Mark the spot for the prong fastener. Punch holes where the prongs will go. Ensure the material is clean and flat for proper attachment.
Can Prong Fasteners Be Used On Thick Materials?
Yes, prong fasteners work on thick materials like cardstock, leather, and fabric. Ensure the prongs are long enough to pierce through the material securely.
How Do I Secure Prong Fasteners To Prevent Loosening?
Fold the prongs flat against the material’s backside. Press firmly with pliers or a hammer. This keeps the fastener tight and prevents it from loosening.
Conclusion
Attaching prong fasteners is simple with the right steps. Choose the correct size for your project. Align the prongs carefully to avoid damage. Press firmly to secure the fastener in place. Check that it holds your materials tightly. Practice makes the process easier and faster.
Follow these tips to get neat, strong results every time. Now, you can add prong fasteners confidently to your crafts or documents.