Are you ready to give your cabinets a fresh new look? Installing hardware on cabinet doors and drawers might seem tricky, but it doesn’t have to be.
With the right steps, you can easily upgrade your space and add a touch of style that matches your taste. In this guide, you’ll learn simple, clear methods to get the job done quickly and perfectly. Keep reading, and you’ll discover how to transform your cabinets into a stunning feature of your room—without any stress or guesswork.

Credit: www.thriftydecorchick.com
Choosing Hardware
Choosing the right hardware for cabinet doors and drawers is important. It affects both how your cabinets look and how easy they are to use. The right hardware can make your kitchen or bathroom more stylish and functional. This section will help you understand different options and make the best choice for your space.
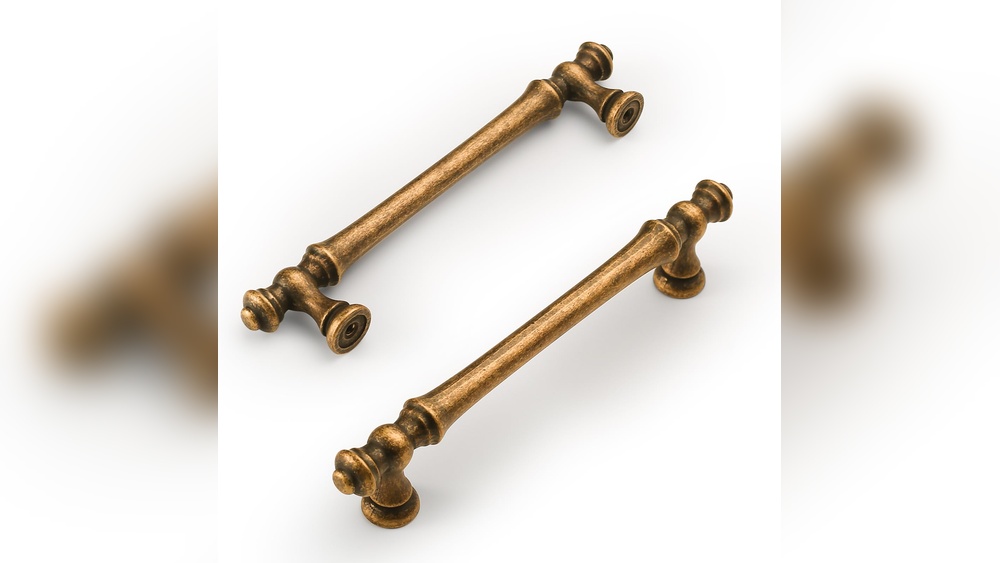
Types Of Cabinet Hardware
Cabinet hardware includes knobs, pulls, and handles. Knobs are small and round, easy to install. Pulls are longer and offer a better grip. Handles come in many shapes and sizes, fitting various cabinet styles. Think about how often you use your cabinets. Choose hardware that feels comfortable to hold and fits your needs.
Materials And Finishes
Hardware comes in many materials like metal, plastic, and wood. Metal options include brass, stainless steel, and bronze. Each material has different durability and style. Finishes change the look too—polished, matte, or brushed. Pick a finish that matches your cabinet color and room design. Durable materials last longer in busy kitchens.
Matching Style And Function
Hardware should match your cabinet style. Traditional cabinets look good with classic knobs or pulls. Modern cabinets fit sleek, simple handles. Consider the function as well. Heavy drawers need strong pulls. Small doors work well with small knobs. Matching style and function improves both beauty and use.

Credit: www.youtube.com
Tools And Materials Needed
Before installing hardware on cabinet doors and drawers, gather all necessary tools and materials. Proper preparation helps the job go smoothly. Having the right items saves time and avoids frustration. This section lists everything needed for a successful installation.
Essential Tools
- Electric drill with drill bits
- Screwdriver (Phillips and flathead)
- Measuring tape or ruler
- Pencil for marking spots
- Level to ensure straight placement
- Center punch to make small indentations
- Clamps to hold doors or drawers steady
Hardware Components
- Cabinet handles or knobs
- Mounting screws compatible with hardware
- Backing plates if required
- Template or jig for accurate drilling
Safety Equipment
- Safety glasses to protect eyes
- Work gloves to protect hands
- Dust mask to avoid inhaling particles
- Hearing protection if using loud tools
Preparing The Cabinet
Preparing the cabinet is the first step before installing new hardware on doors and drawers. It sets the stage for a smooth, precise installation. This process includes cleaning, removing old hardware, and measuring for the new pieces. Taking time here saves effort later and ensures everything fits well.
Cleaning And Clearing Doors
Start by cleaning the cabinet doors and drawer fronts. Use a soft cloth and mild cleaner to remove dirt and grease. This helps the new hardware stick better and look great. Make sure the surfaces are dry before moving on.
Removing Old Hardware
Carefully unscrew and remove any old handles or knobs. Keep the screws in a safe place if you want to reuse them. Check for any damage or holes left behind. Fill holes with wood filler if needed and let it dry fully. Smooth the surface with sandpaper for a clean finish.
Measuring For Placement
Measure the exact spot for the new hardware. Use a ruler or tape measure for accuracy. Mark the location lightly with a pencil. For drawers, center the handle horizontally. For doors, placement depends on style and size. Double-check measurements before drilling any holes.
Marking Drill Points
Marking drill points is a key step when installing hardware on cabinet doors and drawers. Accurate marks ensure the handles or knobs fit perfectly. Poor marks can cause crooked hardware or damage the wood. Take time to mark carefully. Use the right tools and techniques to get precise spots for drilling.
Using Templates
Templates help place drill points quickly and evenly. You can buy plastic templates or make your own from cardboard. Align the template on the door or drawer front. Hold it steady. Mark the holes with a pencil through the template’s guide holes. This method saves time and reduces errors. It works well for multiple doors or drawers with the same hardware.
Measuring Consistency
Measure distances to keep holes consistent across all doors and drawers. Use a tape measure or ruler. Check the distance from the edge of the door to the drill point. Also, measure the height from the bottom or top edge. Write down these measurements. Repeat for each piece to ensure uniformity. Consistent hardware placement creates a neat, professional look.
Double-checking Alignments
Always double-check your marks before drilling. Use a level to confirm horizontal or vertical alignment. Step back and look closely at the marks. Make sure they line up with existing hardware or match the design plan. Adjust any marks that look off. Taking this extra step avoids mistakes that are hard to fix later.
Drilling Holes
Drilling holes in cabinet doors and drawers is a key step for installing hardware. Proper drilling ensures a clean, secure fit for handles and knobs. Careful preparation can save time and avoid damage to your cabinets.
Selecting Drill Bits
Choose a drill bit that matches the size of your hardware screws. Use a bit slightly smaller than the screw diameter for a tight fit. For softer wood, a standard twist bit works well. For harder materials, consider a brad point bit for precise holes.
Drilling Techniques
Mark the exact spot for each hole with a pencil. Use a tape measure or template for accuracy. Start drilling slowly to avoid slipping. Keep the drill steady and perpendicular to the surface. Drill all the way through the door or drawer front.
Preventing Damage
Place a piece of scrap wood behind the drilling spot. This prevents splintering on the back side. Use painter’s tape on the drilling area for extra protection. Avoid forcing the drill; let the bit cut at its own pace. Clean the holes with sandpaper to remove rough edges.
Attaching Hardware
Attaching hardware to cabinet doors and drawers is an important step. It gives your furniture a finished look and makes it functional. This process needs care and attention to detail. Follow simple steps to ensure handles and knobs fit well and last long.
Aligning Handles And Knobs
Start by marking the exact spots for your handles or knobs. Use a ruler or measuring tape to find the center or the right position. Mark the screw holes with a pencil. Double-check the marks to avoid mistakes. Proper alignment makes the hardware look balanced and neat.
Securing Screws Properly
Insert screws through the hardware and into the cabinet door or drawer. Use a screwdriver to tighten them firmly but gently. Avoid over-tightening, which can damage the wood or strip the screw holes. Tight screws keep the hardware steady and secure.
Handling Different Hardware Types
Different hardware requires different handling. Knobs usually have one screw, so they are easier to attach. Handles often have two screws and need more precise alignment. Some hardware might include special parts like backplates or spacers. Follow the hardware instructions carefully for best results.
Testing And Adjustments
After installing hardware on cabinet doors and drawers, testing and adjustments ensure smooth operation. This step helps catch any problems early. It also guarantees the hardware fits perfectly and works as intended. Take your time to carefully test and adjust each piece.
Checking Functionality
Open and close each door and drawer several times. Watch for sticking or misalignment. Listen for any unusual sounds like squeaks or clicks. Make sure the handles and knobs feel secure and comfortable to use. Check if the hardware moves smoothly without resistance.
Tightening Loose Parts
Identify any screws or bolts that feel loose. Use a screwdriver to tighten them gently. Avoid overtightening to prevent damage to the wood or hardware. Check the hardware again after tightening. Repeat the process until everything feels stable and firm.
Making Final Adjustments
Adjust the position of the hardware if doors or drawers do not close properly. Loosen screws slightly to shift the hardware as needed. Ensure the hardware aligns evenly on all doors and drawers. After adjustments, test the function once more. Confirm smooth opening and closing before finishing.

Credit: www.amazon.com
Maintenance Tips
Maintaining hardware on cabinet doors and drawers keeps them working well and looking good. Regular care helps avoid damage and extends their life. Simple steps can prevent common problems and save money.
Cleaning Hardware
Clean hardware often with a soft cloth. Use mild soap and water for dirt and grease. Avoid harsh chemicals that can damage the finish. Dry thoroughly to stop rust or water spots. Regular cleaning keeps handles shiny and smooth.
Preventing Wear And Tear
Use hardware gently to avoid loosening screws. Tighten screws every few months to keep parts secure. Avoid hanging heavy items on handles. This reduces strain and prevents bending or breaking. Check for signs of wear often.
Replacing Hardware When Needed
Replace hardware if it becomes damaged or worn out. Loose or broken handles can harm cabinets. Choose hardware that fits your style and cabinet size. Easy replacement keeps cabinets functional and fresh in appearance.
Frequently Asked Questions
How Do I Measure For Cabinet Hardware Installation?
Measure the door or drawer width and height precisely. Mark the drilling spots using a template or ruler. Ensure consistent placement for a balanced look. Accurate measuring prevents misaligned hardware and improves installation quality.
What Tools Are Needed To Install Cabinet Hardware?
You need a drill, drill bits, screwdriver, tape measure, pencil, and level. A hardware template helps mark drilling spots accurately. Using the right tools ensures a smooth and professional installation process.
How To Choose The Right Screws For Cabinet Hardware?
Select screws that match the thickness of your cabinet doors or drawers. Use screws provided with hardware or choose slightly longer ones for secure fastening. Correct screw size prevents damage and keeps hardware firmly attached.
Can I Install Hardware On Existing Cabinet Doors?
Yes, you can install hardware on existing doors by measuring and marking carefully. Drill pilot holes to avoid splitting the wood. Adding hardware refreshes the look without replacing doors.
Conclusion
Installing hardware on cabinet doors and drawers is easier than it seems. Measure carefully, mark spots clearly, and use the right tools. Take your time to avoid mistakes and keep everything aligned. Small details make a big difference in the final look.
Enjoy the new style and function your cabinets bring to your space. Practice will help you get better and faster each time. Simple steps lead to great results. You’ve got this!