Are you ready to add a professional touch to your DIY projects or clothing repairs? Knowing how to attach snap fasteners with pliers can make your work faster, cleaner, and more durable.
Whether you’re fixing a jacket, creating a handmade bag, or customizing your wardrobe, mastering this simple skill puts you in full control. In this guide, you’ll learn step-by-step how to use snap pliers effectively, avoid common mistakes, and achieve perfect snaps every time.
Keep reading to unlock the secret to quick, strong, and neat snap fastener installation—you’ll wonder how you ever managed without it!
Tools And Materials
Attaching snap fasteners with pliers requires the right tools and materials. Preparing these ahead saves time and ensures a smooth process. Understanding the types of snap fasteners, choosing proper pliers, and preparing the fabric are key steps. Below, each element is explained clearly.
Types Of Snap Fasteners
Snap fasteners come in metal and plastic varieties. Metal snaps offer durability and a classic look. Plastic snaps are lightweight and rust-free. Some snaps have prongs; others use a stud and socket system. Selecting the right type depends on your project needs and fabric type.
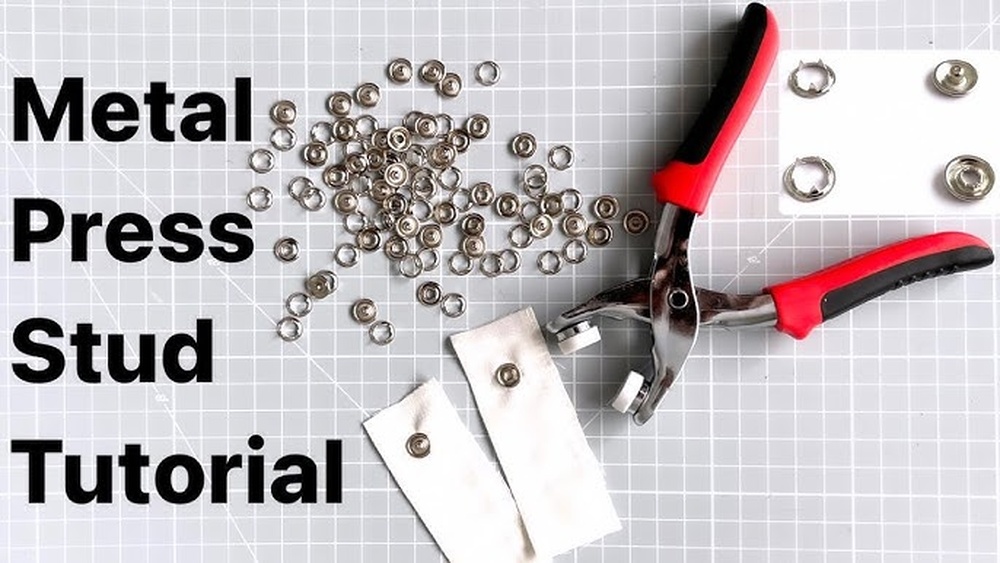
Choosing The Right Pliers
Using pliers designed for snap fasteners is crucial. Snap pliers have special jaws that hold the snap parts firmly. They apply even pressure to secure snaps without damage. Avoid regular pliers, which can bend or break snaps. Some snap pliers come with interchangeable heads for different snap sizes.
Fabric And Preparation
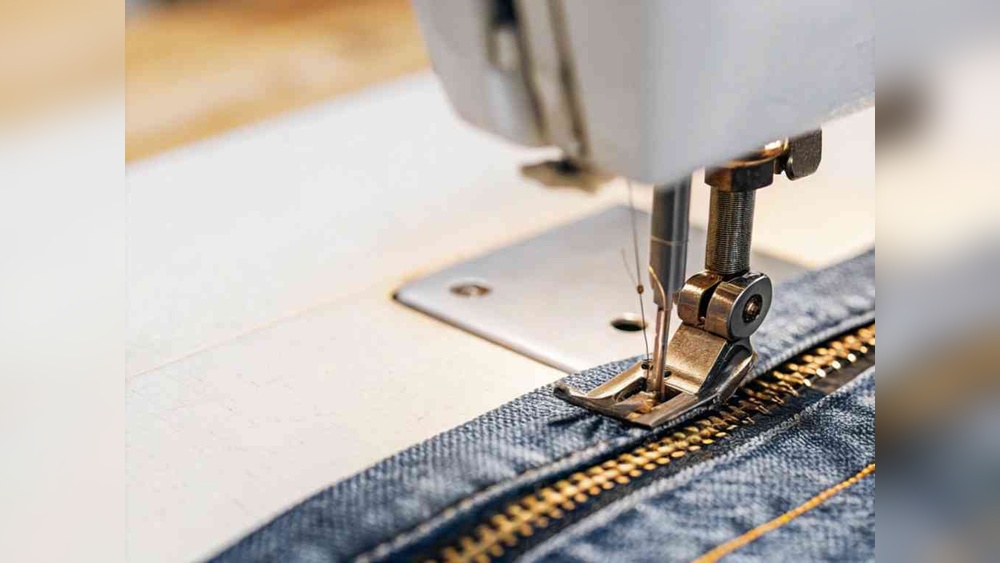
Prepare the fabric before attaching snaps. Mark the spot where snaps will go with chalk or fabric pen. Use a small hole punch or awl to create holes for prong snaps. Ensure fabric layers align well to avoid puckering. Clean, flat fabric surfaces help snaps hold better and last longer.

Credit: www.thesewingdirectory.co.uk
Preparing The Fabric
Preparing the fabric is the first step in attaching snap fasteners with pliers. Proper preparation ensures the snaps hold firmly and look neat. Take your time with this stage for the best results.
Marking Snap Placement
Decide where you want the snaps on your fabric. Use a fabric marker or tailor’s chalk to mark these spots clearly. Make sure the marks are even and aligned for a professional look. Check both sides of the fabric to confirm placement. Accurate marking prevents mistakes later.
Making Holes For Snaps
Create small holes where you marked the snaps. Use a sharp tool like an awl or a small pair of scissors. The holes must be just big enough for the snap prongs to go through. Avoid making holes too large to keep the fabric strong. Clean, precise holes help the snaps fit securely.
Setting Snap Fasteners
Setting snap fasteners properly is key for strong, lasting results. Snap fasteners consist of two parts: the socket and the stud. Each part must align perfectly to function well. Use pliers designed for snaps to press these parts together. This method is quick and ensures a neat finish.
Follow these steps carefully to attach snap fasteners with pliers. Correct positioning and secure fastening prevent snaps from coming loose. This simple process works well on fabric, leather, and other materials.
Positioning The Snap Components
Start by placing the fabric on a flat surface. Lay out the snap parts where you want them attached. The socket goes on the front side of the fabric. The stud fits on the back side, directly behind the socket. Make sure the fabric is smooth and flat without wrinkles. This avoids uneven snaps and weak attachment.
Using Pliers To Attach Snaps
Hold the snap fastener parts in place with your fingers. Open the snap pliers and position the jaws around the snap components. Align the pliers with the snap so pressure will close it evenly. Slowly squeeze the pliers handles together with steady force. You will hear a click or feel resistance when the snap is set. Do not squeeze too hard to avoid damage.
Ensuring Secure Attachment
Check the snap by gently pulling on the fabric near the fastener. The snap should stay firmly attached without moving. Test the snap by pressing and releasing it several times. It should close tightly and open smoothly. If it feels loose, reset the snap with the pliers. Proper attachment keeps your project looking professional and durable.
Tips For Perfect Results
Attaching snap fasteners with pliers requires care and attention. Following simple tips ensures strong and neat snaps. These tips help avoid mistakes and save time. Focus on fabric safety, snap alignment, and quick problem fixes. Read on for practical advice that improves your results.
Avoiding Fabric Damage
Use a piece of scrap fabric under the snap area. This protects your main fabric from pressure marks. Hold the fabric taut but not stretched. Apply gentle, even pressure with the pliers. Do not squeeze too hard to avoid holes or tears. Choose the right snap size for your fabric thickness.
Checking Snap Alignment
Place both snap parts on a flat surface first. Make sure the snap parts face each other correctly. Align the snap ring and the stud carefully. Double-check the position before pressing with pliers. Misaligned snaps will not close properly. Test the snap by pressing it gently after attaching.
Troubleshooting Common Issues
If the snap feels loose, try pressing again firmly. Check for any bent or damaged parts before reusing. Replace any defective snap pieces to avoid failure. If the snap does not close, realign and press once more. Use a small screwdriver to adjust the snap edges slightly. Practice on scrap fabric to improve skill and confidence.
Caring For Snap Fastened Items
Snap fastened items need regular care to keep them working well. Proper care helps snaps stay strong and look good. Easy maintenance extends the life of your clothes and accessories with snap fasteners. Follow simple steps to clean and fix snaps for best results.
Cleaning And Maintenance
Remove dirt and dust gently from the snaps. Use a soft cloth or a small brush for cleaning. Avoid harsh chemicals that can damage the metal or plastic parts. Wipe snaps dry after cleaning to stop rust or corrosion. Check snaps regularly for any signs of wear or damage. Store snap fastened items in a dry place to keep snaps from rusting.
Repairing Loose Snaps
Loose snaps can make your item unusable. Tighten them carefully using pliers made for snap fasteners. Place the snap parts correctly before pressing them together. Avoid using too much force to prevent damage. Replace damaged snaps with new ones for better performance. Keep spare snaps and tools handy for quick repairs at home.

Credit: www.youtube.com

Credit: www.loveauntmaggie.com
Frequently Asked Questions
How To Use Snap Clip Pliers?
Hold snap clip pliers with the snap and fabric between jaws. Squeeze pliers firmly to secure the snap. Repeat for all parts.
How To Attach Snap Clips?
Place snap parts on fabric layers aligned. Insert them into snap pliers. Squeeze pliers firmly to secure snaps together. Check snap functionality.
How To Apply Snap Fasteners With Hammer?
Place snap fastener parts on fabric aligned correctly. Hold firmly. Tap gently with a hammer on the snap’s top until secure. Avoid excessive force to prevent damage. Check snap’s firmness by pressing it open and closed.
How To Apply Metal Snap Buttons?
Place snap parts on fabric layers. Align snap components in snap pliers. Squeeze pliers firmly to secure snaps. Check for a tight fit. Repeat for the other side.
Conclusion
Attaching snap fasteners with pliers is simple and quick. Follow each step carefully for best results. Use the right tools and apply gentle pressure. Practice on scrap fabric before working on your project. This method ensures your snaps hold firmly and look neat.
With patience, you can add snaps to many items. Enjoy creating clothes or accessories with secure fasteners. Keep your pliers clean and store snaps properly. Snap fasteners add function and style to your work. Try it today and see how easy it can be!