Are you tired of struggling to get cabinet hardware holes perfectly lined up? Misaligned holes can turn a simple project into a frustrating mess.
But don’t worry—getting those holes just right is easier than you think. In this guide, you’ll discover simple tips and tricks to make your cabinet hardware installation smooth and precise. Keep reading, and you’ll learn how to save time, avoid mistakes, and achieve professional-looking results every time.
Your cabinets deserve that perfect finish, and you’re just a few steps away from making it happen.
Tools Needed
Getting the right tools is key to lining up holes for cabinet hardware. Proper tools help you measure and mark accurately. They also make drilling clean and easy. Using the correct tools saves time and prevents mistakes.
Measuring Tools
Measuring tools ensure precise hole placement. A tape measure is a basic tool for length and spacing. A ruler or a steel straight edge helps with small measurements. A combination square can check right angles and depths. These tools keep your holes aligned and even.
Marking Tools
Marking tools show exact drilling spots. A pencil with a sharp tip works well for clear marks. A marking gauge can help with consistent distances. A center punch creates a small dent to guide the drill bit. These tools stop the drill from slipping and improve accuracy.
Drilling Tools
Drilling tools make clean, precise holes for hardware. A power drill is the most common tool for this task. Use drill bits sized to match your cabinet hardware screws. A drill guide or jig keeps holes straight and aligned. These tools help you finish the job professionally and quickly.
Choosing Hardware Placement
Choosing the right place for cabinet hardware is key. It affects both look and function. Proper placement helps drawers and doors open easily. It also keeps your cabinets looking neat. Measure carefully and think about how you use each cabinet.
Standard Positions
Most cabinets follow common hardware spots. For drawers, knobs go in the center of the top edge. Pulls usually attach horizontally near the top. For doors, knobs are placed near the top corner. Pulls fit vertically along the edge opposite the hinges. These spots create a balanced and familiar look. They also make cabinets easier to use every day.
Custom Layouts
Custom hardware placement lets you add a personal touch. You can place knobs or pulls at different heights. Try diagonal or staggered positions for a unique style. Custom layouts suit odd-sized cabinets or special designs. Use a template or mark spots before drilling. This helps avoid mistakes and keeps hardware aligned. Custom placement can make your cabinets stand out.
Measuring And Marking
Measuring and marking are the first steps to install cabinet hardware correctly. Precise measurements ensure the holes line up perfectly. Marking drill spots clearly prevents mistakes during drilling. Careful work here saves time and effort later.
Finding Center Points
Start by finding the center of the cabinet door or drawer front. Use a tape measure to measure the width. Divide the width by two. Mark the center point lightly with a pencil. This point guides where the hardware will be placed.
For handles, measure the length of the handle. Divide it by two to find the center of the hardware. Align this center with the center point on the cabinet. This helps keep the hardware balanced and neat.
Marking Drill Spots
Next, mark the drill spots based on your hardware type. For knobs, mark a single spot at the center point. For handles, mark two spots spaced according to the handle’s screw holes.
Double-check measurements before marking. Use a ruler or square to ensure marks are straight and even. Mark spots lightly to avoid visible pencil marks on finished cabinets.
Using Templates
Using templates helps to line up holes for cabinet hardware quickly and accurately. Templates guide your drill, so holes stay in the right spot. This tool saves time and reduces mistakes. Templates work well for all types of cabinet hardware.
Benefits Of Templates
Templates ensure each hole is in the same place. This creates a neat, professional look. They reduce the chance of mistakes that waste wood. Templates speed up the drilling process, especially for many cabinets. They also help beginners feel more confident. You do not need to measure each hole by hand.
How To Use A Template
First, choose a template that matches your hardware size. Place the template on the cabinet door or drawer front. Hold it firmly or clamp it in place. Use a pencil to mark the hole spots through the template. Remove the template and check the marks. Drill the holes carefully on the marks. Repeat the process for each cabinet piece. Clean the template after use for next time.
Drilling Holes
Drilling holes for cabinet hardware requires care and precision. Proper drilling ensures that handles and knobs fit perfectly and look great. It also prevents damage to your cabinets. Follow simple steps to make clean, accurate holes.
Drill Bit Selection
Choose the right drill bit for your hardware and cabinet material. A brad point bit works well for wood. It makes clean, precise holes without splintering. For metal or hard surfaces, use a high-speed steel bit. Match the bit size to the hardware screws. Check the package or measure the screws for accuracy.
Drilling Techniques
Mark the hole positions clearly before drilling. Use a ruler or template for even spacing. Start with a small pilot hole to guide the bigger bit. Hold the drill steady and straight to avoid angled holes. Drill slowly and apply steady pressure. Stop if the drill binds or the wood splinters.
Avoiding Common Mistakes
Do not rush the drilling process. Avoid drilling too close to edges to prevent splitting. Double-check measurements before drilling. Test the drill bit on scrap wood first. Keep the drill bit sharp to make smooth holes. Clean debris from the hole before installing hardware.

Credit: www.amazon.com
Double Checking Alignment
Double checking alignment is a key step in installing cabinet hardware. It helps avoid mistakes that waste time and materials. Taking a moment to verify ensures the holes line up perfectly for smooth installation. This step protects your cabinets from damage and keeps the hardware looking neat. Follow these simple checks to confirm your holes are aligned before drilling or screwing.
Visual Inspection
Start by looking closely at the marked spots for holes. Check if they sit on the same line horizontally and vertically. Use a ruler or a level to compare the distances between holes. Make sure marks are evenly spaced on all doors or drawers. Any uneven marks can cause hardware to look crooked or not fit well. Correct any mistakes before drilling to save effort later.
Test Fitting Hardware
Try placing the cabinet handles or knobs over the marked holes. See if the screws fit through easily and align with the hardware holes. This step helps spot errors that are hard to see with just a visual check. If the hardware does not fit well, adjust your marks. Test fitting avoids damage to the cabinet surface and hardware. It also saves time by preventing multiple re-drills.
Tips For Different Hardware Types
Different types of cabinet hardware need specific ways to line up holes. Correct hole placement helps the hardware look good and work well. This section explains simple tips for knobs, pulls, and handles. Follow these tips for a neat, professional finish.
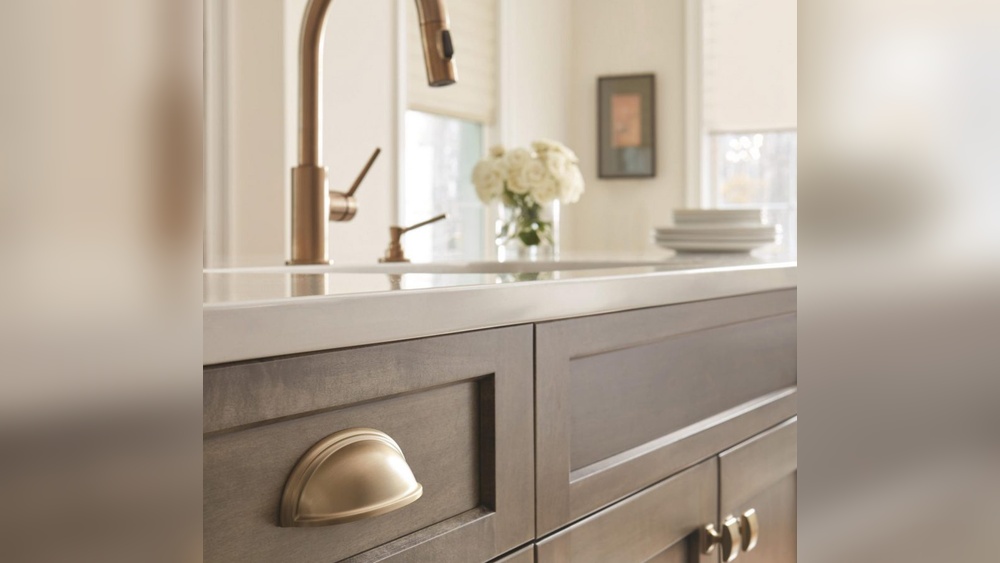
Knobs
Knobs need just one hole. Measure the center of the cabinet door or drawer. Mark this spot clearly. Use a drill bit that fits the screw size. Drill straight to avoid a crooked knob. Double-check the placement before drilling.
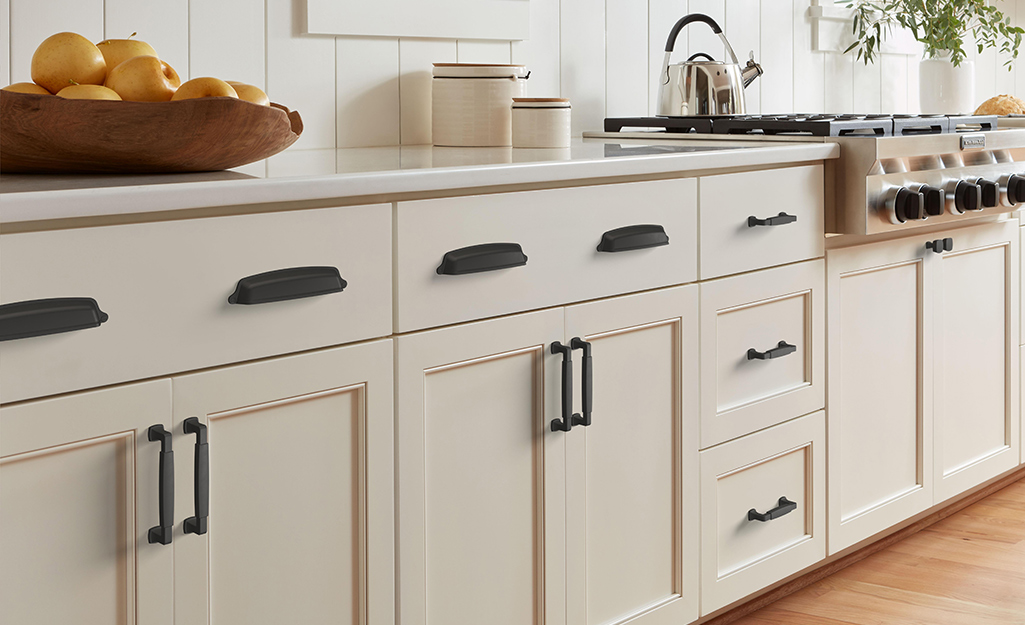
Pulls
Pulls have two holes. Measure the distance between the screw holes on the pull. Mark these points on the cabinet surface. Use a level or ruler to keep holes straight. Drill carefully to match the pull’s screw size. Check alignment by placing the pull on marks.
Handles
Handles can have two or more holes. Measure the hole spacing on the handle first. Mark the cabinet surface with these measurements. Use a level to keep holes in line. Drill slowly to avoid splitting the wood. Attach the handle and test its fit.

Credit: www.juicedsound.com
Fixing Misaligned Holes
Fixing misaligned holes is common in cabinet hardware installation. Small mistakes can cause holes to be off by a few millimeters. This affects the look and function of your cabinet doors and drawers. Fixing these errors quickly keeps your project neat and professional.
Filling And Patching
Start by filling old holes before drilling new ones. Use wood filler or putty designed for cabinets. Apply it with a small putty knife and press it firmly into the hole. Let it dry completely, usually a few hours. Sand the area smooth after drying to match the cabinet surface. This step prevents screws from loosening and keeps the wood strong.
Re-drilling Strategies
Mark new hole positions carefully using a template or ruler. Drill pilot holes smaller than your screws to avoid splitting the wood. Keep the drill steady and perpendicular to the surface. Check alignment by holding the hardware in place before drilling fully. Slow and steady drilling ensures clean, straight holes. This approach improves hardware fit and appearance.
Credit: www.homedepot.com
Frequently Asked Questions
How Do I Measure Holes For Cabinet Hardware?
Measure the distance between existing holes accurately. Use a ruler or tape measure for precise spacing. Mark new hole positions before drilling. Consistent measurements ensure hardware aligns perfectly.
What Tools Are Needed To Line Up Cabinet Holes?
You need a tape measure, pencil, drill, and level. A template or jig helps maintain consistent hole placement. These tools improve accuracy and speed up the process.
How To Avoid Mistakes When Drilling Cabinet Hardware Holes?
Double-check measurements and mark holes clearly. Use a drill bit that matches hardware size. Drill slowly to avoid splitting wood. Practice on scrap wood for confidence.
Can I Reuse Old Cabinet Hardware Holes?
Yes, reuse if holes match new hardware size. Fill larger holes with wood filler before redrilling. Properly aligned holes maintain cabinet appearance and function.
Conclusion
Properly lining up holes for cabinet hardware makes installation smooth. Measure twice, mark carefully, and use the right tools for best results. Take your time to ensure all holes are even and straight. This simple attention to detail improves the look and function of your cabinets.
Practice helps build confidence and skill. Soon, you will handle hardware like a pro. Keep these tips in mind for every project. Your cabinets will look neat and professional every time.