Have you ever struggled with tricky buttons or bulky zippers? Snap fasteners offer a simple, quick solution that makes your clothes and accessories easier to use.
But how do you snap fastener correctly so it stays secure and looks neat? In this guide, you’ll discover easy steps to attach snap fasteners like a pro. By the end, you’ll save time, avoid frustration, and give your projects a polished finish.
Ready to master this handy skill? Let’s dive in!
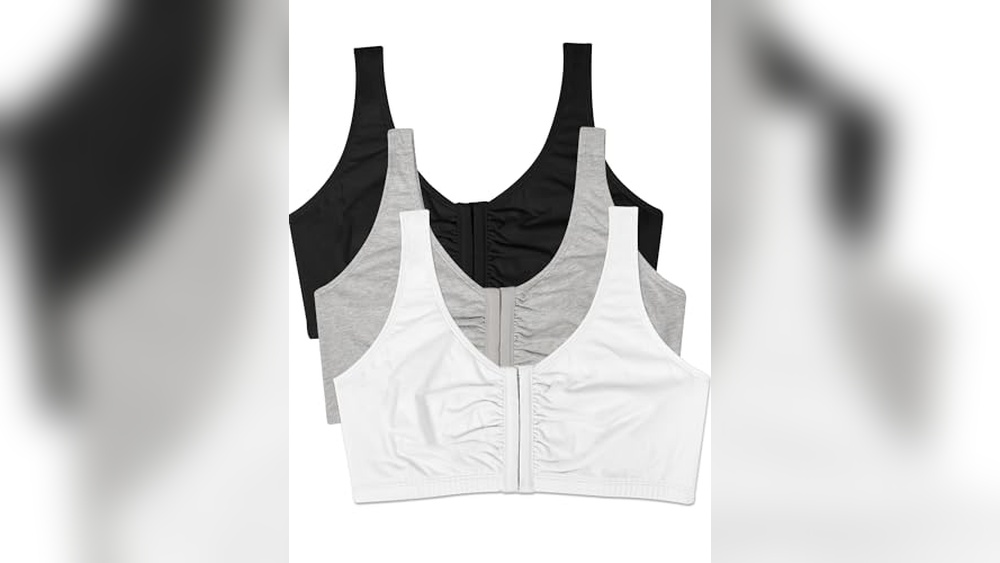
Choosing Snap Fasteners
Choosing the right snap fasteners is key for any sewing project. The correct snaps make your work sturdy and neat. They also match the fabric and style well. Consider the snap type, material, and size before buying.
Types Of Snap Fasteners
Snap fasteners come in several types. Metal snaps are strong and last long. Plastic snaps are light and good for kids’ clothes. There are also sew-on and press-on snaps. Sew-on snaps need stitching. Press-on snaps are easy to attach with tools.
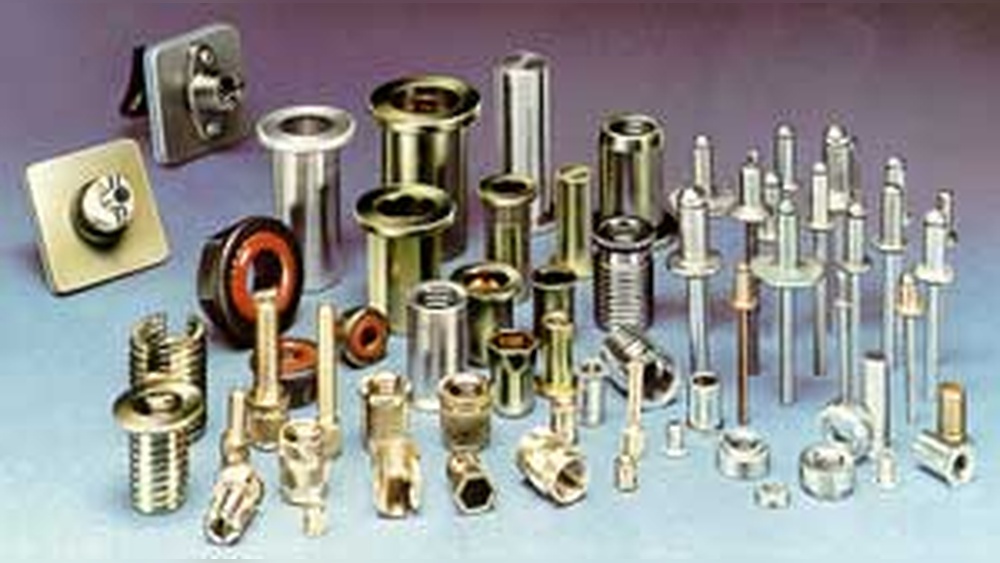
Materials And Sizes
Snap fasteners come in different materials. Common materials include brass, stainless steel, and plastic. Brass snaps resist rust and wear. Stainless steel snaps are very durable. Plastic snaps are gentle on delicate fabrics. Sizes vary from small for light fabrics to large for heavy materials.
Selecting Based On Fabric
Match snap fasteners with your fabric type. Heavy fabrics like denim need strong metal snaps. Light fabrics such as cotton suit small plastic snaps. Stretch fabrics require snaps that hold well but don’t damage the material. Choose snaps that fit fabric thickness for a secure hold.

Credit: so-sew-easy.com
Tools Needed
Installing snap fasteners requires a few basic tools. These tools help you attach snaps quickly and securely. Knowing the right tools makes the job easier and improves results. Here are the essential tools needed to snap fasteners.
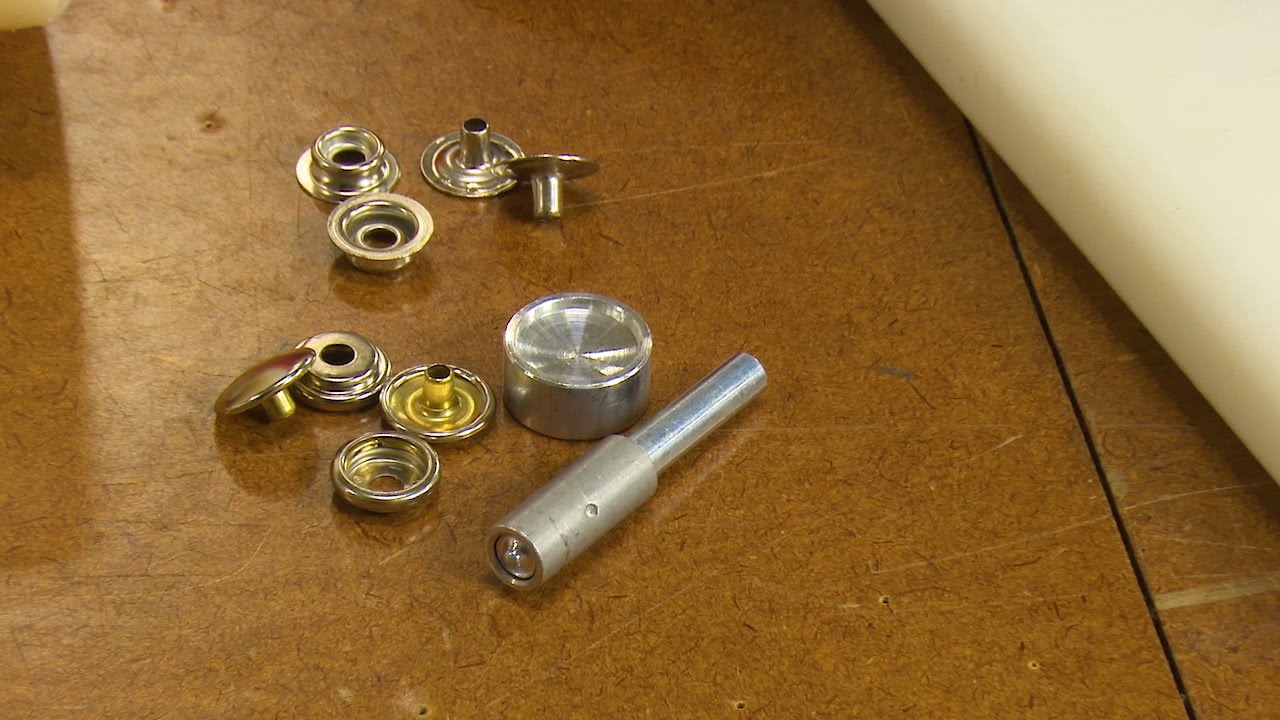
Snap Pliers
Snap pliers are the most common tool for attaching snaps. They hold the snap pieces firmly in place. Squeezing the handles presses the snap together perfectly. Snap pliers come with different size attachments for various snap sizes. They are easy to use and very effective for most fabrics.
Hammer And Anvil
The hammer and anvil method works well for heavy fabrics or leather. Place the snap parts on the anvil. Tap gently with a hammer to secure the fastener. This method requires steady hands and some practice. It gives a strong hold and suits tough materials.
Punch Tools
Punch tools create holes in fabric for the snap parts. They help position the snap accurately. Use a punch tool to make a clean hole before attaching the snap. This prevents fabric damage and ensures a neat finish. Punch tools come in different sizes for different snaps.
Preparing The Fabric
Preparing the fabric is the first step to snap fastener installation. Proper preparation ensures the snaps hold well and last long. It also makes the process easier and gives a neat finish. Pay attention to this stage for the best results.
Marking Snap Positions
Mark the exact spots where you want to place the snaps. Use a fabric pencil or chalk for clear but removable marks. Measure carefully to keep snaps aligned. Mark both sides of the fabric to match perfectly.
Reinforcing The Fabric
Thin fabrics need extra strength to hold snaps. Use small patches of interfacing or fabric behind the snap area. This prevents tearing and keeps the snap secure. Iron the interfacing on gently for a firm bond.
Cutting Small Holes
Make tiny holes where the snap prongs will go. Use sharp scissors or an awl for clean cuts. The holes should be just big enough for the prongs. Avoid large cuts that weaken the fabric around the snap.
Attaching Snap Fasteners
Attaching snap fasteners is a simple way to add closures to clothes and crafts. The process involves placing two parts of the snap in the right position. You can use different tools to fasten them firmly to the fabric. This ensures the snap works well and lasts long.
Each step needs care and the right technique. This guide breaks down the main steps for attaching snap fasteners easily.
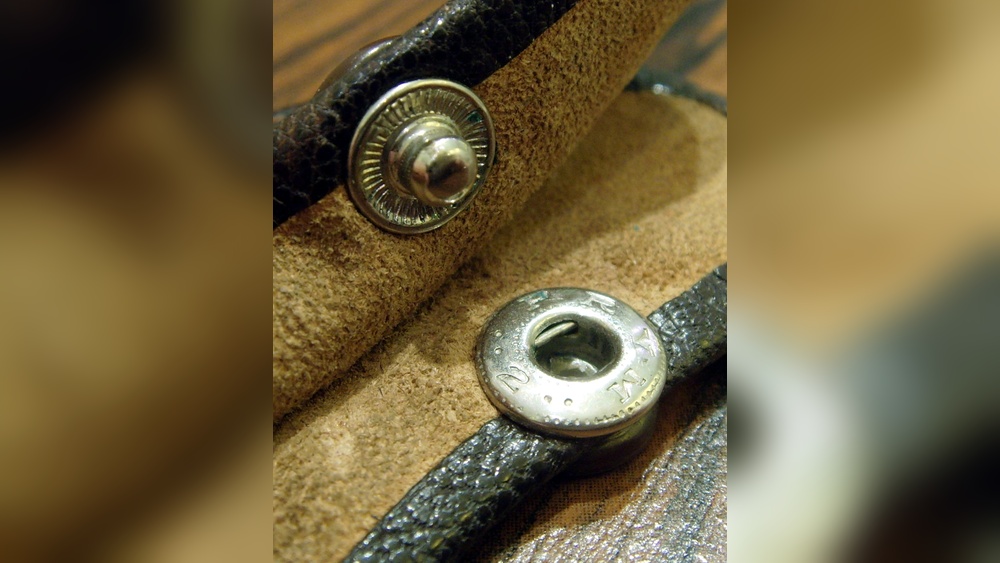
Aligning Snap Components
First, place the snap parts on the fabric where you want them. The male part goes on one side, the female on the other. Make sure they line up perfectly. Misalignment can cause the snap to not close properly. Check the fabric is flat and smooth before fixing the snaps.
Using Snap Pliers
Snap pliers make attaching snaps quick and neat. Position the snap parts in the pliers’ jaws as shown in the tool’s guide. Squeeze the handles gently but firmly. The pliers press the snap parts together through the fabric. This method works well for small and medium snaps.
Securing With Hammer
Another method uses a hammer and a setting tool. Place the snap on the fabric, then the setting tool over it. Tap the tool lightly with the hammer. Do not hit too hard to avoid damage. Repeat on the other snap part. This method suits thick or heavy fabrics.
Testing Closure Strength
Testing closure strength is an important step after attaching a snap fastener. It ensures the snap holds securely and functions well. This step helps avoid loose snaps that can cause issues later.
Focus on checking how well the snap closes and stays shut. Also, look for any adjustments needed to improve its placement. Proper testing saves time and effort in the long run.
Checking Snap Functionality
Press the snap parts together firmly. Check if they click or snap tightly. Try pulling gently to see if it stays closed. A good snap will not open easily.
Open and close the snap several times. Notice any stiffness or looseness. The snap should feel smooth but firm. This shows it will last through regular use.
Adjusting Placement If Needed
If the snap is too loose or tight, adjust its position slightly. Moving it by a few millimeters can improve the fit. Mark the new spot before removing the snap.
Reattach the snap on the adjusted spot. Test closure strength again. Repeat adjustments until the snap closes securely and easily. This ensures the best performance and comfort.
Credit: www.youtube.com
Maintaining Snap Fasteners
Snap fasteners are small but useful parts on clothing and accessories. They need care to work well and last long. Proper maintenance keeps them strong and prevents problems like rust or sticking. Taking time to clean and protect snap fasteners helps your items stay neat and functional.
Cleaning Tips
Use a soft cloth to wipe snap fasteners regularly. Remove dirt and dust gently. For stubborn grime, dip a cotton swab in mild soapy water. Clean around the edges carefully. Avoid soaking fasteners to protect the fabric. Dry them fully with a soft towel after cleaning. Clean fasteners often to keep them smooth and easy to use.
Avoiding Rust And Damage
Keep snap fasteners dry to stop rust. Avoid leaving clothes wet or damp for long. Store items in a dry place away from moisture. Use a small brush to remove dust and dirt from hard-to-reach areas. Do not force snaps open or closed. Handle them gently to prevent bending or breaking. Regular checks can spot damage early and save your clothes.
Common Mistakes To Avoid
Using snap fasteners might seem simple, but several common mistakes can cause problems. Avoiding these errors ensures your fasteners work well and last long. Pay close attention to each step for the best results.
Misalignment Issues
Placing snap fasteners in the wrong position is a frequent problem. Misalignment makes snapping difficult or stops it altogether. Always mark the exact spots before fixing the fasteners. Check alignment from both sides of the fabric. A small shift can ruin the look and function.
Using Wrong Tools
Using improper tools can damage both fabric and fasteners. Avoid sharp or heavy tools that may bend or break parts. Use tools designed for snap fasteners, like pliers or presses. The right tool applies even pressure and ensures a secure fit. This protects your materials and keeps the fastener strong.
Skipping Fabric Reinforcement
Thin or stretchy fabric needs extra support under the fastener. Skipping this step can cause tearing or pulling. Add a small patch of interfacing or extra fabric behind the snap area. Reinforcement holds the fastener in place and extends its life. This simple step prevents fabric damage and keeps your project neat.

Credit: www.sailrite.com
Frequently Asked Questions
What Tools Do I Need To Snap Fasteners?
You need snap fasteners, a hammer, and a snap fastener tool or pliers. These tools help attach snaps securely and evenly.
How Do I Install Snap Fasteners On Fabric?
Mark the spot, punch a hole, place the snap parts on each side, and press firmly. Use a hammer or pliers for a secure fit.
Can Snap Fasteners Be Removed And Reused?
Snap fasteners can be removed, but reusing them is not recommended. They may lose grip, causing the snap to fail.
Which Fabrics Work Best With Snap Fasteners?
Snap fasteners work best on medium to heavy fabrics like denim, canvas, and leather. Avoid very thin or stretchy materials.
Conclusion
Snapping fasteners is simple with the right steps. Start by aligning the parts carefully. Press firmly but gently to secure the snap. Practice helps improve speed and accuracy. Use these tips to fix clothes or craft projects easily. Soon, snapping fasteners will feel natural and quick.
Keep tools handy for any quick repairs. Enjoy the convenience of easy closures every day.