Are your kitchen cabinets looking a little tired? Changing out your cabinet hardware is one of the easiest and most affordable ways to give your space a fresh new look.
You don’t need to be a DIY expert or spend hours on this project. With just a few simple steps, you can transform your cabinets and instantly boost the style of your entire room. Keep reading, and you’ll discover exactly how to choose, remove, and install new hardware that fits your taste and makes your cabinets stand out.
Your kitchen makeover starts here!
Tools And Materials Needed
Changing cabinet hardware is a simple way to update your kitchen or bathroom. Having the right tools and materials makes the job easy and fast. Prepare everything before you start to avoid delays or frustration.
Gathering these tools and materials ensures a smooth process. Each item has a clear purpose in the task. Let’s explore what you need to complete the job successfully.
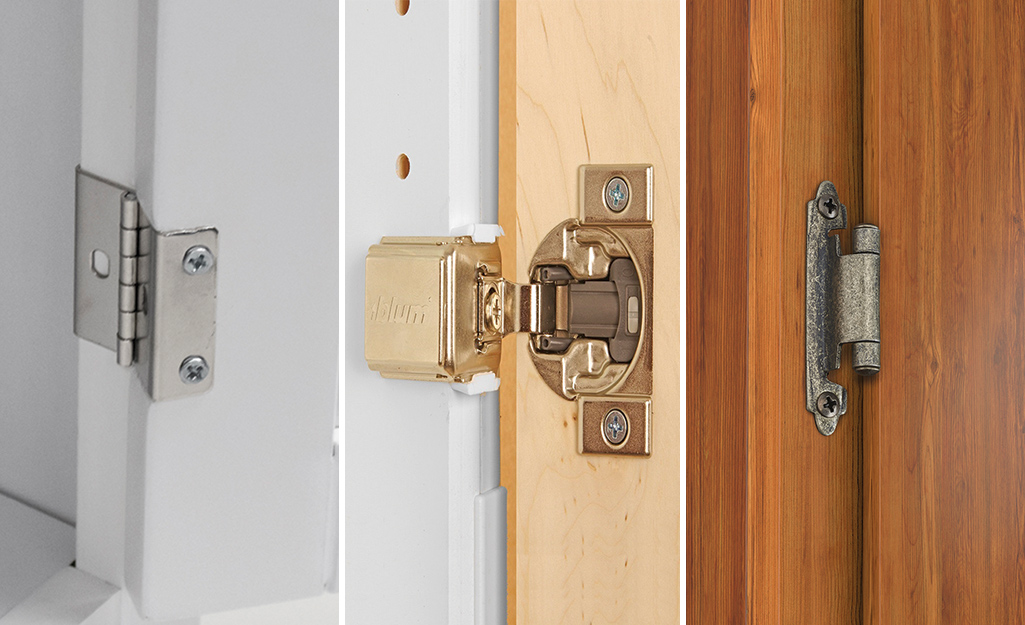
Basic Hand Tools
You will need a screwdriver that fits your hardware screws. A Phillips head screwdriver works for most screws. Some hardware may require a flathead screwdriver. A small wrench or pliers can help with tight nuts.
Measuring Tools
A tape measure or ruler helps check the size of your cabinet doors. Measure the distance between existing screw holes. This ensures new hardware fits perfectly without extra drilling.
Hardware Materials
Choose new knobs or pulls that match your style. Make sure they come with screws of the right length. Keep old screws as backups in case new ones don’t fit well.
Cleaning Supplies
Have a soft cloth and mild cleaner ready. Clean the cabinet surface before installing new hardware. This removes dirt and grease for better grip and look.
Optional Tools
A drill with screwdriver bits speeds up screw removal and installation. Use a drill guide to keep holes straight if drilling new ones. A level helps align hardware evenly across cabinets.
Credit: www.homedepot.com
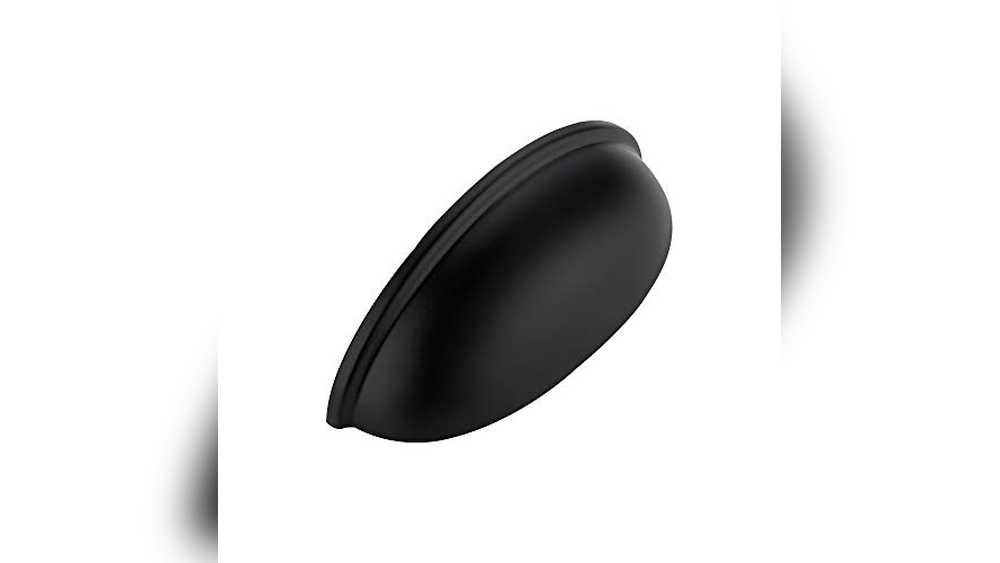
Choosing The Right Hardware
Choosing the right hardware for your cabinets can change the entire look of your space. It helps to match your style and the function you need. The right hardware feels good to touch and looks good with your cabinets. It makes opening and closing doors easier. Keep your choice simple but effective.
Styles And Finishes
Cabinet hardware comes in many styles. Some are classic and simple. Others are bold or modern. Think about the style of your room. Choose hardware that fits well with your decor.
Finishes also matter. Popular finishes include brushed nickel, chrome, bronze, and matte black. Each finish gives a different look. A shiny finish adds brightness. A matte finish looks soft and subtle. Pick a finish that matches your cabinet color and room style.
Measuring For Fit
Measure your current hardware before buying new pieces. Check the distance between screw holes. This is called the center-to-center measurement. It helps to find hardware that fits without extra holes.
Measure the size of the hardware too. Handles and knobs should be easy to grip. Avoid hardware that is too big or too small for your cabinets. Proper fit ensures comfort and good function.
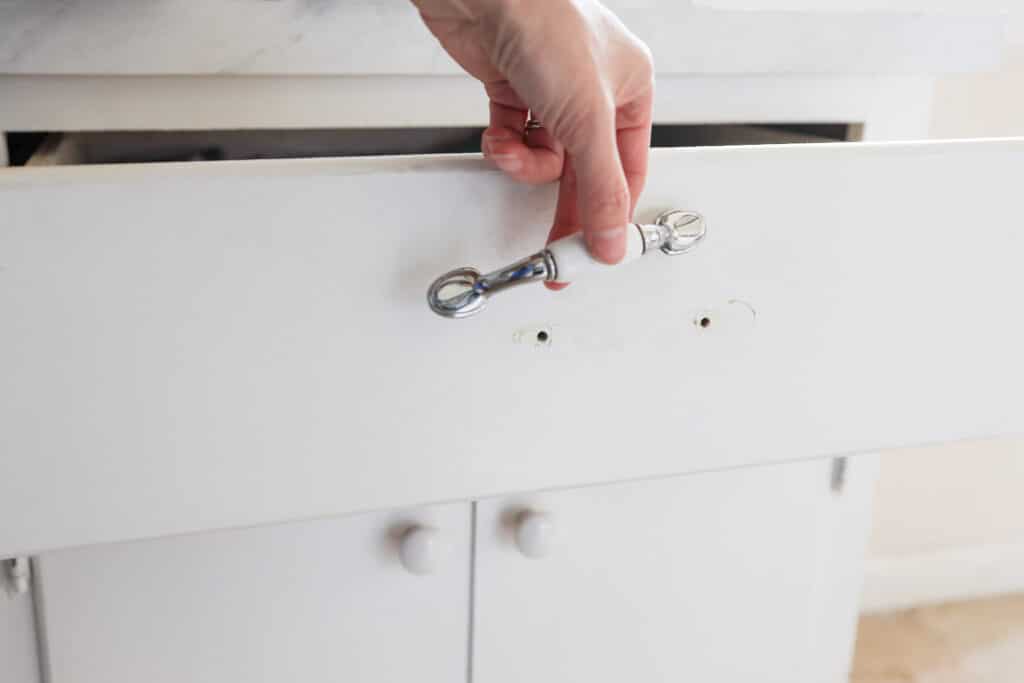
Removing Old Hardware
Removing old cabinet hardware is the first step in giving your cabinets a fresh look. This process is simple but requires care to avoid damaging the cabinet surface. Taking your time during removal makes the next steps easier and cleaner.
Unscrewing Handles And Knobs
Start by opening the cabinet door or drawer. Use a screwdriver that fits the screws well. Turn the screws counterclockwise to loosen them. Keep the screws safe if you plan to reuse them. If the screws are tight, apply gentle pressure to avoid stripping them. Remove the handles or knobs carefully to prevent scratches.
Cleaning The Surface
After removing the hardware, clean the surface thoroughly. Use a soft cloth with mild soap and water. Remove any dirt, grease, or old adhesive. Dry the surface completely with a clean towel. This step prepares the cabinets for the new hardware. A clean surface helps the new hardware stick better and look nicer.
Preparing Cabinets For New Hardware
Preparing your cabinets for new hardware is a key step for a fresh look. Proper preparation helps the new knobs or pulls fit perfectly. It also ensures the cabinets look smooth and neat. Taking time here saves hassle later.
Filling Old Holes
Old holes can spoil the new hardware’s appearance. Fill these holes with wood filler or putty. Press the filler deep into each hole. Let it dry fully before moving on. This creates a solid surface for sanding.
Sanding And Touching Up
After filling, sand the area smooth with fine-grit sandpaper. Sand gently to avoid damage. Wipe away dust with a clean cloth. Touch up with paint or stain to match the cabinet. This step hides repairs and refreshes the surface.
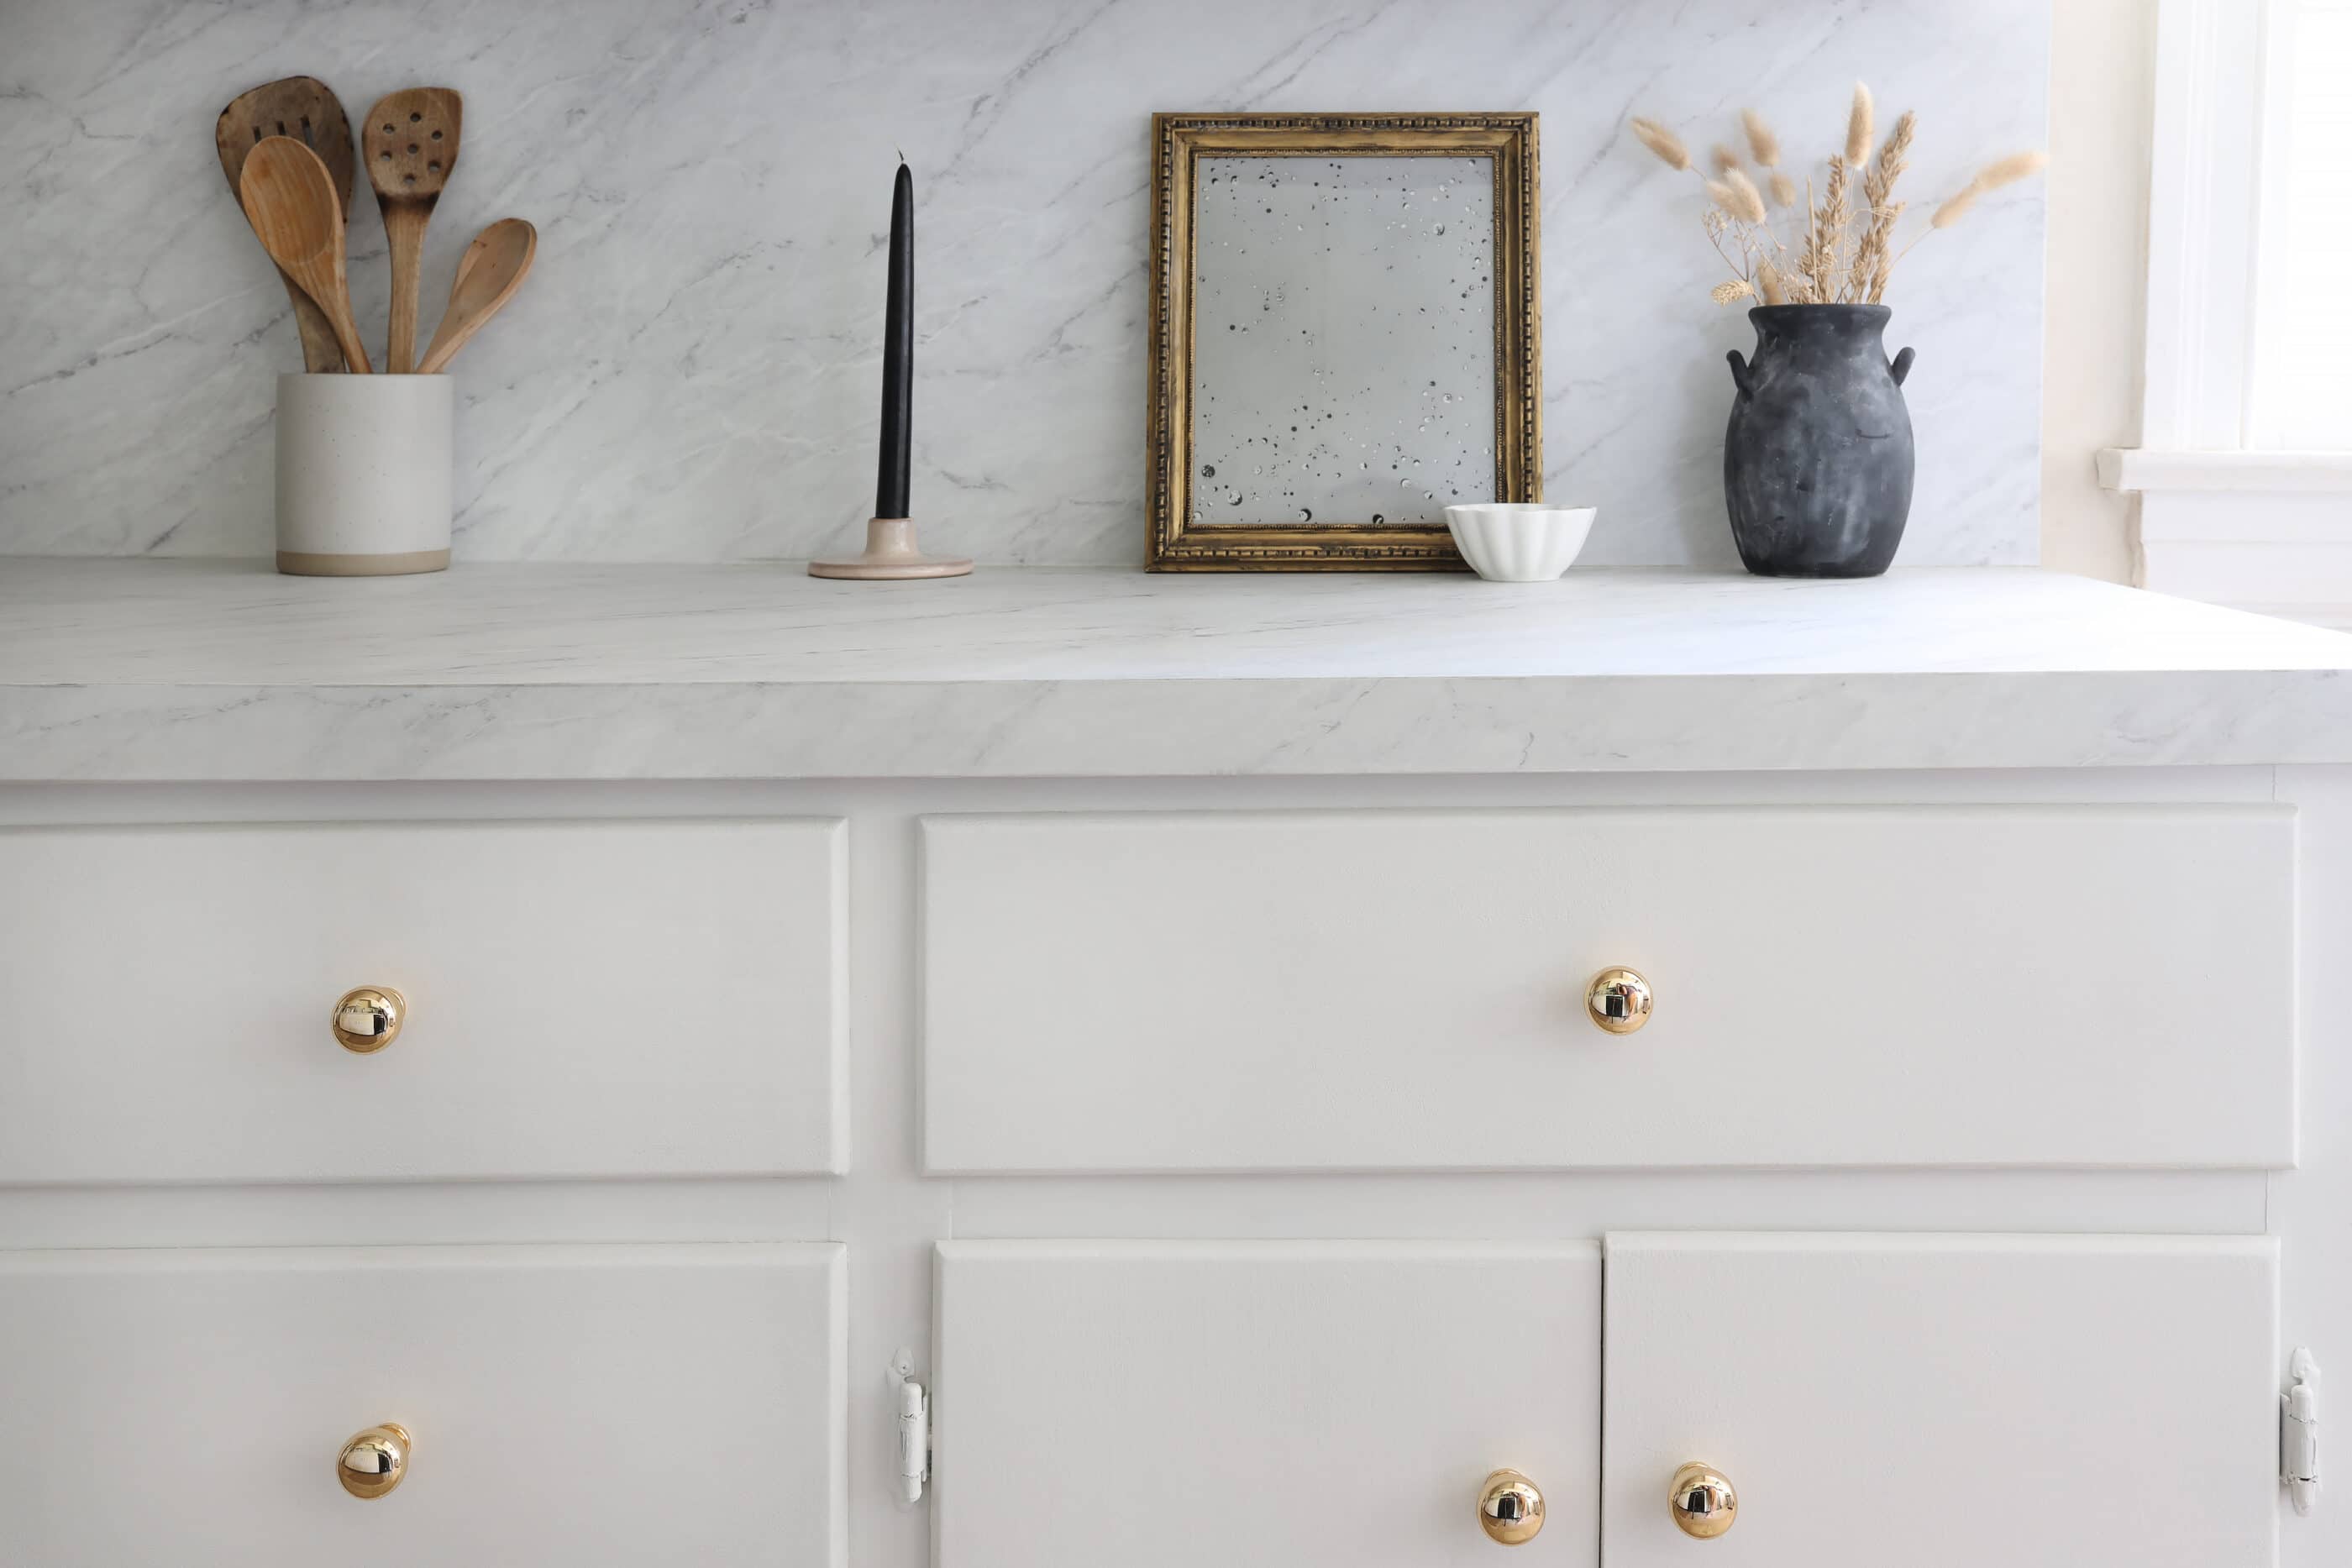
Installing New Hardware
Installing new cabinet hardware is a simple way to refresh your kitchen or bathroom. It changes the look without much effort. This step involves careful measuring and attaching to ensure the hardware fits perfectly and works well.
Aligning And Marking Holes
Start by placing the new hardware on the cabinet door or drawer. Hold it steady and check its position carefully. Use a pencil to mark the spot for each screw hole. Make sure the marks are even and straight. Measure twice to avoid mistakes. Proper alignment keeps the hardware looking neat and working smoothly.
Drilling And Attaching Hardware
Use a drill with the right bit size for the screws. Drill slowly on the marked spots to avoid splitting the wood. After drilling, place the hardware over the holes. Insert screws and tighten them by hand first. Use a screwdriver to finish tightening. Avoid over-tightening to prevent damage. Test the hardware by opening and closing the door or drawer. Make sure it feels secure and moves easily.
Tips For A Professional Finish
Achieving a professional finish when changing cabinet hardware requires attention to detail. Small steps can make a big difference in how your cabinets look and feel. Follow these simple tips to ensure your new hardware fits perfectly and lasts long.
Checking Alignment
Proper alignment keeps your cabinet hardware looking neat and balanced. Use a ruler or tape measure to check spacing before installing. Mark holes lightly with a pencil for accuracy. Double-check measurements on each door or drawer. Consistent placement creates a uniform, professional appearance.
Tightening Screws Properly
Secure screws firmly without over-tightening. Over-tightening can strip holes or damage the hardware. Use a screwdriver that fits well to avoid slipping. Tighten screws until the hardware feels snug and stable. Test the handle or knob to ensure it does not move or wiggle.
Maintaining Your Updated Cabinets
Maintaining your updated cabinets keeps them looking fresh and new for years. Clean cabinets improve your kitchen’s overall appeal. Small efforts in care prevent damage and wear. Regular attention protects your hardware and cabinet surfaces. Enjoy your kitchen’s style longer with simple maintenance steps.
Cleaning Hardware
Clean cabinet hardware often to avoid dirt buildup. Use a soft cloth and mild soap. Avoid harsh chemicals that can damage finishes. Dry hardware well to stop rust or water marks. Gentle cleaning keeps handles and knobs shiny and smooth.
Regular Inspections
Check cabinet hardware regularly for loose screws or damage. Tighten any loose parts to keep handles secure. Replace worn or broken hardware quickly to avoid bigger problems. Early fixes save time and keep cabinets functional. Stay proactive to maintain your cabinet’s new look.
Credit: semistories.semihandmade.com
Credit: semistories.semihandmade.com
Frequently Asked Questions
How Do I Remove Old Cabinet Hardware Safely?
Use a screwdriver to remove screws holding the hardware. Apply gentle pressure to avoid damaging the cabinet surface. Keep screws for reuse or replacement. Clean the area before installing new hardware for a smooth fit and finish.
What Tools Do I Need To Change Cabinet Hardware?
You’ll need a screwdriver, drill, measuring tape, and pencil. Optional tools include a level and masking tape. These tools help remove old hardware and install new pieces accurately and securely.
How To Measure For New Cabinet Hardware?
Measure the distance between existing screw holes. Use a ruler or tape measure for accuracy. This ensures new hardware fits without drilling new holes, saving time and preventing cabinet damage.
Can I Change Cabinet Knobs To Handles Easily?
Yes, but check if screw holes align. Handles usually require two screws, knobs just one. You may need to drill new holes or use fillers if holes don’t match.
Conclusion
Changing out cabinet hardware can refresh your kitchen’s look quickly. It takes just a few simple steps anyone can do. Choose hardware that fits your style and handle size. Remember to keep all screws and parts safe during the swap.
A small change like this can make your space feel new again. Give your cabinets a fresh touch without spending much time or money. Try it yourself and see how easy it is to update your home.