Are you ready to give your cabinets a fresh, polished look? Installing hardware might seem tricky, but with the right steps, you can do it yourself quickly and easily.
Imagine opening your cabinets to smooth, stylish handles that make your kitchen or workspace look brand new. This guide will walk you through everything you need to know, so you can avoid costly mistakes and get professional results. Keep reading, and you’ll be surprised at how simple it is to upgrade your cabinets today.
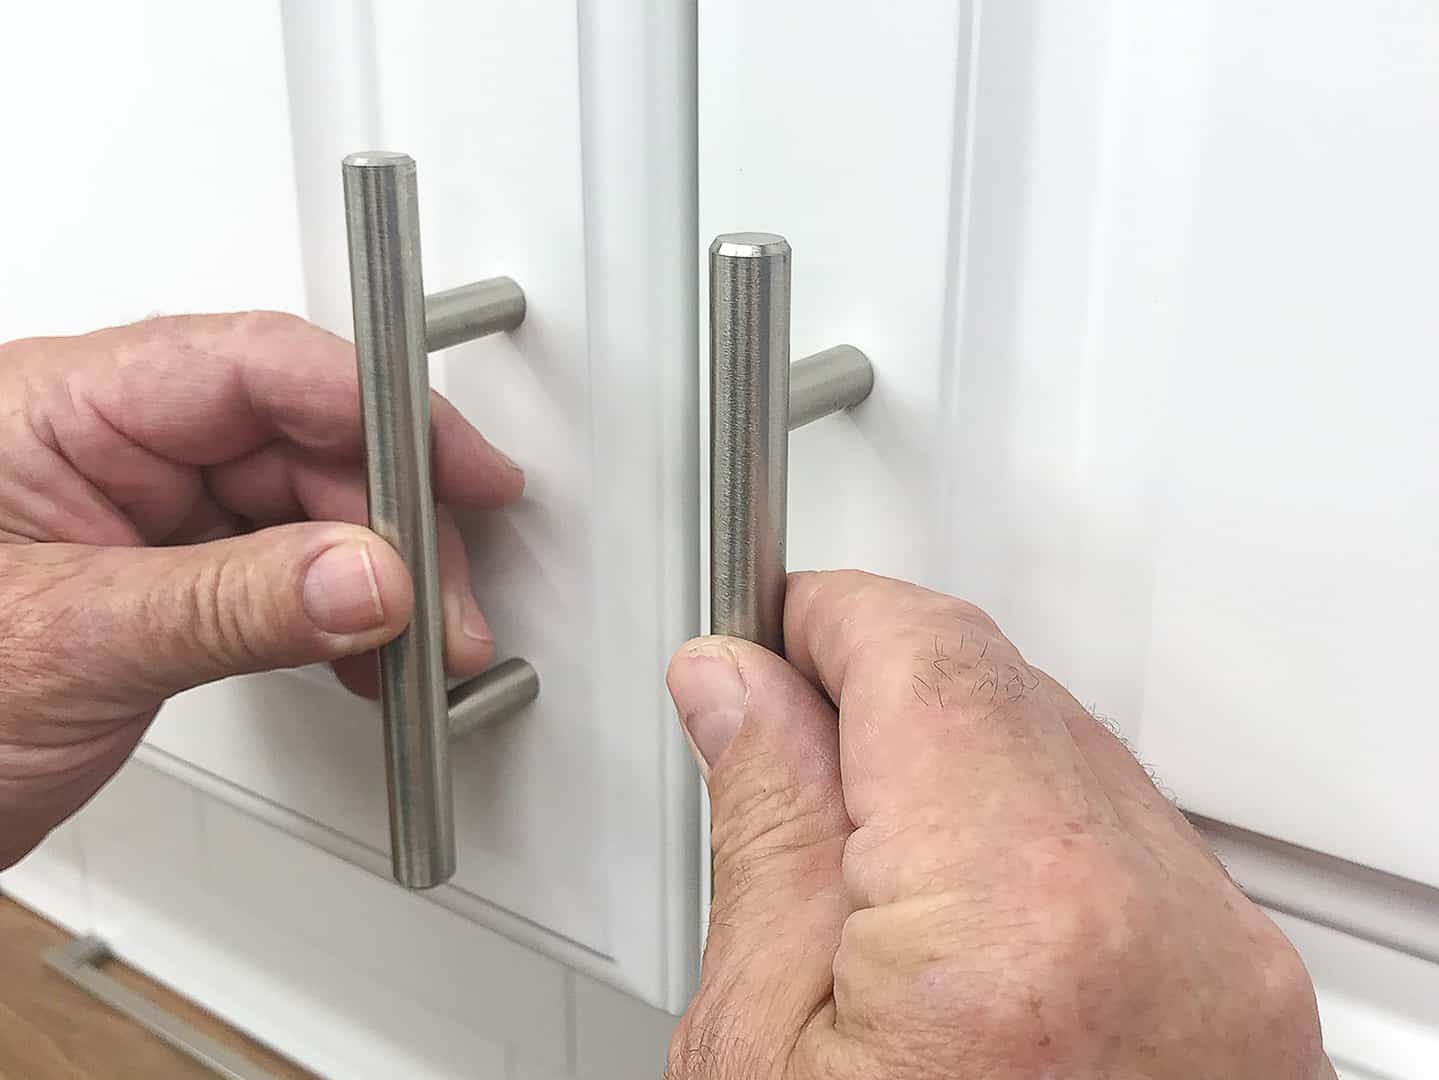
Credit: craftingintherain.com
Choosing The Right Hardware
Choosing the right hardware for your cabinets makes a big difference in both function and style. The right knobs, handles, or pulls can enhance the cabinet’s look and make it easier to use. It also ensures the hardware fits well and lasts long. Before you start installing, take time to pick the best hardware for your needs and taste.
Types Of Cabinet Hardware
Cabinet hardware includes knobs, pulls, and handles. Knobs are small and round, perfect for simple designs. Pulls are longer and offer a better grip. Handles come in different shapes, like bar or cup styles. Choose hardware that matches your cabinet style and use.
Selecting Materials And Finishes
Hardware comes in many materials like metal, plastic, and wood. Metal is strong and lasts longer. Plastic is cheaper but less durable. Wood gives a warm, natural look. Finishes can be shiny, matte, or brushed. Pick finishes that match your room’s decor and resist wear.
Measuring For Compatibility
Measure your cabinet doors and drawers before buying hardware. Check the hole spacing if holes already exist. Standard spacing is usually 3 inches or 96 mm. For new cabinets, measure the size and weight to pick strong hardware. Proper measurement ensures easy installation and good fit.
Gathering Tools And Supplies
Gathering the right tools and supplies is the first step to install hardware on cabinets. Having everything ready saves time and avoids frustration. It also helps ensure the hardware is installed correctly and securely.
Essential Tools Needed
Start with a tape measure to mark hardware placement. A pencil is important for making light marks on the cabinet. A drill or screwdriver is necessary for driving screws. Use a level to keep handles and knobs straight. A set of drill bits helps make holes of the right size. Safety glasses protect your eyes during drilling. Finally, have the cabinet hardware itself, such as knobs or handles, ready to install.
Preparing Your Workspace
Clear the area around your cabinets to create enough working space. Lay down a drop cloth or old towel to catch dust and small parts. Good lighting is crucial; use a bright lamp if needed. Organize all tools and hardware within easy reach. Keep screws and small pieces in a container to avoid losing them. Make sure the cabinet doors or drawers are easy to open and close during installation.
Preparing The Cabinet Surface
Preparing the cabinet surface is the first step to install hardware correctly. A clean and smooth surface helps hardware fit well and last longer. It also prevents damage to the cabinet and hardware during installation.
Take time to prepare the surface carefully. This makes the rest of the project easier and more precise.
Cleaning And Inspecting
Start by wiping the cabinet surface with a soft cloth. Remove dust, grease, and dirt. Use mild soap and water if needed. Dry the area fully before moving on.
Check the surface for damage. Look for cracks, chips, or loose parts. Fix any problems before installing hardware. A solid surface supports hardware better.
Marking Drill Points Accurately
Measure twice, drill once. Use a ruler or tape measure to find exact spots for screws or bolts. Mark points with a pencil.
Keep marks light but visible. Double-check measurements before drilling. Accurate marks prevent mistakes and misaligned hardware.
Drilling And Installing Hardware
Drilling and installing hardware on cabinets is a key step in any cabinet project. This process requires accuracy and care to make sure the hardware fits well and works smoothly. Proper drilling prevents damage to the cabinet and ensures strong attachment of handles, knobs, hinges, and slides.
Following clear steps helps avoid mistakes. Use the right tools and measure twice before drilling. This saves time and effort, giving a neat and professional look to your cabinets.
Drilling Pilot Holes
Start by marking where the hardware will go. Use a pencil and a ruler for precise spots. Drill pilot holes smaller than the screws. This prevents the wood from splitting. Drill straight and slow to keep holes clean and exact.
Attaching Handles And Knobs
Align the handles or knobs with the pilot holes. Use screws that match the hardware size. Tighten screws evenly but do not over-tighten. This keeps the hardware secure without damaging the cabinet surface. Test the handles and knobs to ensure they turn and pull smoothly.
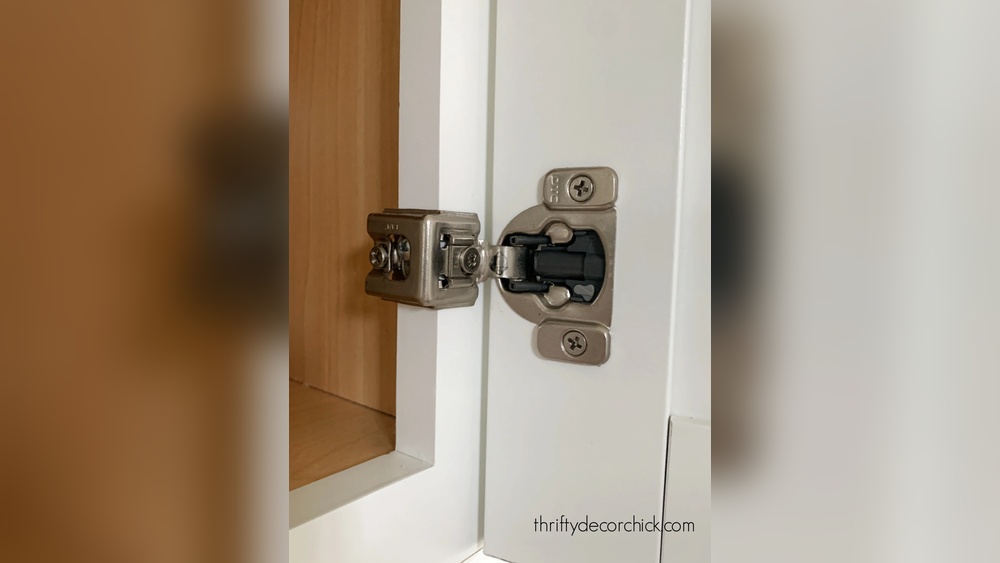
Securing Hinges And Slides
Place hinges or slides in the marked position. Attach screws one at a time, starting with a few turns each. Check for proper alignment before fully tightening. Hinges must open and close without resistance. Slides should move smoothly along their tracks. Adjust screws if needed to improve fit and function.
Checking Alignment And Functionality
Checking alignment and functionality is a key step after installing hardware on cabinets. It ensures the hardware fits well and works smoothly. Proper alignment prevents damage and keeps the cabinet looking good. Functionality checks help find any issues early. This saves time and effort later.
Ensuring Even Spacing
Start by measuring the space between hardware pieces. Use a ruler or tape measure for accuracy. The spacing should be equal on all doors or drawers. Uneven spacing looks unprofessional and can cause hardware to catch or rub. Adjust screws or reposition hardware to fix spacing. Take your time to get it right. Small adjustments make a big difference.
Testing Door And Drawer Movement
Open and close each door and drawer several times. Check for smooth movement without sticking or resistance. Notice any wobbling or misalignment. Hardware should hold doors and drawers firmly in place. Tighten loose screws to fix movement problems. Smooth operation means your installation is solid. Test all parts to avoid surprises later.
Credit: renovatedfaith.com
Tips For Maintaining Hardware
Maintaining cabinet hardware keeps your furniture looking good and working well. Simple care steps can extend the life of hinges, handles, and knobs. Regular upkeep prevents damage and saves money on repairs. Follow these tips to keep your hardware in top shape.
Cleaning And Polishing
Clean hardware with a soft cloth and mild soap. Avoid harsh chemicals that can damage finishes. Dry parts thoroughly to stop rust or water spots. Use a polish made for metal or wood to restore shine. Polishing protects hardware from wear and keeps it looking new.
Tightening Loose Screws
Check screws often for looseness. Loose screws cause hardware to wobble and break. Use a screwdriver to tighten screws gently. Do not overtighten, or you may strip the threads. Tight screws keep handles and hinges secure and safe.
Replacing Damaged Parts
Inspect hardware for cracks or rust regularly. Replace parts that show damage or wear. Use matching pieces for a uniform look. Replacement parts keep cabinets functional and attractive. Timely replacement avoids bigger problems later.
Credit: truepositiontools.com
Frequently Asked Questions
What Tools Do I Need To Install Cabinet Hardware?
You need a drill, screwdriver, measuring tape, pencil, and hardware screws. These tools help ensure precise and secure installation of cabinet hardware.
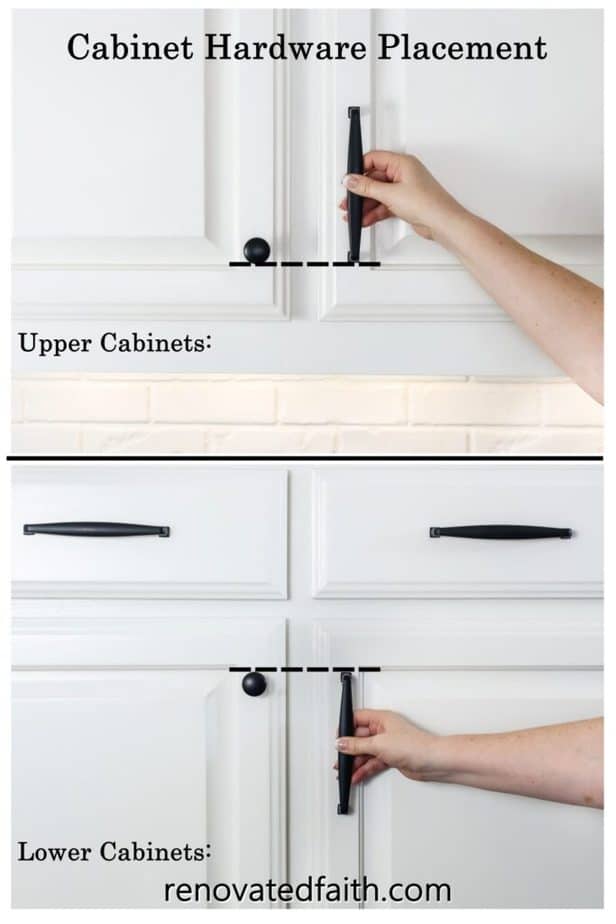
How Do I Measure For Cabinet Hardware Placement?
Measure the cabinet door or drawer front to find the center point. Mark drill holes accurately for a balanced and professional look.
Can I Install Hardware On Existing Cabinets?
Yes, you can install hardware on existing cabinets. Just measure carefully and drill pilot holes to avoid damaging the wood.
What Type Of Screws Should I Use For Cabinet Hardware?
Use screws that come with the hardware or ones matching its size. Ensure screws are long enough to secure hardware but not too long to damage the cabinet.
Conclusion
Installing hardware on cabinets can be simple and quick. Follow each step with care and patience. Use the right tools for best results. Measure twice to avoid mistakes. Tighten screws firmly, but don’t overdo it. Check that all parts fit well and work smoothly.
Enjoy the new look and function of your cabinets. Practice makes perfect, so keep trying if needed. This guide helps you improve your home easily.