Have you ever struggled with a stubborn turn lock fastener that just won’t budge? You’re not alone.
These small but tricky fasteners can be frustrating when you need to remove them quickly and safely. But don’t worry—this guide will show you simple, effective steps to get that turn lock fastener off without damaging your project or wasting time.
Keep reading, and you’ll discover easy techniques anyone can use to solve this common problem right now.
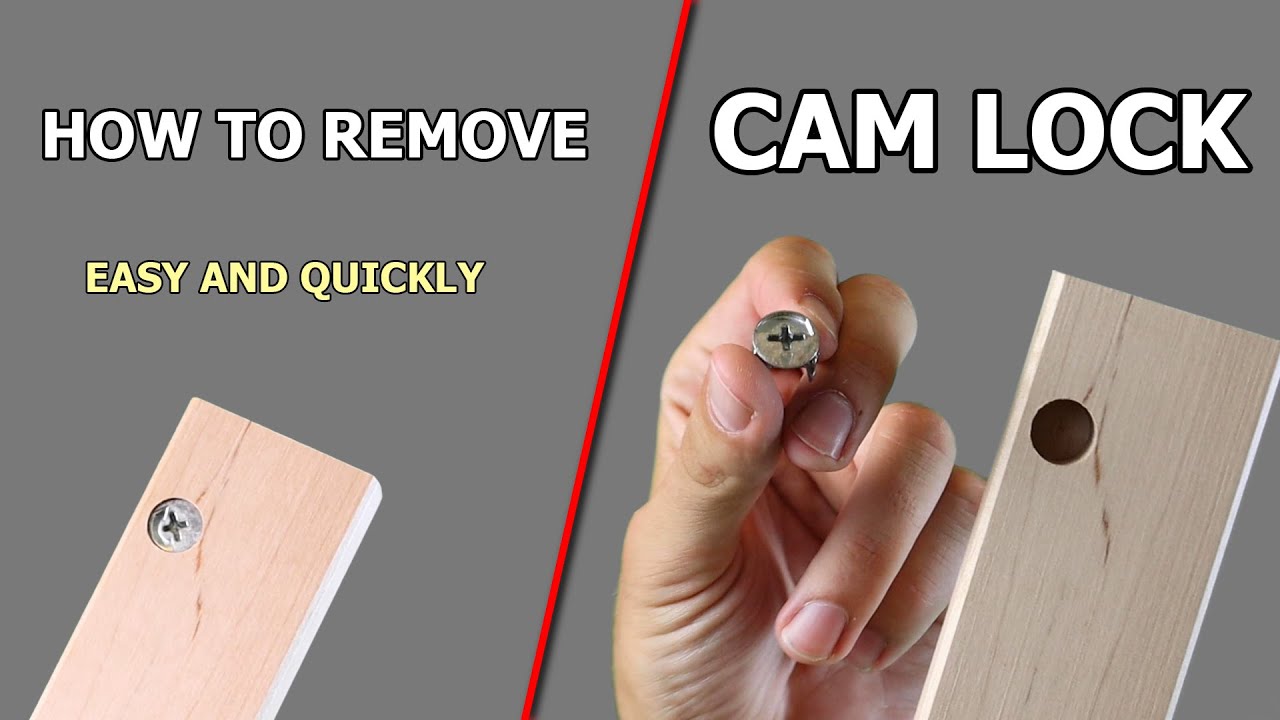
Credit: www.youtube.com
Tools Needed
Removing a turn lock fastener requires specific tools. Having the right tools makes the job easier and safer. Some tools are essential, while others can help speed up the process.
Essential Tools
A flathead screwdriver is the main tool needed. It fits into the lock’s slot and helps twist it open. A pair of needle-nose pliers can hold or pull the fastener if it is stuck. A small hammer may be useful for gentle taps to loosen the fastener. Lastly, a utility knife can help cut any material around the fastener.
Optional Accessories
A magnifying glass helps see small parts clearly. Gloves protect your hands from sharp edges. A flashlight brightens dark work areas. Using a small container to keep screws and parts safe is also helpful. These extras make the task more comfortable but are not required.

Credit: www.amazon.com
Identifying Turn Lock Fasteners
Identifying turn lock fasteners is the first step to removing them safely. These fasteners are small devices that secure parts together. They work by turning a knob or lever to lock or unlock. Recognizing the type and material helps choose the right removal method.
Common Types
Turn lock fasteners come in several common types. One type has a simple knob that you twist to lock or unlock. Another type features a lever that you rotate to release the lock. Some fasteners have a push-and-turn mechanism for extra security. Each type has a unique shape and function. Understanding the type helps avoid damage during removal.
Material Variations
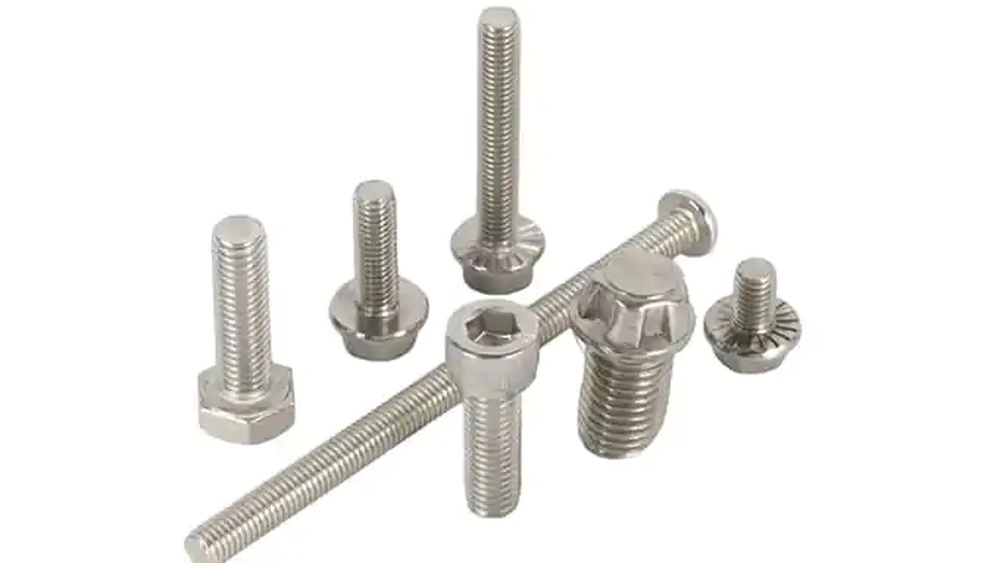
These fasteners are made from different materials. Plastic fasteners are light and less durable. Metal fasteners are stronger and often used for heavy-duty items. Some fasteners combine metal and plastic parts. The material affects how you remove the fastener. Metal fasteners may need tools, while plastic ones can often be removed by hand.
Preparing For Removal
Preparing to remove a turn lock fastener is an important first step. Proper preparation makes the process easier and safer. It helps avoid damage to the fastener and the surface it holds together. Taking time to prepare also saves effort later on.
Safety Precautions
Wear safety glasses to protect your eyes from debris. Use gloves to avoid cuts or scrapes on your hands. Check that your tools are in good condition and fit well. Avoid loose clothing or jewelry that could get caught. Work slowly and carefully to reduce the chance of accidents.
Workspace Setup
Clear your workspace of clutter and dirt. Choose a flat, stable surface for your work. Good lighting helps you see small parts clearly. Keep a container nearby for removed fasteners and small pieces. Ensure you have all necessary tools within reach before starting.
Step-by-step Removal Process
Removing a turn lock fastener is simple when you follow clear steps. This guide breaks down the process into easy parts. Each step helps you handle the fastener safely and quickly.
Unlocking The Fastener
Start by locating the turn lock’s head. It usually has a small slot or knob. Turn it gently in the direction it opens. This will release the locking mechanism. Avoid using too much force to prevent damage.
Loosening Techniques
Once unlocked, the fastener may still feel tight. Use a flat tool like a screwdriver to ease it. Insert the tool under the edge and wiggle slightly. This helps break any seal or adhesive holding it. Take your time to avoid scratches.
Complete Detachment
After loosening, pull the fastener away from the surface. Hold the base firmly while pulling to avoid slipping. If it resists, repeat the loosening step carefully. Once detached, clean the area to remove residue or dirt.
Troubleshooting Stuck Fasteners
Stuck turn lock fasteners can cause frustration during removal. Dirt, rust, or tight fitting parts often block easy turning. Taking time to troubleshoot helps avoid damage. Simple steps can loosen these stubborn fasteners safely. Patience and care make the process smoother.
Using Lubricants
Apply a small amount of lubricant directly on the fastener. Oils or sprays like WD-40 work well. Let the lubricant soak for several minutes. This helps dissolve rust and dirt buildup. Try turning the fastener gently after waiting.
Applying Heat
Heat expands metal and can free stuck fasteners. Use a heat gun or hair dryer for a few minutes. Avoid open flames to prevent damage. Heat softens rust and loosens tight joints. Test turning the fastener carefully while warm.
Gentle Tapping Methods
Tapping the fastener lightly can break up corrosion. Use a small hammer or wooden tool. Tap around the fastener’s edges, not directly on it. This vibration helps release rust bonds. Always tap softly to avoid bending or breaking parts.
Post-removal Care
After removing a turn lock fastener, it is important to care for the area properly. This helps keep the surface clean and ready for the next use. Proper care also prevents damage or rust from developing. Follow these simple steps to maintain the area well.
Cleaning The Area
Start by wiping the spot with a soft cloth. Use mild soap and water to remove dirt and grease. Avoid harsh chemicals that can damage the surface. Dry the area completely with a clean towel. This stops moisture from causing rust or corrosion.
Inspecting For Damage
Look closely at the area where the fastener was. Check for scratches, dents, or cracks that may need fixing. Small damage can weaken the hold of a new fastener. Fix any problems before installing a new one. This keeps the fastening strong and secure.
Replacing Or Repairing Fasteners
Replacing or repairing turn lock fasteners is necessary when they wear out or break. Proper fasteners keep items secure and working well. Choosing the right replacement helps maintain strength and durability. Careful installation avoids damage and ensures a tight fit. Follow simple steps for a smooth repair or replacement process.
Choosing New Fasteners
Select fasteners that match the size and style of the original ones. Use materials that resist rust and corrosion. Pick fasteners that fit the weight and use of the item. Check the locking mechanism for smooth operation. Choose fasteners made for your specific project or product type.
Installation Tips
Clean the area before installing new fasteners. Align holes properly to avoid bending or damage. Tighten fasteners just enough to hold firmly without forcing. Use the right tools to prevent stripping or slipping. Test the fastener after installation to ensure it locks and unlocks smoothly.

Credit: www.youtube.com
Tips For Quick Fixes
Removing a turn lock fastener can be tricky without the right approach. Quick fixes help save time and avoid frustration. Small tricks make the process smoother and faster. Focus on simple steps to get the job done.
Speedy Removal Hacks
First, clear dirt and dust around the fastener. Use a small brush or cloth for this. This makes the fastener easier to turn. Next, apply a little lubricant like WD-40. Let it sit for a few minutes. This loosens rust and tight parts.
Use the correct tool for turning the lock fastener. A flat-head screwdriver or a special key works best. Turn gently but firmly to avoid damage. If stuck, tap the tool lightly with a small hammer. This helps break the lock free.
Avoiding Common Mistakes
Never force the fastener hard. This can break or bend it. Avoid using the wrong tools; they can slip and cause injury. Don’t rush the process. Slow and steady turns work better.
Do not ignore safety. Wear gloves to protect your hands. Keep your work area clean and well-lit. These simple steps prevent accidents and improve success.
Frequently Asked Questions
What Tools Do I Need To Remove A Turn Lock Fastener?
You need a flathead screwdriver or a specialized turn lock removal tool. Gloves are recommended for safety. These tools help you twist and pull the fastener without damage.
How Can I Safely Unlock A Turn Lock Fastener?
Turn the fastener gently in the unlock direction, usually counterclockwise. Avoid using excessive force to prevent breakage. Use the right tool for better grip and control.
Can I Reuse A Turn Lock Fastener After Removal?
Yes, most turn lock fasteners can be reused if undamaged. Inspect for cracks or wear before reinstallation. Proper removal helps maintain the fastener’s integrity.
What Causes Turn Lock Fasteners To Get Stuck?
Dirt, rust, or paint buildup often cause sticking. Lack of lubrication can also make turning difficult. Regular cleaning and maintenance prevent these issues.
Conclusion
Removing a turn lock fastener is simple with the right steps. Use basic tools and follow the directions carefully. Take your time to avoid damage to your project. Practice makes the process easier and faster. Now, you can handle turn lock fasteners with confidence.
Keep these tips handy for future use. Safe and smooth removal is possible for everyone.