Are you tired of fumbling for separate switches to control your bathroom fan and light? Imagine turning on your light and having the exhaust fan start automatically—simple, convenient, and smart.
Connecting your exhaust fan to the light switch not only saves you time but also helps keep your space fresh and moisture-free without any extra effort. In this guide, you’ll learn exactly how to make this easy upgrade yourself, even if you’re not an expert.
Keep reading, and by the end, you’ll have a clear, step-by-step plan to get your fan and light working together perfectly.
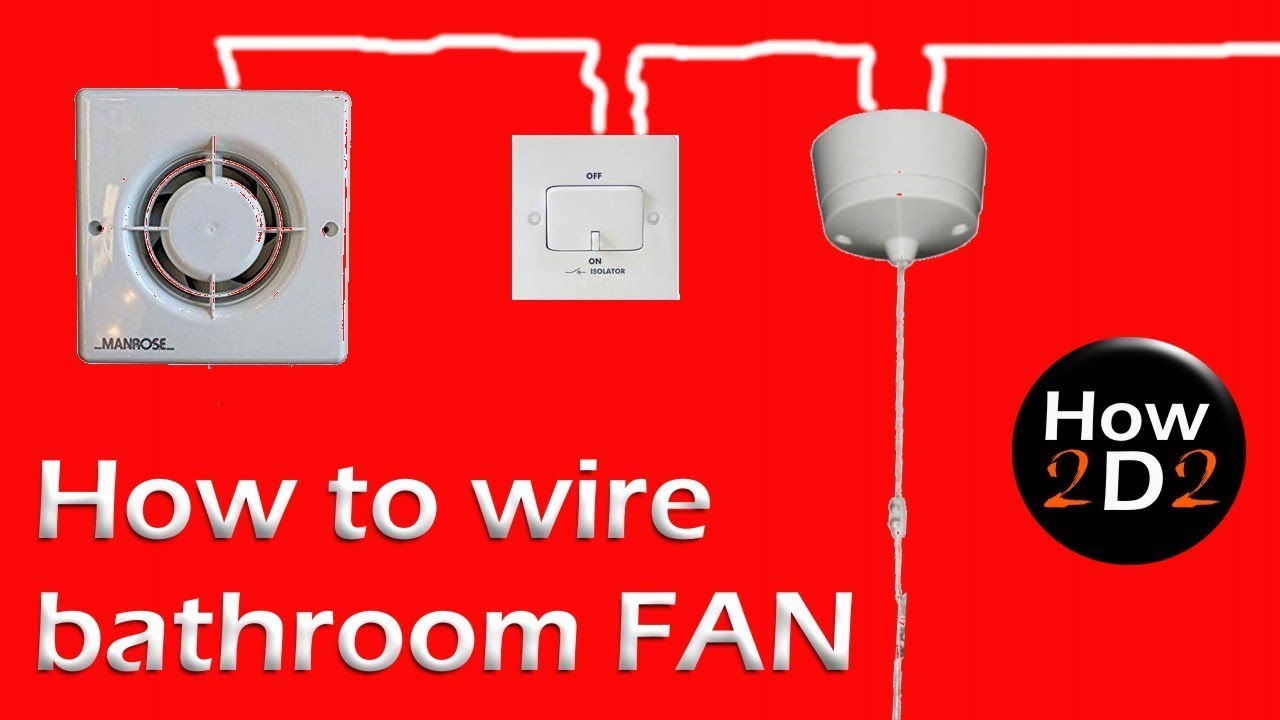
Credit: www.youtube.com
Tools And Materials Needed
Gathering the right tools and materials is the first step to connect an exhaust fan to a light switch. The correct items make the job safer and easier. Each tool has a specific role in the installation process.
Using proper materials ensures your connection lasts long and works well. Safety is key when dealing with electrical work. Prepare everything before starting to avoid delays or mistakes.
Basic Hand Tools
You need a screwdriver set with flathead and Phillips tips. A wire stripper removes insulation from electrical wires cleanly. Pliers help twist wires together securely. A voltage tester checks if wires are live or safe to touch.
Electrical Materials
Use electrical wire that matches your fan and switch requirements. Wire nuts connect wires safely without loose ends. Electrical tape provides extra insulation and holds connections tight. A switch box holds the switch firmly on the wall.
Safety Gear
Wear insulated gloves to avoid electric shocks. Safety goggles protect eyes from dust and debris. Use a ladder or step stool to reach high areas comfortably. Turn off power at the breaker before starting work.
Safety Precautions
Safety is the top priority when connecting an exhaust fan to a light switch. Electrical work can be risky without proper care. Following safety steps helps prevent accidents and damage. This guide covers key safety precautions for a safe and smooth installation.
Turn Off Power At The Circuit Breaker
Always switch off power at the main circuit breaker. This stops electricity flow to the wires you will handle. Use a voltage tester to confirm the power is off. Never trust the switch alone to cut power.
Use Proper Tools And Equipment
Choose insulated tools made for electrical work. Avoid using damaged or worn-out equipment. Wear rubber-soled shoes to reduce shock risk. Prepare a sturdy ladder if needed for high installations.
Check For Existing Wiring Conditions
Inspect wires and connections before starting. Look for cracks, corrosion, or loose fittings. Replace damaged wires or parts to avoid hazards. Clean the area to work safely and clearly.
Follow Electrical Codes And Guidelines
Adhere to local electrical codes and standards. These rules ensure safe and legal wiring practices. Use the correct wire gauge and connectors. Consult a professional if unsure about regulations.
Keep The Work Area Dry And Well-lit
Water and electricity are a dangerous mix. Make sure the workspace is dry and free from moisture. Good lighting helps see wires and connections clearly. Avoid working in damp or dark places.
Wear Safety Gear
Use safety glasses to protect your eyes from debris. Gloves can protect your hands from sharp wires. Avoid loose clothing that may catch on tools or wires. Safety gear reduces injury risks during installation.
Understanding Wiring Basics
Understanding wiring basics is the first step to connect an exhaust fan to a light switch. Knowing how wires work helps avoid mistakes. It keeps the process safe and smooth. This section explains key wiring concepts clearly.
Simple knowledge about wires and connections can save time and effort. It also protects against electrical shocks and damage. Let’s start with the types of wires you will see in your home wiring.
Types Of Wires
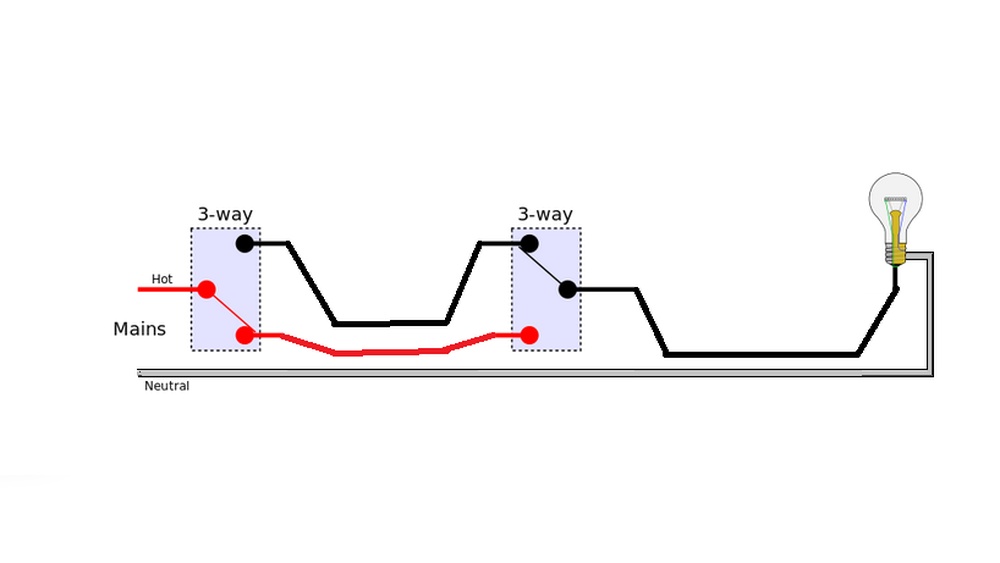
There are three common wires in most home electrical systems. The first is the live wire. It carries electricity from the power source to devices. This wire is usually black or red.
The second is the neutral wire. It completes the electrical circuit by carrying current back. It is often white or gray. The third wire is the ground wire. It protects against electric shock by directing current to the earth. This wire is green or bare copper.
Knowing these wires helps you identify which one goes where. It also ensures the fan and light switch work correctly and safely.
Switch And Fan Wiring
Connecting a fan to a light switch means the switch controls the fan’s power. The live wire runs from the power source to the switch first. From the switch, a wire connects to the fan.
The neutral wire runs directly to the fan. The ground wire connects to both the fan and switch metal parts for safety. This setup allows the switch to turn the fan on and off.
Wiring the switch and fan correctly stops electrical faults. It also makes sure the fan runs only when the switch is on. Always turn off power before handling wires.
Credit: www.reddit.com
Preparing The Work Area
Preparing the work area is an important first step for connecting an exhaust fan to a light switch. A clean and organized space helps you work safely and efficiently. It also makes the installation process smoother and faster.
Before starting, clear the area around the switch and fan. Remove any obstacles that might block your movement or cause accidents. Proper lighting in the workspace is also essential for visibility and precision.
Gather Necessary Tools And Materials
Collect all tools before beginning the project. You will need a screwdriver, wire stripper, voltage tester, electrical tape, and wire connectors. Having these ready avoids interruptions during work.
Turn Off Power Supply
Switch off the power at the circuit breaker. Use a voltage tester to confirm the power is off. This step prevents electric shock and keeps you safe while handling wires.
Set Up A Safe Work Zone
Use a sturdy ladder or step stool if needed. Keep the floor dry and free of clutter. Wear protective gloves and safety glasses to protect against dust and sharp edges.
Turning Off Power
Turning off power is the first step before starting any electrical work. It keeps you safe from shocks and accidents. Always treat electricity with respect. Even a small mistake can cause injury or damage.
Switching off the right circuit breaker stops electricity flow to the fan and light switch. This step ensures no current runs through the wires you will handle. It also protects other devices from damage.
Locate The Circuit Breaker Panel
Find the main circuit breaker panel in your home. It is usually in the basement, garage, or utility room. The panel holds switches for all electrical circuits. Each switch controls power for a specific area or device.
Identify The Correct Circuit Breaker
Look for labels on the breaker panel. Labels show which breaker controls the exhaust fan and light switch. If labels are missing or unclear, turn off the main breaker to cut power to the entire house.
Switch Off The Circuit Breaker
Flip the breaker switch to the OFF position. You may hear a click. This action stops electricity to the fan and light switch wiring. Double-check by trying to turn on the fan or light after switching off.
Test For Power
Use a voltage tester or a non-contact voltage detector. Touch the tester to the wires or terminals. No light or sound means power is off. If the tester shows power, switch off the correct breaker again.
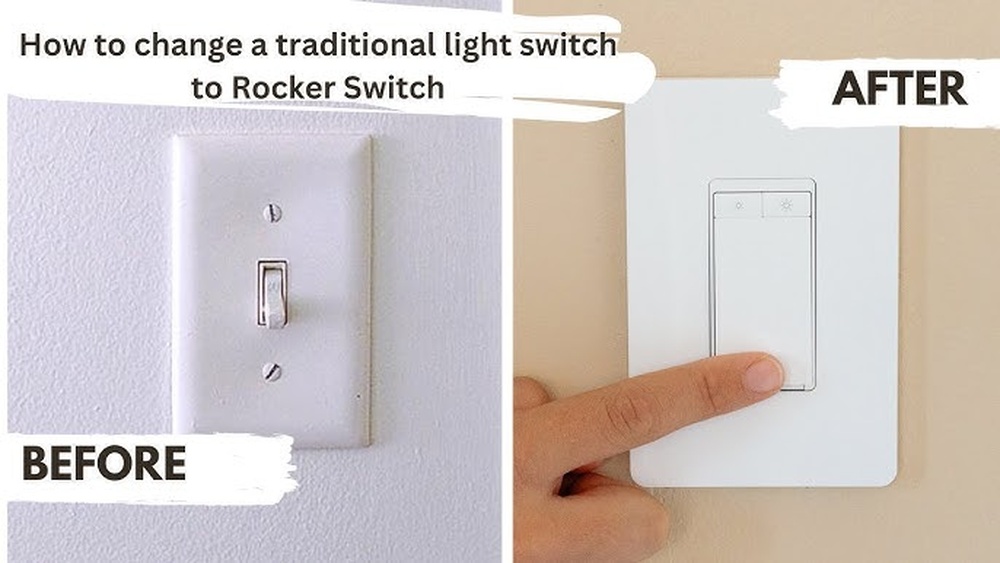
Removing The Existing Switch
Wiring the exhaust fan to the light switch is a simple task that improves bathroom ventilation. It allows you to control the fan with the same switch as the light. This setup saves space and makes the fan easy to operate.
Follow clear steps to connect the wires safely. Use proper tools and turn off the power before starting. Each wire has a specific role to ensure the fan works correctly and safely.
Connecting The Live Wire
Identify the live wire from the power source. It is usually red or brown. Connect this wire to the live terminal on the light switch. Then, connect another wire from the switch to the fan’s live terminal. This creates a path for electricity to flow when the switch is on.
Connecting The Neutral Wire
The neutral wire is typically blue or black. Connect the neutral wire from the power source directly to the fan’s neutral terminal. Do not connect the neutral wire to the switch. This allows the fan to complete the electrical circuit safely.
Grounding The Fan
The ground wire is green or bare copper. Connect this wire from the power source to the fan’s grounding terminal or metal body. Grounding protects against electric shocks. Make sure the connection is tight and secure for safety.
Wiring The Exhaust Fan To The Light Switch
Testing the connection is a key step after wiring the exhaust fan to the light switch. It makes sure everything works safely and correctly. This step helps avoid electrical problems and keeps your home secure.
Follow these simple steps to test the connection with confidence. Each step confirms that the fan and switch respond as they should.
Turn On The Power Supply
Start by turning the power back on at the circuit breaker. This restores electricity to the fan and switch. Be careful not to touch any wires while doing this.
Operate The Light Switch
Flip the light switch to the “on” position. Check if the exhaust fan starts running. The fan should turn on smoothly without any strange noises.
Check The Fan’s Response
Listen for the fan’s motor sound. Feel for airflow near the exhaust vent. Both signs show the fan works properly. If nothing happens, recheck your wiring connections.
Test The Light Function
If your exhaust fan includes a light, switch it on too. Confirm the light turns on and off with the switch. This proves both fan and light share the same connection.
Turn Off The Power And Inspect
After testing, turn off power at the breaker again. Inspect all wire connections for any loose ends. Tighten any loose wires before finishing the job.
Testing The Connection
Connecting an exhaust fan to a light switch can sometimes cause small problems. These issues stop the fan or light from working right. Knowing how to fix common problems saves time and frustration. This section helps you find and fix usual errors fast.
Checking The Power Supply
First, make sure the power is on. A tripped breaker or blown fuse can cut power. Test the switch with a voltage tester. If no power reaches the switch, check your circuit breaker. Resetting it might solve the problem.
Inspecting The Wiring Connections
Loose or wrong wires cause many issues. Turn off the power before touching wires. Check if wires are tight and connected to the right terminals. Follow the wiring diagram for your fan and switch. Fix any loose or swapped wires carefully.
Testing The Switch Functionality
The switch itself can fail over time. Use a multimeter to test if the switch works. A broken switch will not complete the circuit. Replace the switch if it does not show continuity when toggled.
Examining The Exhaust Fan
Sometimes the fan is the problem. Check if the fan motor runs when powered directly. Dust or dirt may block the fan blades. Clean the fan and remove any debris. Lubricate moving parts if needed for smooth operation.
Verifying The Light Bulb And Socket
A burnt-out bulb or faulty socket can stop the light. Replace the bulb with a new one. Check the socket for corrosion or loose contacts. Fix or replace the socket if it looks damaged.
Troubleshooting Common Issues
Proper maintenance helps your exhaust fan work well for many years. It also keeps the connected light switch safe and reliable. Small efforts can prevent big problems and costly repairs later. Follow these tips to enjoy a smooth and long-lasting setup.
Clean The Fan And Switch Regularly
Dust and dirt build up over time on the fan blades and switch. Clean both parts every few months. Use a soft cloth or brush to remove dirt. This keeps the fan running quietly and stops the switch from sticking.
Check Wiring Connections Often
Loose wires can cause the fan or light to stop working. Turn off the power, then inspect the wiring. Tighten any loose screws or connections. Safe wiring prevents sparks and electrical problems.
Replace Worn-out Parts Quickly
Look for signs of wear on the fan motor and switch. If the fan makes noise or the switch feels loose, replace them fast. New parts keep the system safe and efficient.
Use The Correct Switch Type
Choose a switch that matches your fan’s power needs. A wrong switch can overheat or fail early. Follow the fan manufacturer’s advice for the best switch type.
Test The Fan And Switch Periodically
Turn the fan and light on and off to check their function. Notice any strange sounds or delays. Early detection helps fix issues before they get worse.

Credit: diy.stackexchange.com
Frequently Asked Questions
How Do I Wire An Exhaust Fan To A Light Switch?
To wire an exhaust fan to a light switch, connect the fan’s live wire to the switch’s output. The neutral wire connects directly to power neutral. Always turn off power before wiring and follow local electrical codes for safety.
Can I Control The Fan And Light Separately?
Yes, you can control them separately by using a double switch. One switch controls the fan, and the other controls the light. This setup requires separate wiring for each device from the power source.
What Tools Do I Need To Connect An Exhaust Fan?
You need a screwdriver, wire stripper, voltage tester, electrical tape, and wire connectors. These tools help safely strip wires, test power, and secure connections during installation.
Is It Safe To Connect Fan And Light On The Same Switch?
It is safe if the combined electrical load doesn’t exceed the switch rating. Ensure the switch and wiring are rated for the total wattage of both devices to avoid overheating or electrical hazards.
Conclusion
Connecting an exhaust fan to a light switch saves space and adds convenience. It helps control both devices with one switch. Always ensure safety by turning off power before starting work. Use proper tools and follow wiring instructions carefully. This simple task can improve bathroom or kitchen comfort.
Taking time to do it right avoids problems later. Enjoy better ventilation with easy control at your fingertips.