Are you staring at those stubborn hard wall picture hooks and wondering how to get rid of them without damaging your walls? You’re not alone.
Removing these hooks can feel tricky, especially when you want to keep your walls looking smooth and clean. But don’t worry—this guide will show you simple, effective ways to remove hard wall picture hooks quickly and safely. By the end, you’ll have the confidence to tackle this task yourself, saving time and avoiding costly repairs.
Ready to make your walls hook-free? Let’s dive in!
Credit: www.youtube.com
Types Of Hard Wall Picture Hooks
Hard wall picture hooks come in several types. Each type works differently and fits various wall surfaces. Understanding these hooks helps you remove them safely and cleanly.
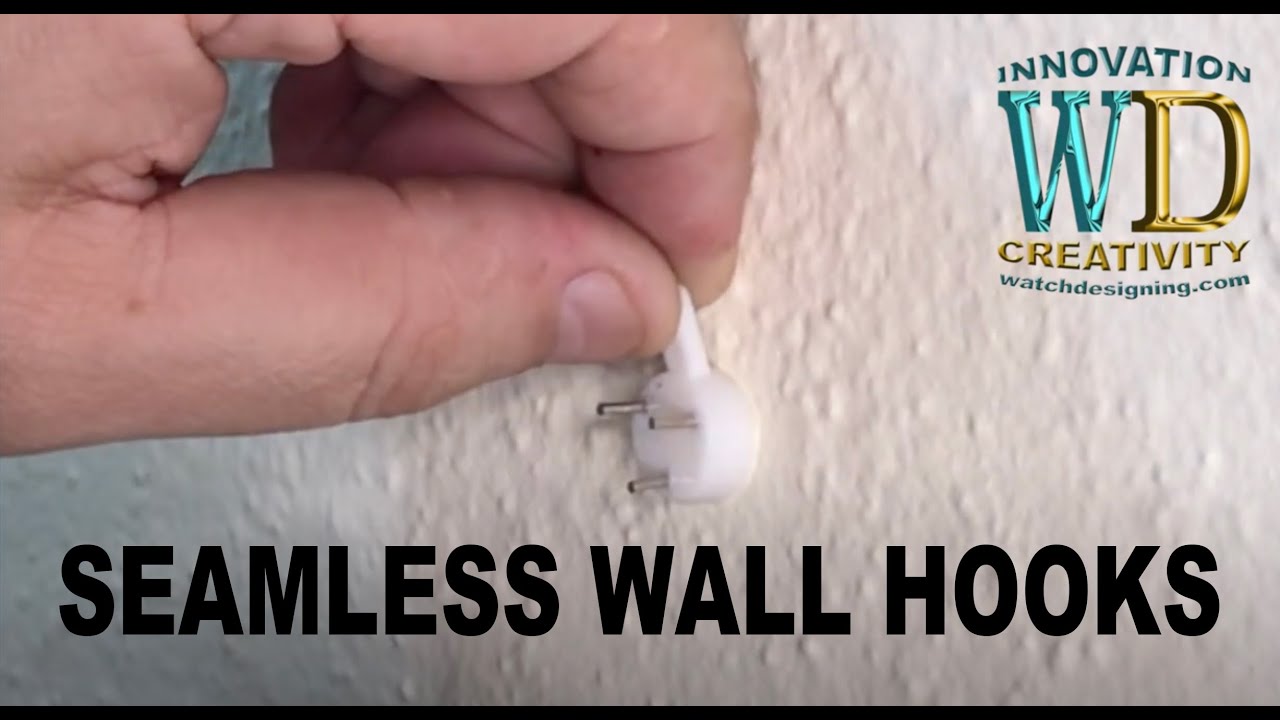
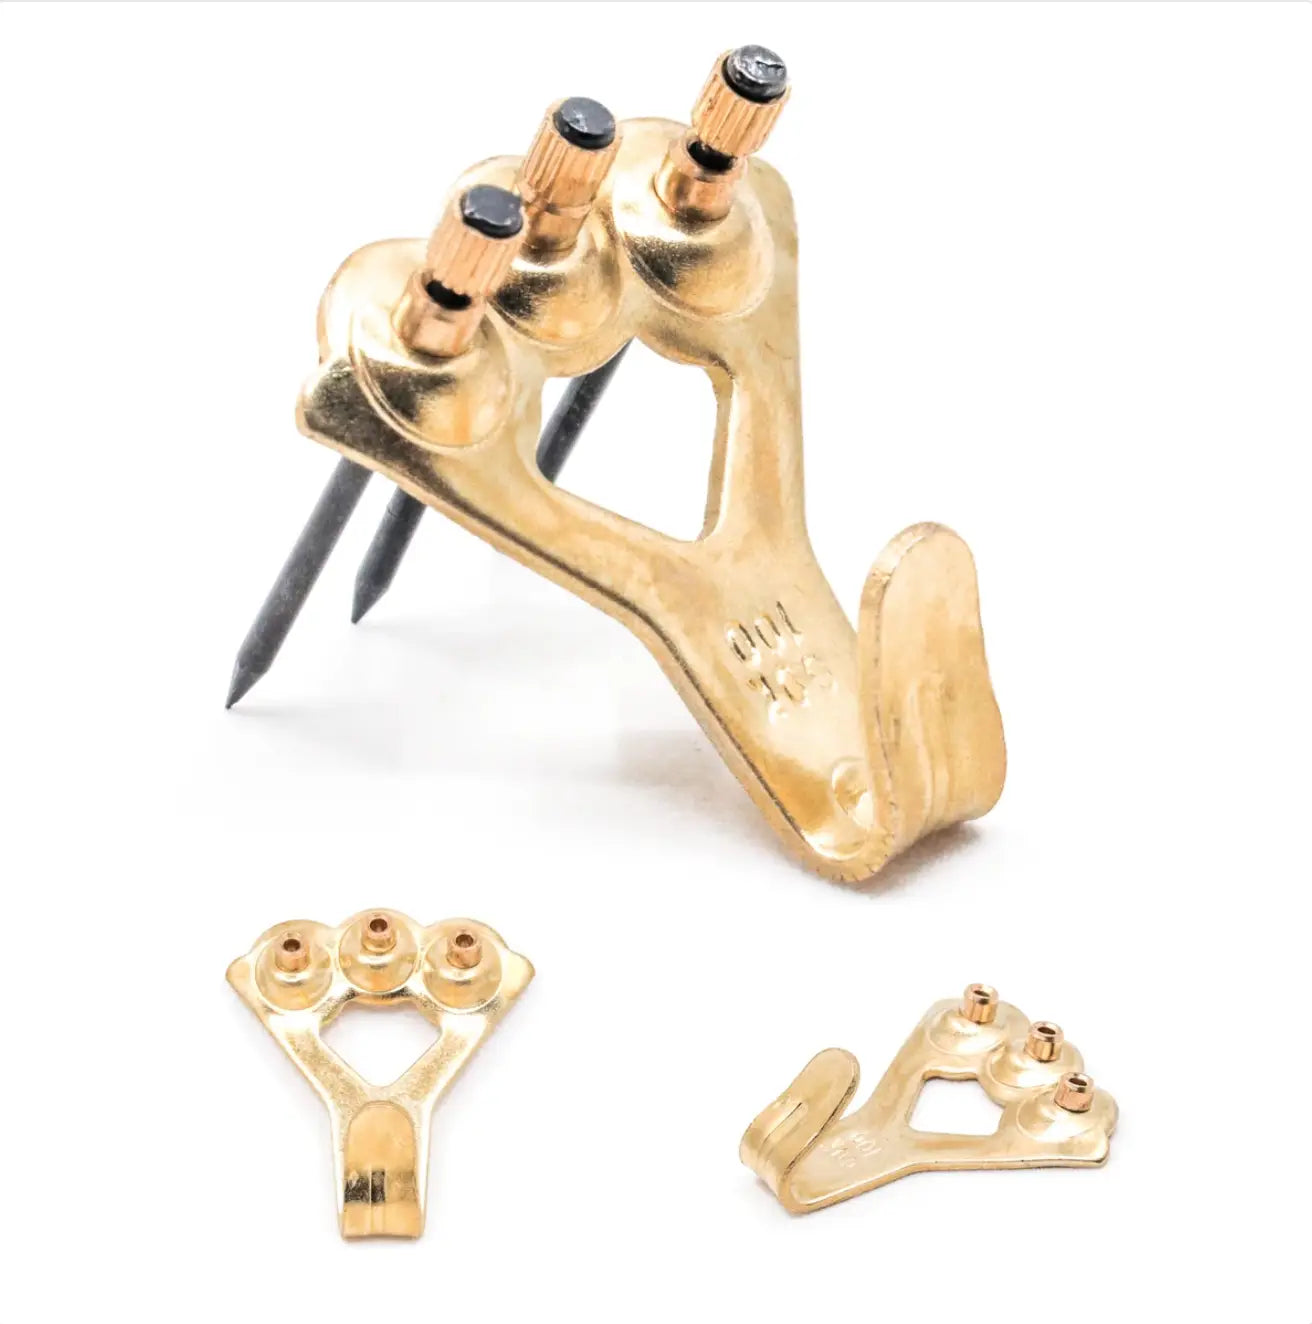
Nail-in Hooks
Nail-in hooks use small nails to hold pictures. They are pushed or hammered into the wall. These hooks are strong and hold heavy frames well. Removing them requires pulling out the nail carefully. Avoid damaging the wall surface during removal.
Adhesive Hooks
Adhesive hooks stick directly to the wall. They use glue or tape to hold weight. These hooks leave little or no holes. Removing them often involves peeling the hook gently. Sometimes heat or special solutions help loosen the adhesive.
Screw-in Hooks
Screw-in hooks twist into the wall like screws. They need a drill or screwdriver to install. These hooks are very stable and support heavy pictures. Removing them means unscrewing the hook slowly. Patching the hole afterward keeps the wall smooth.

Credit: www.youtube.com
Tools Needed For Removal
Removing hard wall picture hooks needs the right tools. These tools make the job easier and protect your wall from damage. Use simple tools you can find at home or at any hardware store. Prepare these items before starting the removal process.
Pliers And Screwdrivers
Pliers help grip and pull the hook out gently. Use needle-nose pliers for better control. Screwdrivers can loosen screws if your hook has any. A flathead screwdriver works best for prying hooks carefully. These tools reduce the risk of wall damage.
Putty Knife Or Spatula
A putty knife slides under the hook base. It helps lift the hook without scratching the wall. Use a thin spatula for tight spaces. These tools also scrape off leftover adhesive or paint. They prepare the wall for patching smoothly.
Adhesive Remover
Adhesive remover cleans sticky residue left by hooks. Apply it with a cloth or sponge. Let it sit for a few minutes to soften glue. Then wipe the wall clean without rubbing hard. This step keeps your wall smooth and ready for painting.
Removing Nail-in Hooks
Removing nail-in hooks from hard walls can be tricky. These hooks hold pictures firmly but leave marks when taken out. Doing it right avoids wall damage and keeps your space neat. Follow clear steps to remove nail-in hooks safely.
Loosening The Hook
Start by gently moving the hook side to side. This loosens the nail inside the wall. Use your fingers or a flat tool for leverage. Avoid pulling hard to prevent wall cracks or holes.
Pulling Out The Nail
Grab the nail head with pliers for a firm grip. Pull the nail straight out slowly to avoid bending. Keep steady pressure to reduce damage. If the nail comes out clean, the wall stays smooth.
Handling Stubborn Nails
Some nails stick tightly in the wall. Tap the nail lightly with a hammer to loosen it. Use a small crowbar or nail puller carefully. Work slowly to protect the wall surface from dents.
Removing Adhesive Hooks
Removing adhesive hooks from hard walls can be tricky. These hooks stick strongly, but careful steps can help you take them off without damage. Follow simple methods to loosen the adhesive and clean the wall surface.
Heating The Adhesive
Warm the adhesive to soften it. Use a hair dryer on low heat. Hold it close to the hook for about 30 seconds. The heat makes the glue less sticky. This helps in removing the hook easily.
Peeling Off Gently
Start peeling the hook slowly from one edge. Pull it back at a low angle, not straight out. Take your time to avoid wall damage. If it feels tight, warm the area again. Patience is key here.
Cleaning Residue
After removal, some glue may stay on the wall. Use a soft cloth with warm soapy water to clean it. For stubborn residue, try rubbing alcohol on a cloth. Clean gently to protect the wall’s paint or wallpaper.
Removing Screw-in Hooks
Removing screw-in hooks from hard walls is a common task during redecorating or moving. These hooks are sturdy and often leave small holes behind. Careful removal helps protect your wall from damage and makes patching easier. Follow these simple steps to remove screw-in hooks safely.
Unscrewing The Hook
Start by turning the hook counterclockwise. Use your fingers for better control. If it is tight, try pliers gently. Avoid forcing it to prevent wall damage. Keep steady pressure to loosen the hook slowly. Once loose, pull it out carefully.
Dealing With Stripped Screws
Stripped screws can be tricky. Use a rubber band over the screw head for extra grip. Press a screwdriver into the rubber band and turn slowly. If this fails, try a screw extractor tool. These tools are designed to remove damaged screws safely.
Patch Repair Tips
After removing the hook, clean the hole from dust. Fill small holes with spackling paste using a putty knife. Smooth the surface and let it dry fully. Sand lightly for a flat finish. Repaint the area to match your wall color perfectly.
Fixing Wall Damage
After removing hard wall picture hooks, small holes or damage often remain. Fixing these spots helps keep your walls neat and fresh. The process is simple and requires just a few steps. You can restore your wall’s smooth surface and get it ready for painting or hanging new items.
Filling Small Holes
Use a lightweight wall filler or spackling compound. Apply it directly into the holes with a putty knife. Press the filler firmly to fill the hole completely. Remove any excess filler to keep the surface even. Let it dry according to the product instructions before moving on.
Sanding And Smoothing
Once the filler dries, sand the patched area gently. Use fine-grit sandpaper for a smooth finish. Sand until the surface matches the rest of the wall. Be careful not to damage surrounding paint. Wipe the dust away with a damp cloth to prepare for painting.
Painting Touch-ups
Choose paint that matches your wall color. Use a small brush or roller to cover the repaired spot. Apply thin layers for better blending and a natural look. Let the paint dry completely between coats. Repeat until the patch blends well with the wall.
Preventing Damage In Future
Preventing damage to walls is key for anyone who hangs pictures often. Small holes and marks can spoil the look of a room. Taking steps before hanging hooks can save time and effort later. Protect your walls with smart choices and careful work.
Choosing The Right Hooks
Select hooks that suit your wall type. Use hooks made for hard walls like brick or plaster. Avoid heavy hooks if your picture is light. Choose hooks with smooth edges to prevent wall cracks. Pick the right size to hold your picture safely.
Proper Installation Techniques
Mark the spot before drilling or hammering hooks. Use a level to keep pictures straight. Drill small pilot holes to guide screws or hooks. Do not push hooks too deep into the wall. Check the hook’s grip before hanging your picture.
Using Wall-friendly Alternatives
Try adhesive hooks for lightweight pictures. These hooks leave little or no marks. Use picture hanging strips to avoid holes. Consider using tension rods for wall-free hanging. Switch to wire or clips that do not damage walls.
Credit: www.picturehangsolutions.com
Frequently Asked Questions
How Do I Safely Remove Hard Wall Picture Hooks?
To safely remove hard wall picture hooks, gently pull or twist the hook while holding the wall steady. Use pliers if needed, but avoid excessive force to prevent wall damage. After removal, repair any small holes with spackle for a smooth finish.
What Tools Are Needed To Remove Hard Wall Hooks?
You need pliers, a flathead screwdriver, and spackle for removing hard wall hooks. Pliers help grip and pull the hook, while a screwdriver can pry it out gently. Spackle fills holes left behind, ensuring a clean wall surface.
Can Removing Hooks Damage My Wall?
Yes, removing hooks can damage the wall if done roughly. Pulling hooks too hard may cause paint peeling or drywall holes. Always remove hooks slowly and carefully to minimize wall damage and make repairs easier.
How To Fix Holes After Removing Picture Hooks?
Fill holes with lightweight spackle using a putty knife. Let it dry completely, then sand lightly for smoothness. Finally, repaint the area to match the wall color for a seamless look.
Conclusion
Removing hard wall picture hooks does not have to be hard. Use gentle tools like pliers or a putty knife. Take your time to avoid wall damage. Fill small holes with spackling paste for a smooth finish. Sand lightly once dry for a clean look.
Paint over the spot to match your wall. These steps help keep your walls neat and ready for new decorations. Simple care makes your space look fresh and tidy again.