Struggling to hang up Command hooks on an uneven wall can be frustrating. You want your hooks to stay put, but bumps and curves make it tricky.
What if you could easily fix this without damaging your walls or wasting money? In this guide, you’ll discover simple, smart tricks to get your Command hooks to stick firmly—even on the most uneven surfaces. Keep reading, and you’ll learn how to transform your space quickly and effortlessly.

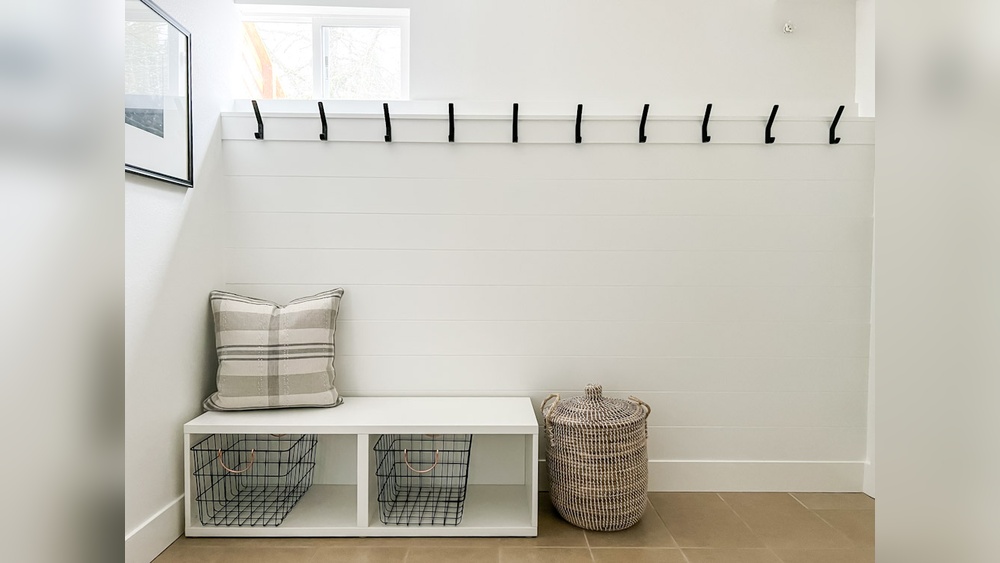
Credit: www.command.com
Choosing The Right Command Hooks
Choosing the right Command hooks is key for hanging items on uneven walls. The right hook ensures strong hold and prevents damage. Not all hooks work the same on all surfaces. Knowing the types, weight limits, and surface fit helps you pick the best one.
Types Of Command Hooks
Command hooks come in many shapes and sizes. Some have sticky backs, others use strips. Small hooks are good for keys or light items. Large hooks hold heavier objects like bags or coats. Some hooks are designed for curved or textured walls. Choose a type that fits your wall’s uneven surface.
Weight Capacity Considerations
Each Command hook has a weight limit. Light-duty hooks hold up to 1 pound. Medium-duty hooks hold about 3 pounds. Heavy-duty hooks can support 5 pounds or more. Check the weight of your item before picking a hook. Using a hook that is too weak can cause it to fall.
Surface Compatibility
Command hooks stick best on smooth, clean surfaces. Uneven walls can be tricky because the adhesive may not stick well. Some hooks are made for textured or painted walls. Avoid using hooks on wallpaper or rough brick. Clean the wall area with rubbing alcohol before applying the hook. This helps the hook stick better.
Preparing Uneven Walls
Preparing uneven walls before hanging Command hooks is important. It helps the hooks stick better and last longer. Uneven walls need a little care to create a good surface for the hooks.
Follow simple steps to clean and smooth the wall. This makes sure the hooks hold tightly and do not fall off easily.
Cleaning The Wall Surface
Start by wiping the wall with a damp cloth. Remove dust, dirt, and grease spots. Use mild soap and water for tough grime. Let the wall dry completely before moving on. Clean walls help the adhesive stick well.
Smoothing Small Bumps
Lightly sand small bumps with fine-grit sandpaper. Sand in a circular motion until the surface feels even. Wipe away dust after sanding. This step creates a smoother surface for the hooks to grip.
Dealing With Large Irregularities
For bigger bumps or cracks, use a wall filler. Apply the filler with a putty knife and smooth it out. Allow it to dry fully, then sand lightly. Repeat if needed until the surface is flat. Large irregularities can stop hooks from sticking well.
Techniques For Secure Hook Placement
Placing command hooks on uneven walls can be tricky. The right techniques help hooks stick firmly and hold weight well. Proper placement avoids damage and keeps your items secure.
Focus on the surface, pressure, and time. These factors improve hook adhesion. Follow simple steps to make sure hooks stay put on rough or bumpy walls.
Using Double-sided Adhesive Strips
Double-sided adhesive strips increase the grip of command hooks. Cut strips to fit the hook base if needed. Stick the strip firmly on the hook’s back. Press the hook against the wall to attach.
The strips fill gaps on uneven surfaces. They create a strong bond between hook and wall. Use strips made for heavy-duty use if you hang heavier items.
Applying Pressure Evenly
Apply firm, even pressure on the hook after placing it. Hold the hook against the wall for at least 30 seconds. Press around the edges and center to secure all parts. This step helps the adhesive stick well.
Uneven pressure can cause weak spots. Make sure the entire hook base contacts the wall surface. This prevents the hook from falling off later.
Allowing Proper Adhesion Time
Let the adhesive cure before hanging items. Wait at least one hour or as the instructions say. Avoid touching or moving the hook during this time. Proper curing makes the bond stronger and more durable.
Patience improves hook performance on difficult walls. Rushing the process may cause the hook to fall. Give the adhesive time to settle and hold tight.
Alternative Solutions For Uneven Surfaces
Uneven walls can make hanging command hooks tricky. The hooks may not stick well or stay in place. Alternative solutions help secure hooks on bumpy or rough surfaces. These methods create a stable base or adjust to the wall’s shape. Try these easy ideas to hang your items safely and neatly.
Mounting On A Backing Board
Use a flat board to create a smooth surface. Attach the board to the wall with nails or screws. Then stick the command hook on the board. This gives the hook a steady place to hold. Choose a board that matches your wall size. Paint or cover the board to blend with the room.
Using Foam Or Padding
Place foam or soft padding behind the hook. The padding fills gaps on the uneven wall. It helps the hook stick better and stay firm. Cut the foam to fit the hook size. Use adhesive tape to keep the foam in place. This method also protects the wall from damage.
Employing Adjustable Hooks
Pick hooks with adjustable parts for uneven walls. These hooks can move or tilt to fit the surface. They grip better on rough or angled spots. Adjustable hooks often have flexible arms or pads. This design helps balance the weight evenly. Find hooks labeled for uneven or textured walls.
Maintaining And Removing Command Hooks
Maintaining and removing Command hooks properly keeps your walls safe and your hooks reusable. Simple care helps the adhesive last longer. Careful removal prevents damage. Follow clear steps for best results.
Checking Adhesion Over Time
Check the hook’s grip regularly. Press the base firmly against the wall. If it feels loose, remove and replace the adhesive strip. This keeps the hook strong. Avoid hanging heavy items on weak hooks. Replace strips every few months for steady hold.
Safe Removal Methods
Pull the tab straight down, slowly stretching the adhesive. Do not pull outward or sideways. This prevents wall damage. Use gentle, steady force. If the strip breaks, try heating it with a hairdryer to soften the glue. Remove any leftover residue with warm soapy water or rubbing alcohol.
Preventing Wall Damage
Avoid peeling hooks off quickly. Always pull the adhesive strip down, not off. Clean the wall surface before applying hooks. Use rubbing alcohol, not cleaners. Avoid placing hooks on textured or uneven paint. These surfaces reduce adhesion and increase damage risk.

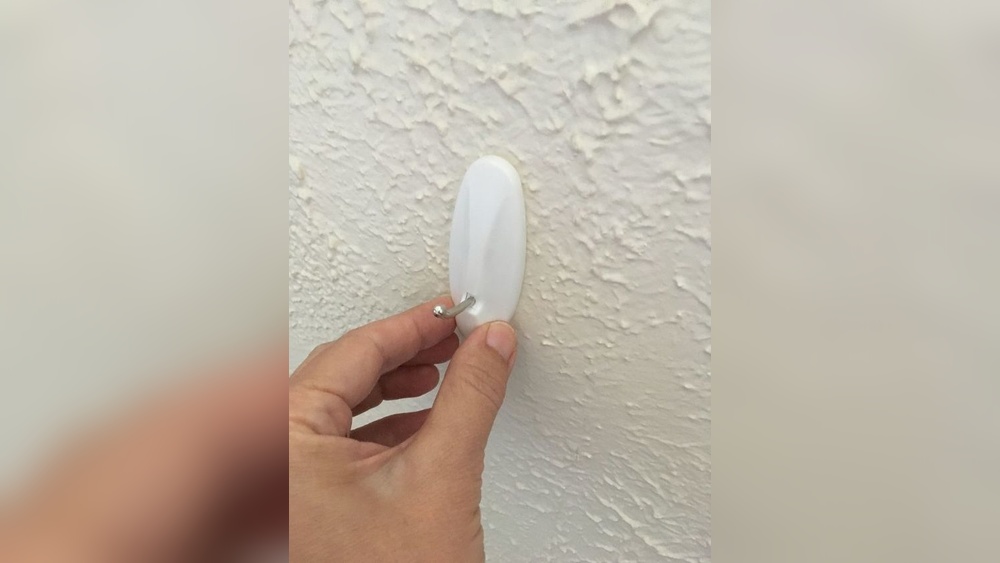
Credit: www.amazon.com

Credit: www.reddit.com
Frequently Asked Questions
How Do I Hang Command Hooks On Uneven Walls?
Use adhesive strips designed for textured surfaces. Clean the wall well, press firmly, and hold for 30 seconds. This ensures strong adhesion on uneven walls.
Can Command Hooks Damage Uneven Wall Surfaces?
Command hooks minimize damage by using adhesive strips. However, uneven surfaces may reduce adhesion strength. Always test on a small area first.
What Weight Limits Do Command Hooks Have On Uneven Walls?
Weight limits vary by hook size. For uneven walls, use hooks with higher weight ratings to ensure secure hanging. Check product details before use.
How To Prepare Uneven Walls For Command Hook Installation?
Clean the wall with rubbing alcohol to remove dirt and grease. Avoid using household cleaners that leave residues. Dry completely before applying hooks.
Conclusion
Hanging command hooks on uneven walls is easier than it seems. Use simple tools and follow clear steps. Choose hooks that stick well and adjust for bumps. Take your time to place hooks securely. This way, your items will stay safe and the wall won’t get damaged.
Small efforts make a big difference. Try these tips for neat and strong hook placement every time.