Is your light switch acting up or completely broken? It can be frustrating when a simple flick doesn’t turn on your lights anymore.
But don’t worry—you don’t need to call an electrician right away. You have the power to fix it yourself, quickly and safely. In this guide, you’ll learn exactly how to change a broken light switch step by step. By the end, you’ll feel confident handling this common home repair, saving time and money.
Ready to get your lights working again? Let’s dive in.
Tools And Materials Needed
Changing a broken light switch requires specific tools and materials. Having the right items on hand makes the job easier and safer. Preparation is key for a smooth repair process.
This section lists everything needed to replace a light switch. It covers essential tools and how to select the correct switch for your home.
Essential Tools
Start with a screwdriver set. Both flathead and Phillips screwdrivers are useful.
A voltage tester ensures the power is off before you touch wires. Safety first.
Wire strippers help remove insulation without damaging the wire.
Needle-nose pliers make bending and twisting wires simple.
Electrician’s tape secures wire connections and insulates exposed parts.
A flashlight or headlamp improves visibility in dark spaces.
Choosing The Right Switch
Identify the type of switch you need. Common types include single-pole and three-way switches.
Match the switch’s voltage and amperage ratings to your circuit.
Pick a switch with a design that fits your wall plate and home style.
Ensure the switch is rated for indoor or outdoor use, as needed.
Choosing the correct switch prevents electrical issues and saves time.

Credit: www.youtube.com
Safety Precautions
Handling a broken light switch involves working with electricity. Safety must be the top priority. Taking proper precautions protects you from shocks and injuries. Follow clear steps to stay safe before starting any repair work.
Power Off Procedures
First, turn off the power to the switch from the main circuit breaker. This cuts electricity flow and reduces risk. Do not rely on the wall switch alone to stop power. Label the breaker to avoid accidental switching on by others. Double-check that the power is off before touching any wires.
Using A Voltage Tester
Use a voltage tester to confirm the power is off. Touch the tester probes to the wires connected to the switch. If the tester lights up or beeps, power is still present. Only proceed when the tester shows no voltage. This step ensures your safety before handling the switch parts.
Removing The Old Switch
Removing the old light switch is the first step to fix a broken one. It helps you safely prepare for installing the new switch. Follow these simple steps to take out the old switch without trouble.
Unscrewing The Cover Plate
Start by turning off the power at the circuit breaker. This stops any electric shock risk. Use a screwdriver to remove the screws holding the cover plate. Keep the screws safe for later use. Gently pull the cover plate away from the wall. This reveals the switch and wiring inside.
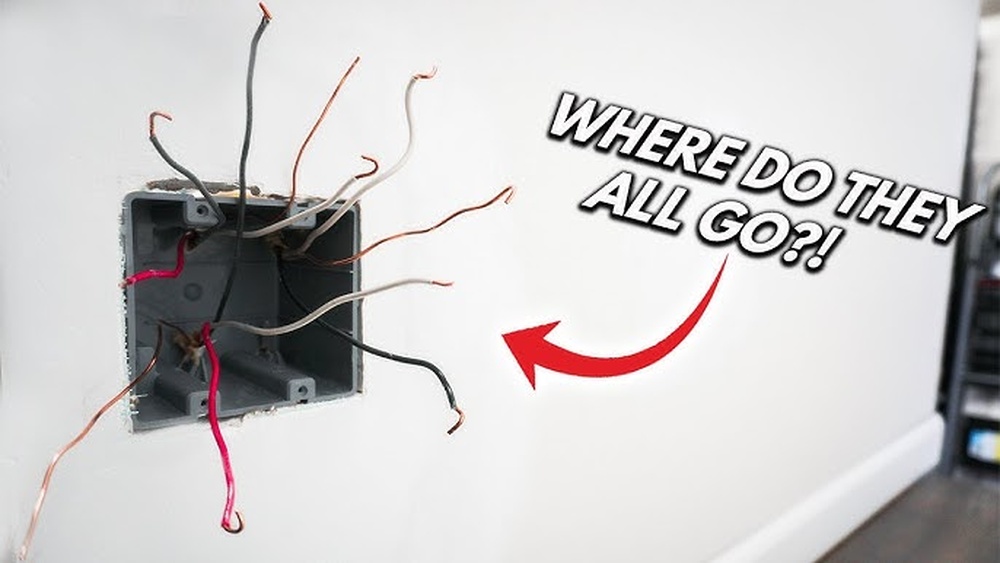
Disconnecting Wires
Next, check that the power is off using a voltage tester. Unscrew the terminal screws on the sides of the switch. Carefully disconnect each wire from the switch terminals. Remember how each wire is connected. Take a photo if needed to help with the new switch. Avoid touching any wires together to prevent sparks.
Credit: www.youtube.com
Installing The New Switch
Installing the new switch is the key step after removing the old one. This part needs care and attention. The wires must connect correctly to make the switch work right. Then, the switch needs to be fixed firmly in place. This keeps everything safe and steady.
Connecting Wires Correctly
Start by checking the wires you have. Usually, there are three: live, neutral, and ground. Match each wire to the correct terminal on the new switch. Use a screwdriver to tighten the screws. Make sure the wires are snug and do not move. Loose wires can cause problems or even sparks. Double-check that no bare wire is outside the terminal.
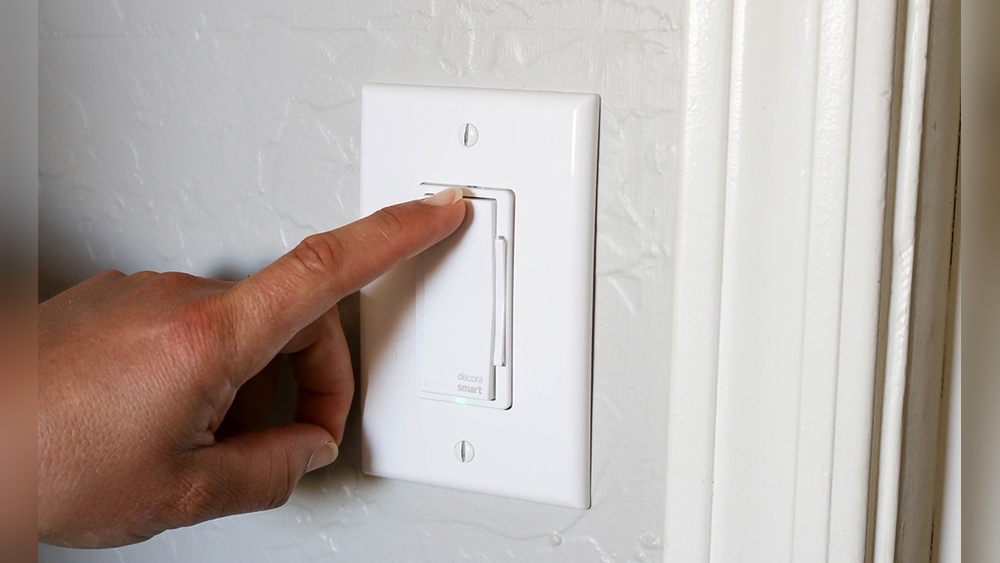
Securing The Switch
Push the new switch carefully into the wall box. Align it so the screw holes match the box holes. Use screws to fix the switch firmly. Tighten the screws until the switch does not wobble. Avoid over-tightening, which can crack the switch or wall. After securing, attach the switch cover plate. This protects the wires and gives a clean look.
Testing The New Switch
Testing the new switch is a key step after installation. It ensures the switch works safely and correctly. This step helps avoid future problems and saves time.
Restoring Power
First, turn the power back on at the circuit breaker. Make sure the area around the switch is dry. Stand clear of the switch panel before flipping the breaker. This prevents electric shock. Check if the lights or devices connected to the switch receive power.
Checking Functionality
Next, flip the switch on and off several times. Observe if the light or device responds each time. The switch should click smoothly without sticking. If the light flickers or does not turn on, recheck your wiring. A properly working switch controls the light steadily. Test all switches in the same box if there are multiple. Confirm that each one operates its assigned fixture.
Troubleshooting Common Issues
Troubleshooting common issues helps fix a broken light switch quickly. Understanding the problem saves time and effort. It prevents unnecessary replacement of parts that still work. Checking the basics often solves the problem fast.
Switch Not Working
First, test if the switch is getting power. Use a voltage tester or a multimeter. No power means a problem with the circuit or breaker. If power is present, the switch itself may be faulty.
Replace the switch if it feels loose or does not click properly. A broken internal mechanism stops the switch from working. Always turn off the power before testing or replacing the switch.
Loose Connections
Loose wires cause flickering or no light at all. Turn off the power before checking wire connections. Remove the switch cover and inspect the wires carefully. Tighten any screws holding the wires in place.
Look for frayed or damaged wires. Replace or repair damaged wires to ensure safety. Secure connections prevent shorts and improve switch performance.
:max_bytes(150000):strip_icc()/how-to-replace-a-light-switch-1824670_hero_40432-43add2624f6c4522a4ee50bb24ece2be.jpg)
Credit: www.thespruce.com
Frequently Asked Questions
How Do I Safely Turn Off Power Before Changing A Light Switch?
Always switch off the circuit breaker controlling the light switch. Use a voltage tester to confirm no electricity flows. Safety is crucial to prevent electric shock during replacement.
What Tools Do I Need To Replace A Broken Light Switch?
You’ll need a screwdriver, voltage tester, wire stripper, and a new light switch. These tools help remove the old switch and install the new one safely and correctly.
How Can I Identify The Type Of Light Switch To Buy?
Check the old switch for markings or model numbers. Match the new switch’s voltage and amperage to the old one. This ensures compatibility and safe operation.
How Do I Connect Wires To A New Light Switch?
Attach wires to the corresponding terminals on the new switch. Tighten screws securely to ensure a good connection. Follow wiring diagrams or instructions for accuracy.
Conclusion
Changing a broken light switch is easier than it seems. Always turn off the power first. Take your time and follow each step carefully. Use the right tools to avoid mistakes. A new switch can make your room safer and brighter.
Small repairs like this save money and add comfort. Trying it yourself gives a good sense of achievement. Stay safe, and don’t rush the process. You can fix a broken switch with confidence. Simple tasks like this keep your home running well.