Are you ready to take control of your home lighting with just a tap on your phone? Connecting your Wemo Light Switch might seem tricky at first, but it’s easier than you think.
Imagine turning your lights on or off from anywhere, setting schedules, and saving energy effortlessly. This guide will walk you through every simple step to get your Wemo Light Switch up and running quickly. Keep reading, and you’ll be enjoying smart lighting in no time.
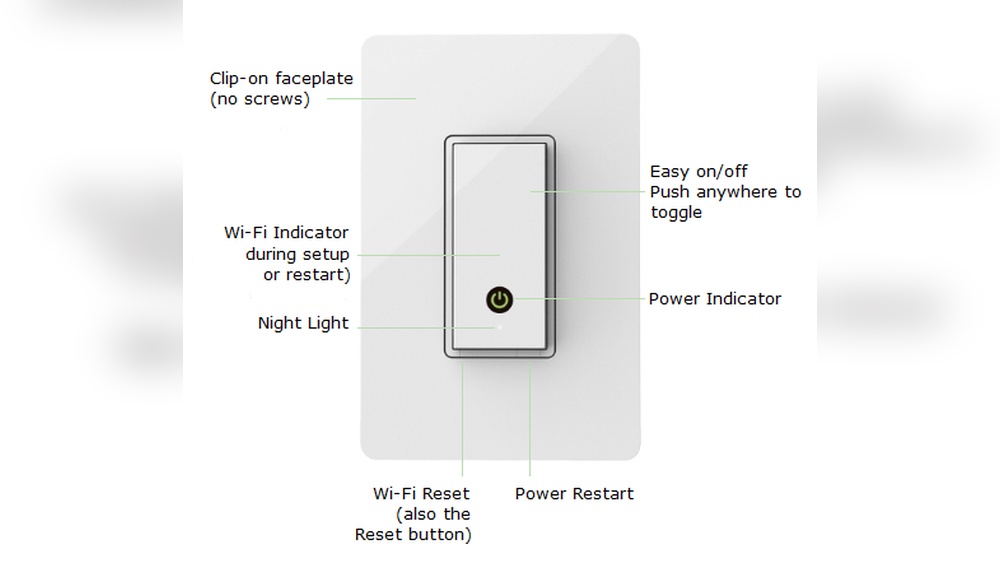
Credit: www.belkin.com
Wemo Light Switch Features
Connecting a Wemo Light Switch is simple and quick. Start by turning off power, then follow the app instructions to link the switch to Wi-Fi. This lets you control your lights from anywhere using your phone.
The Wemo Light Switch offers many features that make controlling your home lighting easy. It lets you turn lights on or off from anywhere using your smartphone. The switch works with your existing wiring, so installation is simple and quick.
It also supports scheduling, so you can set lights to turn on or off at specific times. This helps save energy and adds convenience. The switch responds to voice commands, making hands-free control possible.
Smart Control Benefits
Control your lights remotely with the Wemo app. Turn lights on before you arrive home. Set schedules to match your daily routine. Use the app to check if lights are on or off from anywhere. This adds security and saves electricity. Voice control works with Alexa, Google Assistant, and Siri. This lets you control lights using simple voice commands. No need to get up or find a switch.
Compatibility With Devices
The Wemo Light Switch works with many smart home systems. It supports Alexa, Google Home, and Apple HomeKit. Connect it easily to your existing smart devices. It also works with IFTTT, enabling custom automation. The switch fits standard electrical boxes and works with most bulbs. No need for special bulbs or extra hubs. This wide compatibility makes it a flexible choice for many homes.
Tools And Materials Needed
Before starting the installation of your Wemo Light Switch, gather all necessary tools and materials. Having everything ready saves time and avoids frustration. Proper tools ensure a smooth and safe installation process. Below is a list of essential tools and safety gear you will need.
Essential Installation Tools
- Flathead screwdriver – for removing switch plates
- Phillips screwdriver – for securing screws
- Wire stripper – to remove insulation from wires
- Voltage tester – to check if wires are live
- Needle-nose pliers – for bending and holding wires
- Electrical tape – to insulate wire connections
- Wire nuts – to secure wire joints safely
- Flashlight – for better visibility in dark spaces
Safety Gear
- Insulated gloves – protect hands from electric shock
- Safety goggles – shield eyes from dust and debris
- Rubber-soled shoes – reduce risk of electric shock
- Work clothes – wear long sleeves to protect skin
Preparing For Installation
Preparing for installation is the first step to connect your Wemo Light Switch. It ensures safety and makes the process smooth. Taking the right steps helps avoid problems later. Follow these simple instructions carefully.
Turn Off Power Supply
Safety is important. Before starting, turn off the power supply. Go to your home’s circuit breaker panel. Switch off the breaker that controls the light switch. Confirm power is off by testing the light switch. Use a voltage tester or try turning the light on. No power means safe work.
Remove Existing Switch
Next, remove the old switch. Unscrew the switch cover plate carefully. Use a screwdriver to remove screws holding the switch. Pull the switch gently from the wall box. Note the wires connected to the switch. Take a photo for reference. Disconnect wires one by one. Keep wires separated to avoid shorts.
Wiring The Wemo Light Switch
Wiring the Wemo Light Switch is the key step to make it work properly. This part requires care and attention. You will connect the electrical wires from your home to the switch. The correct wiring ensures the switch functions safely and smoothly.
Before starting, turn off the power at the circuit breaker. Safety first. Use a voltage tester to check no electricity flows in the wires. Now, you are ready to wire the switch.
Identify Wires
Look at the wires in your wall box. Usually, you find three types: line, load, and ground. The line wire carries power from your home. The load wire goes to the light fixture. The ground wire is for safety. It usually has green or bare copper insulation.
Use a label or tape to mark each wire. This helps avoid confusion later. Identifying wires correctly prevents electrical problems.
Connect Wires To Switch
Match the wires on the switch to the wires in the wall. Connect the line wire to the switch’s line terminal. Attach the load wire to the load terminal. Connect the ground wire to the green ground screw. Use wire nuts to secure the connections tightly. Tug gently to check if wires are firm.
Secure The Switch
Push the wires back carefully into the wall box. Avoid pinching or bending wires sharply. Align the switch with the mounting holes. Use screws to fix the switch firmly. Do not overtighten to avoid damaging the switch. Attach the switch cover plate last.
Setting Up The Wemo App
Setting up the Wemo app is the first step to controlling your Wemo Light Switch. The app acts as the control center for your smart switch. It helps you connect the switch to your home Wi-Fi and manage your lights remotely. Follow these simple steps to get started quickly.
Download And Install
Open your phone’s app store. Search for “Wemo.” Choose the official Wemo app by Belkin. Tap “Download” or “Install.” Wait for the app to finish installing. Launch the app to start the setup process.
Create An Account
Open the Wemo app. Tap “Create Account.” Enter your email address and create a password. Confirm your password. Agree to the terms and privacy policy. Tap “Sign Up” to finish. You need this account to control your Wemo devices.
Connect To Wi-fi
Ensure your phone is connected to your home Wi-Fi network. The Wemo app will ask you to select your Wi-Fi. Choose the network your switch will use. Enter your Wi-Fi password carefully. Tap “Connect” to link your Wemo switch to your network.
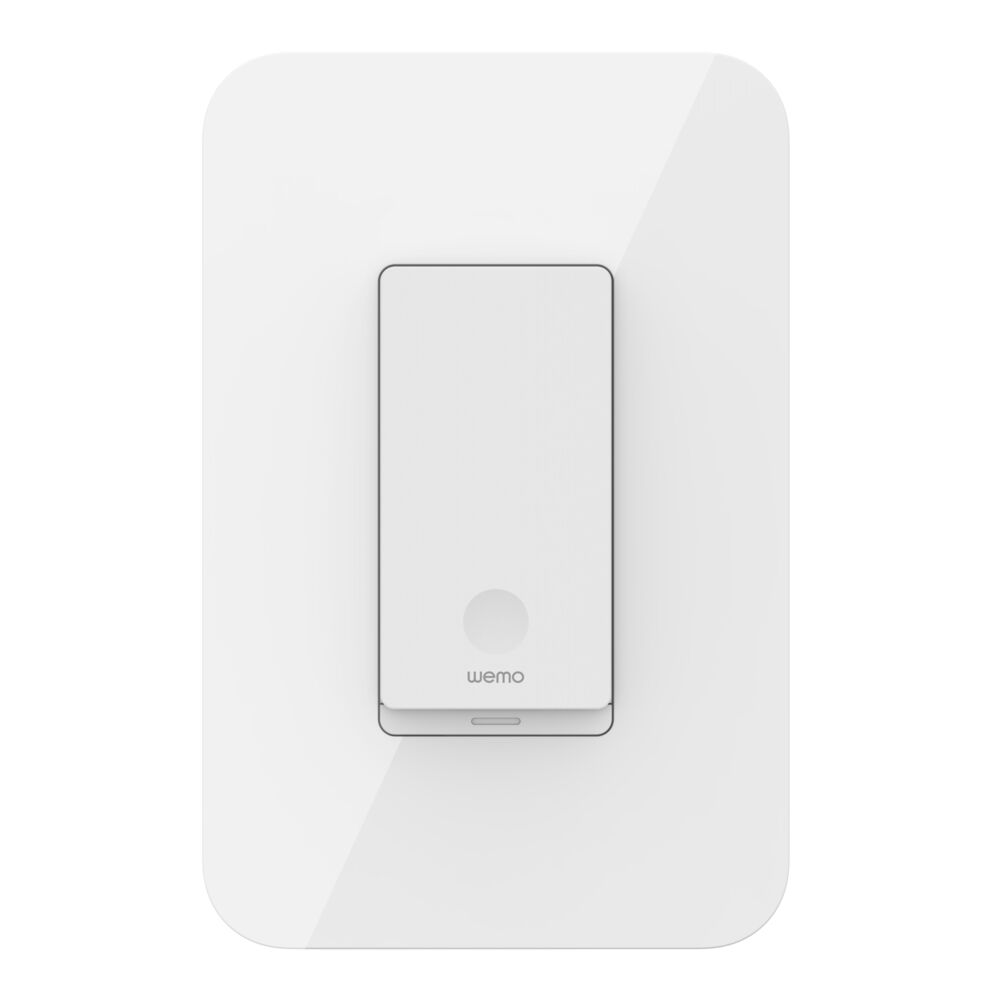
Credit: www.homedepot.com
Pairing The Switch With The App
Pairing the Wemo Light Switch with the app is the key step to control your lights from anywhere. This process connects your switch to your phone, making it easy to manage your lighting. Follow these simple steps to get your switch ready for smart control.
Enable Pairing Mode
Start by turning on the Wemo Light Switch. Press and hold the reset button for about five seconds. The LED light will start blinking. This blinking means the switch is in pairing mode and ready to connect.
Discover The Device
Open the Wemo app on your phone. Make sure your phone’s Bluetooth and Wi-Fi are turned on. The app will search for new devices nearby. When it finds your switch, it will show it on the screen. Tap the device name to select it.
Complete Setup
Follow the app instructions to finish the setup. You may need to enter your Wi-Fi password. The app will connect the switch to your home network. Once done, the LED light will stop blinking. Your Wemo Light Switch is now paired and ready to use.
Customizing Switch Settings
Customizing your Wemo Light Switch settings makes your home smarter and more convenient. You can control when lights turn on or off without manual effort. Adjust settings to fit your daily routines and preferences. This section covers how to schedule lights, use voice commands, and create scenes for better control.
Scheduling Lights
Set specific times for your lights to turn on or off. Use the Wemo app to pick hours and days. This helps save energy and adds security. Lights can turn on before you arrive home. Or switch off automatically at bedtime. Scheduling makes your home feel lived in, even when you are away.
Voice Control Integration
Connect your Wemo switch with voice assistants like Alexa or Google Assistant. Use simple voice commands to control your lights. Say “turn on the living room light” to switch it on. This hands-free option is perfect when your hands are full. Voice control adds ease and quick response to your daily tasks.
Creating Scenes
Scenes let you control multiple devices with one command. Group lights and other smart devices in the Wemo app. Create a “movie night” scene to dim lights and turn on the TV. Or a “good morning” scene to brighten rooms slowly. Scenes save time and create the perfect atmosphere fast.
Troubleshooting Tips
Troubleshooting is key to a smooth Wemo Light Switch setup. Small problems can stop your switch from working. Knowing common issues helps you fix them fast. This saves time and avoids frustration. Here are simple tips to solve frequent problems.
Connection Issues
Check if your Wi-Fi is working and strong. Weak signals cause connection failures. Move your router closer to the switch if needed. Make sure your phone uses the same Wi-Fi network. Restart your router and the Wemo switch. Sometimes, resetting the switch helps clear connection errors.
Power Problems
Confirm the switch is correctly wired to power. Turn off the main power before checking wires. Look for loose or damaged wires. Use a voltage tester for safety. Ensure your circuit breaker is on. If the switch feels warm, it might be overloaded.
App Errors
Update the Wemo app to the latest version. Clear the app cache to remove old data. Restart your phone to fix temporary glitches. Log out and log back into your Wemo account. Reinstall the app if errors persist. Confirm your phone’s operating system supports the app.
Maintaining Your Wemo Switch
Maintaining your Wemo Light Switch helps keep it working well over time. Simple care steps improve its performance and lifespan. Regular attention prevents issues and ensures smooth operation.
Regular Updates
Keep your Wemo switch software up to date. Updates fix bugs and add new features. Check the Wemo app often for available updates. Install updates promptly to avoid security risks. Updated software improves device stability and compatibility.
Cleaning And Care
Turn off power before cleaning your Wemo switch. Use a dry, soft cloth to wipe the surface gently. Avoid water or harsh chemicals that may damage the switch. Clean regularly to prevent dust buildup. Proper care helps maintain switch responsiveness and appearance.

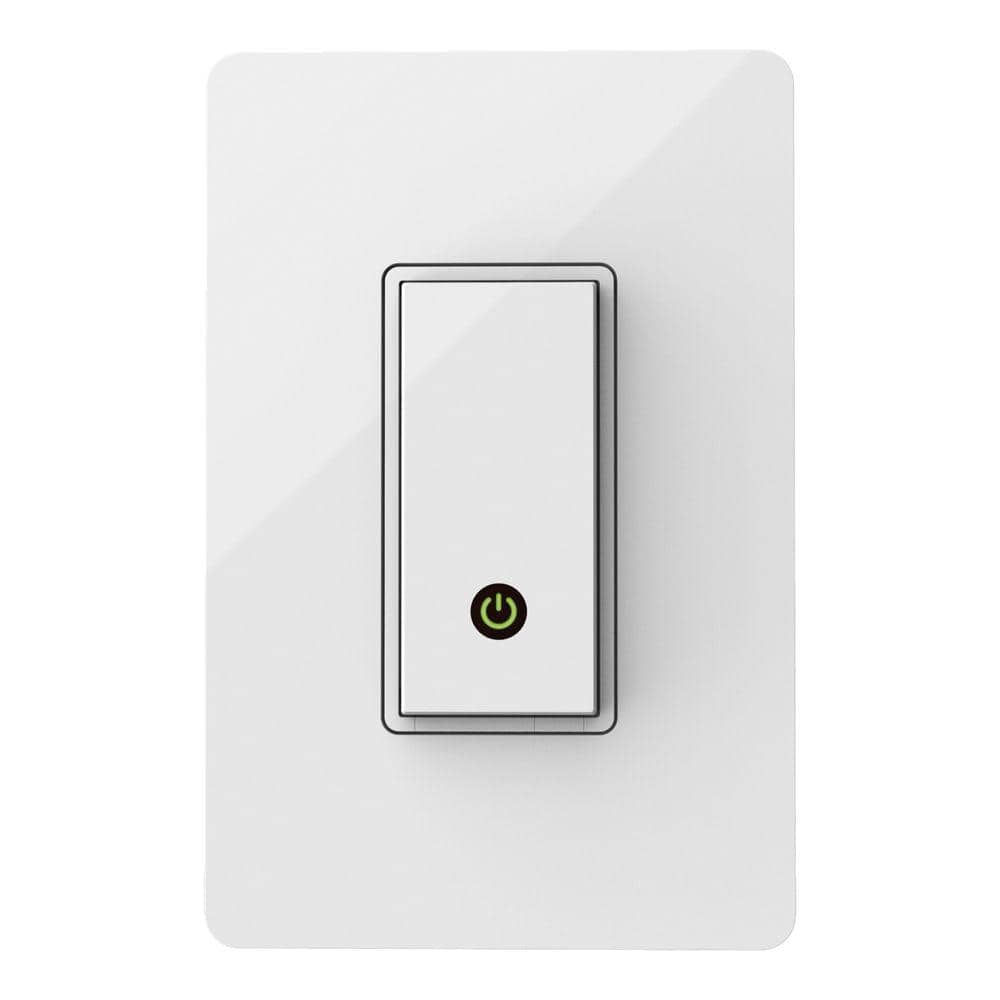
Credit: www.belkin.com
Frequently Asked Questions
How Do I Connect Wemo Light Switch To Wi-fi?
To connect your Wemo Light Switch to Wi-Fi, first turn off the power. Use the Wemo app to follow setup prompts. Ensure your phone is on the same 2. 4 GHz network. Complete the connection by entering your Wi-Fi password in the app.
Can I Control Wemo Light Switch Remotely?
Yes, you can control your Wemo Light Switch remotely using the Wemo app. This requires a stable internet connection. You can turn lights on or off and set schedules from anywhere in the world.
What Devices Are Compatible With Wemo Light Switch?
Wemo Light Switch is compatible with iOS and Android devices. It also works with voice assistants like Amazon Alexa, Google Assistant, and Apple HomeKit. This allows easy smart home integration and voice control.
How Do I Reset My Wemo Light Switch?
To reset your Wemo Light Switch, press and hold the switch button for about 10 seconds. The LED will blink, indicating a successful reset. After resetting, you can set it up again using the Wemo app.
Conclusion
Connecting your Wemo light switch is simple and quick. Follow each step carefully for best results. Test the switch to ensure it works properly. Enjoy controlling your lights with ease from anywhere. Stay safe by turning off power before installation.
With these tips, your smart home feels more comfortable. Keep the user guide handy for future reference. Smart lighting brings convenience without hassle or confusion.

