Want to turn any wall into a big-screen entertainment zone? Hooking up a projector on a wall might sound tricky, but with the right steps, you can do it yourself quickly and easily.
Imagine watching your favorite movies, games, or presentations on a giant, clear display right at home or in your office. In this guide, you’ll discover simple tips and tricks that save you time and frustration. Ready to transform your space?
Keep reading, and you’ll learn exactly how to get your projector set up perfectly on your wall.
Choosing The Right Projector
Choosing the right projector is the first step to a great viewing experience. The right projector fits your space and meets your needs. It makes setting up on a wall easy and enjoyable.
Consider the type of projector, brightness, resolution, and how it connects. These factors affect picture quality and ease of use.
Types Of Projectors
There are several types of projectors. LCD projectors show bright colors and good detail. DLP projectors offer sharp images and smooth motion. LED projectors last longer and use less power. Choose one that fits your room size and use.
Brightness And Resolution
Brightness is measured in lumens. Higher lumens mean a clearer picture in light rooms. For dark rooms, 1500 to 2500 lumens is enough. Resolution affects image sharpness. Full HD (1080p) is good for movies and games. Higher resolution gives better detail on big walls.
Connectivity Options
Check how the projector connects to your devices. HDMI is common and supports high-quality video. Some projectors offer USB, VGA, or wireless connections. Wireless lets you project without cables. Pick a projector with the right ports for your devices.
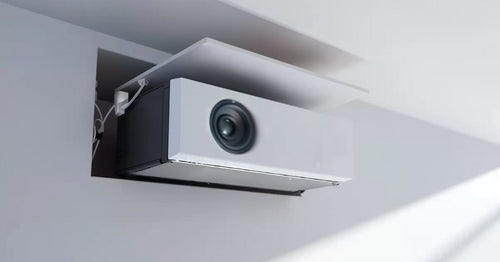
Credit: us.xgimi.com
Selecting The Ideal Wall
Selecting the ideal wall is crucial for a clear and bright projector image. The right wall can improve your viewing experience significantly. It affects the image quality, size, and overall enjoyment.
Focus on three main factors: the wall surface and color, room lighting, and the distance and size of the projection. Each plays a key role in achieving the best setup.
Wall Surface And Color
Choose a smooth, flat wall without texture. Rough surfaces distort the image. Avoid walls with cracks or bumps that affect picture clarity.
Color matters too. White or light gray walls reflect light well. Dark or bright colors reduce brightness and fade the image. A matte finish is best, as shiny walls cause glare.
Room Lighting Conditions
Control the room lighting for better image quality. Bright rooms wash out the picture. Use curtains or blinds to block outside light.
Dim or dark rooms enhance the projector’s colors and contrast. Avoid placing the projector opposite bright windows or light sources.
Measuring Distance And Size
Measure the space between the projector and the wall. This determines the image size. Check your projector’s throw distance in the manual.
Ensure the image fits the wall without cutting off. Leave some space around the edges. This helps avoid distortion and keeps the picture clear.
Mounting The Projector
Mounting the projector correctly ensures a clear and stable image. It also keeps the device safe and saves space. Choosing the right mounting method affects your viewing experience and room setup.
Wall Mount Vs Ceiling Mount
Wall mounts attach the projector directly to the wall. They are easier to access and adjust. Ceiling mounts hang the projector from above. This option frees up wall space and keeps the device out of the way.
Wall mounts suit smaller rooms or low ceilings. Ceiling mounts work well in larger rooms or open spaces. Consider your room size and projector model before choosing.
Tools And Materials Needed
- Projector wall or ceiling mount kit
- Drill with appropriate bits
- Screwdriver
- Stud finder
- Measuring tape
- Level
- Anchors and screws
- Pencil for marking
Step-by-step Mounting Guide
First, find a suitable wall or ceiling spot. Use the stud finder to locate solid support.
Mark the mounting holes with a pencil. Double-check alignment using the level.
Drill holes at the marked points. Insert anchors for extra support if needed.
Attach the mounting bracket securely with screws. Make sure it is firm and stable.
Mount the projector onto the bracket. Adjust the angle for the best picture.
Connect power and video cables. Tidy the wires to avoid clutter.
Connecting Devices
Connecting your devices to a projector on the wall is a key step. It lets you show videos, presentations, or photos on a big screen. You can use wires or wireless methods. Each way has its own benefits and steps.
Choosing the right connection depends on your device type and projector model. Some projectors support older cables, while others use modern wireless tech. Knowing your options helps you set up quickly and easily.
Hdmi And Vga Connections
HDMI is the most common connection for projectors. It carries high-quality video and audio through one cable. Most laptops, gaming consoles, and media players have HDMI ports.
VGA is an older type of connection. It only sends video, so you need a separate cable for sound. VGA works well with older computers and projectors.
To connect, plug the cable into your device and the projector. Then, select the right input source on the projector menu. Check the picture appears clearly on the wall.
Wireless Setup Options
Wireless connections remove the need for cables. Many projectors support Wi-Fi or Bluetooth for easy setup. You can stream content directly from your phone or laptop.
Use apps or built-in features to connect wirelessly. Make sure both devices are on the same network. Wireless setup keeps your space tidy and flexible.
Audio Integration
Projectors often have built-in speakers, but sound may be weak. For better audio, connect external speakers or a sound system. Use the audio-out port on the projector or device.
Some HDMI cables carry sound, so separate audio cables might not be necessary. Test the sound levels and adjust for clear audio during your show.
Adjusting Image Settings
Adjusting image settings is key to a clear and sharp projection on your wall. Proper settings create a pleasant viewing experience. This section covers focus, keystone correction, aspect ratio, zoom, and color calibration. Each step improves how your image looks.
Focus And Keystone Correction
First, set the focus. Rotate the focus ring until the image looks sharp. Blurry images distract viewers and reduce clarity. Next, fix keystone distortion. This happens when the projector is not straight on the wall. Use the keystone correction button to make the image rectangular. This removes the trapezoid shape and aligns the picture edges.
Aspect Ratio And Zoom
Choose the right aspect ratio for your content. Most movies use 16:9, while older videos may use 4:3. Setting the correct ratio prevents stretching or black bars. Adjust the zoom to fit the image on your wall. Zoom in or out to fill the screen without cutting edges. Proper zoom keeps the picture balanced and easy to watch.
Color And Brightness Calibration
Adjust color settings for natural and vibrant images. Increase or decrease color saturation to avoid dull or overly bright colors. Set brightness so the image is clear but not washed out. Check contrast to highlight dark and light areas well. Good color and brightness make the image comfortable and vivid for viewers.
Troubleshooting Common Issues
Troubleshooting common issues can save time and frustration when setting up a projector on a wall. Some problems appear often but have simple fixes. Understanding these issues helps keep your projector working well and your viewing experience smooth.
Blurry Image Problems
A blurry image often means the projector lens needs adjusting. Clean the lens gently with a soft cloth. Check if the projector is too far or too close to the wall. Adjust the distance until the picture is sharp. Use the focus ring or button on your projector to clear up the image. Also, ensure the wall surface is smooth and clean for better clarity.
Connection Failures
Connection failures stop the projector from showing your content. Check all cables and plugs to make sure they are secure. Try unplugging and plugging cables again. Use the right HDMI or VGA port. Test your device with another cable if you can. Sometimes, the input source on the projector needs to be selected manually. Switch to the correct input to restore connection.
Overheating And Noise
Projectors can overheat and make loud noises when blocked or dirty. Ensure the vents are not covered by objects or dust. Clean the vents and fan regularly with a soft brush or cloth. Place the projector in a well-ventilated area. Avoid using it in a very hot room. If noise increases, the fan might need replacement or service. Keeping the projector cool improves its life and performance.
Maintenance Tips
Proper maintenance keeps your projector working well and lasts longer. Simple care steps improve picture quality and prevent damage. Regular checks help avoid costly repairs and ensure smooth use.
Cleaning The Lens
Dust and smudges blur the image. Use a soft, dry cloth to clean the lens gently. Avoid harsh chemicals or rough materials. Clean the lens regularly to keep the picture clear and bright.
Replacing The Bulb
The bulb wears out after many hours of use. Watch for dimmer images or flickering light. Replace the bulb with one that matches your projector model. Handle the bulb carefully to avoid damage.
Software Updates
Projectors may have software that controls settings and features. Check the manufacturer’s website for updates. Update software to fix bugs and improve performance. Keep your projector software current for best results.
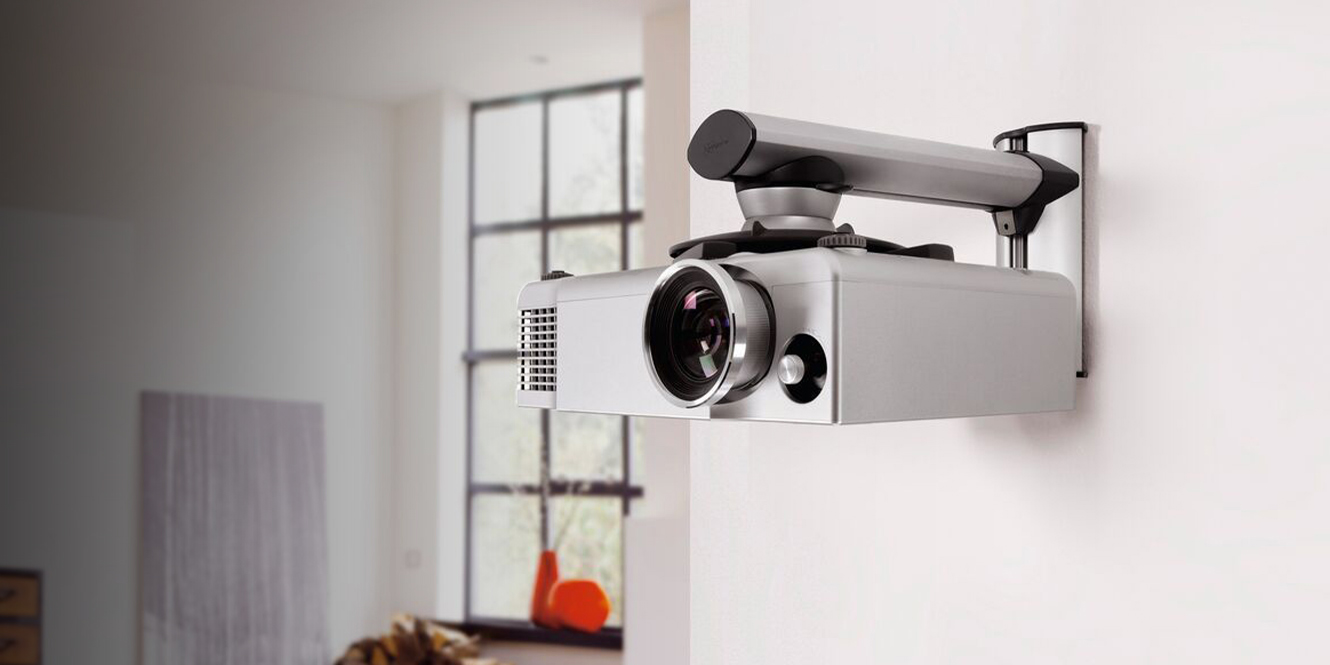
Credit: www.av.com

Credit: awolvision.com
Frequently Asked Questions
How Do I Mount A Projector On The Wall?
Use a sturdy wall mount bracket designed for projectors. Locate wall studs for secure installation. Follow the mount’s instructions carefully to ensure safety and stability.
What Cables Are Needed To Connect A Wall Projector?
Typically, HDMI or VGA cables connect your projector to devices. Ensure cables are long enough to reach from the device to the projector’s location.
How Far Should A Projector Be From The Wall?
The distance depends on your projector’s throw ratio. Check the user manual for recommended distance to get a clear, focused image.
Can I Use A Projector Without A Screen On The Wall?
Yes, a smooth, white or light-colored wall works as a screen. However, using a projector screen improves image quality and brightness.
Conclusion
Hooking up a projector on a wall is easier than it seems. Follow the steps carefully for a clear, bright image. Choose the right spot and mount the projector securely. Connect the cables properly to avoid signal loss. Test the setup and adjust the picture as needed.
Enjoy your movies or presentations with a big, sharp display. Take your time and keep it simple for the best results. This guide helps you get started quickly and confidently.