If you’ve ever needed to fix or replace your Kwikset deadbolt, you know it can feel tricky at first. But what if you could take it apart yourself, quickly and without stress?
Understanding how to disassemble your Kwikset deadbolt gives you control over your home’s security and can save you time and money. In this guide, you’ll get simple, step-by-step instructions that anyone can follow. Ready to unlock the secrets behind your deadbolt?
Keep reading, and you’ll have the know-how in no time.
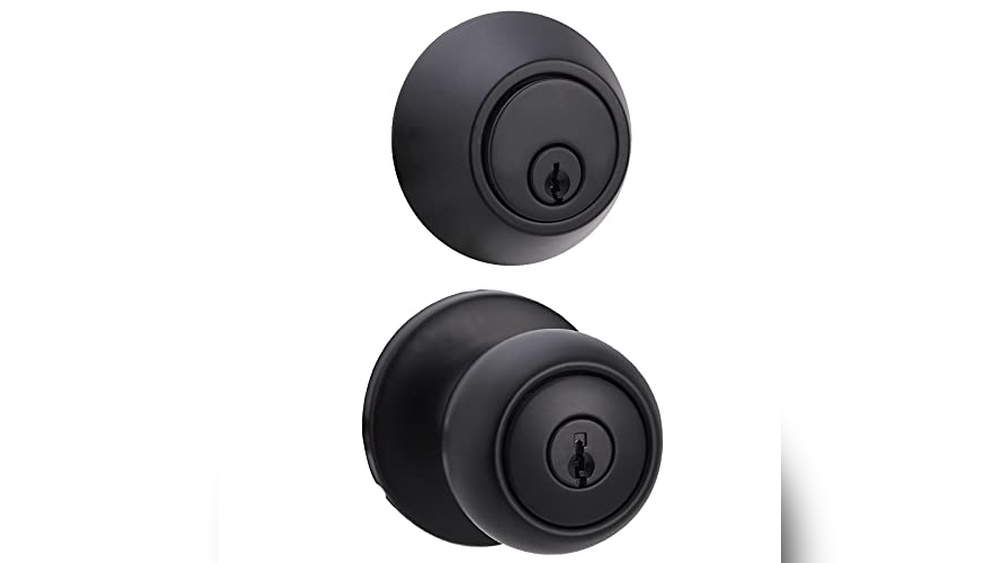
Tools Needed
Unscrewing the deadbolt assembly is the first step to take apart a Kwikset deadbolt. This step allows access to the inner parts of the lock. It is important to work carefully to avoid damage.
Gather a screwdriver that fits the screws on your deadbolt. Most Kwikset deadbolts use a Phillips head screwdriver. Make sure the tool is steady and fits well into the screw heads.
Locate The Screws On The Interior Side
Start by opening the door. Look at the inside part of the deadbolt. Find the screws holding the lock in place. Usually, there are two screws on the faceplate or around the knob.
Remove The Screws Carefully
Place the screwdriver on the first screw. Turn it counterclockwise to loosen. Keep the screw safe after removal. Repeat with the second screw. Do not force the screws to avoid stripping.
Pull The Deadbolt Assembly Away From The Door
After removing screws, gently pull the interior assembly. It should come off without much force. If it resists, check for hidden screws or catches. Set the assembly aside on a soft surface.

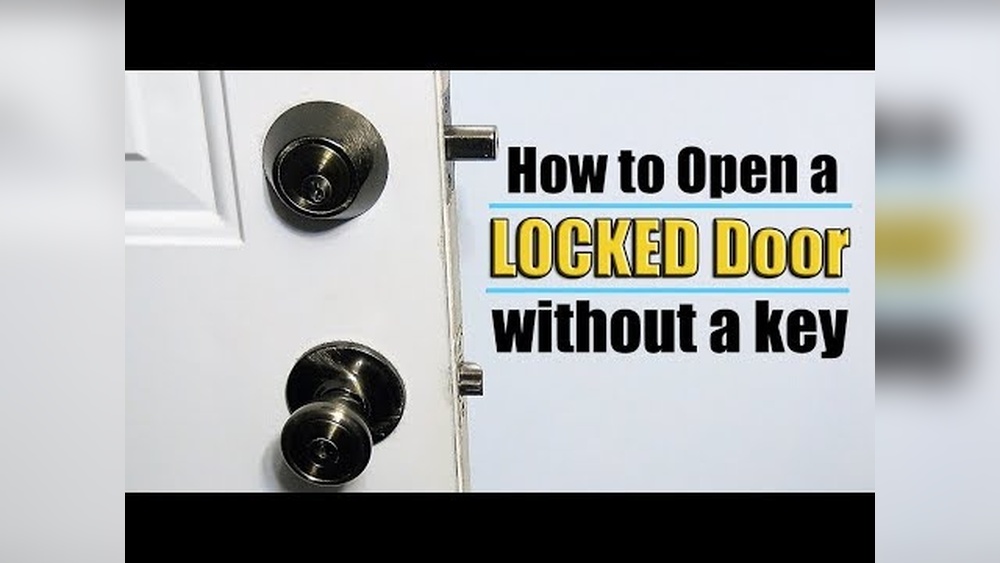
Credit: www.youtube.com
Remove The Interior Cover
Disassembling the cylinder components of a Kwikset deadbolt is a key step. It helps you understand how the lock works inside. Taking the cylinder apart lets you clean, fix, or replace parts easily.
Care and attention are important. The parts are small and delicate. Follow steps carefully to avoid damage or losing pieces.
Remove The Cylinder Retaining Clip
Start by locating the retaining clip on the cylinder. Use a flathead screwdriver or a clip removal tool. Gently pry the clip away from the cylinder. Keep the clip safe for later reassembly. Removing this clip frees the cylinder plug.
Extract The Cylinder Plug
Insert the key into the cylinder plug. Turn the key slightly to align the pins. Pull the plug out carefully from the cylinder housing. If it feels stuck, check if the retaining clip is fully removed. The plug holds the pins and springs inside.
Remove The Pin Tumblers And Springs
With the plug out, tilt it over a clean surface. Use a small tool to push out the pin tumblers one by one. Keep the pins in order to match their places later. Remove the springs gently; they sit above the pins inside the plug. Do not lose these tiny parts.
Unscrew The Deadbolt Assembly
Reassembling your Kwikset deadbolt is a crucial step after taking it apart. It restores your lock’s function and ensures security. Follow these simple steps carefully to put everything back together correctly.
Align The Deadbolt Mechanism
Start by placing the deadbolt mechanism inside the door. Make sure it fits snugly in the hole. The bolt should slide smoothly in and out. Check the alignment with the door edge.
Attach The Exterior And Interior Plates
Position the exterior plate on the outside of the door. Then, place the interior plate on the inside. Ensure the spindle connects both sides through the bolt. Tighten the screws evenly to hold the plates firmly.
Secure The Cylinder And Thumb Turn
Insert the cylinder into the exterior side first. Then, attach the thumb turn on the interior side. The thumb turn should turn the bolt without resistance. Tighten the screws that hold these parts in place.
Test The Lock Function
Check the key operation from outside. Turn the thumb turn inside to lock and unlock. The bolt must move freely without sticking. Make small adjustments if needed.

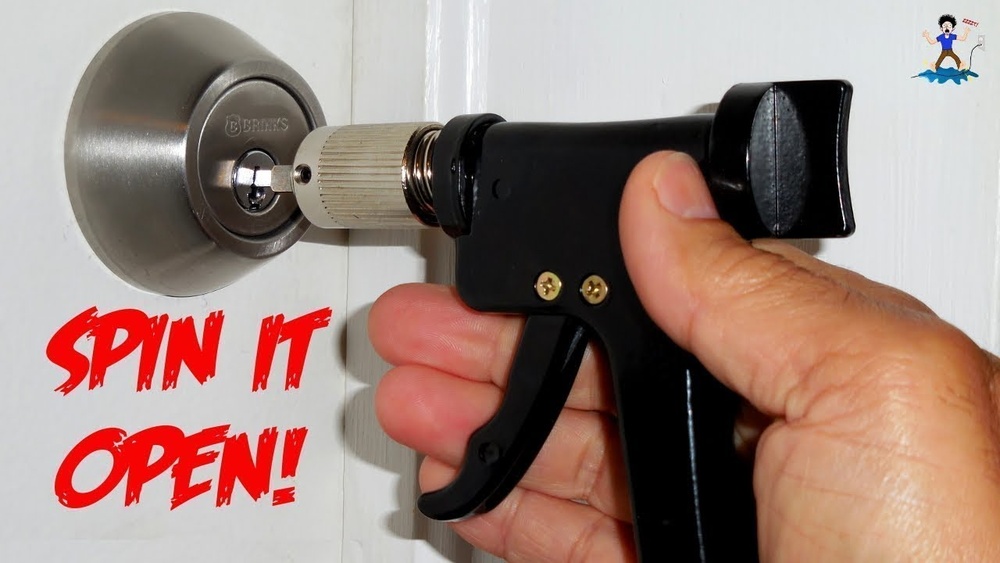
Credit: diy.stackexchange.com
Extract The Cylinder
Testing the deadbolt operation is a key step after taking apart a Kwikset deadbolt. It helps to ensure all parts work smoothly. This step prevents problems when reassembling the lock. You check if the bolt moves correctly and the lock mechanism turns as it should.
Testing also shows if any parts need cleaning or replacing. It saves time and avoids frustration later. This simple check confirms the deadbolt is ready for use again.
Check The Bolt Movement
Start by moving the bolt with your hand. It should slide in and out without sticking. If it feels rough or jammed, clean the bolt and inside the lock. Use a cloth or light lubricant. Smooth movement means the bolt is working well.
Turn The Thumb Turn
Next, rotate the thumb turn on the inside. It must turn easily and fully. This action moves the deadbolt. If it feels hard or stops early, parts might be misaligned. Adjust or clean the mechanism until it turns smoothly.
Test The Key Cylinder
Insert the key into the cylinder and turn it. The key should turn without force. The bolt must move with the key turn. If the key sticks or won’t turn, check for dirt or damaged parts. Fixing these issues improves lock function.
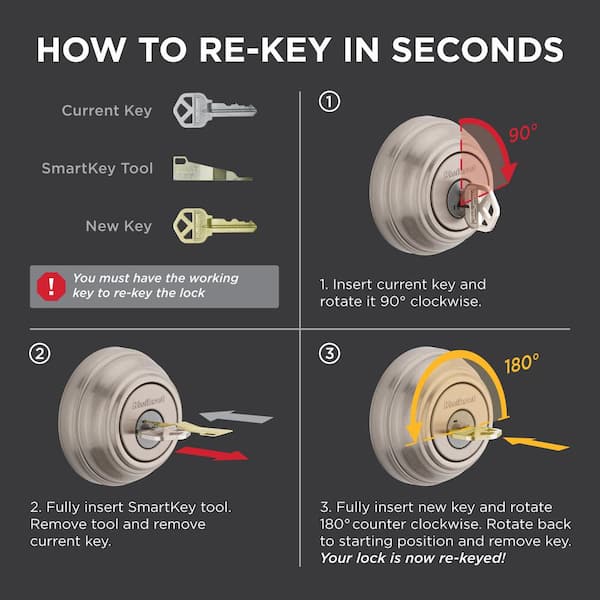
Credit: www.homedepot.com
Frequently Asked Questions
How Do I Remove A Kwikset Deadbolt?
First, remove the screws on the interior side of the lock. Then, gently pull both interior and exterior parts apart. Finally, take out the latch mechanism from the door edge.
What Tools Are Needed To Disassemble Kwikset Deadbolt?
You will need a Phillips screwdriver and possibly a flat-head screwdriver. These tools help remove screws and pry parts gently. Make sure you have a small container to keep screws safe.
Can I Take Apart A Kwikset Deadbolt Without The Key?
Yes, you can remove the deadbolt without the key by unscrewing the interior plate first. The key is not required to disassemble the lock hardware from the door.
How To Avoid Damage When Disassembling Kwikset Deadbolt?
Use proper screwdrivers and avoid forcing parts. Keep screws organized and work slowly. Handle all components gently to prevent scratches and internal damage.
Conclusion
Taking apart a Kwikset deadbolt is simple with the right steps. You only need a few tools and some patience. Remember to keep all parts safe for easy reassembly. This guide helps you understand each part clearly. Now, you can fix or replace your deadbolt without stress.
Practice makes perfect, so try it carefully. Your home stays secure with a well-maintained lock.