Have you ever looked at your wall and noticed those stubborn monkey hooks stuck there, ruining the smooth surface you want? Removing them might seem tricky, but it doesn’t have to be a headache.
Imagine easily getting rid of those hooks without damaging your wall or leaving ugly marks behind. You’ll discover simple, step-by-step tips that anyone can follow to remove monkey hooks quickly and safely. Keep reading, and you’ll learn how to restore your wall’s clean look in no time.
Tools Needed
Removing monkey hooks from your wall requires the right tools. Having the proper equipment makes the job easier and safer. Some tools are common in most homes. Others may need to be bought or borrowed.
Common Household Tools
You often find these tools in your toolbox or kitchen drawer. A flathead screwdriver helps pry the hook from the wall gently. Needle-nose pliers grip and pull the hook with control. A hammer can tap tools softly to loosen hooks stuck tight. A cloth or rag protects your wall from scratches during removal.
Specialized Removal Tools
Special tools make hook removal cleaner and faster. A hook removal tool is designed to pull hooks out smoothly. It reduces damage to walls and paint. A drywall saw helps if the hook is deeply embedded. It cuts small sections around the hook carefully. An electric drill with a screwdriver bit can speed up the process if screws hold the hook.
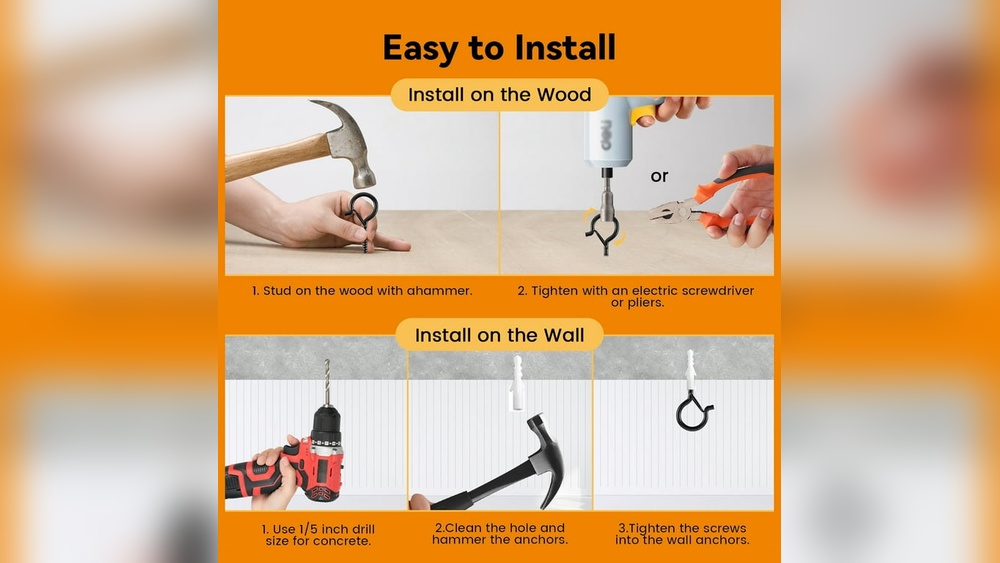
Credit: www.walmart.com
Assessing The Hook
Before removing monkey hooks from a wall, start by assessing the hook carefully. This step helps avoid damage to the wall and makes removal easier. Understanding the type and size of the hook guides your approach. Also, consider the wall material to choose the right tools and techniques.
Hook Type And Size
Identify the type of monkey hook on the wall. Some hooks are simple nails bent into a hook shape. Others have a spring mechanism or are made of plastic. The size of the hook matters. Larger hooks may need more effort to remove. Smaller hooks often come out with gentle pulling. Knowing the type and size helps plan the removal process safely.
Wall Material Considerations
Check the wall material around the hook. Drywall is common and can be fragile. Removing hooks from drywall requires care to prevent holes. Brick or concrete walls are tougher and need stronger tools. Wooden walls might allow easy hook removal without damage. Match your removal method to the wall type for best results.
Preparing The Area
Preparing the area is the first step in removing monkey hooks from the wall. A clean and safe workspace helps you work faster and avoid damage. Taking time to prepare the area makes the removal process easier and safer.
Clearing Surroundings
Remove all objects near the monkey hook. Clear shelves, tables, and the floor area below. This prevents items from falling or breaking during removal. It also gives you space to move and use tools comfortably.
Protecting The Wall Surface
Cover the wall under and around the hook with painter’s tape. This tape stops scratches and paint chips. Use a soft cloth or small cardboard piece behind tools to protect the wall. These simple steps keep your wall safe during the process.
Removing The Monkey Hook
Removing a monkey hook from the wall can be simple. The key is to be gentle and patient. This prevents damage to the wall and keeps the area neat. Use the right tools and methods to make the process smooth. Below are easy steps to follow for safe removal.
Manual Removal Techniques
Start by trying to pull the hook out by hand. Hold the base firmly and twist it slowly. Avoid sudden or strong pulls to prevent wall damage. If it feels stuck, do not force it. Small movements help loosen the hook from the wall.
Using Pliers Or Wrench
Use pliers or a wrench for better grip and control. Clamp the tool around the hook’s base gently. Turn the tool slowly to loosen the hook. Keep your hand steady to avoid slipping. This method works well for tight hooks.
Applying Gentle Pressure
Apply light pressure as you twist the hook. This eases the hook out without breaking the wall. Let the hook come out little by little. If you feel resistance, stop and try twisting the other way. Patience prevents wall cracks and holes.
Handling Stubborn Hooks
Removing monkey hooks can be tricky when they stick tight in the wall. These stubborn hooks need gentle care to avoid wall damage. Patience and the right tricks help ease them out smoothly.
Lubrication Methods
Apply a small amount of lubricant on the hook base. Use household oils like WD-40 or cooking oil. Let it sit for five to ten minutes. The oil seeps into the wall, loosening the grip. After waiting, try twisting the hook gently. Repeat if the hook still feels stuck. Lubrication reduces friction and makes removal easier.
Tapping And Loosening Tricks
Tap the hook lightly with a small hammer or screwdriver handle. This loosens the hook’s hold inside the wall. Avoid hard hits to prevent wall damage. Twist the hook gently back and forth. This motion breaks the grip without pulling force. Use pliers for a better grip if needed. These simple tricks help free stubborn monkey hooks fast.
Credit: www.homedepot.com
Repairing Wall Damage
Removing monkey hooks from your wall can leave behind visible damage. Repairing these marks is key to restoring your wall’s smooth look. Proper repair makes the wall ready for painting or decoration.
Follow simple steps to fix holes and scratches. This process is quick and saves you money on professional help. A clean, smooth wall improves your room’s appearance instantly.
Filling Small Holes
Use a putty knife to apply spackle or wall filler. Press the filler into the hole gently but firmly. Fill the hole completely to avoid air pockets. Let the filler dry for several hours before the next step.
Sanding And Smoothing
After the filler dries, use fine-grit sandpaper to smooth the surface. Sand lightly in circular motions for evenness. Remove dust with a dry cloth to keep the wall clean. Smooth walls help paint stick better and look nicer.
Painting Touch-ups
Match the wall paint color before starting. Use a small brush to apply paint over the repaired spots. Apply thin layers for better coverage and to avoid drips. Allow each layer to dry before adding another. Fresh paint hides repairs and blends the wall perfectly.
Preventing Future Damage
Preventing damage to your walls is important after removing monkey hooks. Small holes and marks can ruin the look of your room. Taking steps to avoid these problems helps keep your walls smooth and clean. Use the right hooks and install them carefully. This protects your walls and makes hanging easier in the future.
Choosing The Right Hooks
Select hooks that fit the weight of your items. Heavy objects need stronger hooks to avoid pulling out. Plastic hooks work for light items like pictures or decorations. Metal hooks are better for heavier things like shelves or mirrors.
Look for hooks with a wide base. This spreads the weight and reduces wall damage. Avoid hooks with sharp or thin nails. They can make big holes or cracks in your wall.
Proper Installation Tips
Mark the spot on the wall before putting the hook in. Use a pencil to make a small dot. This helps place the hook straight and steady.
Use a drill or small hammer gently. Push the hook in slowly to avoid cracking the paint or drywall. Check that the hook is secure before hanging anything heavy.
Don’t overload the hook. Too much weight causes it to pull out and damage the wall. Follow the weight limits on the package for safe use.

Credit: www.amazon.com
Frequently Asked Questions
How Do I Safely Remove Monkey Hooks From Walls?
To safely remove monkey hooks, gently twist the hook counterclockwise. Use pliers if needed. Avoid excessive force to prevent wall damage.
What Tools Are Needed To Remove Monkey Hooks?
You mainly need pliers or a wrench to grip and turn the hook. A screwdriver may help for stubborn hooks. No heavy tools are required.
Can Monkey Hook Removal Damage My Wall?
Yes, improper removal can cause holes or paint damage. Always twist slowly and avoid pulling straight out to minimize wall damage.
How To Repair Wall Holes After Removing Monkey Hooks?
Fill holes with spackling compound or wall filler. Sand smooth after drying. Repaint the area to restore the wall’s appearance.
Conclusion
Removing monkey hooks from walls can be simple and quick. Take your time and follow the steps carefully. Use the right tools to avoid wall damage. Clean the area after removal for the best results. With patience, your wall will look smooth again.
Now you can hang new decorations easily. Keep these tips in mind for future projects. A neat wall makes any room feel better.