Have you ever struggled with a broken 3M wall hook stuck stubbornly on your wall? You’re not alone.
These hooks are great for hanging things without nails, but when they break, removing the leftover pieces can feel like a real headache. If you want to get your wall looking clean again without damage or frustration, this guide is exactly what you need.
Keep reading, and you’ll discover simple, effective ways to remove broken 3M wall hooks quickly and safely—no stress, no mess.
Why 3m Hooks Break
3M wall hooks are popular for their easy use and no-damage removal. Despite their convenience, these hooks sometimes break. Understanding why 3M hooks break helps in handling and removing them safely. It also prevents damage to your walls and saves you time.
Common Causes
One main cause of breaking is overloading the hook. Each hook has a weight limit. Putting too much weight causes the hook to snap or the adhesive to fail. Another reason is surface texture. Rough or uneven walls reduce the hook’s grip. Heat and moisture weaken the adhesive over time. This leads to the hook falling or breaking unexpectedly. Poor installation also plays a role. Not pressing the hook firmly during setup can reduce its strength.
Material Limitations
3M hooks are made from plastic and adhesive strips. Plastic can become brittle with age or exposure to sunlight. The adhesive is strong but not permanent. It loses stickiness after a while. The hook’s design supports light to medium loads only. Heavy or sharp objects cause stress on the materials. This stress can lead to cracks or breaks. Knowing these limits helps in using the hooks properly and avoiding breakage.
Tools You’ll Need
Removing broken 3M wall hooks requires a few simple tools. Having the right tools makes the job easier and faster. You can find most items around your home. Some tools help with hooks that are harder to remove.
Basic Household Items
Start with these common items. A hairdryer helps soften the adhesive. A plastic card, like an old credit card, lifts the hook gently. Use a cotton ball or cloth with rubbing alcohol to clean sticky residue. A pair of tweezers can pull small pieces of the hook. These tools are safe for your walls and easy to use.
Optional Tools For Stubborn Hooks
Sometimes hooks stick very tight. In this case, try a fishing line or thin wire. Slide it behind the hook to saw through the adhesive. A putty knife or plastic scraper can lift edges carefully. Avoid metal tools that might damage your paint. These optional tools help remove tough hooks without leaving marks.
Preparing The Area
Preparing the area is the first step to remove broken 3M wall hooks safely. It helps protect your wall and makes the removal process easier. Taking time now will save you trouble later.
Protecting Your Wall
Cover the wall around the hook with painter’s tape. This prevents scratches or paint damage. Use a soft cloth or sponge under the tape to add extra protection. Avoid using harsh tools directly on the wall. Protecting the wall keeps it smooth and clean for future use.
Clearing Surroundings
Remove items near the hook, like pictures or furniture. Clear space helps you work freely and avoid accidents. Dust or dirt on the wall can get in the way. Wipe the area gently with a dry cloth before starting. A clean, open space makes removal safer and faster.
Credit: www.hunker.com
Step-by-step Removal Process
Removing broken 3M wall hooks can seem tricky. Follow these simple steps to make the process easy. This guide helps protect your wall while removing the hook carefully. You will learn how to loosen the adhesive, pull off the hook, and clean any leftover residue.
Loosening The Adhesive
Start by softening the glue that holds the hook on the wall. Use a hairdryer on low heat. Hold it a few inches from the hook for about 30 seconds. The heat makes the adhesive less sticky and easier to remove.
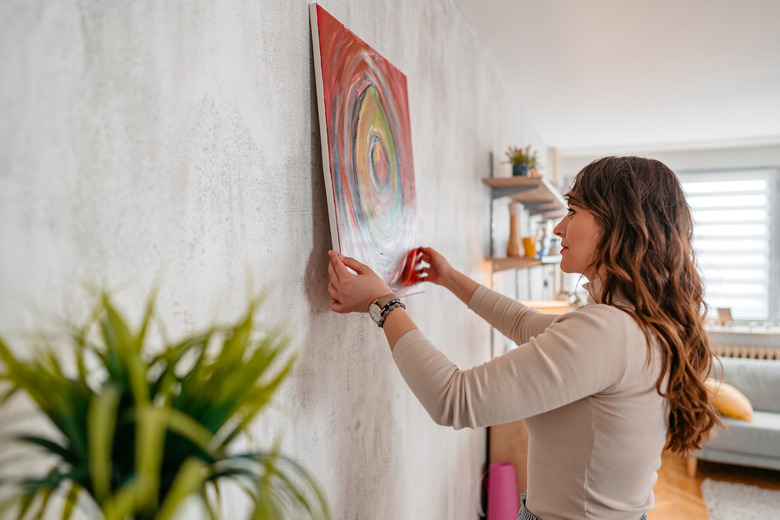
Gently Pulling Off The Hook
After heating, grab the hook gently. Pull it slowly straight down, not toward you. This helps stretch the adhesive strip. Keep pulling until the hook comes off without breaking the wall paint.
Dealing With Residue
Some sticky residue may stay on the wall. Use a soft cloth with a little rubbing alcohol. Rub the area gently until the residue disappears. Clean the wall with a damp cloth after. This leaves your wall smooth and clean.
Removing Stuck Backings
Removing stuck backings from broken 3M wall hooks can be tricky. These backings often cling tightly to the wall. Careful methods help avoid wall damage. The right tools and gentle techniques make removal easier and safer.
Using Dental Floss Or Fishing Line
Dental floss or fishing line works well for stuck backings. Slide a piece behind the backing. Use a gentle sawing motion to cut through the adhesive. This method avoids pulling hard on the wall. It helps separate the backing cleanly. Take your time and be patient.
Applying Heat Or Solvents
Heat softens the adhesive, making removal smoother. Use a hairdryer on low heat. Warm the backing for a few minutes. Then try to peel it off slowly. For tough spots, apply a small amount of rubbing alcohol or adhesive remover. These solvents loosen sticky residue. Always test solvents on a hidden area first. Wipe the surface clean after removal.
Credit: www.thriftydecorchick.com
Cleaning Up Wall Damage
Removing broken 3M wall hooks can leave your wall with sticky patches and marks. Cleaning these spots is important to restore your wall’s smooth look. This process helps prepare the wall for painting or new decorations.
Careful cleaning prevents damage from getting worse. Use gentle methods to protect your wall’s surface. The following tips will help you remove residue and fix marks easily.
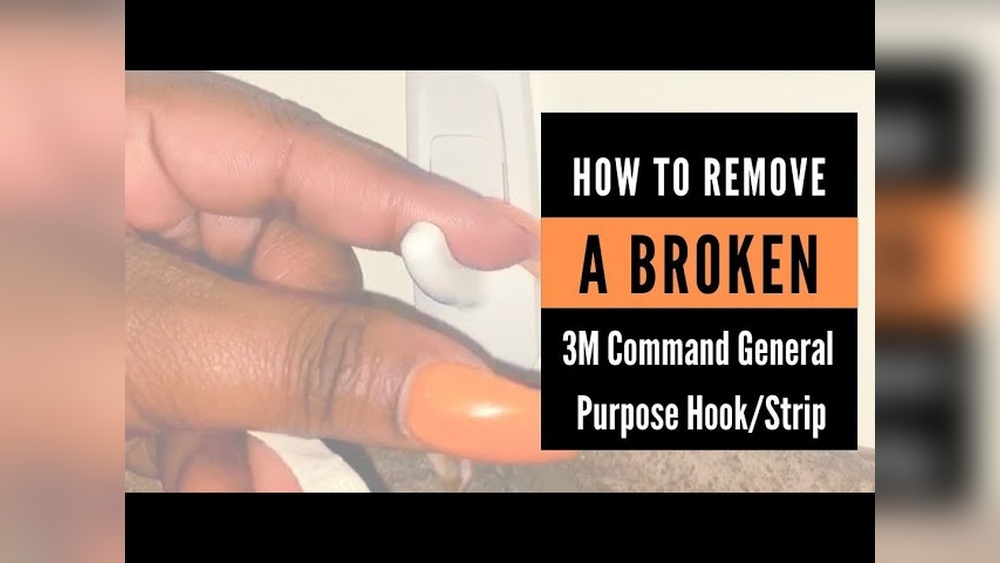
Removing Sticky Residue
Sticky residue from 3M hooks can be stubborn. Start by rubbing the area with your finger to soften the glue. Use a cloth dampened with warm, soapy water. Gently wipe the sticky spot until it loosens.
For tougher residue, try rubbing alcohol or a small amount of cooking oil. Apply it on a cloth and rub the area softly. Avoid harsh chemicals to protect your paint. After residue removal, clean the area with a damp cloth to remove any leftover oils.
Fixing Surface Marks
Surface marks appear from hook removal or residue cleaning. Use a soft sponge with mild soap to wash these marks. Lightly scrub to avoid scratching your wall. For paint scuffs, use a magic eraser carefully. Test it in a small spot first.
If marks stay, touch up with matching wall paint. Dab paint with a small brush to blend it well. Let it dry completely before adding new hooks or decorations.
Preventing Future Breakage
Preventing future breakage of 3M wall hooks saves time and keeps walls damage-free. Taking simple steps can make your hooks last longer and hold better. Understanding the right way to install hooks and choosing the correct type helps avoid problems.
Proper Installation Tips
Clean the wall surface well before applying the hook. Use rubbing alcohol to remove dust and oil. Avoid soap or water as they leave residue. Let the surface dry completely.
Press the hook firmly for at least 30 seconds. This helps the adhesive stick tightly. Do not hang anything heavy right after installation. Wait one hour for the glue to set fully.
Use hooks only on smooth, flat surfaces. Rough or porous walls reduce adhesive strength. Avoid using hooks on wallpaper or textured paint to prevent peel-off.
Choosing The Right Hook Type
3M offers many hook styles for different needs. Pick a hook based on the weight and size of your items. Lightweight hooks suit small frames or keys.
For heavier objects, use larger hooks designed for more weight. Check the package for weight limits to avoid overloading. Select waterproof hooks for bathrooms or kitchens.
Reusable hooks can be a good choice for changing decorations. These hooks remove easily and leave less residue on walls.

Credit: www.youtube.com
Frequently Asked Questions
How Do I Safely Remove Broken 3m Wall Hooks?
To remove broken 3M wall hooks safely, gently pull the adhesive tab parallel to the wall. Avoid pulling straight out to prevent damage. Use a hairdryer to soften the adhesive if needed. This method ensures clean removal without marks or wall damage.
What Tools Help Remove Broken 3m Wall Hooks?
A hairdryer and dental floss are effective tools. Heat the adhesive with a hairdryer to soften it. Then, slide dental floss behind the hook, moving it back and forth to separate the adhesive cleanly from the wall.
Can I Reuse 3m Wall Hooks After Removal?
No, 3M wall hooks are designed for one-time use only. Removing them breaks the adhesive’s effectiveness. For best results, use new hooks when rehanging items to ensure strong adhesion and avoid wall damage.
How To Remove 3m Hooks Without Damaging Paint?
Pull the adhesive tab slowly and parallel to the wall. Use a hairdryer to warm the adhesive for easier removal. Avoid sharp tools that can scratch paint. This helps preserve the wall’s paint and finish during hook removal.
Conclusion
Removing broken 3M wall hooks does not have to be hard. Start by gently pulling the adhesive strip. Use heat or oil to loosen any stuck parts. Take your time to avoid wall damage. Clean the area well after removal.
This keeps walls smooth and ready for new hooks. You can do this easily with the right steps. Keep patience, and your walls will look good again. Simple methods work best for a clean finish.