Changing the code on your Kwikset deadbolt doesn’t have to be confusing or time-consuming. Whether you want to boost your home’s security or just update who has access, knowing how to quickly change your lock’s code puts control right in your hands.
In this guide, you’ll find simple, step-by-step instructions that anyone can follow—no special tools or skills needed. Keep reading, and you’ll be able to reset your Kwikset deadbolt code with confidence and ease.
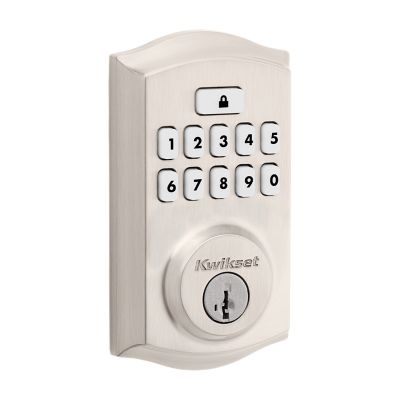
Credit: www.kwikset.com
Tools Needed
Changing the code on a Kwikset deadbolt is simple with the right tools. Having these tools ready makes the process smooth and quick. Prepare them before you start to avoid interruptions.
Phillips Head Screwdriver
This tool is essential for removing the screws on the lock. It helps you take off the cover and access the code mechanism. Choose a screwdriver that fits the screws well.
Flat Head Screwdriver
A flat head screwdriver is useful for gently prying parts apart. It can help release clips or tabs inside the lock. Use it carefully to avoid damage.
New Code Pins Or Keys
You need new pins or keys to set your new code. These come with your Kwikset lock or can be bought separately. Make sure they match your lock model.
Flashlight
A flashlight helps you see small parts inside the lock. It is useful if you work in a dim area or at night. Good lighting reduces mistakes.
Locate The Programming Button
Locating the programming button on your Kwikset deadbolt is the first step to change the code. This button allows you to enter programming mode and set a new code. Knowing where to find it saves time and avoids frustration.
The programming button is usually hidden to prevent accidental changes. It is important to look carefully and follow simple steps to find it quickly.
Remove The Interior Cover
Start by removing the interior cover of the deadbolt. Most Kwikset models have a cover that snaps off easily. Use your fingers or a flat tool to lift the cover gently. This exposes the lock’s internal components.
Look Near The Battery Pack
The programming button is often near the battery pack. Check the area around the batteries for a small, round button. It may be black or red and slightly recessed to avoid accidental presses.
Identify The Programming Button
The programming button is usually labeled or slightly different from other buttons. It might say “Program” or just be a small, distinct button. Pressing this button allows you to enter programming mode.
Use A Flashlight For Better Visibility
Use a flashlight to see inside the lock if lighting is poor. This helps find the button clearly without missing it. Bright light makes the small parts easier to spot.
Enter Programming Mode
Entering programming mode is the first step to change the code on your Kwikset deadbolt. This mode lets you adjust settings and add or remove codes. You must follow the right steps to access it safely.
The process is simple but must be done carefully. Missing a step might lock you out or stop the change. Focus on the instructions below to enter programming mode correctly.
Open the door to access the inside part of the deadbolt. Look for a small black or red button. This is the programming button. It is usually near the battery pack or inside the battery compartment.
Press And Hold The Programming Button
Press and hold the programming button for about 3 to 5 seconds. Release the button when the lock beeps or the LED light turns on. This signal means the lock is now in programming mode.
Confirm Programming Mode Activation
After pressing the button, check for a beep or flashing light. These signs confirm the lock is ready for new codes. If no signal appears, repeat the steps carefully.

Credit: www.youtube.com
Delete Existing Codes
Deleting existing codes on your Kwikset deadbolt is an important step before adding new ones. This keeps your lock secure and prevents old codes from working. Clearing old codes ensures only authorized users can enter.
The process is simple and quick. You do not need special tools or skills. Just follow the steps carefully to remove all stored codes. This helps keep your home safe.
First, open the interior cover of the lock. Look for a small black button inside. This is the programming button. Pressing this button lets you change or delete codes.
Press And Hold The Programming Button
Press the programming button for about 10 seconds. Wait until the lock beeps or flashes. This signals that the lock is in programming mode. Now you can delete all existing codes.
Delete All User Codes
To clear all codes, press the programming button again. The lock will beep twice or flash two times. This confirms all user codes are deleted. Only the master code remains active.
Test The Lock After Deletion
Close the cover and test the lock. Try entering an old user code. It should not work. This means the codes are deleted successfully. Your lock is ready for new codes.
Add New User Codes
Adding new user codes to your Kwikset deadbolt increases security and convenience. This feature allows multiple people to have their own access code. Each code is unique and easy to manage. You can add or remove codes as needed without changing the lock itself.
This section explains simple steps to add new user codes. Follow the instructions carefully for the best results. Your Kwikset deadbolt will remain secure and easy to use.
Add New User Code Using The Keypad
Start by entering your existing master code on the keypad. Press the program button to enter programming mode. Then, press the number 1 to add a new user code. Enter the new code you want to add. Re-enter the new code to confirm it. The lock will beep to show the new code is saved.
Add New User Code Using The Smart App
Open the Kwikset app on your smartphone. Select your lock from the device list. Tap on the user codes section. Choose the option to add a new code. Enter the desired code and assign a name if needed. Save the new code. The lock syncs automatically, adding the new user code.
Tips For Choosing User Codes
Pick codes that are easy for users to remember. Avoid simple sequences like “1234” or “0000.” Use a mix of numbers for better security. Change codes regularly to keep access secure. Share codes only with trusted people.
Test The New Codes
Testing the new codes on your Kwikset deadbolt is an important step. It ensures your lock works correctly and keeps your home secure. After changing the code, do not skip this step. Confirming the code will save time and prevent lockouts.
Test The Code From Outside
Go to the door and close it. Enter the new code on the keypad. Turn the thumb turn or handle to unlock. The door should open smoothly. If it does not, try the code again carefully.
Test The Code From Inside
Check the lock from inside your home. Lock the door using the thumb turn. Use the new code on the keypad outside. Make sure it unlocks the door. This confirms the code works from both sides.
Test Multiple Times
Try the new code several times in a row. This helps make sure it works every time. Test it during different times of the day. This confirms the lock functions well in all conditions.
Troubleshooting Tips
Changing the code on a Kwikset deadbolt is usually simple. Yet, sometimes problems happen. Troubleshooting helps fix common issues fast. It saves time and avoids frustration.
This section covers easy tips to solve problems. Follow these steps for a smooth code change.
Check The Battery Power
Low battery power can cause the lock to fail. Replace old batteries with new ones. Use fresh alkaline batteries for best results. Test the lock after changing batteries to ensure it works.
Confirm The Programming Mode
The lock must be in programming mode to change codes. Press the program button as stated in the manual. Listen for a beep or look for a light that shows programming mode is active.
Use The Correct Factory Code
The factory code is needed before setting a new code. Find this code on the lock’s manual or inside the battery cover. Enter it carefully. Wrong codes stop the programming process.
Enter New Code Clearly
Press each number slowly and clearly. Avoid pressing two buttons at once. Make sure the new code is the right length. Too short or too long codes will not work.
Reset The Lock If Needed
A reset solves many problems. Find the reset button or instructions in the manual. Hold the reset button for the time stated. This clears old settings and lets you start fresh.
Test The Lock After Programming
Try the new code several times. Check if the door locks and unlocks smoothly. If the lock does not respond, repeat the steps or reset again.

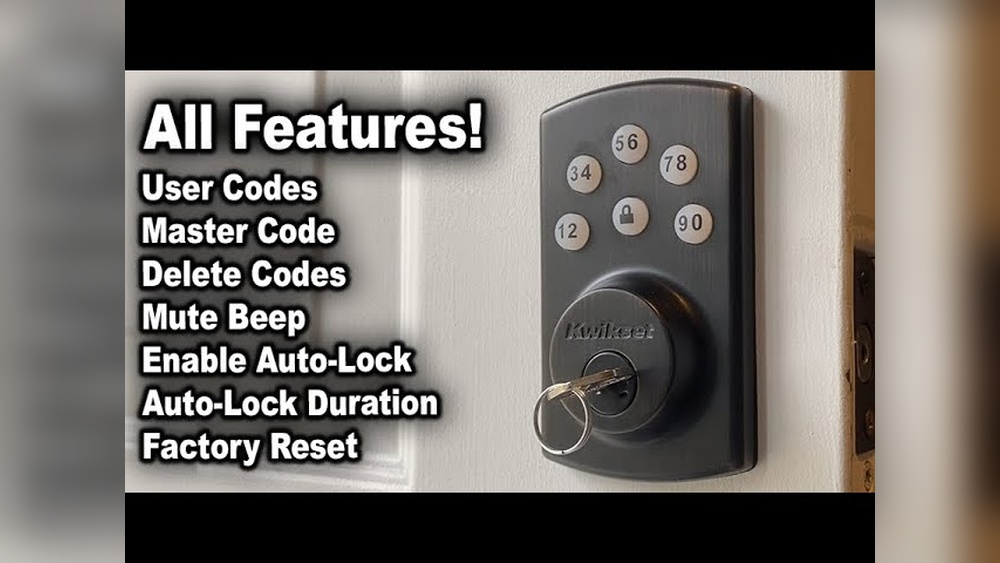
Credit: www.wikihow.com
Frequently Asked Questions
How Do I Reset The Code On A Kwikset Deadbolt?
To reset your Kwikset deadbolt code, locate the programming button inside the lock. Press and hold it until the light blinks. Then enter your new code followed by the lock button. This process updates your access code quickly and securely.
Can I Change The Kwikset Deadbolt Code Without A Key?
Yes, you can change the code without a key if you know the current code. Use the keypad to enter the existing code, then follow the reset procedure inside the lock. This ensures only authorized users can update the code.
How Often Should I Change My Kwikset Deadbolt Code?
It’s best to change your Kwikset deadbolt code every 3-6 months. Regular updates enhance security and prevent unauthorized access. Change immediately if you suspect your code has been compromised for maximum safety.
What Tools Do I Need To Change Kwikset Deadbolt Code?
No special tools are required to change the code on a Kwikset deadbolt. You only need to access the lock’s interior, which may need a screwdriver if you remove the cover. Most code changes are keypad-based and tool-free.
Conclusion
Changing the code on your Kwikset deadbolt keeps your home safe. It only takes a few easy steps to do it yourself. Always test the new code before locking the door. Keep your code private and change it often for extra security.
Now you know how to change your Kwikset lock code quickly and simply. Stay safe and in control of your home’s security.