Are you ready to upgrade your home security with an electronic keypad deadbolt? Installing one might seem tricky, but it’s easier than you think.
Imagine never fumbling for your keys again or worrying about lost copies. In this guide, you’ll discover simple, step-by-step instructions that anyone can follow. By the end, you’ll have a stronger, smarter lock protecting your home—and peace of mind that comes with it.
Keep reading to find out how to make your entrance both secure and convenient.
Choosing The Right Deadbolt
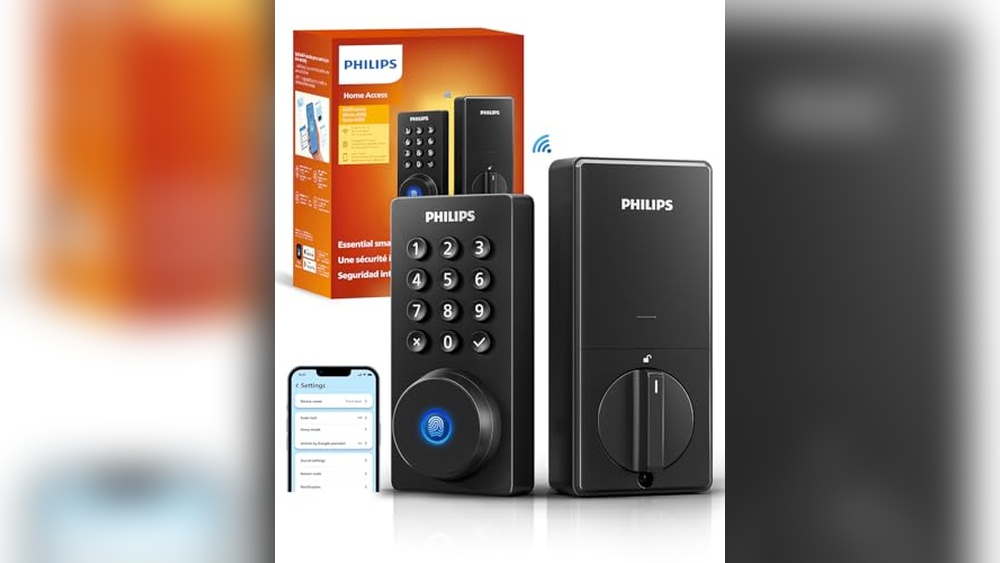
Choosing the right electronic keypad deadbolt is important for your door’s security and ease of use. The right lock fits your door perfectly and works with your lifestyle. There are different types, power options, and compatibility factors to consider. Picking the best one means you stay safe and enjoy simple access every day.
Types Of Electronic Keypad Deadbolts
Electronic keypad deadbolts come in several types. Some have a keypad only, allowing access by code. Others combine a keypad with a traditional key option. Some models include smart features like remote control via an app. Choose a type that matches your security needs and convenience.
Compatibility With Your Door
Check your door’s thickness before buying a deadbolt. Most locks fit doors between 1 3/8 and 1 3/4 inches thick. Also, ensure your door has the right backset size. Backset is the distance from the door edge to the center of the hole. Correct fit means easier installation and better lock performance.
Battery And Power Options
Electronic deadbolts need power to work. Most use batteries, often AA or lithium types. Some models have low-battery alerts to avoid lockouts. Others offer backup power options or key overrides. Pick a lock with a power system that suits your needs and gives peace of mind.
Tools And Materials Needed
Installing an electronic keypad deadbolt requires some basic tools and materials. Having everything ready makes the job easier and faster. Gather all items before starting to avoid interruptions. This section covers the essential tools and additional supplies needed for the installation.
Essential Tools
- Screwdriver (Phillips and flathead)
- Power drill with drill bits
- Measuring tape
- Pencil or marker
- Level
- Chisel
- Hammer
Additional Supplies
- Electronic keypad deadbolt kit
- Batteries (usually AA or AAA)
- Wood filler or putty
- Sandpaper
- Safety glasses
- Masking tape
Preparing The Door
Preparing the door is the first step to install an electronic keypad deadbolt. It ensures a smooth fit and secure locking. Proper preparation saves time and prevents mistakes. Follow these steps carefully to get your door ready.
Removing Existing Lock
Start by taking out the old lock. Use a screwdriver to remove screws from the door handle and deadbolt. Pull the lock parts away gently. Keep the screws in a safe place. Clean the door surface where the lock was attached.
Measuring And Marking
Measure the door thickness and backset distance. Check the keypad deadbolt instructions for exact sizes. Mark the spots for new holes with a pencil. Use a square or ruler to keep marks straight. Double-check the marks before drilling.
Drilling Holes
Choose the right drill bit size. Drill holes carefully on the marked spots. Drill from both sides to avoid wood splintering. Keep the drill steady and straight. Remove any wood debris to keep the holes clean.
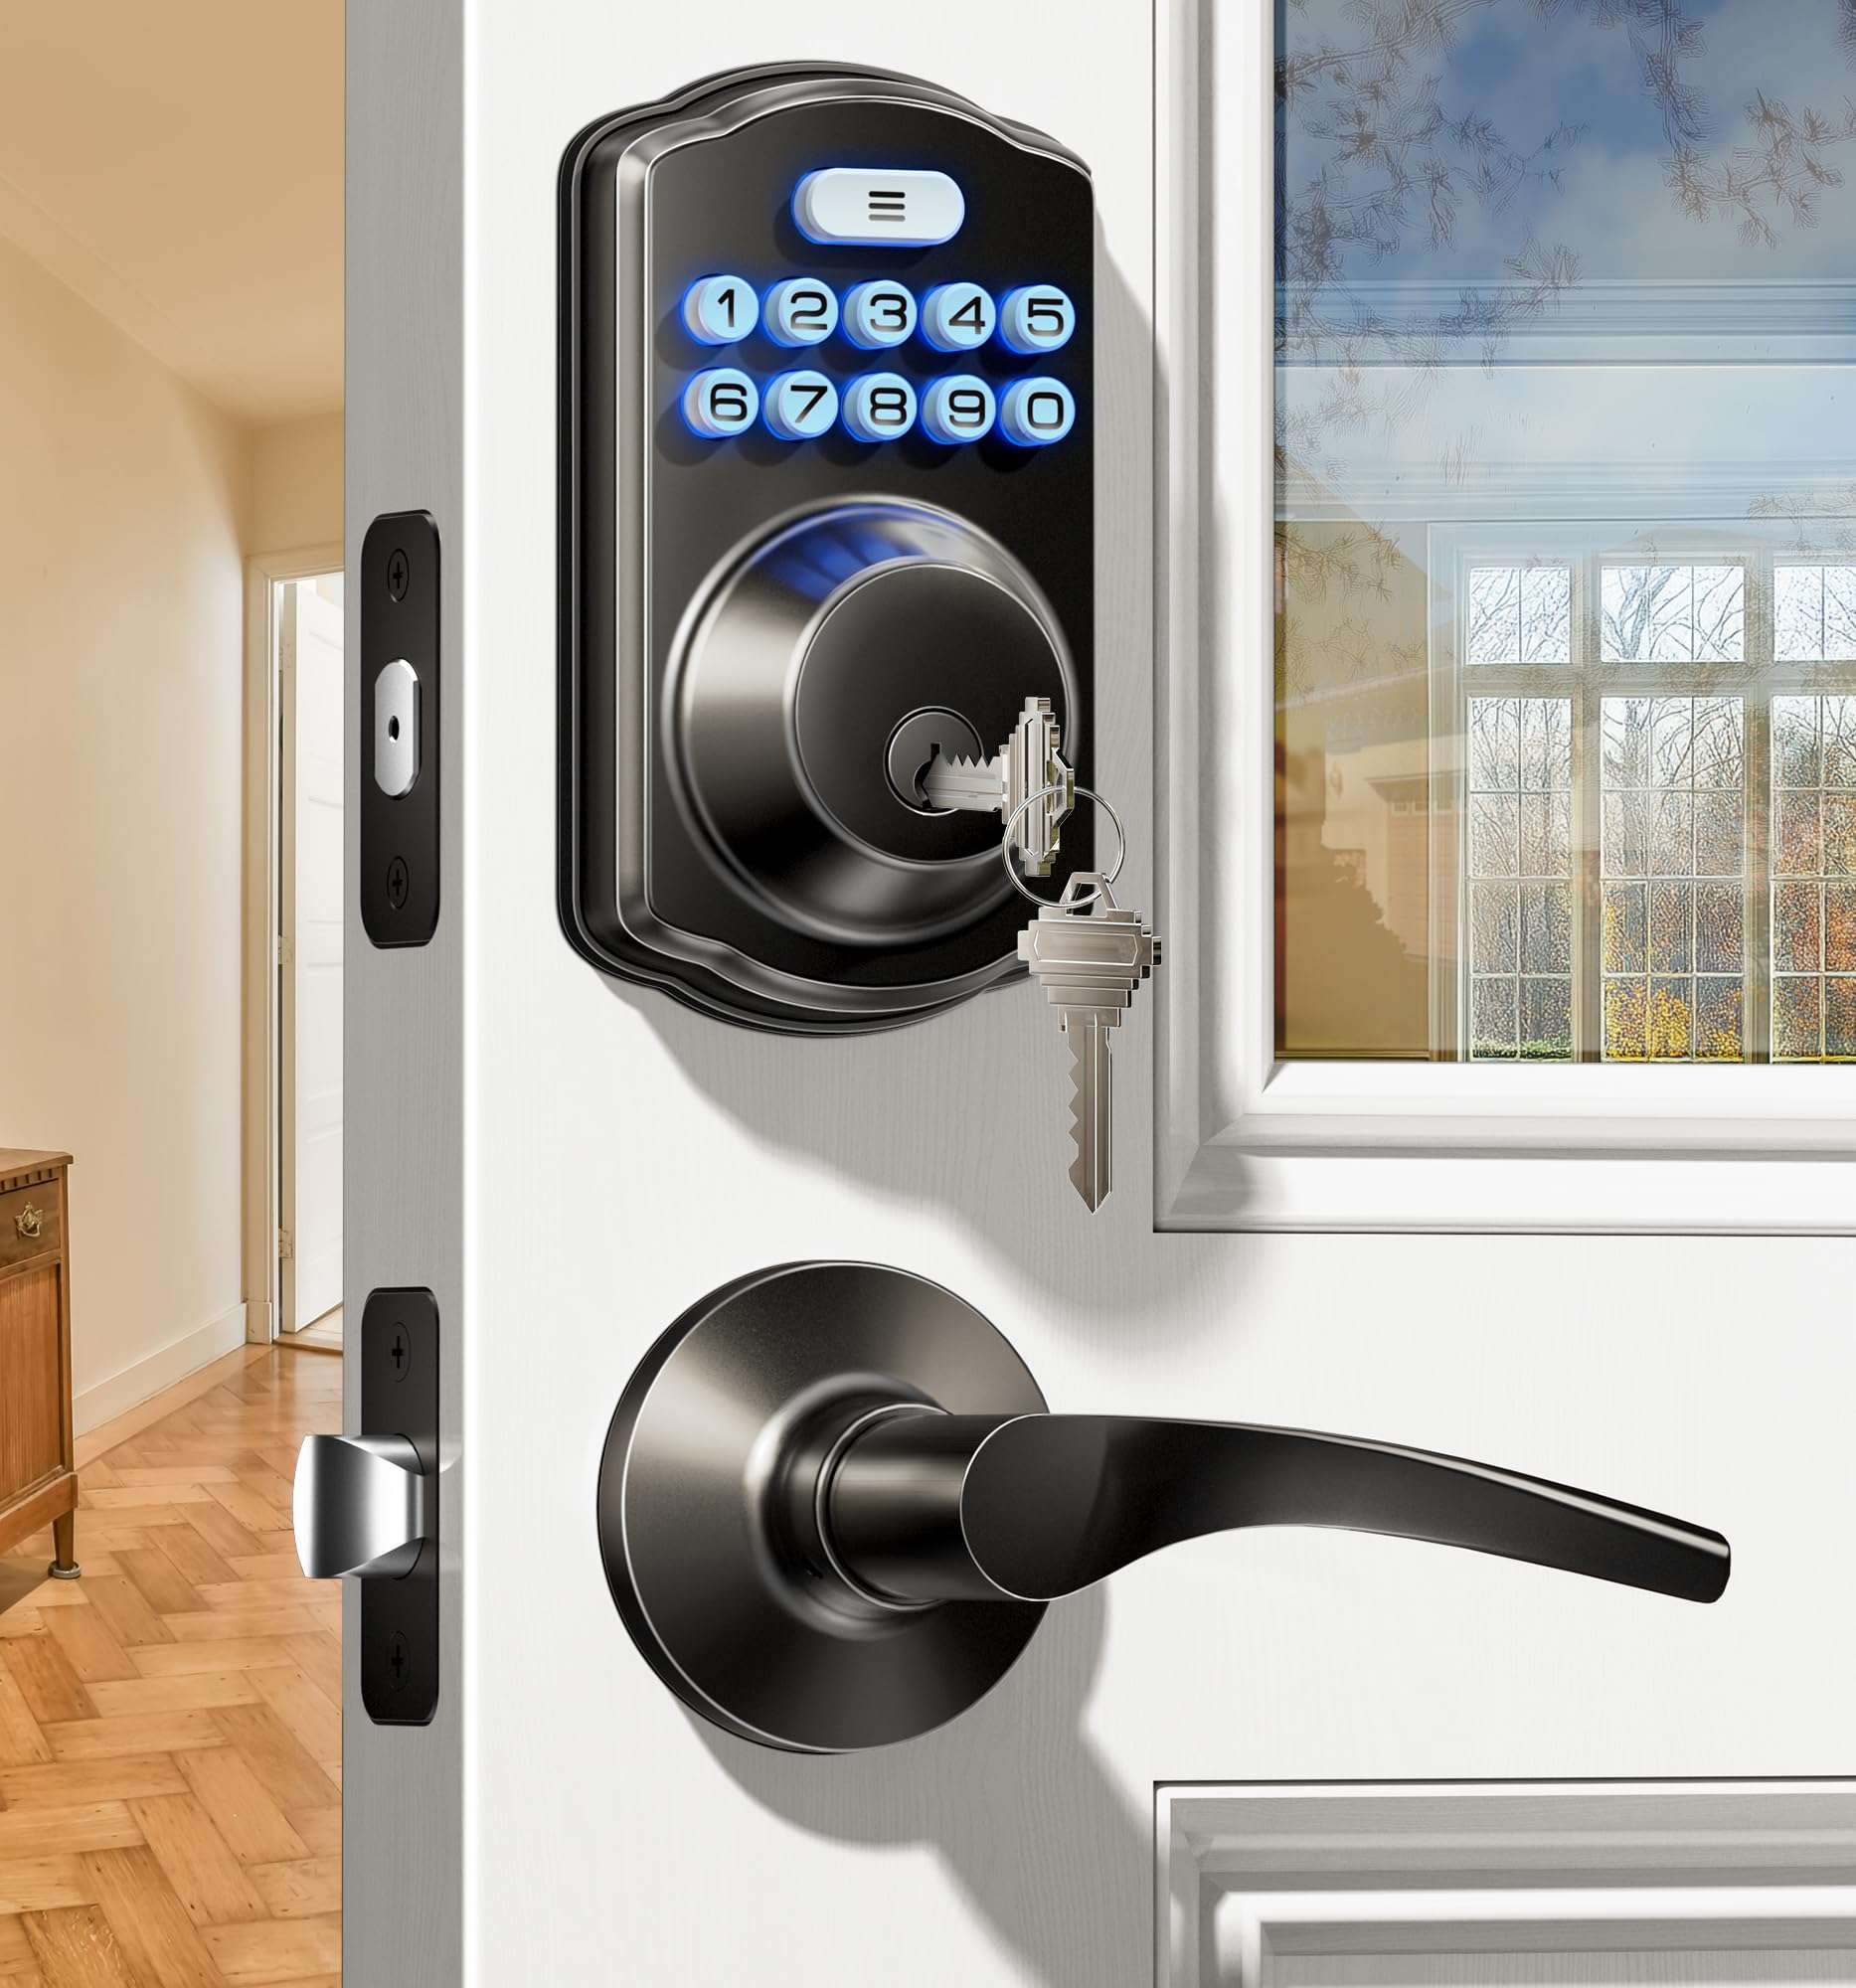
Installing The Deadbolt
Installing the electronic keypad deadbolt is a straightforward process. It requires careful steps to ensure the lock works correctly and safely. Follow each step closely for the best results.
Mounting The Exterior Keypad
Start by placing the exterior keypad on the door. Align it with the holes on the door’s surface. Make sure the keypad cable passes through the hole for the interior connection. Hold the keypad firmly in place before moving on.
Attaching The Interior Assembly
Next, connect the cable from the exterior keypad to the interior assembly. Attach the interior plate to the door using screws. Ensure the deadbolt tailpiece fits through the latch mechanism. Check that all parts sit flush against the door.
Securing The Deadbolt
Finally, tighten all screws to secure the deadbolt assembly. Test the keypad buttons for smooth operation. Turn the thumb turn to check the bolt moves freely. Confirm the lock engages properly with the door frame.
Wiring And Power Setup
The wiring and power setup is a key step in installing an electronic keypad deadbolt. Without proper power, the lock will not function. Most models use batteries, but some require hardwiring into your home’s electrical system. Each type has a simple setup process that ensures your lock works reliably.
Understanding how to connect batteries or handle wiring is essential. This section covers both methods clearly and simply. Follow these steps to give your lock the power it needs to operate smoothly.
Connecting Batteries
Most electronic keypad deadbolts run on batteries. Usually, AA or AAA batteries are used. Start by opening the battery compartment on the lock. It is often behind the keypad or inside the lock cover.
Insert the batteries with the correct polarity. Look for the + and – signs to place them right. Close the compartment securely. Check the lock display or indicator light to confirm power.
Replace batteries every six to twelve months. Low battery power can cause lock malfunctions or prevent it from working.
Wiring For Hardwired Models
Some keypad deadbolts need to be hardwired to your home’s electrical system. This setup requires connecting wires to the lock’s power terminals. Turn off power at the circuit breaker before starting work.
Match the lock wires to the house wires by color. Usually, black is live, white is neutral, and green is ground. Use wire connectors to join the wires securely. Check the lock manual for exact wiring instructions.
After wiring, turn the power back on. Test the lock to ensure it receives power and functions correctly. If unsure, consider hiring a licensed electrician for safety.

Credit: www.youtube.com
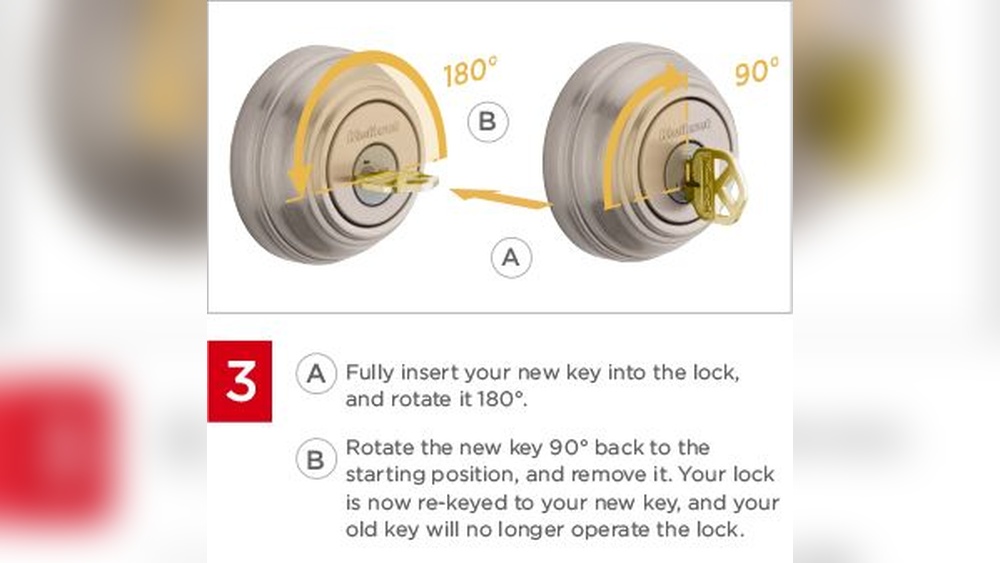
Programming The Keypad
Programming the keypad is key to using your electronic deadbolt efficiently. It lets you control who can enter your home and when. This section guides you through setting user codes, managing additional users, and resetting the lock. Simple steps make these tasks easy, even for beginners.
Setting User Codes
Start by entering the programming mode on your keypad. Usually, this means pressing a specific button or entering a master code. Then, follow the instructions to add new user codes. Choose codes that are easy to remember but hard to guess. Save each code before moving to the next step. Test each code to ensure it works correctly.
Managing Additional Users
You can add or delete users anytime. Adding users allows family or trusted friends to access your home. Deleting codes removes access quickly when needed. Use the keypad’s menu to find the user management option. Always confirm changes by testing the new or removed codes. Keep track of who has access for security.
Resetting The Lock
Resetting the lock clears all user codes and settings. Use this step if you forget the master code or lose control. Find the reset button inside the lock or follow the manual’s reset instructions. Press and hold the reset button until the lock signals a reset. Afterward, reprogram your master code and user codes. This restores your lock to factory settings.
Testing And Troubleshooting
After installing your electronic keypad deadbolt, testing and troubleshooting ensure the lock works smoothly. This step helps catch any problems early. A properly working lock keeps your home safe and gives peace of mind.
Ensuring Proper Lock Operation
Start by entering your access code several times. Check if the lock opens and closes without delay. Test the lock from both inside and outside. Make sure the keypad lights up when you press the buttons. Listen for any unusual sounds during operation. Confirm the lock engages fully when locked. If your lock has a manual key, test it too.
Common Issues And Fixes
The lock not responding is a common problem. Replace the batteries with fresh ones and try again. If buttons stick, clean the keypad gently with a soft cloth. The lock may jam if the deadbolt is misaligned. Adjust the strike plate or tighten screws to fix it. Sometimes, the code does not register. Reset the lock and reprogram your code. For persistent issues, consult the user manual or contact support.

Credit: www.amazon.com
Maintenance Tips
Maintaining your electronic keypad deadbolt keeps it working smoothly and lasts longer. Regular care prevents problems and saves money on repairs. Follow simple steps to keep your lock in good shape.
Battery Replacement
Check the battery level every few months. Most locks show a low battery warning on the keypad. Replace the batteries right away to avoid lockouts. Use fresh, high-quality batteries for best results. Open the battery cover carefully to avoid damage. Insert batteries following the correct polarity. Dispose of old batteries safely.
Cleaning And Care
Keep the keypad clean by wiping it with a soft cloth. Avoid using harsh chemicals or water directly on the lock. Use a mild soap solution if needed, then dry thoroughly. Clean the keyhole with compressed air to remove dust. Lubricate the internal parts once a year with graphite spray. Do not use oil-based lubricants as they attract dirt. Regular cleaning keeps the lock responsive and extends its life.
Credit: iveise.com
Frequently Asked Questions
What Tools Are Needed To Install An Electronic Keypad Deadbolt?
You need a screwdriver, drill, measuring tape, pencil, and the deadbolt kit. These tools help ensure precise installation and secure mounting.
How Long Does It Take To Install A Keypad Deadbolt?
Installation typically takes 30 to 60 minutes. Time depends on your experience and door type. Following instructions speeds up the process.
Can I Install A Keypad Deadbolt Myself?
Yes, if you follow the step-by-step instructions carefully. Basic DIY skills and proper tools are essential for a successful install.
How Do I Program The Electronic Keypad Deadbolt?
Refer to your deadbolt’s manual for programming steps. Usually, you enter a master code first, then add user codes as needed.
Conclusion
Installing an electronic keypad deadbolt is simple and quick. Follow each step carefully to avoid mistakes. Double-check the alignment before tightening screws. Test the lock several times to ensure it works well. This upgrade adds security without extra keys. Enjoy the ease of keyless entry every day.
Keep the user manual for future reference. Maintenance is easy with occasional battery checks. Your home feels safer with this smart lock installed.