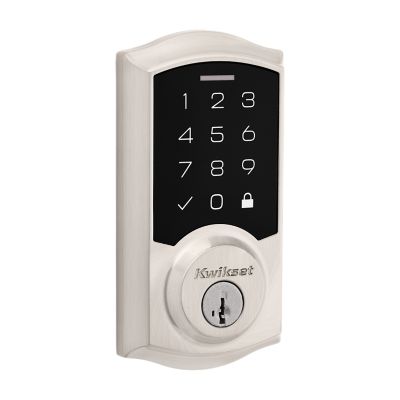
Are you ready to upgrade your home security with a Kwikset Smartcode Deadbolt? Installing this smart lock might seem tricky, but with the right steps, you can do it yourself quickly and easily.
Imagine never fumbling for your keys again and having full control over who enters your home—all from your phone. In this guide, you’ll find clear, simple instructions to help you install your new deadbolt with confidence. Keep reading, and by the end, you’ll have a smarter, safer door that works for you.

Credit: www.kwikset.com
Preparing For Installation
Preparing for installation is an important first step when fitting your Kwikset SmartCode Deadbolt. It helps avoid problems during the process and saves time. This section guides you through the tools, checks, and removal steps needed to get ready.
Tools Needed
Gather all tools before starting. You will need a screwdriver, usually a Phillips head. A tape measure helps check the door size. A drill may be required if new holes are needed. Keep a pencil for marking. Having these tools ready makes the job easier.
Checking Door Compatibility
Check your door’s thickness. Kwikset SmartCode works best with doors 1 3/8 to 1 3/4 inches thick. Measure the backset, the distance from the door’s edge to the center of the hole. Most deadbolts fit 2 3/8 or 2 3/4 inches backset. Make sure your door fits these sizes to avoid fitting problems.
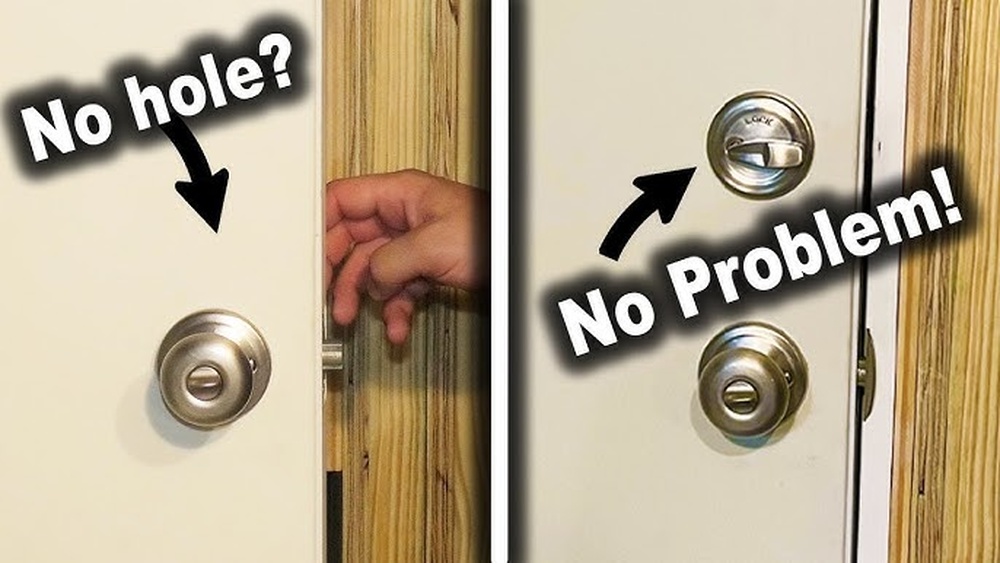
Removing Old Deadbolt
Start by unlocking the door. Use a screwdriver to remove the screws on the inside knob or lever. Pull off the interior and exterior parts gently. Remove the latch from the door edge by unscrewing it. Keep all old parts aside in case you need them later.
Setting Up The Kwikset Smartcode Deadbolt
Setting up the Kwikset Smartcode Deadbolt is a straightforward task. This guide breaks down the process into clear, easy steps. Follow along to install your smart lock quickly and correctly. Each step ensures your lock works smoothly and securely.
Unboxing And Inspecting Parts
Start by opening the box carefully. Check all parts against the instruction list. Make sure the deadbolt, keypad, screws, and batteries are included. Look for any damage or missing pieces before starting. Having all parts ready makes installation easier.
Installing The Deadbolt Mechanism
Insert the deadbolt into the door’s edge hole. Align it so the bolt slides in and out smoothly. Use screws to fasten the deadbolt firmly in place. Tighten screws but avoid over-tightening to prevent damage. Test the bolt manually to confirm proper movement.
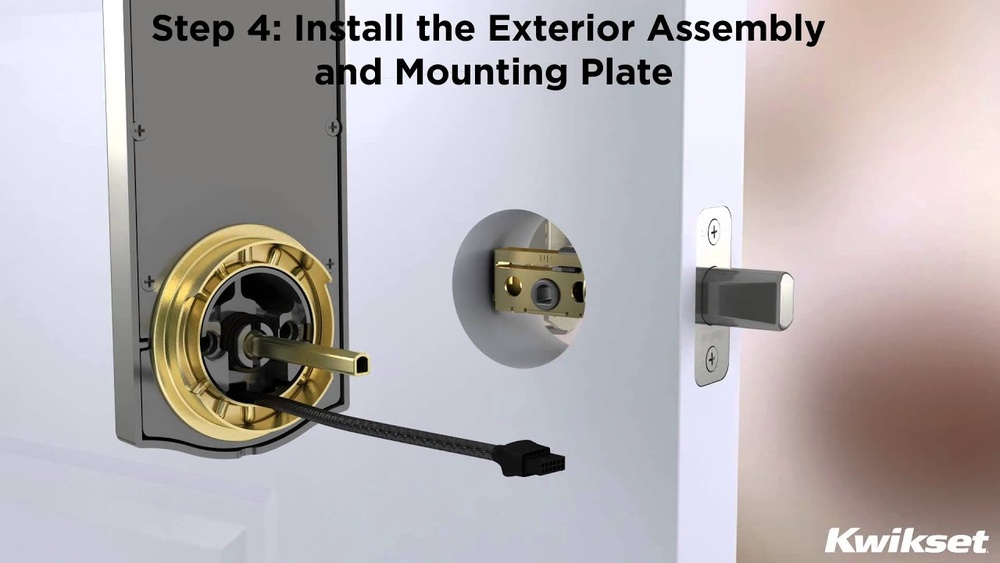
Attaching The Exterior Keypad
Place the exterior keypad on the outside of the door. Feed the connecting cable through the door hole carefully. Align the keypad with the screw holes on the door. Secure it with the provided screws, ensuring it sits flush. Handle the cable gently to avoid pinching.
Securing The Interior Assembly
Attach the interior assembly to the inside of the door. Connect the cable from the keypad to the interior unit. Insert and tighten screws to hold the assembly firmly. Install batteries in the compartment to power the lock. Test the keypad and lock functions before finalizing.
Programming The Smartcode
Programming the Kwikset Smartcode deadbolt is simple and fast. This step lets you control who can enter your home. You can set up a main code and add or delete user codes easily. Follow the instructions below to program your lock correctly.
Setting The Master Code
Start by setting the master code. This code controls all other settings. Press the program button inside the lock. Enter the default master code found in the manual. Choose a new master code with 4 to 8 digits. Press the lock button to save it. Remember this code well. It is key to managing your lock.
Adding User Codes
Next, add user codes for family or friends. Press the program button once. Enter the master code. Press the lock button. Enter the new user code, 4 to 8 digits. Press the lock button again. The lock will beep to confirm. Repeat for each new user code. You can add up to 30 codes.
Deleting Codes
Remove user codes to keep your home safe. Press the program button. Enter the master code. Press the lock button. Enter the user code to delete. Press the lock button again. The lock will beep to confirm deletion. Repeat to remove more codes. Use this to manage access easily.
Testing The Deadbolt
Testing the Kwikset Smartcode Deadbolt is essential after installation. It ensures the lock works properly and keeps your home secure. This step helps you find any issues early. Follow these simple checks to confirm everything functions as expected.
Lock And Unlock Functions
Test the deadbolt by locking and unlocking it several times. Use the keypad code and the physical key to check both methods. Ensure the bolt moves smoothly without sticking or jamming. Confirm the lock responds quickly to your commands. This guarantees easy access and secure locking.
Battery Check
Check the battery level after installation. Most Kwikset models have a low battery indicator light. Replace batteries if the light turns red or if the lock responds slowly. Use fresh alkaline batteries for the best performance. Regular battery checks prevent lock failure.
Troubleshooting Common Issues
If the deadbolt doesn’t work correctly, try these steps. Recheck battery installation and connections. Reset the lock by following the manufacturer’s instructions. Confirm the lock is aligned with the door frame. Tighten all screws to avoid loose parts. These quick fixes solve most common problems.
Maintenance Tips
Maintaining your Kwikset Smartcode Deadbolt is key to keep it working well. Regular care helps avoid problems and keeps your home safe. Follow these simple tips to ensure your lock stays in good shape for years.
Replacing Batteries
Check the battery level often. Low batteries can cause the lock to stop working. Use the type of batteries recommended by Kwikset. Replace them as soon as you see the low battery warning. This keeps your lock running smoothly and avoids lockouts.
Cleaning The Keypad
Keep the keypad clean to ensure it responds well to your touch. Use a soft cloth slightly dampened with water. Avoid harsh cleaners or too much moisture. Clean the keypad gently to prevent damage and keep the buttons working correctly.
Ensuring Long-term Security
Test your lock regularly to confirm it locks and unlocks smoothly. Change your access codes from time to time to keep security strong. Check the lock’s mounting screws and tighten them if loose. These steps help maintain your lock’s safety over time.
Credit: www.kwikset.com

Credit: www.youtube.com
Frequently Asked Questions
How Do I Install A Kwikset Smartcode Deadbolt?
To install, first remove the existing deadbolt. Align the new lock’s components with your door. Secure screws and connect the keypad. Test the lock before finalizing installation.
What Tools Are Needed For Installation?
You’ll need a screwdriver, tape measure, and pencil. A drill may be required for new holes. Most tools are standard household items.
Can I Install It On Any Door Type?
The Kwikset Smartcode Deadbolt fits standard door thicknesses between 1-3/8” and 1-3/4”. It works on wood and metal doors but check compatibility before purchase.
How Do I Program The Keypad Codes?
Press the program button inside the lock. Enter your master code, then add user codes. Follow the included manual for step-by-step instructions.
Conclusion
Installing the Kwikset Smartcode Deadbolt is simple and quick. Follow each step carefully to ensure a secure fit. Double-check the batteries and settings for smooth operation. Enjoy the convenience and safety of your new smart lock. Regular maintenance keeps it working well over time.
Stay safe and control your door with ease every day.