Have you ever removed a wall anchor and been left with an ugly hole staring back at you? Those small but stubborn holes can ruin the look of your walls and make your space feel unfinished.
But don’t worry—fixing them is easier than you might think. You’ll learn simple, step-by-step methods to fill wall anchor holes quickly and smoothly. Whether you want your walls to look flawless or prepare them for a fresh coat of paint, you’re just a few easy steps away from a perfect finish.
Keep reading to discover how to restore your walls and make those holes disappear for good.

Credit: www.thriftydecorchick.com
Tools And Materials Needed
Fixing wall anchor holes needs the right tools and materials. This ensures a smooth, clean repair that blends well with your wall. Preparing these items before starting saves time and effort. Here is a simple guide on what you need.
Choosing The Right Filler
Select filler based on the wall type and hole size. For small holes, use spackling paste. It dries fast and sands easily. For bigger holes, use joint compound or wall putty. These provide a stronger and smoother finish. Check if the filler matches your wall texture and paint color.
Essential Tools For Repair
Gather basic tools for a quick repair job. You need a putty knife to spread filler evenly. Sandpaper or sanding block smooths the surface after drying. A damp cloth cleans dust and debris before filling. Also, have a primer and paint for the final touch. Keep a small bucket or tray to hold filler while working.

Credit: www.youtube.com
Preparing The Hole
Preparing the hole is a key step to fill wall anchor holes properly. It makes sure the repair material sticks well. A clean, smooth hole gives better results. Dirt or loose pieces can cause problems later. Take your time to get the hole ready before filling it.
Cleaning The Area
Start by wiping the area around the hole. Use a dry cloth or a soft brush. Remove dust and dirt from the wall surface. This helps the filler stick to the wall. A clean area looks better after repair. It also helps paint or wallpaper stick well later.
Removing Loose Debris
Check inside the hole for loose bits of plaster or drywall. Use a small brush or a vacuum to clear them out. Loose debris can make the filler weak and fall out. Make sure the hole is free from any crumbling material. A solid base inside the hole gives a strong repair.
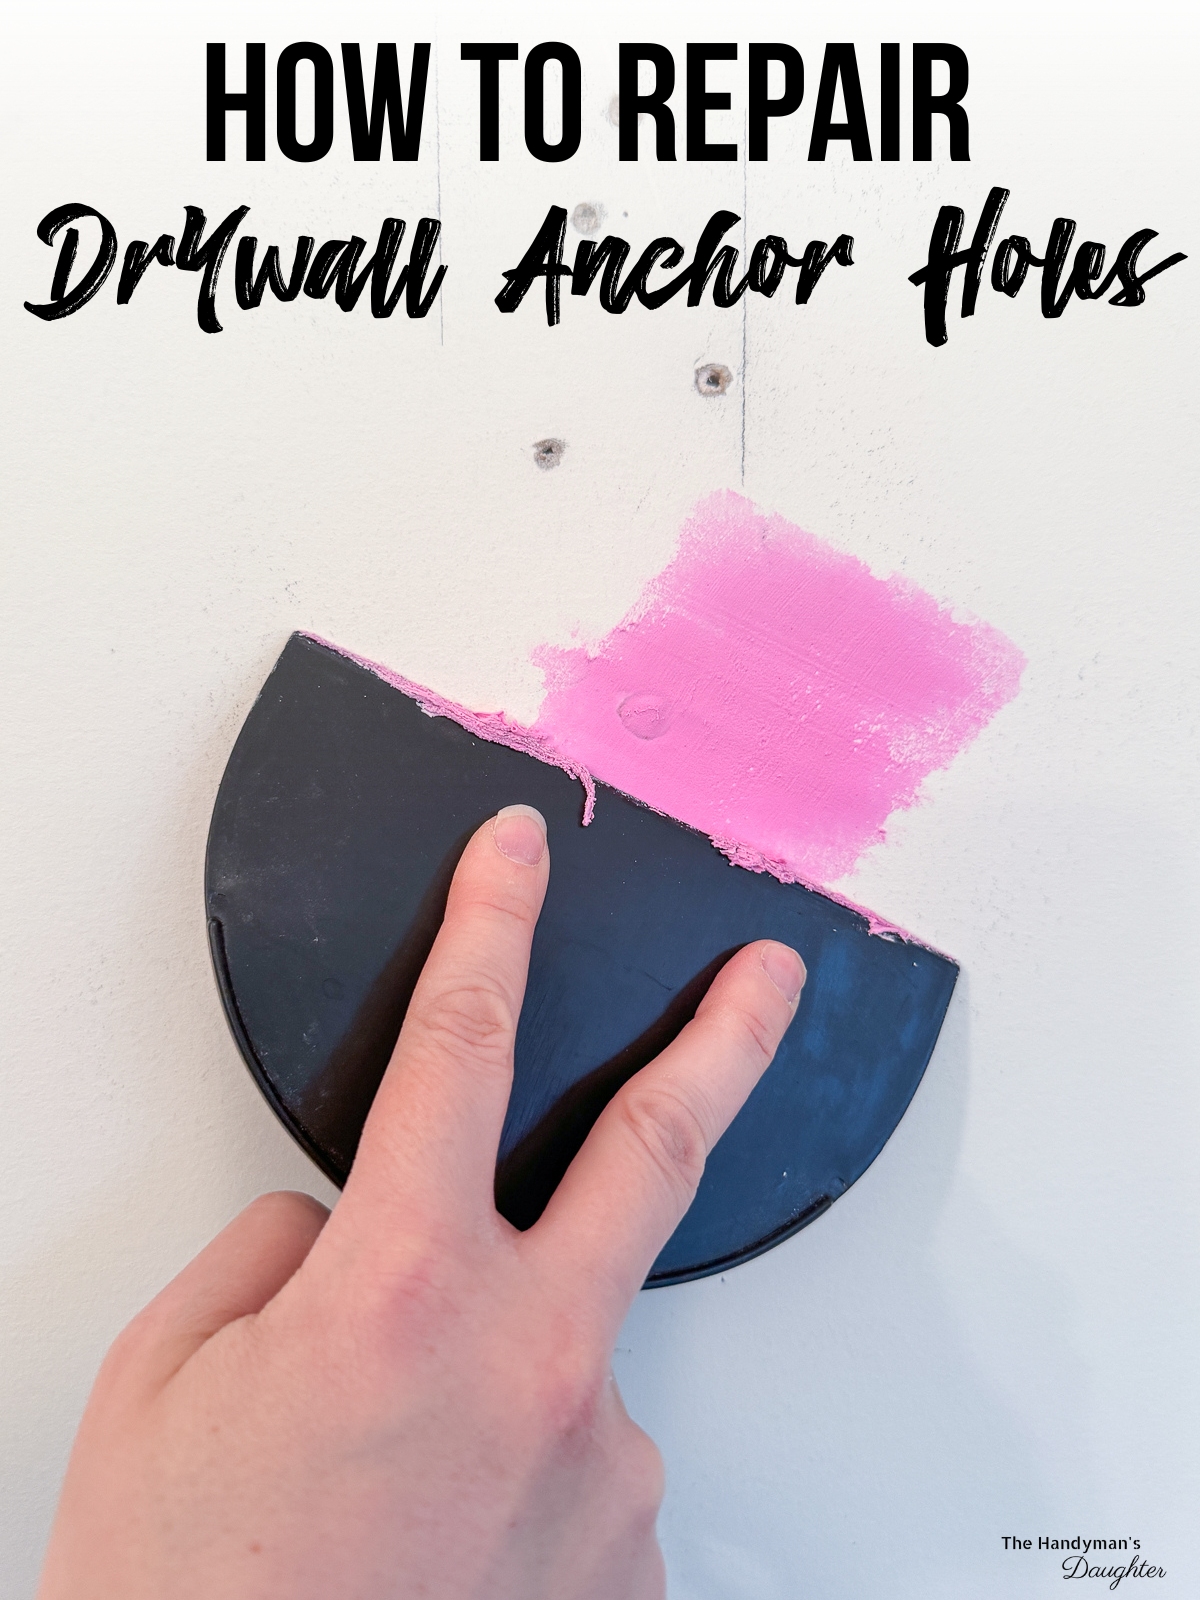
Filling The Hole
Filling the hole left by a wall anchor is a simple task. It helps restore the smooth look of your wall. Doing it right ensures the repair stays strong and neat. Follow these steps carefully for the best results.
Applying The Filler
Start by choosing the right filler for your wall type. Use a putty knife to scoop some filler. Press the filler into the hole firmly. Fill the hole completely without leaving gaps. Remove any extra filler around the hole. Let the filler sit and dry as the package says.
Smoothing The Surface
After the filler dries, check for rough spots. Use fine sandpaper to smooth the surface gently. Sand until the patch blends with the wall. Wipe away dust with a dry cloth. Now, the wall is ready for painting or finishing touches.
Credit: www.thehandymansdaughter.com
Drying And Sanding
After filling wall anchor holes, drying and sanding are key steps. They ensure a smooth, clean surface ready for painting or decorating. Skipping these steps can lead to uneven walls and poor finishes. Take time to let the filler dry fully. Then, sand gently for the best results.
Drying Time Tips
Drying time depends on the filler type and hole size. Small holes may dry in 30 minutes to an hour. Larger holes need more time, sometimes several hours or overnight. Check the filler by touching it lightly. If it feels firm and dry, it is ready for sanding. Avoid rushing to prevent damage or cracking.
Sanding For A Smooth Finish
Use fine-grit sandpaper for sanding filled holes. Sand in a circular motion to blend filler with the wall. Do not press too hard; it can remove filler. Wipe dust away with a dry cloth. Repeat sanding if needed until the surface feels even. Smooth walls make painting easier and improve the final look.
Painting And Touch-ups
Painting and touch-ups are the final steps after filling wall anchor holes. These steps make your wall look smooth and clean again. Proper painting hides the repair and brings back the wall’s original look. Small details matter to keep the finish neat and even.
Matching Paint Colors
Use the same paint color as your wall. Check the paint can label for the exact shade. Test a small spot first to see if it matches well. Sunlight can change how paint looks, so check in natural light. If you don’t have the original paint, bring a chip to a paint store. They can mix a close color for you.
Blending Repairs Seamlessly
Apply paint gently over the patched area. Use a small brush or roller for better control. Feather the edges by brushing lightly outward from the patch. This helps the new paint blend with the old. Let the paint dry fully before adding more coats. Multiple thin coats look better than one thick coat.
Preventing Future Damage
Preventing future damage to walls is key after filling wall anchor holes. Proper steps protect your walls and keep them strong. Understanding how to avoid common problems helps maintain your home’s look and structure.
Choosing The Right Anchors
Pick anchors that match the wall type. Drywall anchors work best for drywall. Masonry anchors suit brick or concrete walls. Use anchors that hold the weight of your item. Avoid using anchors that are too small or weak.
Strong anchors prevent holes from becoming larger. They reduce the risk of wall damage. Always check the anchor’s size and weight limit before buying.
Proper Installation Techniques
Drill the correct hole size for the anchor. A hole too big or small causes poor fit. Insert the anchor fully into the wall. Use a level to keep items straight. Tighten screws gently to avoid cracking the wall.
Follow instructions on the anchor package carefully. Proper installation keeps anchors secure and walls intact. This reduces the need to fill holes later.
Frequently Asked Questions
How Do You Fill Wall Anchor Holes Effectively?
To fill wall anchor holes, clean the hole first. Use spackling paste or wall filler. Apply with a putty knife, smooth it, and let it dry. Sand the area gently before painting for a seamless finish.
Can I Reuse Wall Anchor Holes After Filling?
Yes, you can reuse wall anchor holes after filling. Use a strong filler and allow it to dry fully. Drill a new pilot hole through the filled area before reinserting the anchor for stability.
What Materials Work Best To Fill Anchor Holes?
Spackling paste, joint compound, or wall filler work best. These materials are easy to apply and sand. They dry quickly and provide a smooth surface ready for painting or wallpaper.
How Long Does It Take For Filler To Dry?
Drying time depends on the filler type and hole size. Typically, spackling paste dries within 1-2 hours. For deeper holes, drying may take up to 24 hours. Always follow the manufacturer’s instructions.
Conclusion
Filling wall anchor holes is simple with the right steps. Use the proper filler and tools for best results. Take your time to smooth the surface well. Let the filler dry completely before painting. Small repairs make walls look neat and fresh again.
You can fix these holes yourself without much hassle. Keep these tips handy for any future wall fixes. Clean walls create a better space for your home or office. Give your walls a quick touch-up to keep them looking great.