Looking to keep your space tidy and stylish? Knowing how to attach coat hooks to your wall can make all the difference.
Whether you want a neat spot for your jackets, bags, or hats, the right hooks in the right place can save you time and frustration every day. In this guide, you’ll discover simple, step-by-step tips that anyone can follow—no special skills needed.
Ready to transform your wall into a practical, organized area? Let’s get started and make your home feel more welcoming instantly.
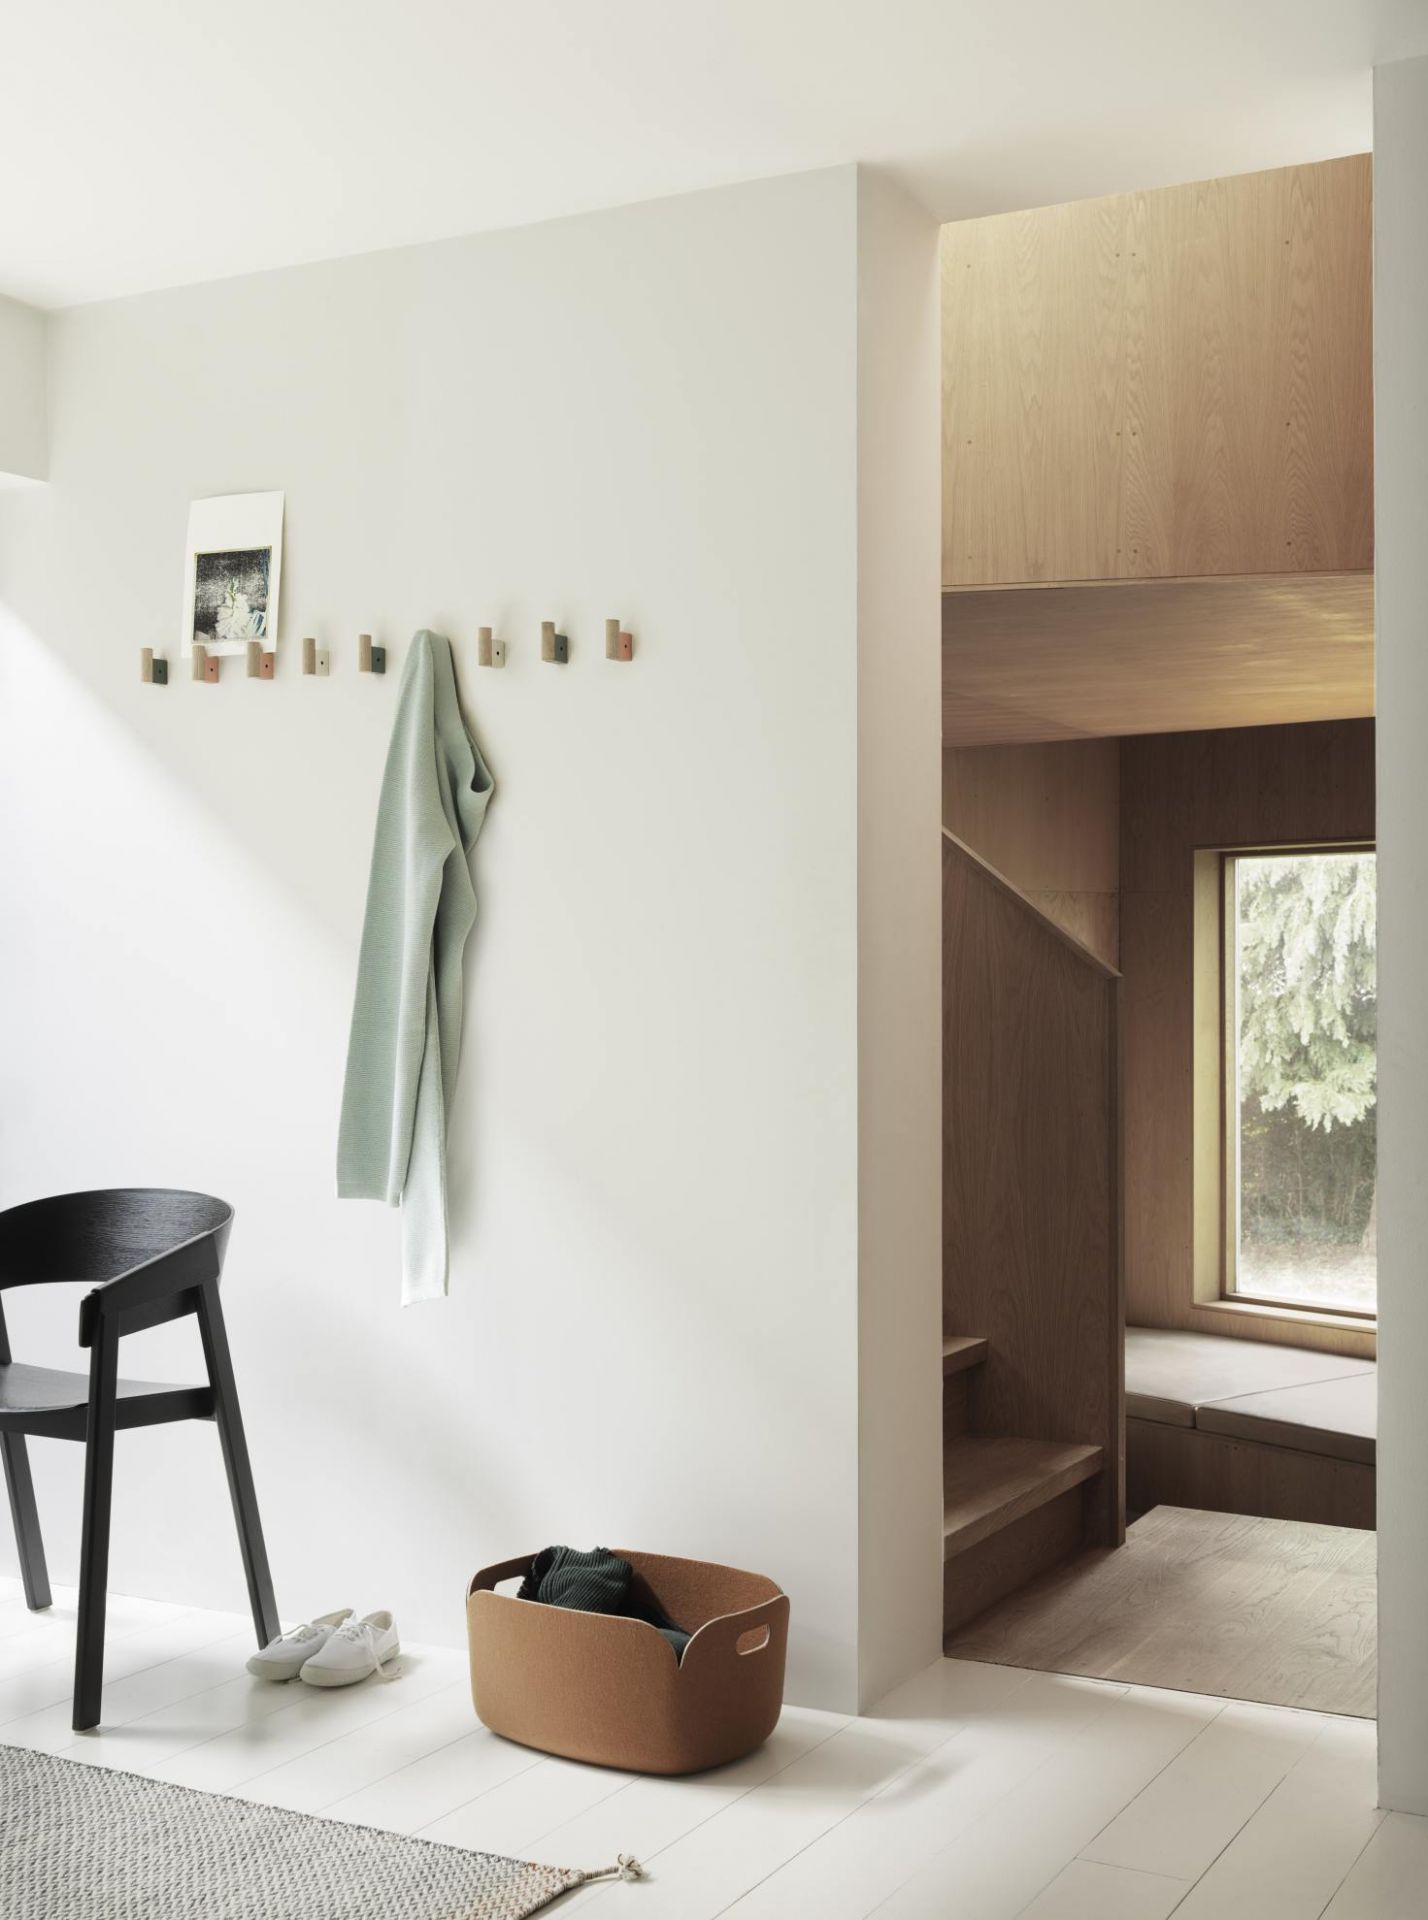
Credit: www.einrichten-design.com
Choose The Right Hooks
Choosing the right coat hooks is key to a neat and sturdy wall setup. The hooks must fit your style, hold your items well, and last long. Picking the correct hooks saves time and effort during installation.
Consider the space where you will place the hooks. Think about what you will hang on them. These points help find hooks that suit your needs perfectly.
Types Of Coat Hooks
There are many types of coat hooks. Some have a single hook, others have double or multiple hooks. Single hooks work well for light jackets or hats. Double hooks are better for heavier coats or bags.
Some hooks fold away when not in use. These save space in small rooms. Decorative hooks add style and match your room’s look. Choose a type that fits your space and use.
Materials And Finishes
Coat hooks come in metal, wood, plastic, and more. Metal hooks are strong and last long. Wood hooks look warm and natural. Plastic hooks are light and easy to clean.
Finishes affect how the hooks look and resist wear. Chrome and brass finishes shine and resist rust. Painted finishes add color but may chip over time. Pick materials and finishes that suit your room and usage.
Weight Capacity Considerations
Each hook holds a certain weight. Thin or small hooks hold less weight. Thick or heavy-duty hooks hold more.
Think about what items you will hang. Heavy coats and bags need strong hooks. Lightweight scarves or hats need less strong hooks.
Check the hook’s weight limit before buying. Using the right capacity hooks prevents damage to the wall and hooks.
Pick The Ideal Spot
Choosing the right place to attach coat hooks is important. The spot affects how well the hooks work and how strong they hold. You want a place that is easy to reach and can support the weight of coats or bags. Picking the ideal spot takes some thought but makes a big difference in your room’s look and function.
Height And Spacing
Set the hooks at a height people can reach easily. For adults, 5 to 6 feet from the floor works well. For kids, lower hooks at about 3 to 4 feet are better. Space hooks evenly to avoid crowding. About 6 to 8 inches apart gives enough room for each item to hang freely.
Studs Vs. Drywall
Wall studs hold more weight than drywall alone. Use a stud finder to locate studs behind the wall. Attach hooks directly to studs for better strength. If no stud is available, use drywall anchors. They help hold the hooks firmly in place without damage.
Avoiding Obstacles
Check the wall for wires, pipes, or switches before drilling. Avoid spots near electrical outlets or plumbing. Use a small drill bit first to prevent hitting hidden objects. Clear space ensures safety and keeps your wall intact.
Gather Tools And Materials
Gathering the right tools and materials is the first step to attach coat hooks to a wall. Having everything ready makes the job easier and faster. It also helps avoid mistakes and damage to your walls. Below is a list of what you need before starting.
Required Tools
You need a drill to make holes for the screws. A screwdriver will help tighten the screws securely. A tape measure is useful to mark the exact spot for the hooks. A pencil is necessary for marking the wall. A level ensures the hooks are straight. Lastly, a stud finder helps locate wall studs for stronger support.
Anchors And Screws
Use wall anchors if you attach hooks to drywall without studs. Anchors keep the screws from pulling out. Choose anchors that match your wall type and hook weight. Pick screws that fit the hooks and anchors well. The screws should be long enough to hold the hooks firmly.
Safety Gear
Wear safety glasses to protect your eyes from dust and debris. Gloves can protect your hands from sharp edges or splinters. Use ear protection if your drill is loud. Safety gear keeps you safe and makes the work more comfortable.
Mark Mounting Points
Marking mounting points is the first step to hang coat hooks securely. Accurate marks ensure hooks stay steady and balanced. Taking time here prevents mistakes and wall damage. Follow simple steps to find the right spots on your wall.
Measuring And Leveling
Measure the space where you want to place the hooks. Use a tape measure for precise distances. Mark spots lightly with a pencil. Use a level to make sure marks are straight across the wall. Straight marks help hooks look neat and even.
Using A Stud Finder
A stud finder finds wall studs behind drywall. Studs provide strong support for heavy items. Turn on the stud finder and move it slowly along the wall. Mark the edges of any studs detected. Place hooks on or near these marks for better hold.
Marking Drill Holes
Hold the coat hook against the wall at your marks. Use a pencil to mark where the screw holes go. Double-check the marks for alignment and spacing. These marks guide your drill and keep the hook stable. Drill holes at these points for easy installation.
Drill And Prepare Holes
Drilling and preparing holes is a key step to attach coat hooks firmly. Proper preparation ensures the hooks stay secure on the wall. This step involves choosing the right tools and careful drilling. It also means using wall anchors for extra support. Follow these simple tips to make the process smooth and safe.
Selecting Drill Bits
Choose a drill bit that fits the screw size exactly. Use a bit made for your wall type, like masonry or wood. For drywall, a standard twist bit works well. Measure twice to pick the correct diameter. Using the wrong bit can cause weak holes or damage.
Drilling Techniques
Mark the spot clearly where you want the holes. Hold the drill steady and start at low speed. Drill straight into the wall to avoid angled holes. Apply gentle pressure; don’t force the drill. Clean out dust from the hole before moving on.
Installing Wall Anchors
Wall anchors give extra hold for heavy coats or bags. Push or tap the anchor gently into the drilled hole. Make sure it fits flush with the wall surface. Tighten screws slowly to avoid cracking the anchor. Use anchors designed for your wall material for best support.
Attach The Hooks
Attaching coat hooks to the wall is a simple task that adds both function and style to your space. This step focuses on placing the hooks properly and securing them firmly. Follow these easy steps for a strong hold.
Aligning Hooks
Start by holding the hook against the wall. Make sure it is straight and level. Use a pencil to mark the screw holes clearly. Double-check the alignment to avoid crooked hooks.
Securing Screws
Insert screws into the marked spots. Use a screwdriver or drill to tighten them. Be careful not to overtighten and damage the wall or hook. The screws should hold the hook firmly in place.
Checking Stability
Gently pull the hook to test its strength. It should not move or wiggle. If loose, tighten the screws more. A stable hook will hold coats and bags without falling.
Test And Adjust
After attaching coat hooks to the wall, testing and adjusting is key. This step ensures the hooks hold weight safely. It also helps find any needed corrections to keep hooks steady and secure. Proper testing and adjustment extend the hooks’ life and improve wall safety.
Load Testing
Start by gently hanging a light item on each hook. Check if the hook stays firm without moving or wobbling. Increase the weight gradually to match what you plan to hang. Watch for any signs of loosening or pulling away from the wall. This test shows if the hook and wall can handle everyday use.
Making Adjustments
If a hook feels loose, tighten screws carefully. Use a screwdriver to secure each screw more firmly. For drywall, consider adding wall anchors if the hook still shifts. Move the hook slightly if needed to find a stronger spot. Repeat the load test after each adjustment to ensure stability.
Maintenance Tips
Regularly check the hooks for wobbling or damage. Tighten screws every few months to keep hooks secure. Avoid overloading hooks beyond their weight limit. Clean hooks gently with a damp cloth to prevent rust or dirt buildup. Small care steps keep hooks safe and lasting longer.
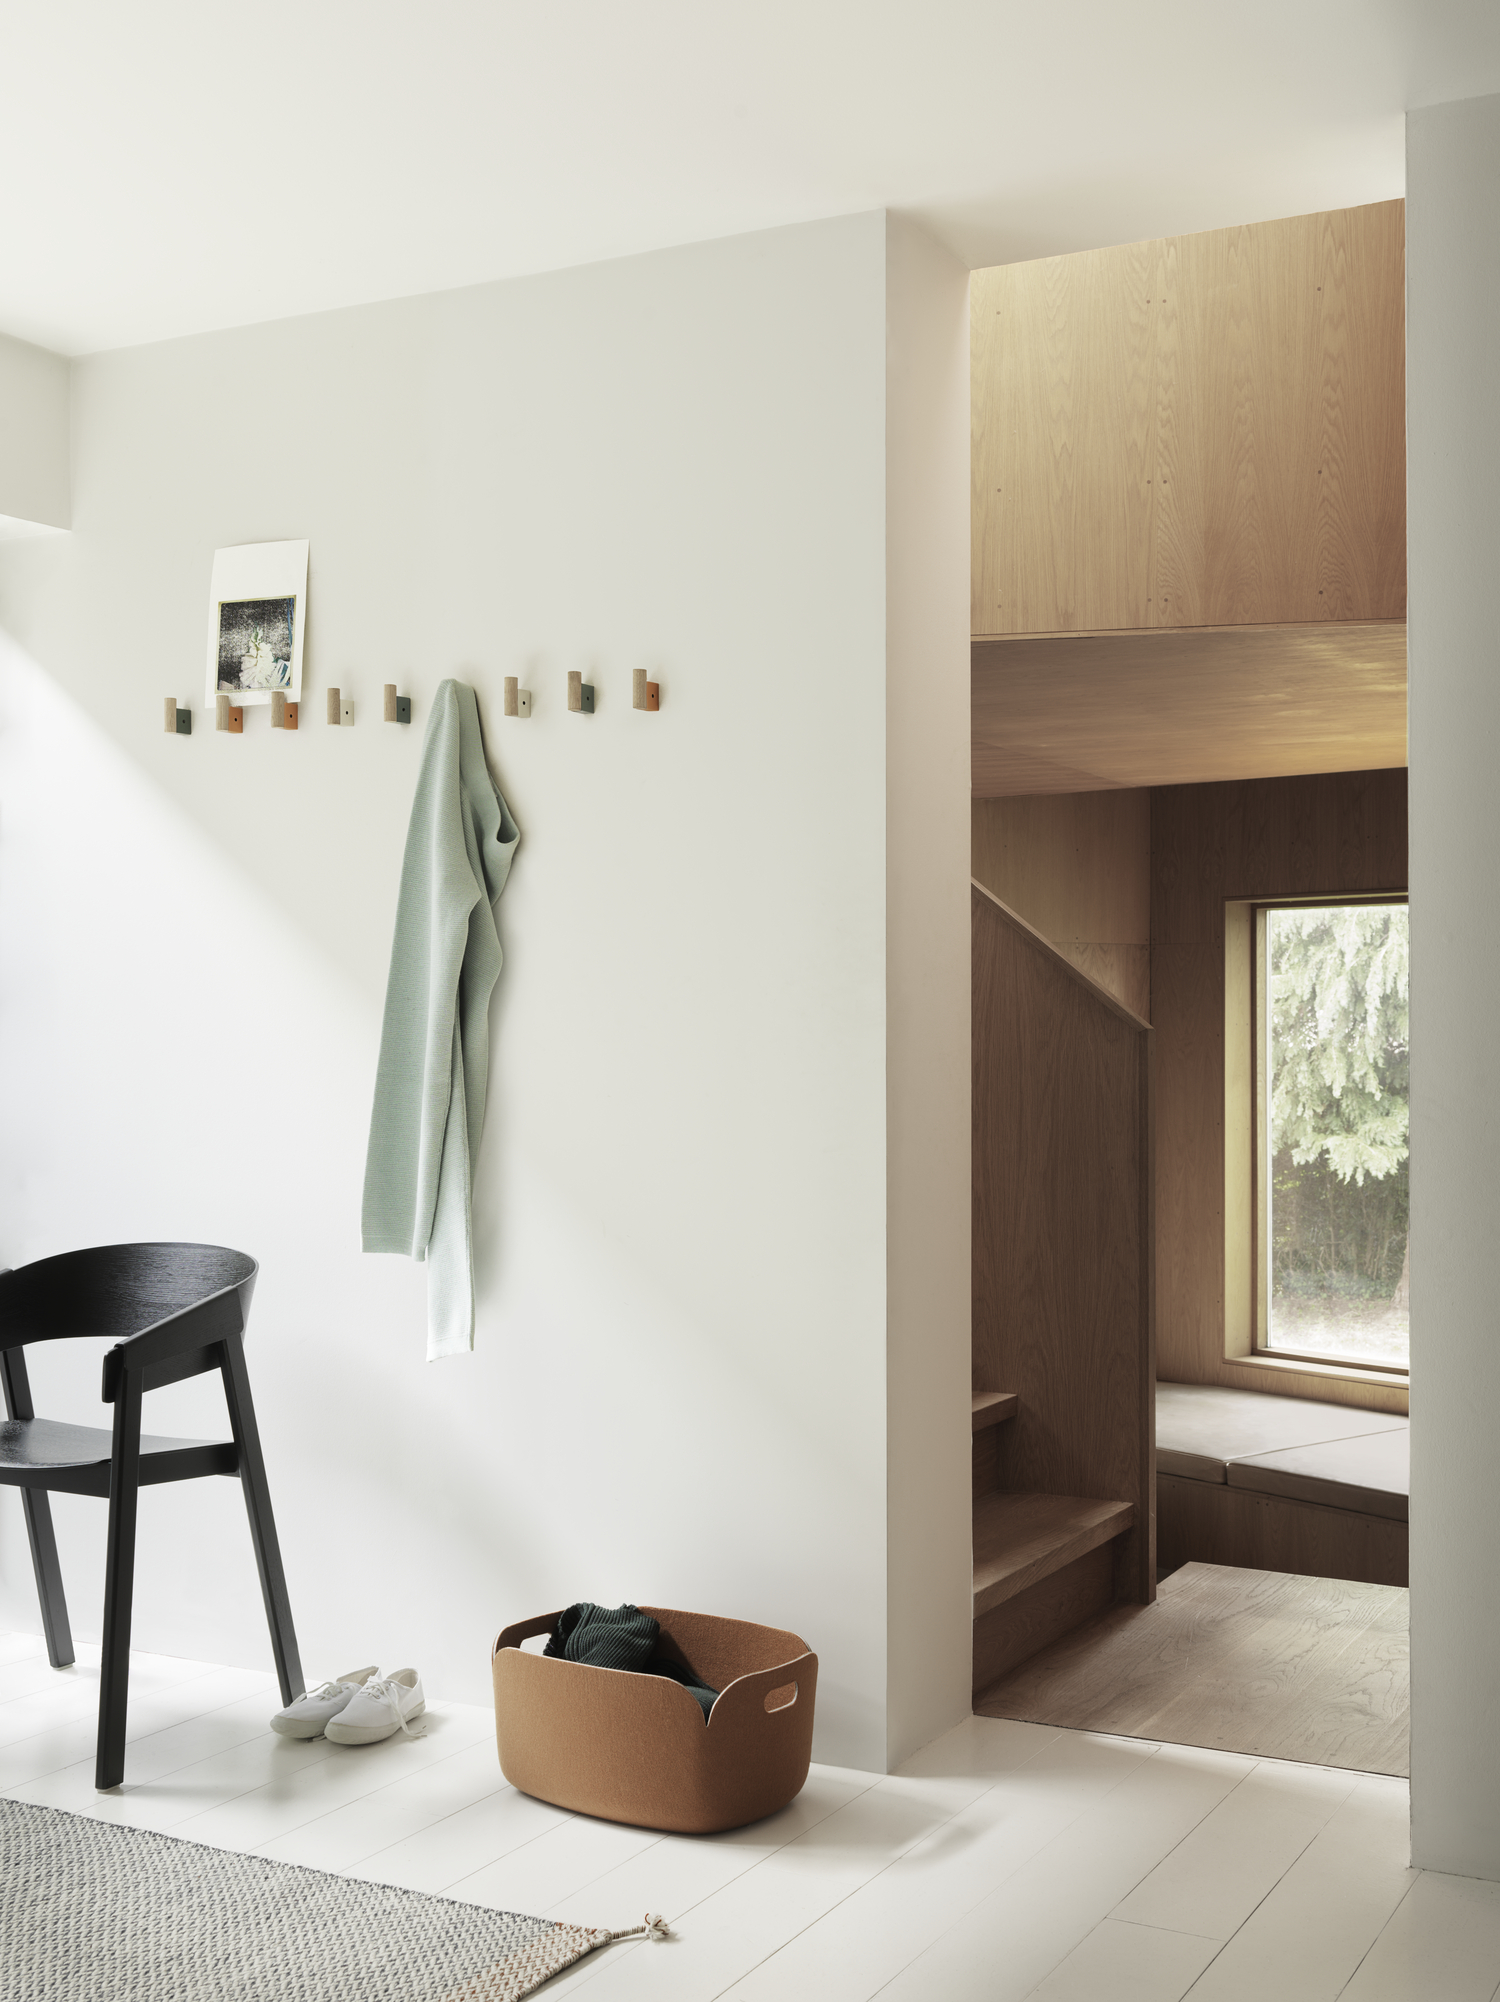
Credit: www.muuto.com

Credit: www.amazon.com
Frequently Asked Questions
How Do I Attach Coat Hooks To Drywall?
Use wall anchors or toggle bolts for drywall. Drill pilot holes first. Then, insert anchors and screw hooks securely. This prevents damage and ensures hooks hold weight safely.
What Tools Are Needed To Install Coat Hooks?
You need a drill, screwdriver, level, pencil, tape measure, and wall anchors. These tools help position hooks precisely and attach them firmly to the wall.
Can I Install Coat Hooks On Plaster Walls?
Yes, but use masonry anchors or toggle bolts. Drill carefully to avoid cracks. Plaster walls require secure fixing for heavy items like coats.
How High Should Coat Hooks Be Mounted?
Mount coat hooks at about 5 to 6 feet high. This height suits most adults and keeps coats easily accessible.
Conclusion
Attaching coat hooks to your wall is simple and quick. Choose the right spot and tools for a strong hold. Drill carefully and use anchors if needed. Tighten screws firmly, but don’t force them. Test the hook by hanging something light first.
This method keeps your wall safe and hooks steady. Enjoy a neat, organized space with easy-to-access coats. Small effort, big difference. You can do this yourself with confidence.