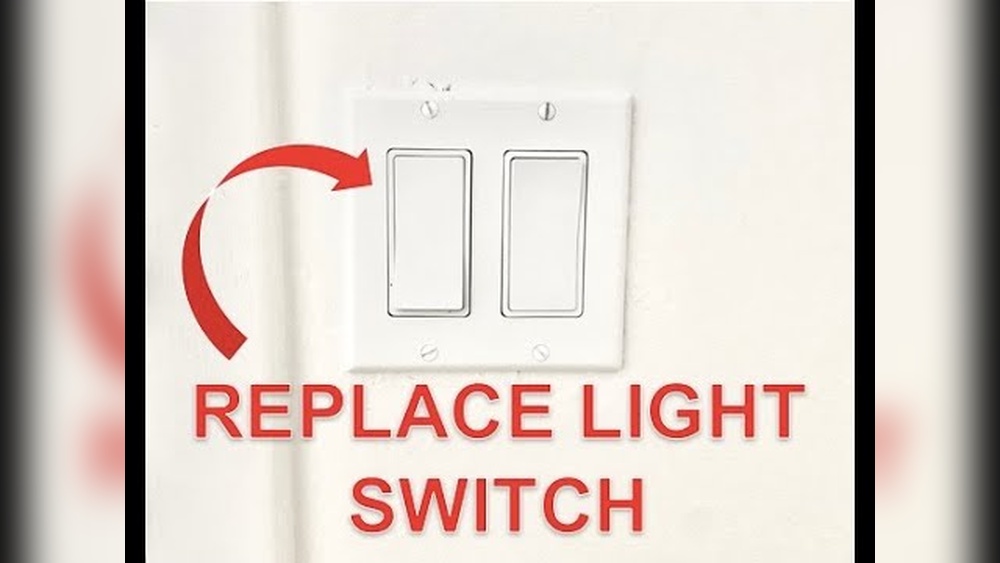
Is your light switch acting up or completely unresponsive? Fixing it yourself might sound tricky, but with the right steps, you can get your lights back on quickly and safely.
Imagine saving time and money without waiting for a technician. In this guide, you’ll discover simple, clear instructions to repair your light switch like a pro. Ready to take control of your home’s lighting? Keep reading, and you’ll learn exactly how to do it—no confusion, no hassle.
Tools And Materials Needed
Repairing a light switch needs the right tools and materials. Having everything ready makes the job easier and safer. This section lists what you need before starting.
Essential Tools
- Screwdriver (flathead and Phillips)
- Voltage tester
- Wire stripper
- Needle-nose pliers
- Flashlight or work light
- Electrical tape
Required Materials
- Replacement light switch
- Wire connectors (wire nuts)
- Electrical box (if damaged)
- Insulated gloves (for safety)
- Wall plate cover
Safety Precautions
Safety is the top priority when repairing a light switch. Electrical work can be dangerous without the right steps. Simple mistakes can cause shocks or damage. Follow clear precautions to protect yourself and your home. These steps help ensure a safe repair process.
Turning Off Power
Always turn off the power before starting any electrical work. Locate the circuit breaker for the room and switch it off. Double-check by flipping the light switch to see if it works. This stops electricity from flowing to the switch. Never skip this step. It prevents electric shocks and accidents.
Using A Voltage Tester
Use a voltage tester to confirm the power is off. Touch the tester to the wires connected to the switch. No light or sound means no electricity is present. If the tester shows power, do not proceed. Turn off the breaker again and test once more. This tool is essential for safe repairs.
Identifying The Problem
Fixing a light switch starts with finding the problem. Knowing the issue helps you decide the right fix. It also keeps you safe while working. This section guides you through spotting common switch problems and signs of a faulty switch. Understanding these points saves time and effort.
Common Light Switch Issues
Light switches can stop working for several reasons. Worn out parts cause switches to fail. Loose wiring can make the switch flicker or not work. Dirt and dust inside the switch may block contact. Sometimes, the switch feels loose or sticks. Faulty switches might cause a buzzing sound. Electrical surges can damage the switch. Knowing these issues helps you identify the cause quickly.
Signs Of A Faulty Switch
Watch for switches that do not turn lights on or off. Flickering lights often mean a bad switch. A switch that feels hot to touch shows a problem. Sparks or burning smells near the switch are warning signs. If the switch is hard to move or stays stuck, it is faulty. Buzzing or crackling sounds come from a bad switch. These signs tell you when the switch needs repair or replacement.
:max_bytes(150000):strip_icc()/how-to-replace-a-light-switch-1824670_hero_40432-43add2624f6c4522a4ee50bb24ece2be.jpg)
Credit: www.thespruce.com
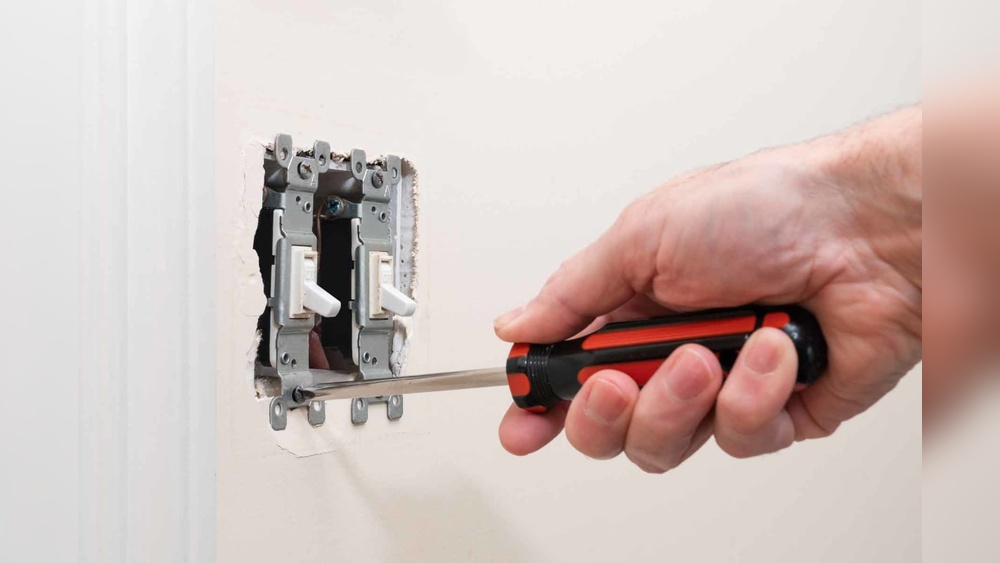
Removing The Old Switch
Removing the old light switch is the first step in fixing or replacing it. This process requires care and attention to avoid damage or injury. Follow each step slowly to keep everything safe and organized. You need to prepare your tools and make sure the power is off before starting.
Unscrewing The Switch Plate
Start by locating the screws on the switch plate. Use a screwdriver to turn them counterclockwise. Keep the screws in a safe place for later. Gently pull the switch plate away from the wall. This exposes the switch and the wires behind it. Be careful not to force it or damage the wall.
Disconnecting Wires Safely
Before touching any wires, confirm the power is off at the breaker. Use a voltage tester to check the wires. Once safe, loosen the screws holding the wires on the switch. Carefully pull the wires free, noting their positions. This helps when installing the new switch. Avoid letting wires touch each other or the wall.
Installing The New Switch
Installing the new switch is a key step in repairing a light switch. It requires care and attention to ensure safety and proper function. Follow simple steps to connect wires and secure the switch in place. This helps the switch work smoothly and safely.
Connecting Wires Correctly
First, match each wire to the right terminal on the switch. Usually, black or red wires connect to brass screws. White wires go to silver screws. Ground wires connect to the green screw. Tighten screws firmly to hold wires in place. Loose connections can cause sparks or switch failure.
Securing The Switch
Push the switch gently into the electrical box. Make sure wires do not get pinched or twisted. Use screws to fix the switch to the box. Tighten screws evenly to keep the switch straight. Finally, attach the cover plate to finish the job. A secure switch looks neat and works well.

Credit: www.pelicanparts.com
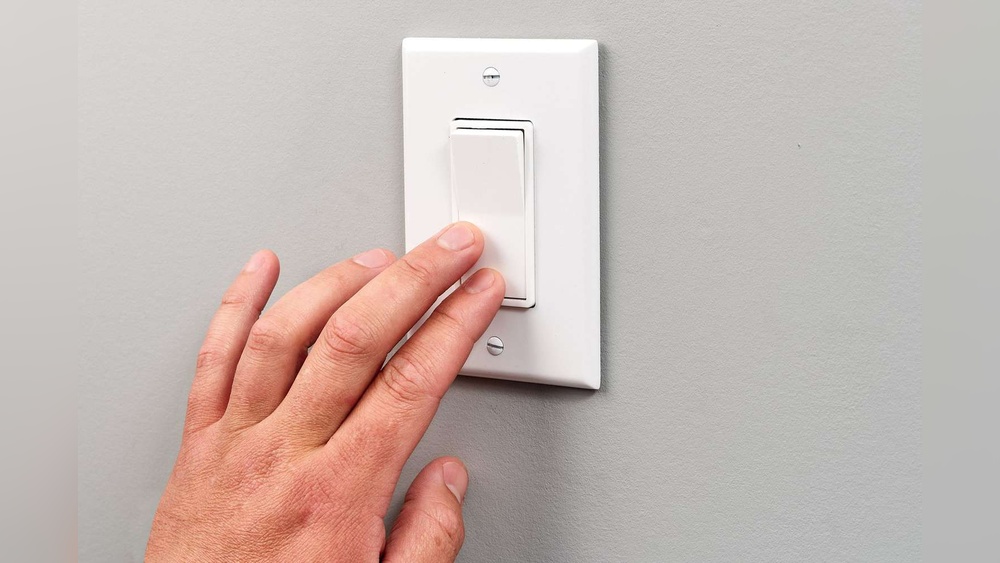
Testing The Repair
After fixing a light switch, testing the repair is important. It shows if the switch works correctly and is safe to use. This step helps avoid future problems like electrical shocks or short circuits.
Testing also confirms the repair was done properly. Follow these simple steps to check your work and ensure everything functions well.
Restoring Power
First, turn the power back on at the circuit breaker. This supplies electricity to the switch and light fixture. Be careful during this step. Make sure hands are dry and tools are away from the switch.
Switch the breaker to the “on” position. You may hear a click or see a light indicator. This means power is restored to the circuit.
Checking Switch Functionality
Next, test the switch by flipping it on and off. The light should respond immediately each time. If the light turns on and off smoothly, the repair is successful.
Test the switch multiple times. Watch for flickering, buzzing, or delay. These signs suggest a problem with wiring or the switch itself.
Use a voltage tester if you have one. It confirms power flows correctly through the switch. No voltage means the switch or wiring might still be faulty.
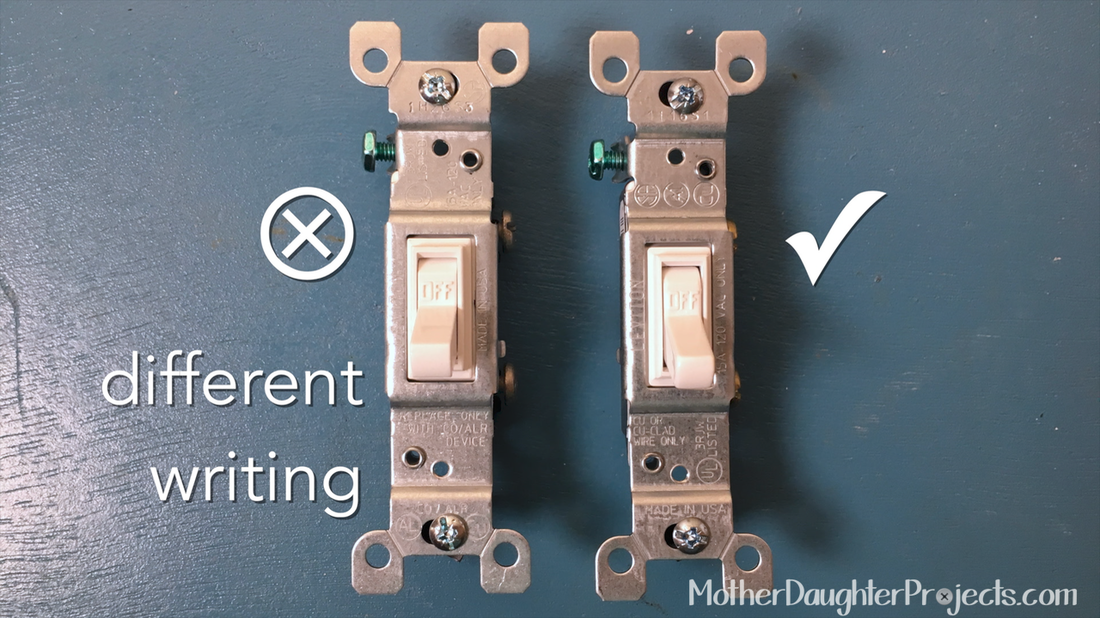
Tips For Maintenance
Maintaining a light switch helps it work well for a long time. Simple care can stop many problems before they start. This saves time and money on repairs.
Preventing Future Issues
Keep switches clean and dry. Dust and moisture can cause damage. Use a soft cloth to wipe the switch cover. Avoid using water or harsh chemicals. Check switches regularly for loose parts or unusual sounds. Tighten screws if they feel loose. Replace worn or broken covers quickly. Turn off power before cleaning or fixing switches.
When To Call A Professional
Call an electrician if a switch sparks or smells burnt. Strange noises or frequent flickering need expert help. Avoid fixing electrical problems if unsure. Incorrect repairs can cause shocks or fires. Professionals have tools and knowledge to fix safely. Always choose a licensed and trusted electrician for repairs.
Credit: www.motherdaughterprojects.com
Frequently Asked Questions
How Do I Safely Turn Off Power Before Repairing A Switch?
Always switch off the circuit breaker controlling the switch. Use a voltage tester to confirm no electricity flows. This prevents electric shock and ensures safe repair work.
What Tools Are Needed To Repair A Light Switch?
Basic tools include a screwdriver, voltage tester, wire stripper, and needle-nose pliers. These tools help you remove, test, and replace faulty switches efficiently.
How To Identify A Faulty Light Switch?
Signs include flickering lights, no response when toggled, or a burning smell. Use a voltage tester to check for current flow, confirming if the switch is defective.
Can I Replace A Light Switch Without Professional Help?
Yes, if you follow safety steps and understand wiring basics. Always turn off power, verify with a tester, and follow the correct wiring method to ensure safe replacement.
Conclusion
Repairing a light switch is simple with the right steps. Always turn off power before you start. Check wires carefully and connect them properly. Use basic tools and take your time. A working switch improves safety and comfort at home.
Small repairs save money and build confidence. Try these tips to fix your switch today. Safety first, and you will do fine.