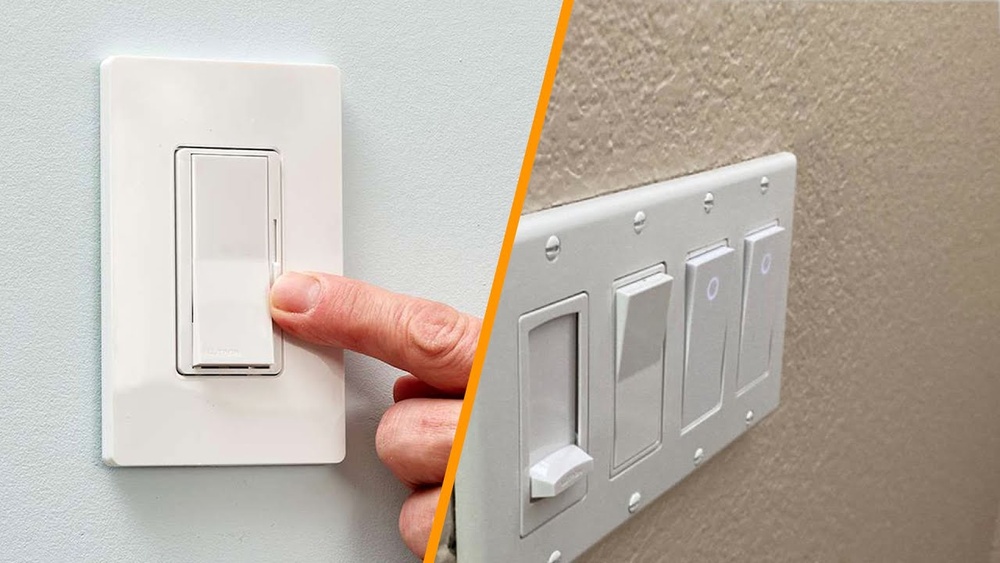
Have you ever wished you could adjust the brightness of your lights to set the perfect mood in any room? Adding a dimmer to your light switch is a simple way to take control of your lighting and create cozy, relaxing spaces or bright, energetic ones—whenever you want.
In this guide, you’ll discover easy steps to install a dimmer switch yourself, even if you’re not a DIY expert. By the end, you’ll have the confidence and know-how to transform your home’s lighting and enjoy the benefits of customized brightness every day.
Ready to make your lights work for you? Let’s get started!
Credit: www.homedepot.com
Benefits Of Installing A Dimmer
Installing a dimmer switch offers many benefits for your home. It lets you control light brightness easily. This control changes the room’s atmosphere and can save energy. Dimmers also help your light bulbs last longer. These advantages make dimmers a smart choice for any room.
Energy Savings
Dimmers reduce the amount of electricity used by lights. Lower brightness means less power is needed. This helps lower your energy bills each month. Using dimmers is a simple way to save energy at home. It also reduces stress on your electrical system.
Mood Enhancement
Dimmers let you set the perfect light level for any moment. Bright light helps you focus and stay alert. Soft light creates a calm and cozy space. Adjusting light can improve comfort and mood quickly. It makes rooms feel more welcoming and relaxed.
Extended Bulb Life
Using a dimmer lowers the light bulb’s workload. Bulbs run cooler and last longer with dimmed light. This means fewer bulb replacements and less waste. It saves money on buying new bulbs often. Dimmer switches protect your bulbs and your budget.
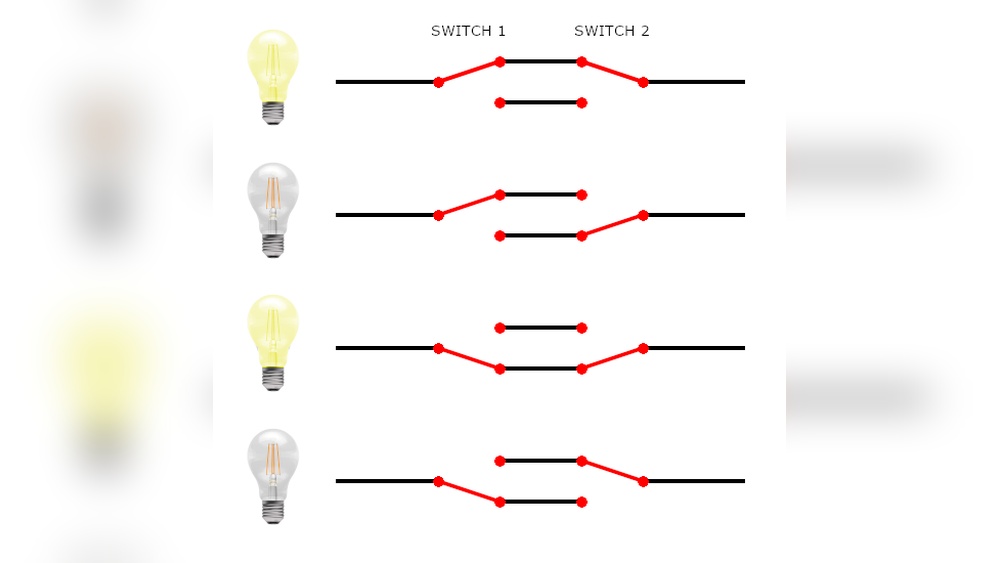
Types Of Dimmer Switches
Dimmer switches change how bright your lights are. They help set the mood or save energy. Different types of dimmers fit different needs and styles. Choose the one that works best for your space and lights.
Rotary Dimmers
Rotary dimmers turn like a knob. You twist to make lights brighter or dimmer. They are simple to use and easy to install. Many people like the classic feel of rotary dimmers. They work well with most bulbs.
Slide Dimmers
Slide dimmers use a small lever that moves up and down. Push up to brighten, slide down to dim. They offer smooth control over light levels. Slide dimmers look modern and fit well on flat switch plates. They are good for rooms where you change light often.
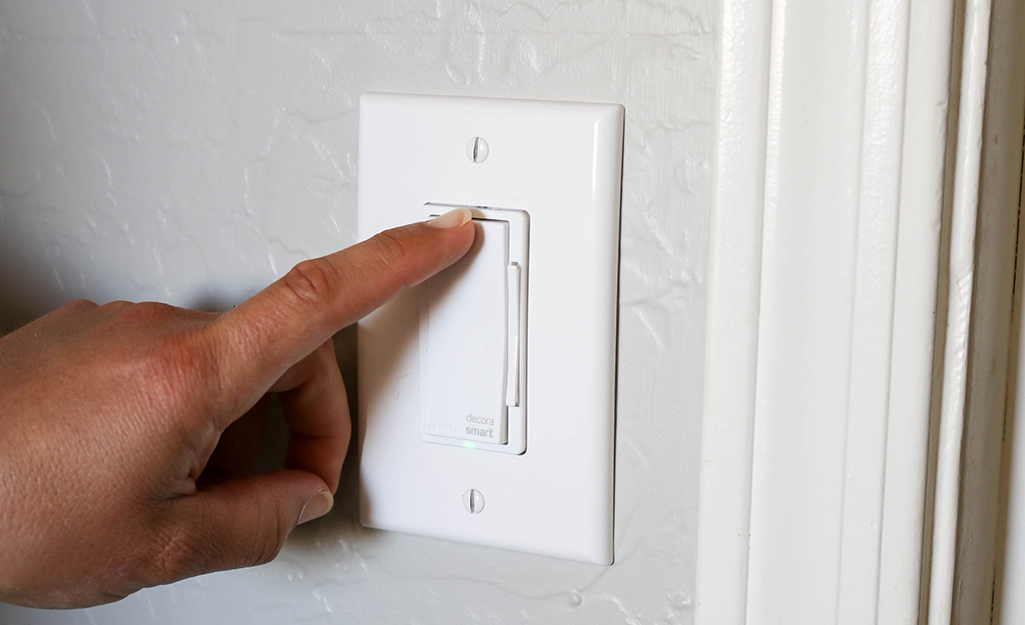
Touch And Smart Dimmers
Touch dimmers respond to a tap or swipe on a panel. They have no moving parts, so they last longer. Smart dimmers connect to Wi-Fi or smart home systems. Control lights with your phone or voice. They add convenience and can save energy automatically.
Tools And Materials Needed
Adding a dimmer to a light switch requires some basic tools and materials. Having the right items makes the process safe and easy. This section lists what you need before starting your project.
Essential Tools
- Screwdriver (flathead and Phillips)
- Wire stripper
- Voltage tester
- Needle-nose pliers
- Electrical tape
- Wire nuts
- Flashlight or work light
These tools help you safely remove the old switch and install the dimmer. A voltage tester ensures no electricity flows while you work.
Compatible Dimmer Switches
Choose a dimmer switch that fits your light type. For incandescent or halogen bulbs, standard dimmers work well. For LED or CFL bulbs, use a dimmer made for those lights.
Check the dimmer’s wattage rating. It must handle the total wattage of your light bulbs. Pick a dimmer that matches your switch type—single-pole or three-way.
Credit: www.homedepot.com
Safety Precautions
Safety is the top priority when adding a dimmer to a light switch. Working with electrical wiring can be risky without the right steps. Taking proper precautions helps avoid shocks and accidents.
Follow these safety tips before starting your project. A careful approach makes the job safer and easier.
Power Off Procedures
Turn off the power at the circuit breaker. Do not rely on just the switch to cut power. Confirm the correct breaker controls the switch you will work on.
Use a lock or tag on the breaker to prevent others from turning it back on. This keeps the power off while you work. Double-check by flipping the switch to see if the light goes off.
Using A Voltage Tester
Use a voltage tester to check if the wires are live. Touch the tester to each wire carefully. If the tester shows no voltage, the power is off.
Test the wires again after turning off the breaker. This ensures no current is flowing. Never skip this step. It protects you from electric shock.
Step-by-step Installation
Adding a dimmer switch can change the mood of any room. It lets you control light brightness with ease. Follow these clear steps to install your dimmer safely and correctly. Each step ensures your new switch works perfectly.
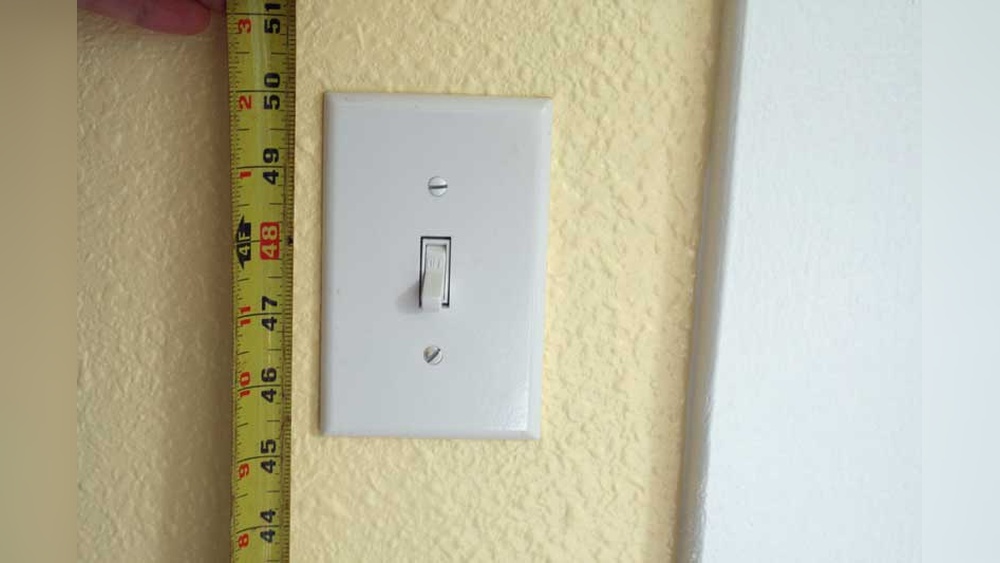
Removing The Existing Switch
Turn off the power at the circuit breaker. Use a tester to confirm the power is off. Remove the switch cover plate with a screwdriver. Unscrew the existing switch from the electrical box. Carefully pull the switch out to see the wires. Note the wire connections before disconnecting them.
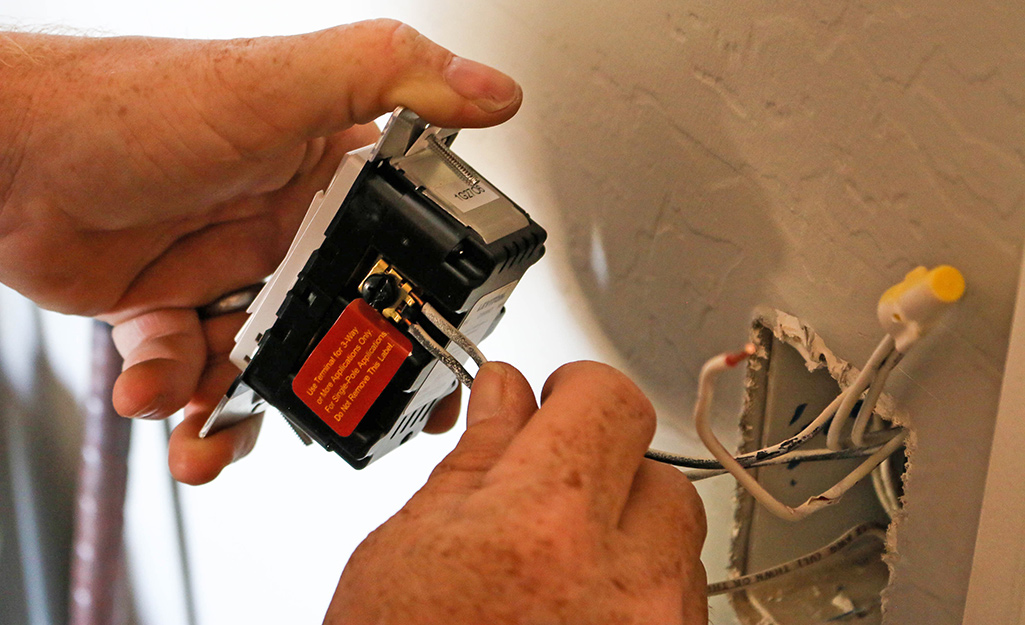
Wiring The Dimmer
Match the dimmer wires to the house wires. Connect black wires together using wire nuts. Join the green or bare copper wire to the ground wire. Attach the white wires if your dimmer has them. Tighten all wire nuts securely to avoid loose connections.
Securing And Testing
Push the wires gently back into the box. Screw the dimmer switch into place firmly. Attach the switch cover plate. Turn the power back on at the breaker. Test the dimmer by turning the knob or sliding the control. Adjust brightness to make sure it works smoothly.
Troubleshooting Common Issues
Adding a dimmer switch can improve your lighting and save energy. Sometimes, issues may arise after installation. Troubleshooting these problems helps keep your dimmer working well. Below are common issues and easy ways to fix them.
Flickering Lights
Flickering lights often mean the dimmer and bulbs are not a good match. Use dimmer-compatible bulbs. Check if bulbs are loose in the socket. Tighten them gently. Old or cheap bulbs can also cause flicker. Replace them with better quality bulbs. If flickering continues, test the dimmer with different bulbs.
Dimmer Not Responding
A dimmer that won’t respond may have wiring issues. Turn off power before checking connections. Make sure all wires are secure and connected properly. Faulty wiring can prevent the dimmer from working. Also, check the dimmer switch itself. If broken, replace it with a new one. Sometimes, the dimmer’s internal parts fail and need replacement.
Compatibility Problems
Not all dimmers work with every bulb type. LED bulbs often need special dimmers. Confirm your dimmer supports LED or CFL bulbs. Using the wrong dimmer causes poor performance or damage. Read product labels carefully before buying. Compatibility ensures smooth dimming and longer bulb life. Check the wattage limits of your dimmer too. Exceeding limits can cause issues or hazards.
Tips For Choosing The Right Dimmer
Choosing the right dimmer is key to a smooth lighting upgrade. The right dimmer controls light brightness easily. It works well with your bulbs and electrical system. Picking the wrong dimmer can cause flickering or damage. Use these tips to find the perfect dimmer for your home.
Matching Bulb Types
Not all dimmers fit all bulbs. Check the type of bulbs you use. Incandescent, LED, and CFL bulbs need different dimmers. Using a dimmer made for incandescent bulbs with LEDs may cause flickering. Pick a dimmer that matches your bulb type to keep lights steady. This ensures smooth dimming and longer bulb life.
Considering Load Capacity
Load capacity means how much power the dimmer can handle. Add up the wattage of all bulbs on one switch. Make sure the dimmer’s capacity is higher than this total. A dimmer with too low capacity can overheat or fail. Choose a dimmer with a load rating that fits your lighting setup. This keeps your system safe and working well.

Credit: www.gelighting.com
Frequently Asked Questions
How Do I Add A Dimmer To A Standard Light Switch?
To add a dimmer, first turn off power at the breaker. Remove the existing switch, connect dimmer wires to matching wires, secure the dimmer in the box, then replace the cover. Finally, turn power back on and test the dimmer function.
What Tools Are Needed To Install A Dimmer Switch?
You need a screwdriver, wire stripper, voltage tester, and electrical tape. These tools help safely remove the old switch, prepare wires, and install the dimmer securely.
Can I Install A Dimmer On Any Light Fixture?
Most incandescent and LED bulbs work with dimmers, but check bulb compatibility. Avoid using dimmers with fluorescent lights unless designed for them. Always verify your dimmer switch supports your fixture type.
Is It Safe To Install A Dimmer Switch Myself?
Yes, if you follow safety steps like turning off power and using a voltage tester. If unsure, consult an electrician to avoid electrical hazards or incorrect installation.
Conclusion
Adding a dimmer to your light switch is a simple way to control room brightness. It saves energy and extends bulb life. You can create a cozy or bright space anytime. Just follow safety steps and use the right tools.
With a little care, anyone can do it. Enjoy the comfort and style that dimmers bring to your home. Give it a try and see the difference yourself.