Are you tired of coming home to a dark porch or leaving your outdoor lights on all night? Installing a timer switch for your outdoor lights can save you money, increase your home’s security, and add convenience to your daily routine.
But you might wonder, “Is it hard to install? Can I do it myself? ” The good news is, with the right steps and a little guidance, you can easily set up a timer switch and take control of your outdoor lighting.
Keep reading, and you’ll learn exactly how to do it—quickly and safely.
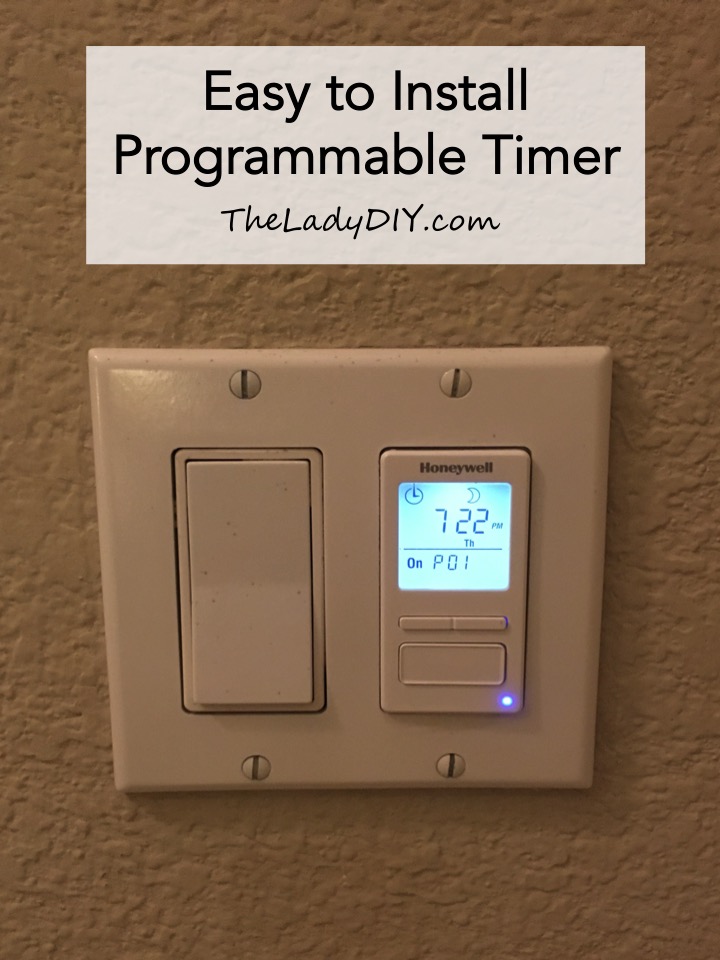
Credit: theladydiy.com
Choosing The Right Timer Switch
Choosing the right timer switch for outdoor lights is important. It controls when your lights turn on and off. The correct timer saves energy and adds safety to your home. Not all timer switches work the same way or fit every light. Understanding types, compatibility, and weatherproof features helps make the best choice.
Types Of Timer Switches
Mechanical timers use a dial and gears to set time. They are simple and cost less. Digital timers offer more features and accuracy. You can program multiple on/off times. Photocell timers turn lights on at dusk and off at dawn. They react to natural light. Choose the type that fits your needs and budget.
Compatibility With Outdoor Lights
Check the voltage and wattage of your outdoor lights. The timer switch must handle the electrical load safely. Some timers work only with incandescent bulbs. Others support LED and CFL lights. Match the timer to your light type. This prevents damage and ensures smooth operation.
Weatherproof Features
Outdoor timer switches face rain, wind, and dust. Weatherproof or waterproof models protect internal parts. Look for timers with a sealed cover or enclosure. This protects against moisture and dirt. A durable timer lasts longer and works better outside.

Credit: www.ifixit.com
Gathering Necessary Tools And Materials
Before installing a timer switch for your outdoor lights, gather all the necessary tools and materials. This step saves time and helps avoid interruptions during installation. Having everything ready makes the process smoother and safer.
Check each item carefully. Some tools and supplies are common, while others are specific to electrical work. Proper preparation ensures a successful and safe installation.
Essential Tools
Start with a screwdriver set, including flathead and Phillips heads. You need a wire stripper to remove insulation from wires without damage. A voltage tester is important to check if wires carry electricity. Pliers help twist wires together securely. A drill might be required to make holes for mounting the timer switch.
Safety Equipment
Wear insulated gloves to protect against electric shocks. Safety goggles shield your eyes from dust and debris. Use a sturdy ladder to reach outdoor fixtures safely. Avoid working in wet or damp conditions. Proper safety gear reduces risks during installation.
Additional Supplies
Gather electrical tape to cover wire connections safely. Wire nuts help secure wires and prevent shorts. A timer switch compatible with outdoor use is essential. Check the product’s rating for weather resistance. Keep a flashlight handy for working in low light conditions.
Preparing The Installation Site
Preparing the installation site is the first step to a safe and successful timer switch setup. It involves making sure the power is off, finding the right wires, and clearing the area around your outdoor lights. Each step helps avoid accidents and makes the installation easier.
Turning Off Power
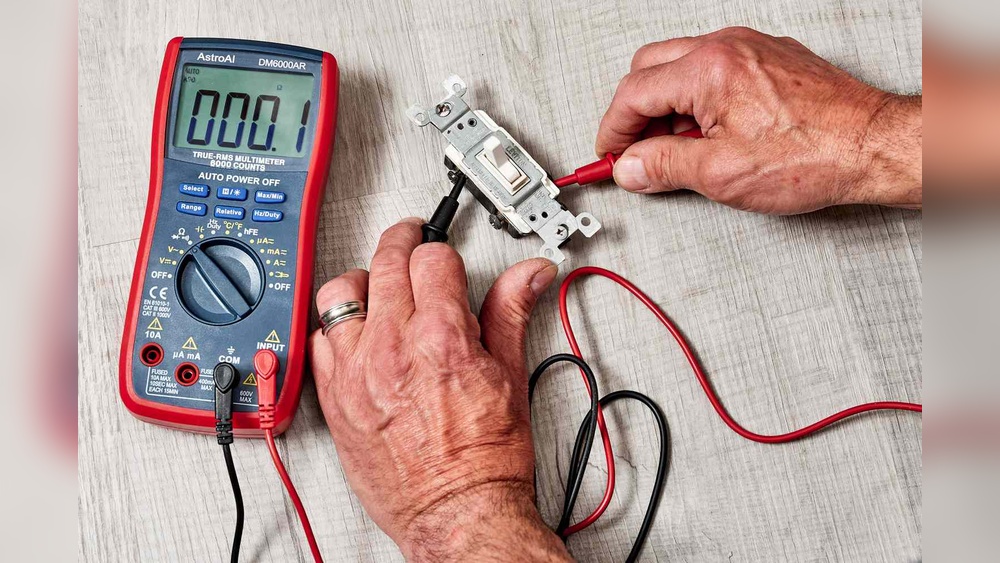
Always turn off the power before starting any electrical work. Find the correct circuit breaker for your outdoor lights. Switch it off to cut the electricity. Use a voltage tester to confirm the power is off. Never skip this step to prevent shocks.
Locating Existing Wiring
Find the wiring that connects to your outdoor lights. Look near the light fixture or the outdoor switch. Use a flashlight if needed. Identify the wires that carry power to the light. Knowing the wiring helps connect the timer switch correctly.
Clearing The Area
Clear the area around the installation site. Remove leaves, dirt, and debris near the wires and switch box. Make space to work comfortably. This keeps the area safe and prevents damage to the wires or switch. A clean site helps finish the job faster.
Wiring The Timer Switch
Wiring the timer switch is a key step in installing outdoor lights. It controls when your lights turn on and off. Proper wiring ensures safety and reliable operation. Take your time and follow each step carefully.
Identifying Wires
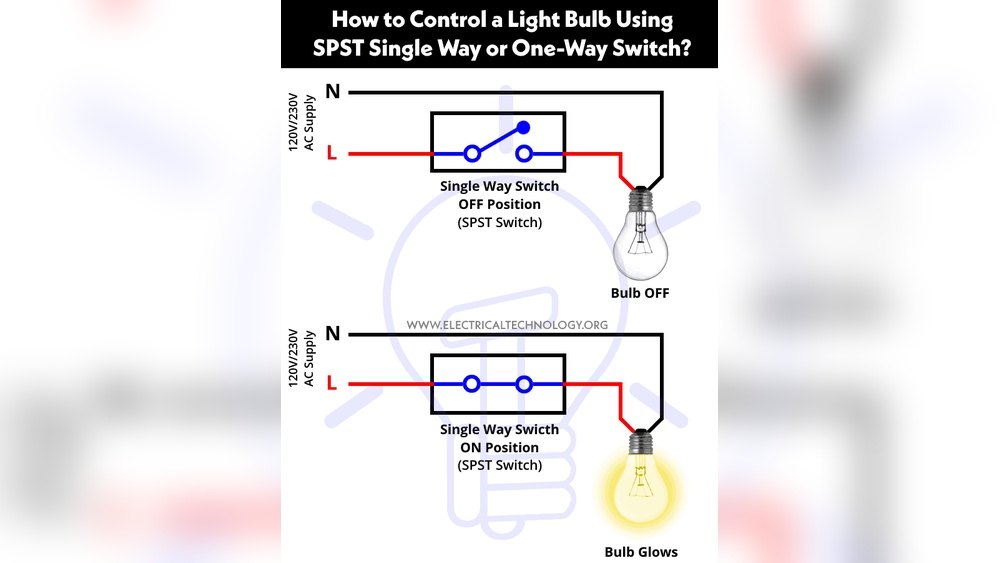
First, find the wires in your outdoor light setup. Usually, there are three types: live, neutral, and ground. The live wire carries electricity. The neutral wire completes the circuit. The ground wire protects from electrical faults. Use a voltage tester to spot the live wire safely.
Connecting Wires Correctly
Match the timer switch wires to your home wiring. Connect live to live, neutral to neutral, and ground to ground. Strip about half an inch of insulation from each wire. Twist wires together firmly. Use wire nuts to secure the connections. Avoid loose or exposed wires to prevent shorts.
Securing The Connections
After connecting, wrap each wire nut with electrical tape. This adds extra safety and keeps connections tight. Carefully push the wires back into the switch box. Screw the timer switch into place. Double-check all connections before turning power back on.
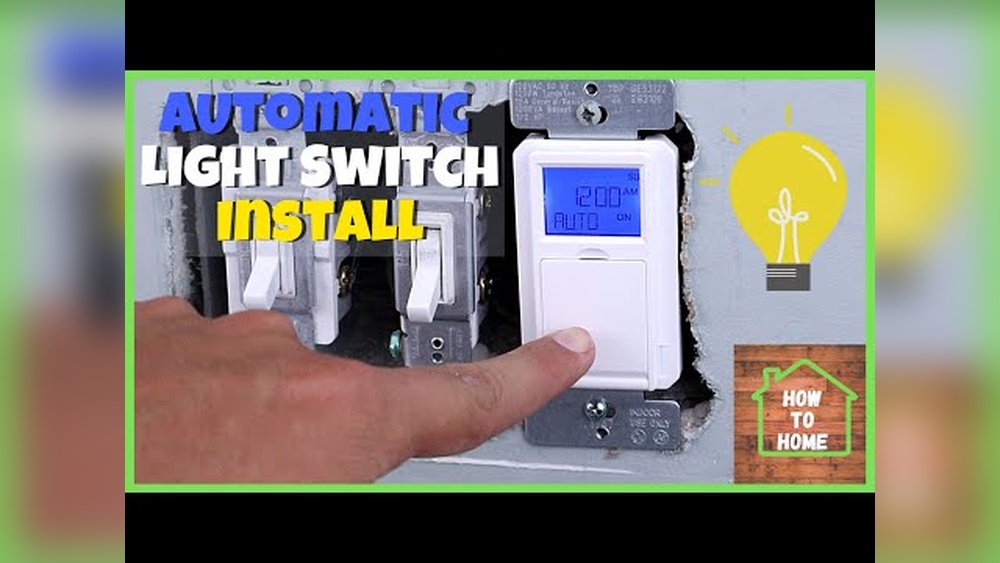
Mounting The Timer Switch
Mounting the timer switch is an essential step in setting up your outdoor lights. It ensures the timer is secure and works properly. Proper mounting also protects the switch from weather damage. Follow these simple steps to mount the timer switch correctly.
Attaching The Switch To The Box
Start by aligning the timer switch with the electrical box on the wall. Use the screws provided to attach the switch firmly. Tighten the screws until the switch feels stable but avoid over-tightening. The switch should sit flush against the box without gaps. Make sure the wires stay inside the box and do not get pinched.
Sealing For Weather Protection
Outdoor timer switches need protection against rain and dust. Apply a silicone sealant around the edges of the switch plate. This creates a waterproof barrier to keep moisture out. Check that the sealant covers all gaps between the switch and the box. Let the sealant dry fully before using the timer to ensure a solid seal.
Testing The Fit
After mounting and sealing, test the fit of the timer switch. Open and close the timer cover to check smooth operation. Make sure the switch does not move or feel loose. Confirm the timer settings are easy to adjust without resistance. A secure and well-fitted switch guarantees long-lasting use outside.
Setting Up The Timer
Setting up the timer for your outdoor lights is simple and saves energy. It controls when your lights turn on and off without manual effort. Proper setup ensures your lights work efficiently and protect your home.
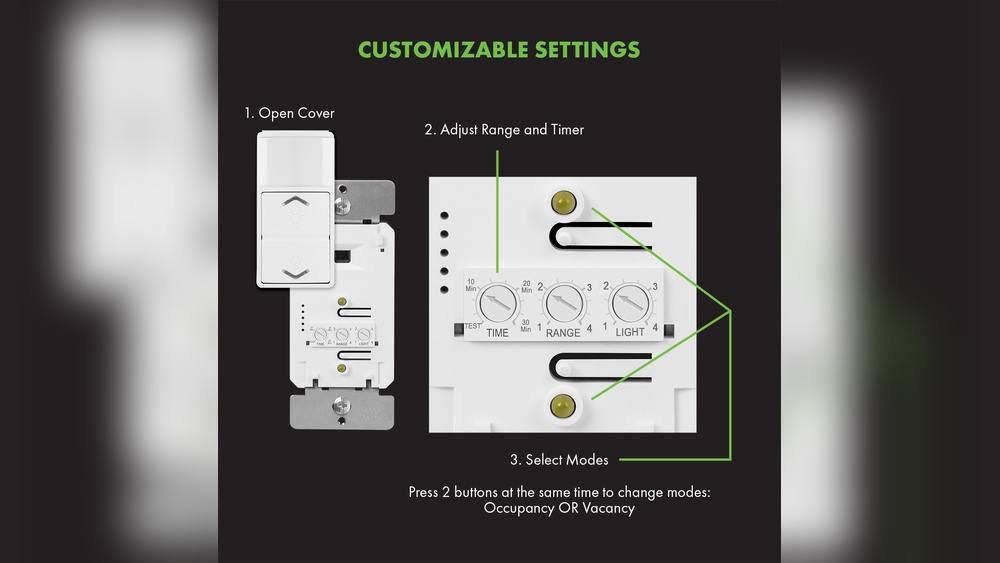
Programming Basic Settings
Start by setting the current time on the timer. This step is crucial for accurate operation. Use the buttons or dial to enter the hour and minute. Confirm the AM or PM setting if needed. Check the user manual for specific instructions on your model.
Customizing On/off Times
Decide the exact times for your lights to turn on and off. Set the start time for the evening when it gets dark. Choose the off time for the morning when you want lights to go out. Most timers allow multiple on/off periods per day. This feature helps match your schedule perfectly.
Adjusting For Seasonal Changes
Change your timer settings as daylight hours change through the year. Shorter days in winter mean lights come on earlier. Longer days in summer require later on times. Some timers offer automatic seasonal adjustment. Otherwise, update the settings manually every few months.
Troubleshooting Common Issues
Troubleshooting common issues with your outdoor light timer switch helps keep your lights working well. Problems can happen but many have simple solutions. This section covers three main problems and how to fix them quickly.
Timer Not Powering On
Check the power source first. Make sure the timer is plugged in correctly. Look at the circuit breaker to see if it tripped. A loose wire connection can stop power flow. Tighten any loose wires carefully. If the timer has batteries, replace them with new ones. Faulty timers may need to be replaced.
Lights Not Responding
Confirm the timer settings match your desired schedule. Sometimes the timer is set to off or manual mode. Check the light bulbs for damage or burn out. Test the lights by connecting them directly to power. Inspect the wiring between the timer and lights. Repair or replace damaged wires. Ensure the timer supports the wattage of your lights.
Resetting The Timer
Resetting the timer clears errors and restores default settings. Find the reset button, usually small and recessed. Use a pin or paperclip to press and hold it for 5 seconds. Release the button and wait for the timer to reboot. Reprogram the timer with your preferred settings. Resetting often fixes minor glitches and timing errors.
Safety Tips And Maintenance
Keeping your outdoor timer switch safe and working well needs regular care. Safety tips and maintenance help avoid problems. They also make your outdoor lights last longer. Follow simple steps to check and clean the switch. Change parts like batteries when needed. This keeps the timer switch reliable and safe.
Regular Inspection
Check the timer switch every few months. Look for cracks or water damage on the cover. Make sure wires are tight and not frayed. Notice if the switch feels hot or smells strange. These signs mean a problem. Fix issues quickly to avoid accidents or failure.
Cleaning The Switch
Turn off the power before cleaning. Use a soft, dry cloth to wipe the switch surface. Avoid water or liquid cleaners near electrical parts. Remove dirt and dust that can block buttons or sensors. A clean switch works better and lasts longer.
Replacing Batteries If Needed
Some timer switches use batteries to keep time. Check battery life every year. Weak batteries can cause the switch to fail. Replace old batteries with fresh ones of the same type. Dispose of used batteries safely. This ensures your lights turn on and off as set.

Credit: www.geya.net
Frequently Asked Questions
What Tools Are Needed To Install An Outdoor Timer Switch?
You need a screwdriver, wire stripper, voltage tester, and electrical tape. These tools ensure a safe and accurate installation.
How Do I Connect Wires To The Timer Switch?
Match the timer wires with your outdoor light wires by color. Secure connections with wire nuts and electrical tape for safety.
Can I Install A Timer Switch Outdoors Myself?
Yes, if you follow safety guidelines and turn off power first. Basic electrical knowledge is essential for a successful installation.
How To Set The Timer Switch For Outdoor Lights?
Use the dial or digital settings to program on/off times. Adjust settings according to your lighting needs and daylight hours.
Conclusion
Installing a timer switch for outdoor lights saves energy and adds convenience. It lets you control when your lights turn on and off automatically. This simple upgrade improves home safety and reduces electricity bills. Follow the steps carefully, and you will have your timer working in no time.
Enjoy well-lit outdoor spaces without worrying about forgetting to switch the lights. A timer switch makes your life easier and your home smarter.